Presentation of the Adaptec Configuration Utility (ACU) of the Adaptec SmartRAID 3154-8i8e controller
- RAID
- 04 April 2025 at 06:53 UTC
-

- 3/4

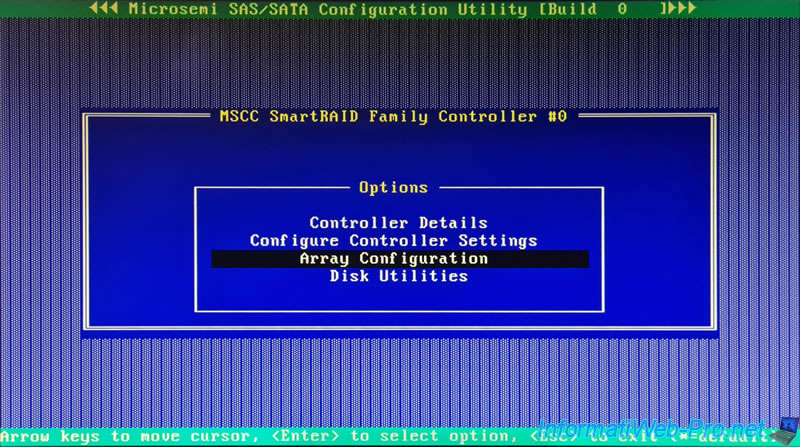
4. Array Configuration (configure RAID arrays on your controller)
In the "Array Configure" section, you will configure your RAID arrays on your Adaptec SmartRAID controller.
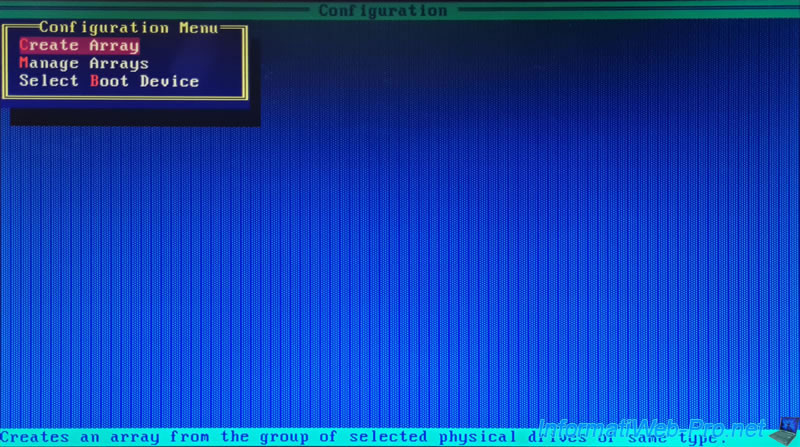
4.1. Create Array (create a RAID array on your controller)
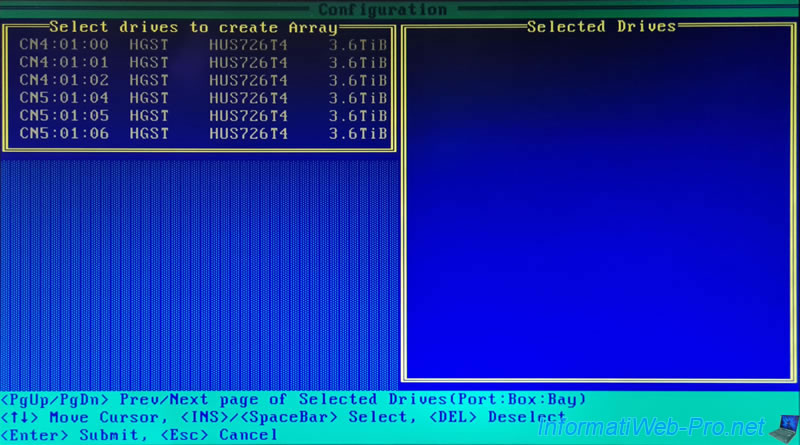
To create a new RAID array from physical disks on your Adaptec SmartRAID controller, choose: Create Array.
In our case, all our disks are already used.
However, if you wish to create a RAID array on your Adaptec SmartRAID controller, refer to our tutorial: Adaptec SmartRAID 3154-8i8e - Create a RAID volume (from ACU).
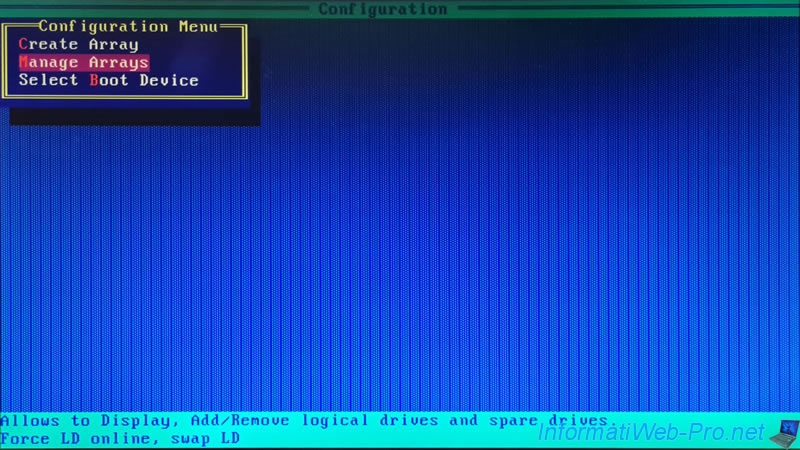
4.2. Manage Arrays (manage your RAID arrays on your controller)
To manage your RAID arrays on your Adaptec SmartRAID controller, choose: Manage Arrays.
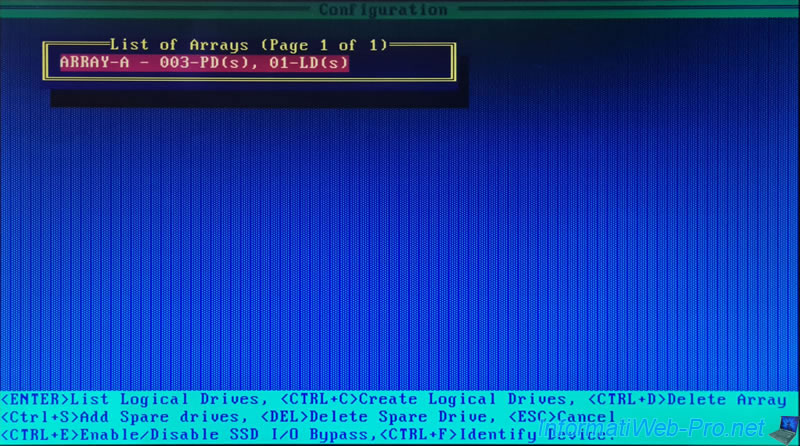
A "List of Arrays" box appears with the list of RAID arrays created on your controller.
In our case: ARRAY-A - 003-PD(s), 01-LD(s).
- ARRAY-A: RAID array name.
- xx-PD(s): number of physical disks used by this RAID array.
- xx-LD(s): number of RAID logical drives created on this RAID array.
To see the list of RAID logical drives created on a RAID array, select the RAID array you want using the arrows on your keyboard, then press Enter (<ENTER>List Logical Drives).
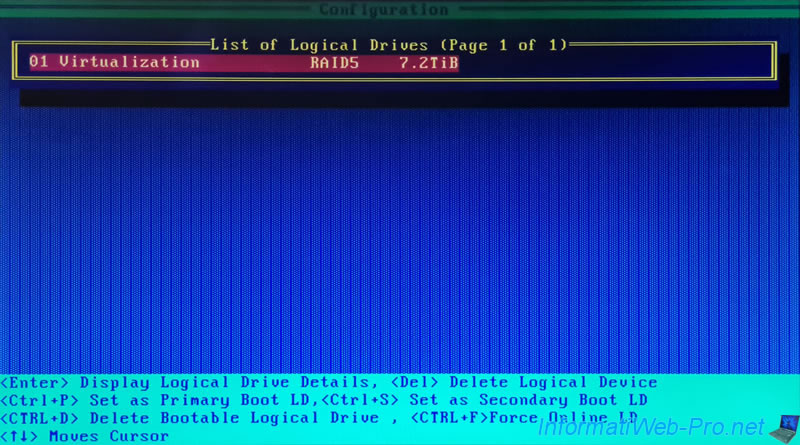
A "List of Logical Drives" box appears with the list of RAID logical drives created on your RAID array.
In our case: 01 Virtualization - RAID5 - 7.2 TiB.
Each logical disk appears with:
- 01: a number.
- Virtualization: its name.
- RAID5: its RAID level.
- 7.2TiB: its usable capacity (therefore, not counting the disk space used for parity data).
To view information about a RAID logical drive, select it and press Enter (<Enter> Display Logical Drive Details).
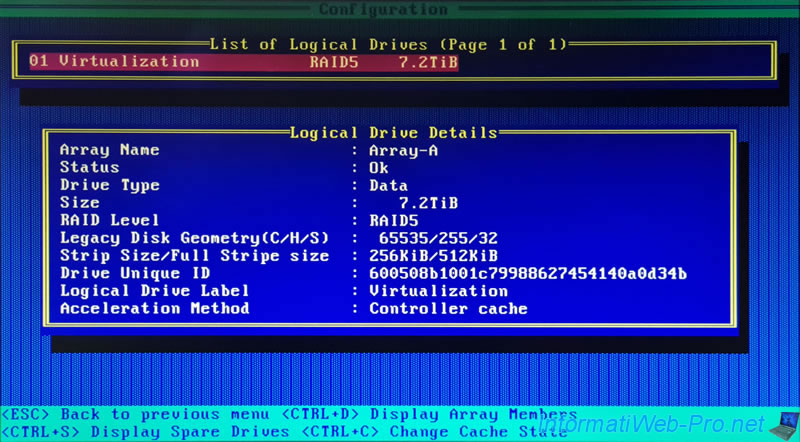
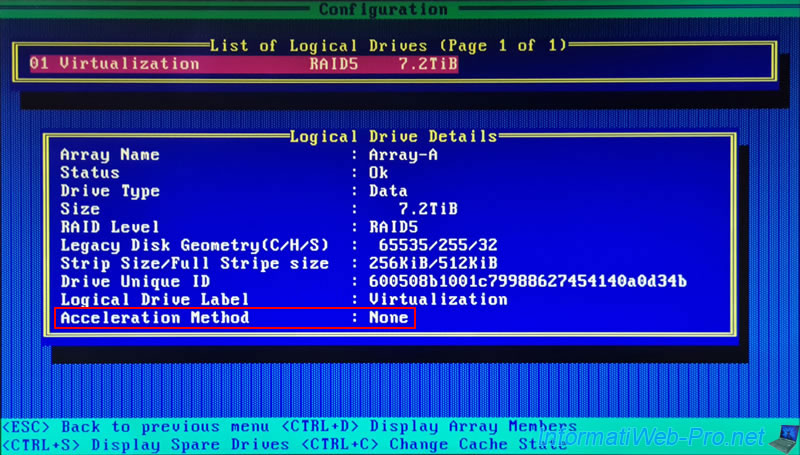
The Logical Drive Details (RAID) logical drive information appears:
- Array Name: the name of the RAID array where it is located.
In our case, this "Virtualization" RAID logical drive is on our "Array-A" RAID array. - Status: the status of this RAID logical drive.
- Ok: normal operation.
- Drive Improperly Connected: at least one drive in the affected array has failed.
This logical RAID disk is therefore no longer accessible by the operating system installed on your computer or server for security reasons. - Interim Recovery: if you force a RAID logical drive online whose remaining disks are sufficient to access the data on it, this status will appear.
This is particularly possible with a RAID5 composed of 3 physical disks, one of which has failed.
Warning: this is strongly discouraged, but possible. You should rebuild the missing disk as soon as possible before it is too late.
Additionally, performance will be reduced. - Rebuilding (x%): a disk in the array where this RAID logical disk is located is being reconstructed.
The performance of your RAID logical drive is therefore temporarily reduced.
- Drive Type: Data.
- Size: the disk space available on this RAID logical drive for data storage (not including disk space reserved for parity data).
- RAID Level: RAID level used.
In our case: RAID5. - Legacy Disk Geometry (C/H/S): old information indicating the number of cylinders, heads and sectors present on this disk.
CHS = Cylinder Heads Sectors. - Strip Size/Full Strip size: indicates the size of each strip written to each physical disk / indicates the total size of the combined stripes written to all disks.
This size does not take into account disk space used for parity data. - Drive Unique ID: RAID logical drive unique identifier.
Which allows you to locate a specific RAID logical drive in Linux (or any other Linux-based operating system) in case you have created multiple RAID logical drives on your Microsemi Adaptec SmartRAID controller.
This identifier is also visible as WWN (World Wide Name) or SCSI ID in some places. - Logical Drive Label: name of your RAID logical drive visible only in Microsemi tools.
Such as ACU (where you are currently located), the "maxView Storage Manager" web interface or the "ARCCONF" command line tool. - Acceleration Method: indicates whether your Microsemi Adaptec SmartRAID controller cache is used for this RAID logical drive or not.
- Controller cache: the cache of your Microsemi Adaptec SmartRAID controller is used.
- None: your controller cache is not used.
Sources :
- Adaptec SmartRAID 3154-8i8e - Repairing a RAID logical drive in the event of failure - InformatiWeb Pro
- Microsemi Smart Storage Controllers - User's Guide - maxView Storage Manager - Adaptec (page 174)
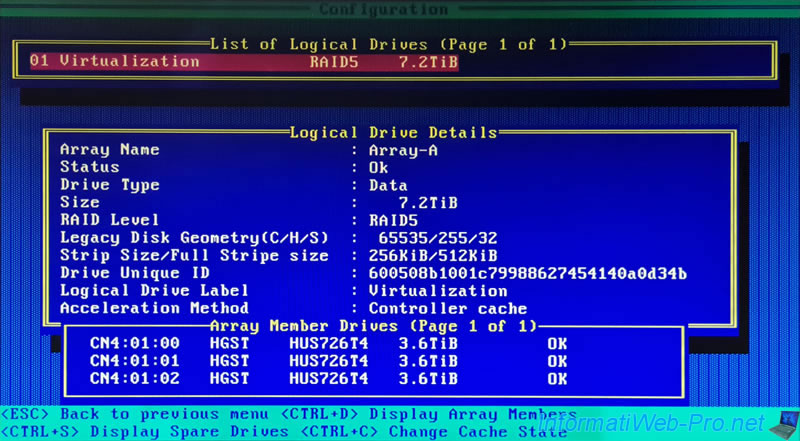
To see the disks used by the RAID array where this logical RAID disk is located, press the "CTRL+D" keys (<CTRL+D> Display Array Members).
An "Array Member Drives (Page 1 of 1)" box will appear with the list of physical disks that are used by your RAID array.
- CNx: the physical connector on your Microsemi Adaptec SmartRAID controller where each of your physical drives is connected.
- HGST: the brand of each physical disk.
In our case, HGST stands for Hitachi Global Storage Technologies. - HUS726T4: the model of each physical disk.
In our case "HUS726T4" corresponds to our WD Ultrastar DC HC310 (4 TB) hard drives. - 3.6TiB: the capacity of each physical disk.
- OK: the status of each physical disk.
The other possible statuses are:- Failed: if it is broken.
- Rebuild: when rebuilding a physical disk.
Source : Data Sheet: Ultrastar DC HC310 - Western Digital.
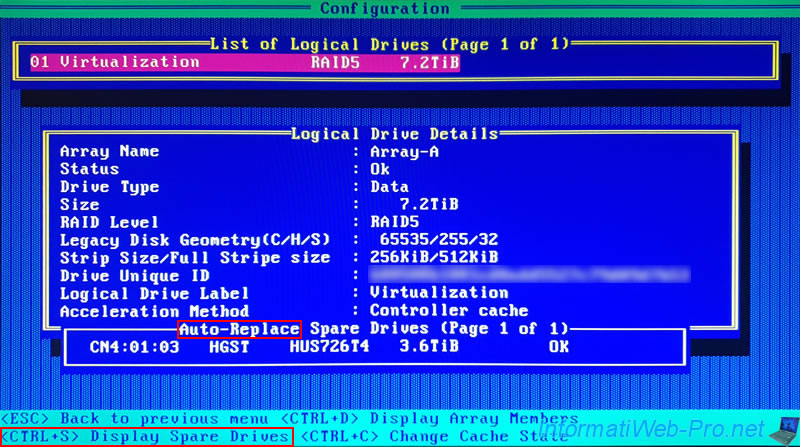
To see the list of drives defined as Spare (usable for this RAID logical drive), press the "CTRL+S" keys (<CTRL+S> Display Spare Drives).
If a physical disk is defined as Spare of type "Auto-Replace" on the array where this RAID logical disk is located, an "Auto-Replace Spare Drives (Page 1 of 1)" list will appear.
The type of information displayed is similar to the type of information displayed in the previous image.
For more information regarding "Auto-Replace" type Spares, refer to our tutorial : Adaptec SmartRAID 3154-8i8e - Automatic reconstruction with an Auto-Replace Spare.
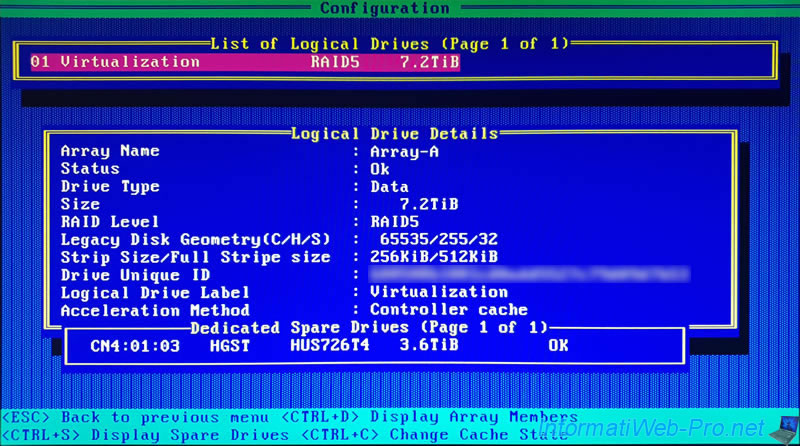
If it is a physical drive defined as Dedicated Spare, then the displayed list will be "Dedicated Spare Drives (Page 1 of 1)".
For more information regarding dedicated Spares, refer to our tutorial : Adaptec SmartRAID 3154-8i8e - Automatic reconstruction with a dedicated Hot Spare (Dedicated Spare).
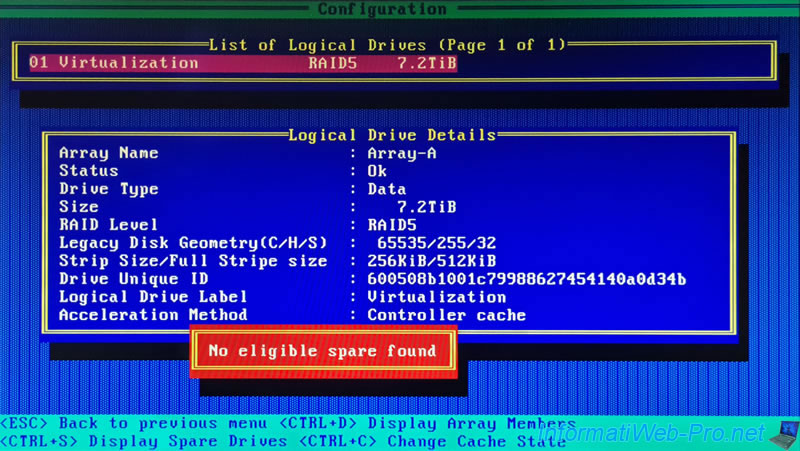
If no Spare is defined for the array used for this RAID logical drive, the error "No eligible spare found" will appear.
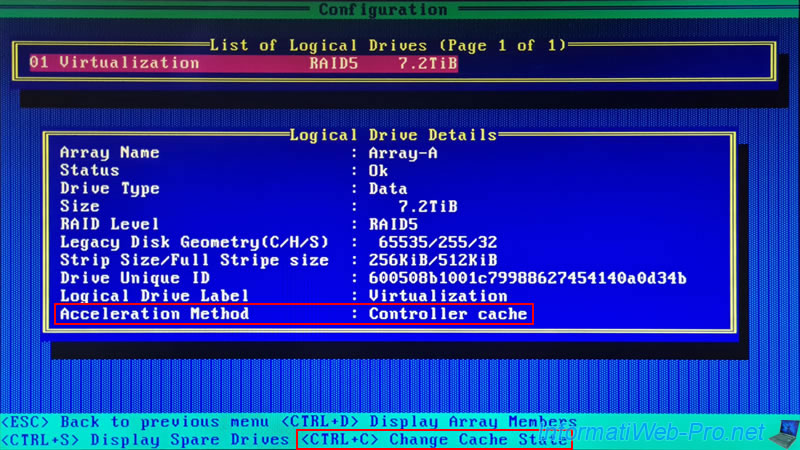
At the moment you can see that the Acceleration Method used is "Controller cache".
That is, the controller cache is used for this RAID logical drive.
To change the acceleration method and therefore disable the use of your controller's cache for this RAID logical drive (in this case), press the "CTRL+C" keys (<CTRL+C> Change Cache State) .
As expected, now, no Acceleration Method is used.
To make this RAID logical drive able to reuse your RAID controller cache, press the same keys again (<CTRL+C> Change Cache State).
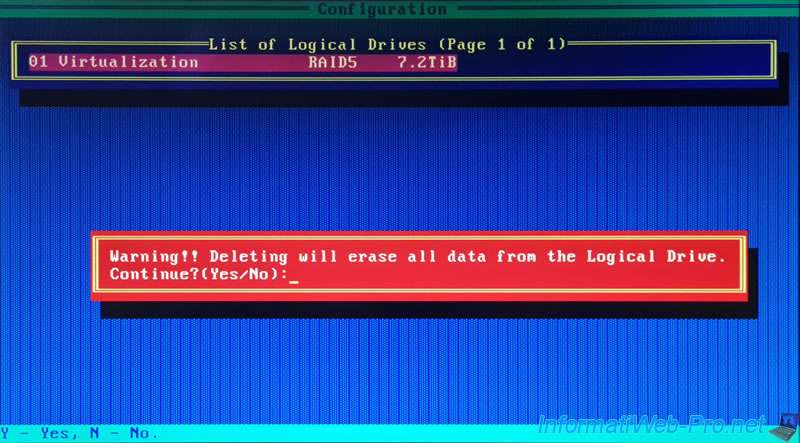
From the list of RAID logical drives (List of Logical Drives), you can delete one by selecting it with the arrows on your keyboard, then pressing the "Delete" key (<Del> Delete Logical Device).
The warning below will appear. Answer "Y" to confirm the removal of this RAID logical drive.
Warning : all data present on this RAID logical drive will be lost.
Plain Text
Warning!! Deleting will erase all data from the Logical Drive.
Continue?(Yes/No):
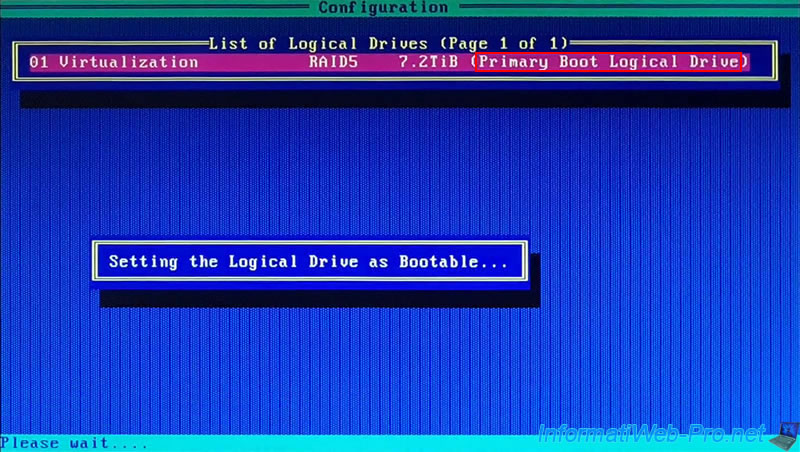
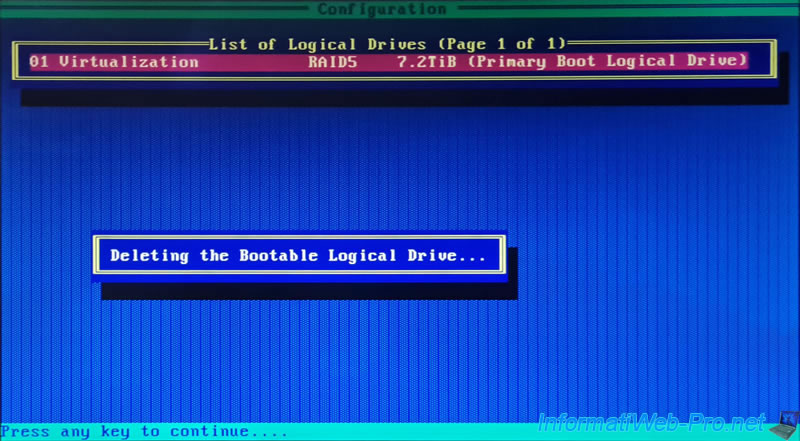
To set a RAID logical drive as the primary bootable logical drive, select the logical drive, then press the "CTRL+P" keys (<CTRL+P Set as Primary Boot LD).
The message "Setting the Logical Drive as Bootable" will appear and the status "(Primary Boot Logical Drive)" will appear to the right of your RAID logical drive.
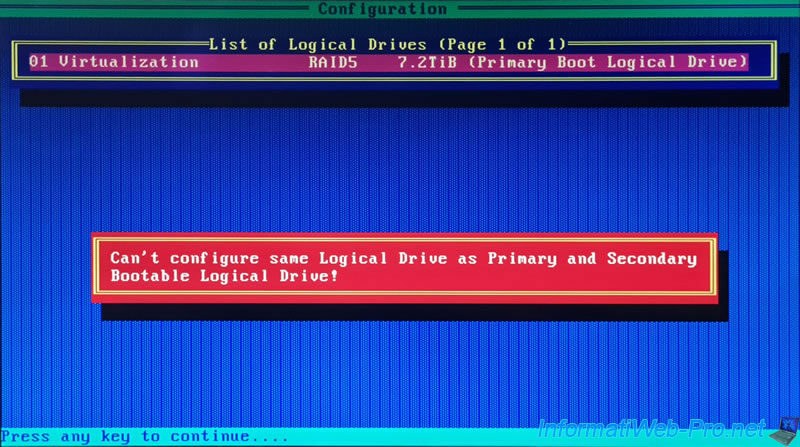
Obviously, you can't define the same RAID logical disk as a primary (Primary Boot...) and secondary (Secondary Boot...) boot RAID logical disk.
Plain Text
Can't configure same Logical Drive as Primary and Secondary Bootable Logical Drive!
To remove the bootable state, press the "CTRL+D" keys (<CTRL+D> Delete Bootable Logical Drive).
The "Deleting the Bootable Logical Drive" message will appear and the status "(... Boot Logical Drive)" will disappear.
Note that this keyboard shortcut only removes the "bootable" state set on your RAID controller for this RAID logical drive and NOT the RAID logical drive itself.
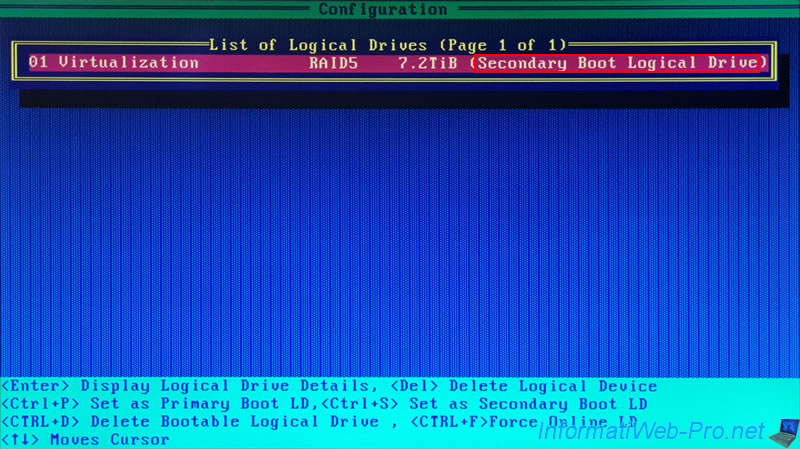
To set a RAID logical drive as a secondary bootable drive, select it, then press the "CTRL+S" keys (<CTRL+S Set as Secondary Boot LD).
The "Setting the Logical Drive as Bootable" message will appear.
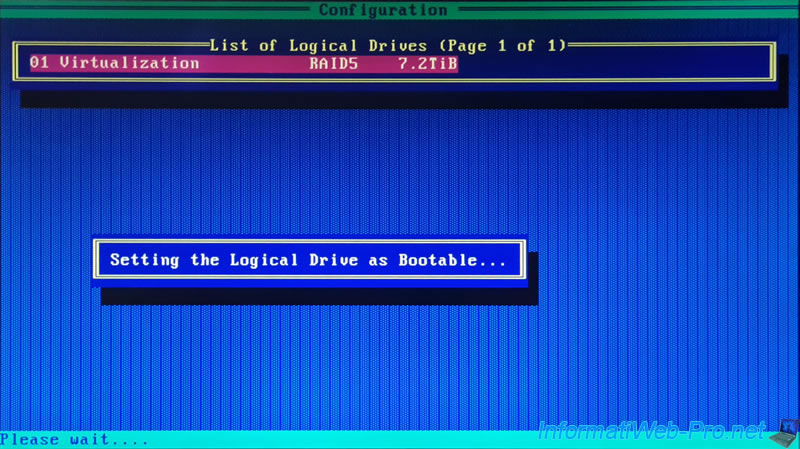
Then, the "(Secondary Boot Logical Drive)" status will appear to the right of your RAID logical drive.
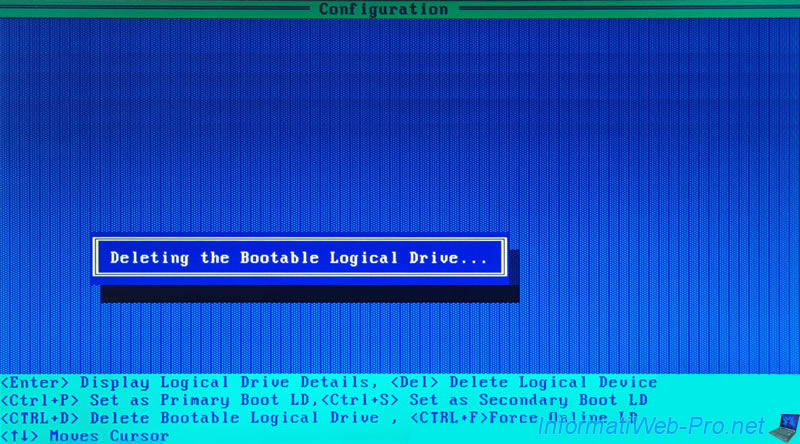
Again, to remove the "bootable" state of a RAID logical drive, press the "CTRL+D" keys (<CTRL+D> Delete Bootable Logical Drive).
The "Deleting the Bootable Logical Drive" message will appear and the "(... Boot Logical Drive)" status will disappear.
Note: again, this only removes the "bootable" state set on your RAID controller for a RAID logical drive.
Share this tutorial
To see also
-

RAID 4/20/2022
Adaptec maxView Storage Manager v3 - Create a RAID volume
-

RAID 4/8/2022
Adaptec maxView Storage Manager v3 - Download and boot on USB version
-

RAID 4/13/2022
Adaptec maxView Storage Manager v3 - Installation on Linux
-

RAID 4/15/2022
Adaptec maxView Storage Manager v3 - Manage an Adaptec SmartRAID controller on VMware ESXi 6.7
No comment