- RAID
- 08 April 2022 at 08:35 UTC
-

Although it's possible to manage your Microsemi Adaptec SmartRAID controller, its arrays, its logical drives, ... from the configuration tool accessible when you start your computer, it's also possible to manage it from the maxView web interface provided by Microsemi.
If Windows, Linux, or another supported operating system is installed on your computer, you can download and install maxView like any other program.
However, in this tutorial, you will see that you can also create a bootable USB key with which you can access this "maxView Storage Manager" web interface even if the operating system installed on your computer doesn't start anymore.
This is useful in the event of a problem with your controller or with your arrays and/or your logical drives created on it.
Warning : as indicated on the Microsemi website, this bootable version of maxView should only be used to configure your Microsemi Adaptec SmartRAID controller before installing the operating system (Windows, Linux, ...) on your computer / server . Indeed, this version is limited in features.
In addition, your computer / server must have at least 4 GB of RAM for it to function properly.
- Download the bootable image of maxView Storage Manager
- Create a bootable USB key of maxView Storage Manager
- Interface of maxView Storage Manager in USB version
1. Download the bootable image of maxView Storage Manager
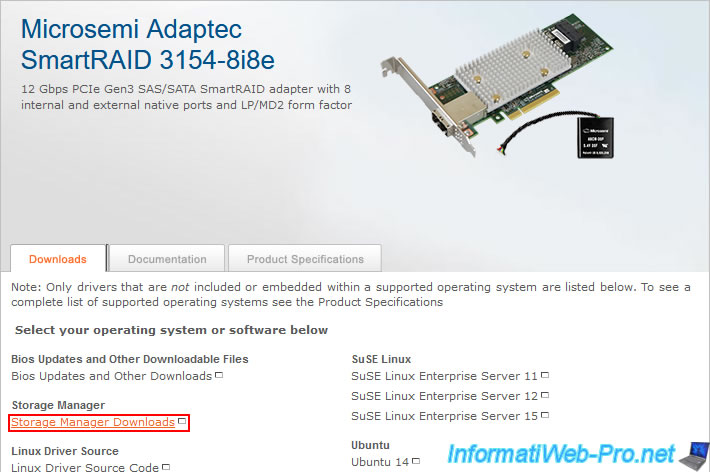
To download the bootable image of maxView Storage Manager, go to the page of your Microsemi Adaptec SmartRAID controller (in our case : Microsemi Adaptec SmartRAID 3154-8i8e).
In the "Downloads" tab, you will find a "Storage Manager Downloads" link.
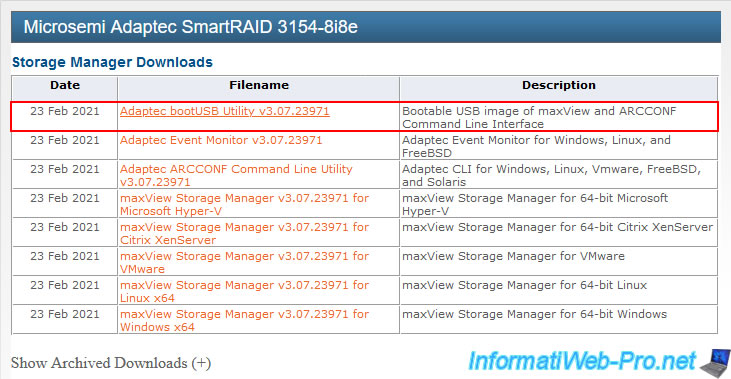
Microsemi displays the list of maxView Storage Manager downloads available and compatible with your Microsemi Adaptec SmartRAID controller.
In this list, locate the "Adaptec bootUSB Utility v3 ..." download.
As you can see, the description for this download is : Bootable USB image of maxView and ARCCONF Command Line Interface.
This means that it's a bootable image of maxView and the command line tool : ARCCONF.
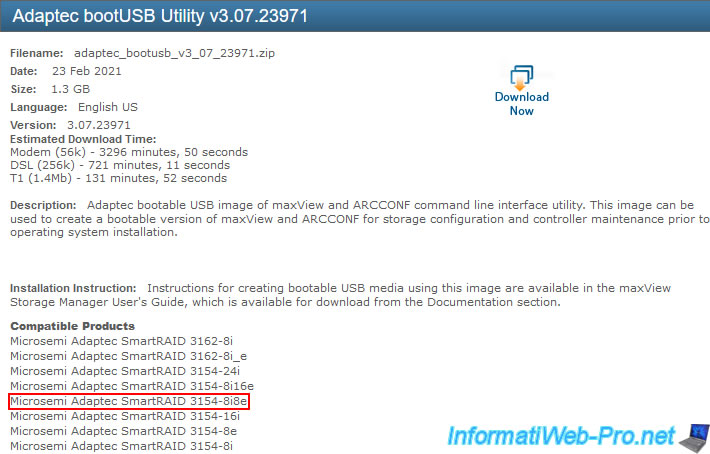
As expected, this download is compatible with your Microsemi Adaptec SmartRAID controller.
Hence the need to go through the page of your controller to obtain the latest version compatible with it.
Click "Download Now" and accept the Microsemi contract.
Note that this image is approximately 1.3 GB. You will understand why when you start your computer on it.
As you can see on this page, Microsemi tells you that the installation procedure is available in the "maxView Storage Manager User's Guide" file (step "3.6. Running maxView Storage Manager from a Bootable USB Image" on page 13).
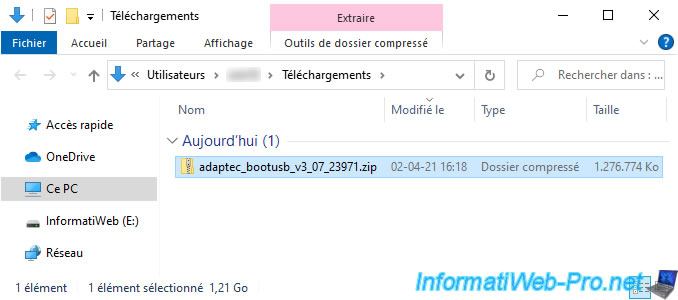
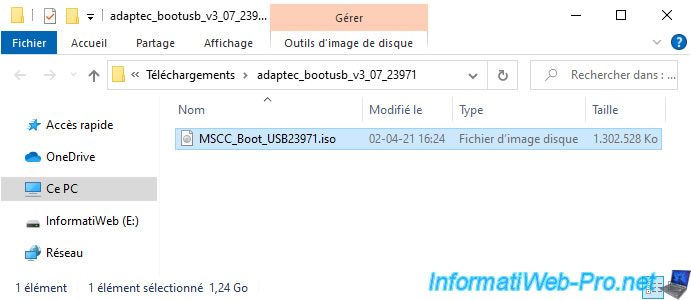
Once the image is downloaded, you will have a zip file like this : adaptec_bootusb_v3_07_23971.zip.
Although this is an USB utility, you will see that it's actually a simple ISO file : MSCC_Boot_USB23971.iso.
This means that you can use it also with a virtual CD/DVD drive like the Zalman ZM-VE300 (for example).
2. Create a bootable USB key of maxView Storage Manager
To create a bootable USB drive of maxView Storage Manager, Microsemi asks you to use the free program : Rufus.
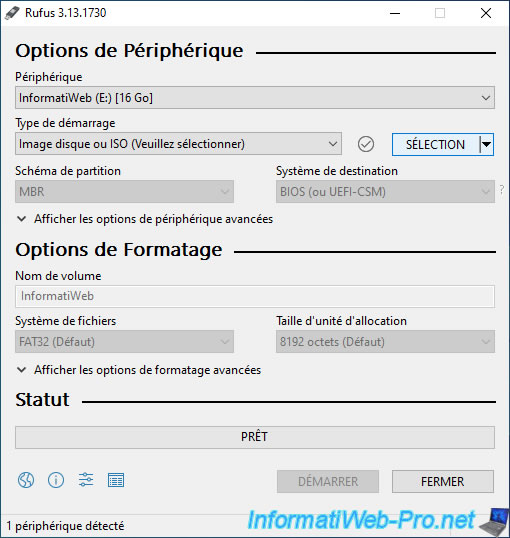
Once this software has been downloaded and launched, click on the "SELECT" button and select the "MSCC_Boot_USB23971.iso" iso file downloaded previously.
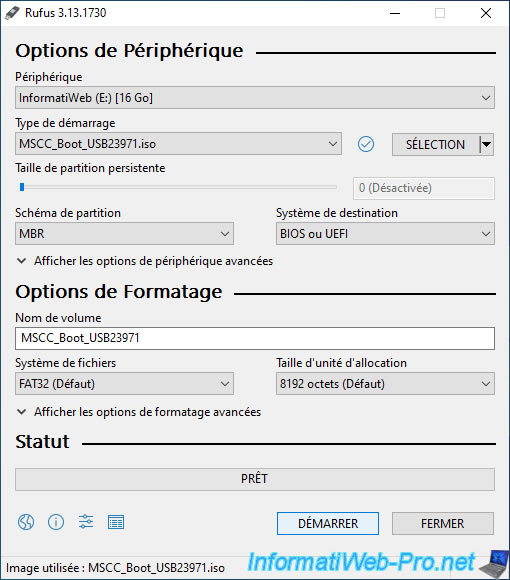
Once the iso file is selected, Rufus will adapt the settings automatically.
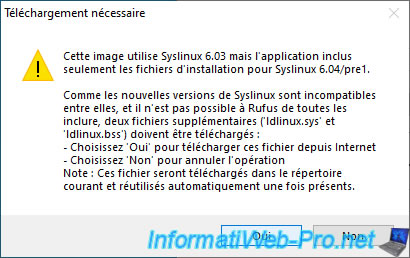
Depending on the version of Rufus and the USB version of maxView used, a warning may appear about the version of syslinux used.
In this case, click Yes to maximize compatibility.
Note : syslinux is used to make your USB key bootable.
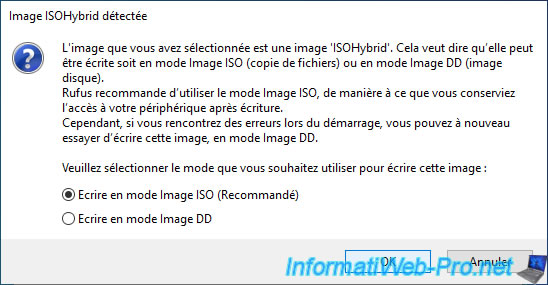
In the case of this USB version of maxView, Rufus will detect that this image is an ISOHybrid image.
In this case, leave the option "Write in ISO Image mode (Recommended)" selected and click OK.
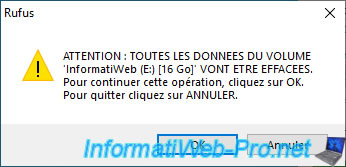
To create your bootable USB key, Rufus will first need to erase all data on your USB key.
Click on OK.
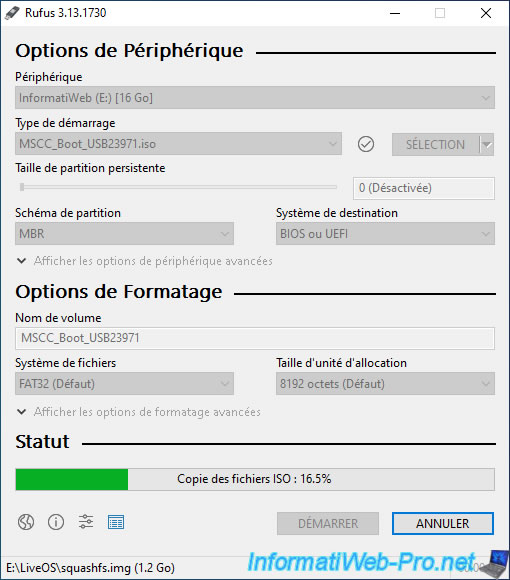
Wait while configuring your USB key, installing syslinux on it and copying the files of the ISO image to your USB key.
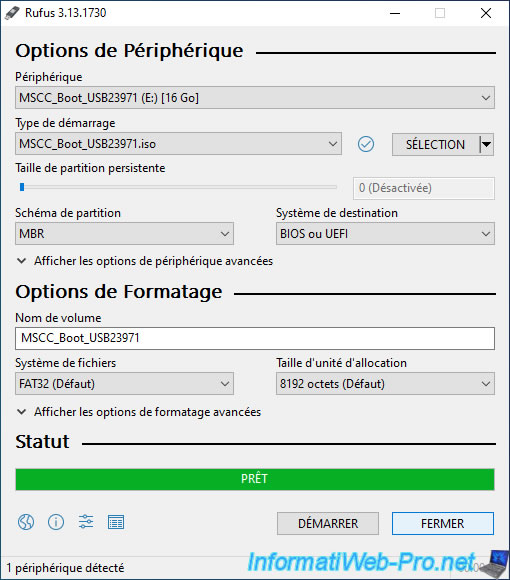
Once the bootable USB key has been created, click CLOSE.
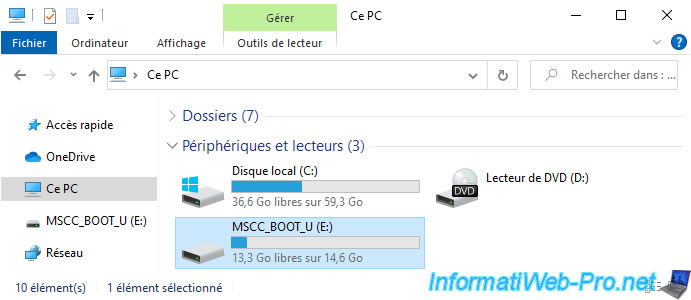
If you go to the file explorer, you will see that you now have a "MSCC_BOOT_U" USB key.
3. Interface of maxView Storage Manager in USB version
To boot on this maxView Storage Manager USB image, you must first configure your computer's BIOS to boot on your bootable maxView Storage Manager USB key.
To do this, refer to our tutorial : Change the BIOS boot priority.
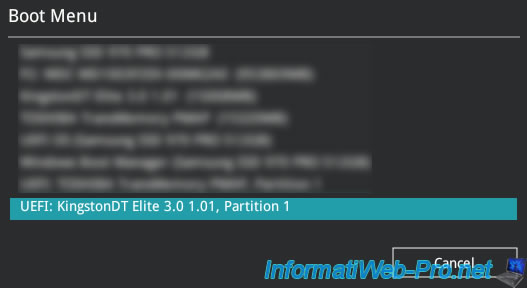
Once your computer's BIOS is configured, it will reboot on your maxView Storage Manager bootable USB drive.
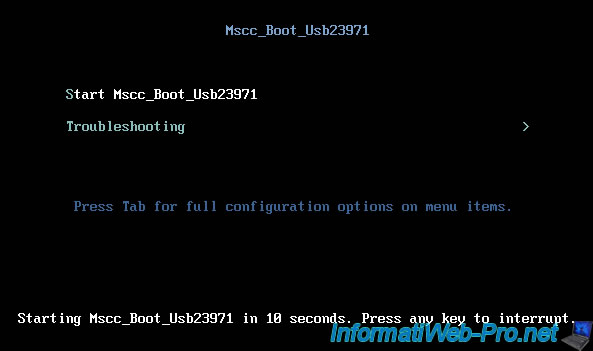
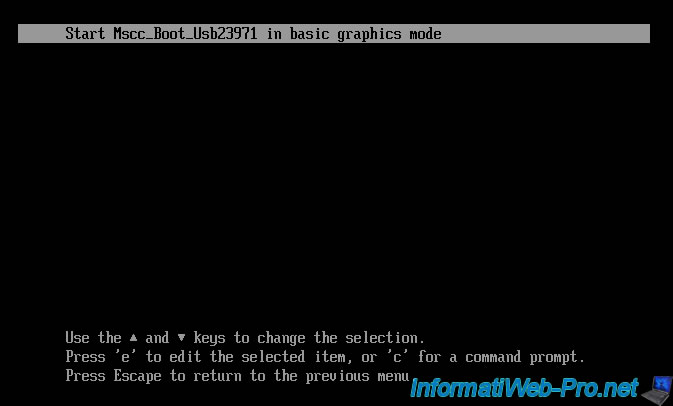
You will see this boot menu if you have booted on your bootable USB key in "BIOS Legacy" mode (old BIOS).
In this case, the boot option used will be : Start Mscc_Boot_Usb23971.
If you booted in UEFI mode on your bootable USB key, the boot menu of your bootable USB key will be slightly different.
By default, the option selected is "Test this media & Start Mscc_Boot_Usb23971" and this is the one you will typically use.
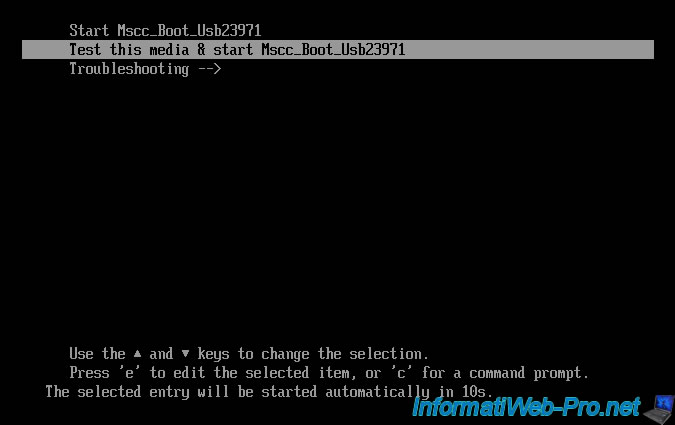
If you look in the "Troubleshooting" menu, you will find a "Start Mscc_Boot_Usb23971 in basic graphics mode" option which can be useful if you have display problems with the default boot option.
Then, you will see this little loading logo appear in the middle of the screen for a few seconds.

Then, you will see the logo of the Linux distribution "Fedora" appear.

For a brief moment, you may see these lines at the top of the screen.

Once the Linux "Fedora" distribution is started, you will arrive on a desktop with an Adaptec wallpaper.
As you will understand, the weight of 1.3 GB of the downloaded ISO image is mainly due to the Linux distribution "Fedora" used by Microsemi for its USB version of maxView.
Moreover, you will find 2 shortcuts on your desktop :
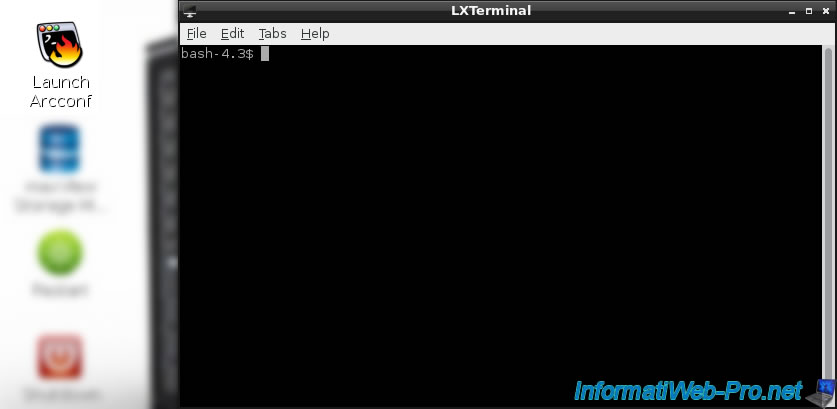
- Launch Arcconf : to launch the "ARCCONF" command line tool
- maxView Storage Manager : to open the web interface of the same name

Note that the "maxView Storage Manager" web interface is automatically launched when starting this USB version of maxView and that it works by default in standalone mode.
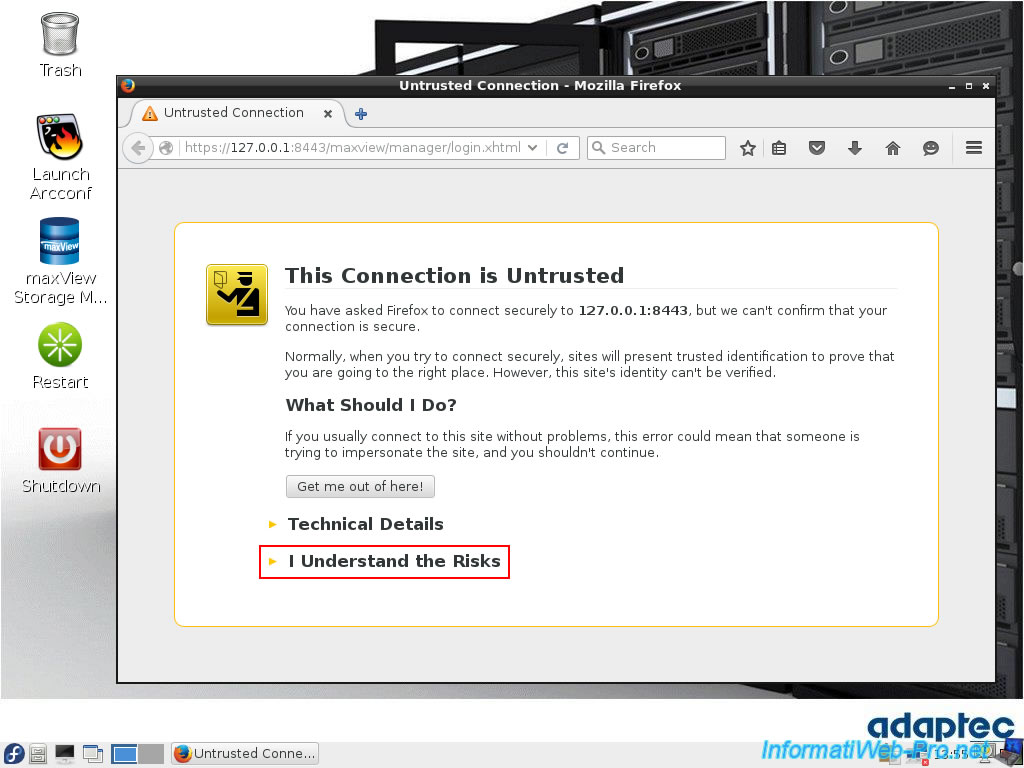
The "Mozilla Firefox" web browser therefore accesses maxView via the local address : https://127.0.0.1:8443/maxview/manager/login.xhtml
Since access to maxView Storage Manager is secured with a self-signed SSL certificate, Mozilla Firefox displays a warning : This Connection is Untrusted.
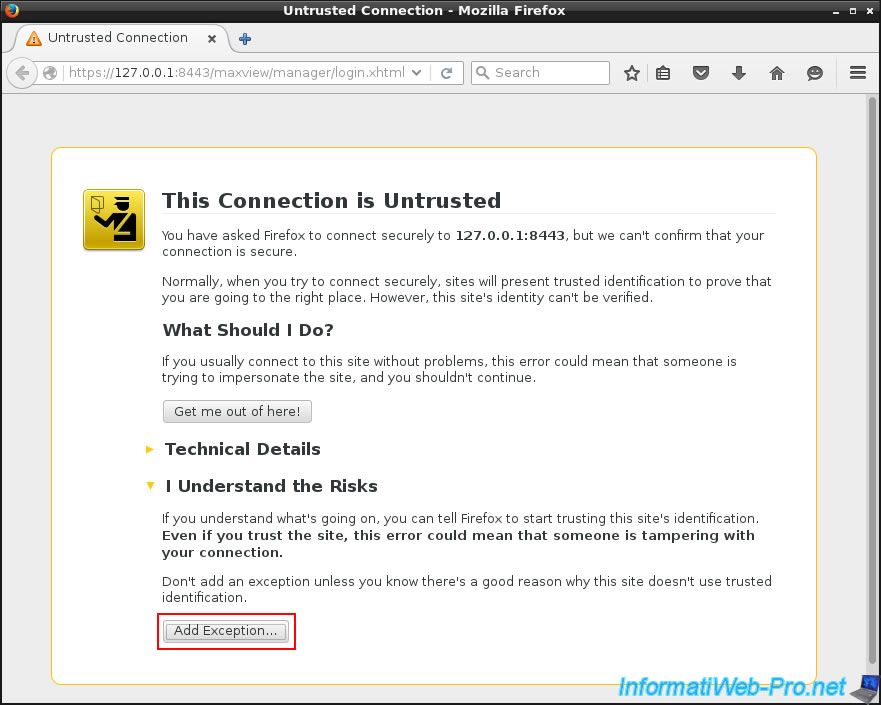
Click on : I Understand the Risks.
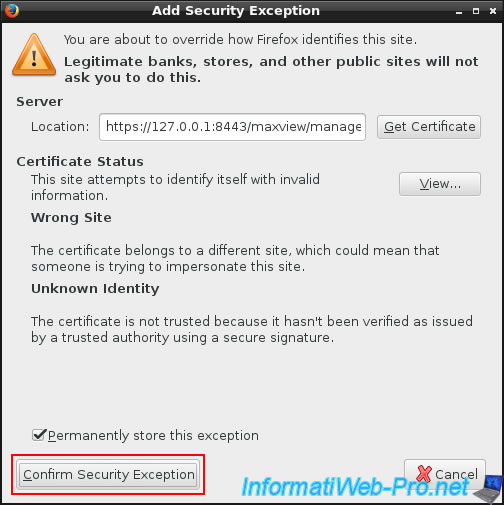
Then, on the "Add Exception" button.
Then, on the "Confirm Security Exception" button.
The "maxView Storage Manager" web interface is displayed.
To connect, you must use the credentials : root / root.
As you will understand, this also means that the password for the "root" account on this instance of Fedora is "root".
You can therefore also perform operations on it as "root" if necessary.
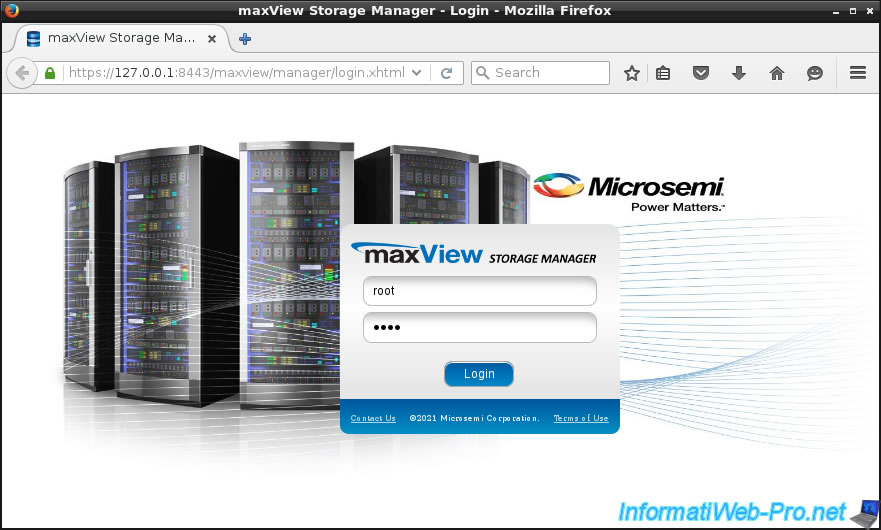
As expected, you will find the "maxView Storage Manager" web interface.
With the detail that the detected OS is obviously "Linux" in this case.
Important : we remind you that Microsemi specifies that this USB version of "maxView Storage Manager" is limited in features.
If you want more information about all the informations available in this "maxView Storage Manager" web interface, refer to our tutorial : adaptec-smartraid-maxview-3.
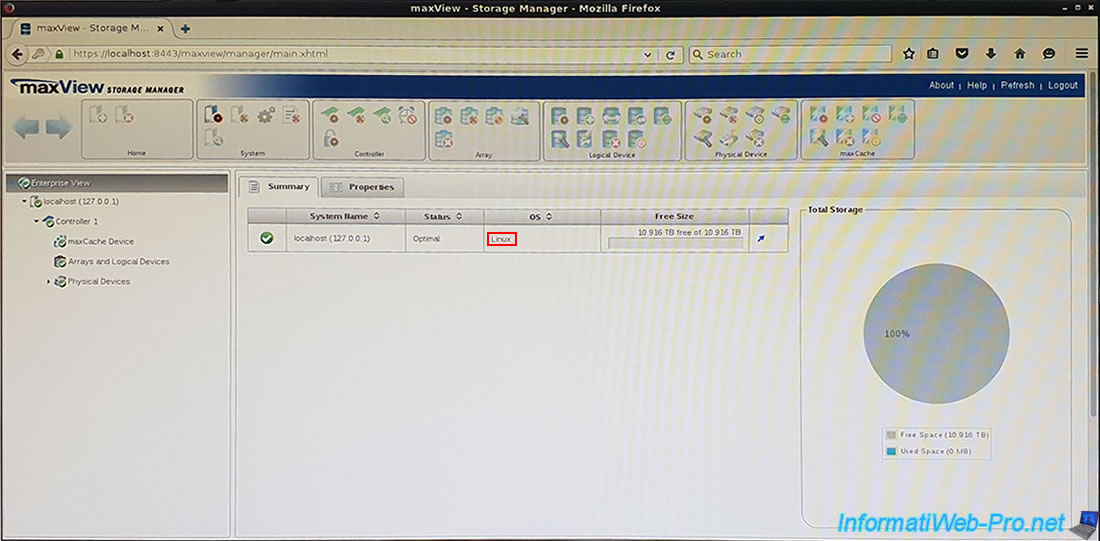
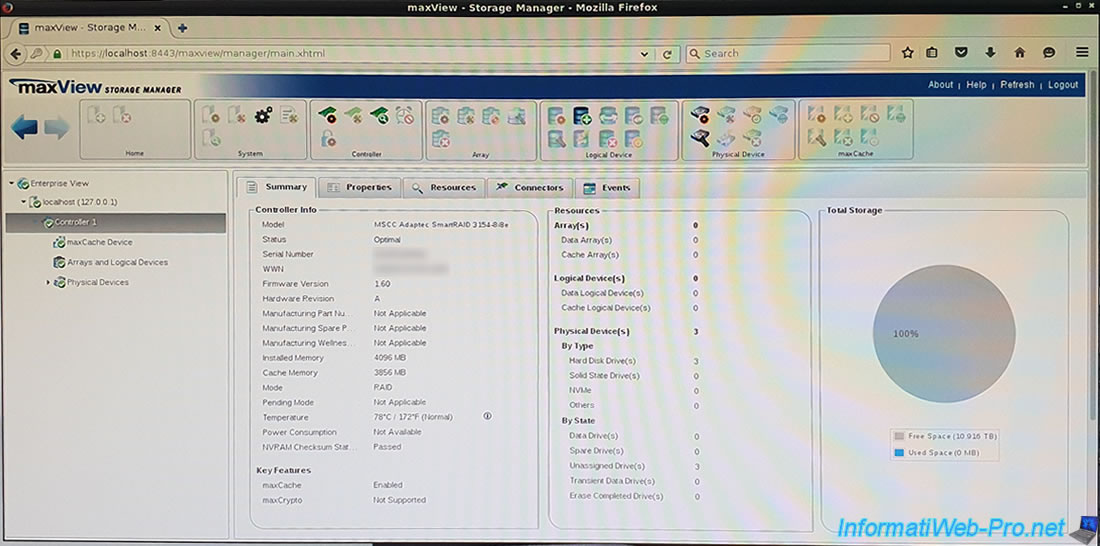
As expected, you will find all the information about your Microsemi Adaptec SmartRAID controller.
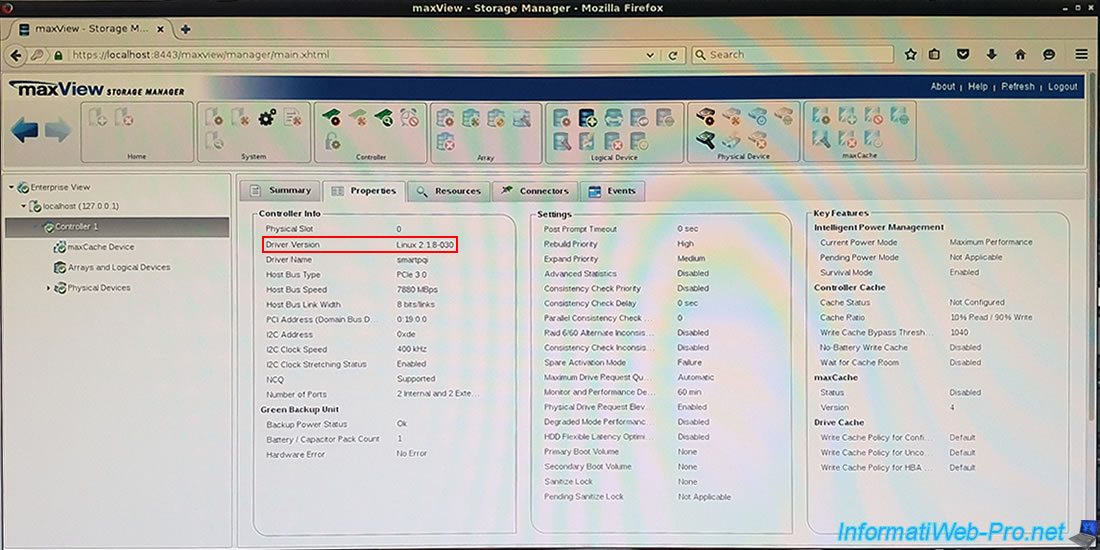
As expected, you will see that the driver used is the one for Linux.
But this is temporary and it doesn't change anything for the configuration of your controller, your arrays, your logical devices, ...
For the "Launch ARCCONF" shortcut, this will simply allow you to open a terminal by default.
Share this tutorial
To see also
-
RAID 4/20/2022
Adaptec maxView Storage Manager v3 - Create a RAID volume
-
RAID 4/13/2022
Adaptec maxView Storage Manager v3 - Installation on Linux
-
RAID 4/15/2022
Adaptec maxView Storage Manager v3 - Manage an Adaptec SmartRAID controller on VMware ESXi 6.7
-
RAID 3/11/2022
Adaptec maxView Storage Manager v3 - Manage an Adaptec SmartRAID controller remotely

You must be logged in to post a comment