- VMware
- 09 June 2023 at 12:33 UTC
-

- 1/4

Thanks to VMware vCenter Converter Standalone, you can virtualize a physical machine to then use it with VMware Workstation Pro (for example).
Note that until version 16.2.2 of VMware Workstation Pro, there was a shortcut that allowed you to quickly virtualize a physical machine : VMware Workstation 16 / 15 - Virtualize a physical computer (P2V).
However, since this shortcut has been removed since version 16.2.3, here is how to virtualize a physical machine by launching the conversion from VMware vCenter Converter Standalone instead of VMware Workstation Pro.
Tutorial made with VMware Workstation Pro 16.2.4 and VMware vCenter Converter Standalone 6.3.0.
Tutorial also tested with VMware Workstation Pro 17.0 and VMware vCenter Converter Standalone 6.3.0.
- Virtualize a Physical Machine option missing
- Disable User Account Control (UAC)
- Virtualize the physical PC from VMware vCenter Converter Standalone
- Uninstall old drivers from your physical PC copied into your VM
- Install the new drivers (VMware Tools) of your virtual machine
- Update the virtual hardware (vHardware) of your VMware virtual machine
- Re-enable User Account Control (UAC)
- Virtual machine size
- Copy the virtual machine to another computer
1. Virtualize a Physical Machine option missing
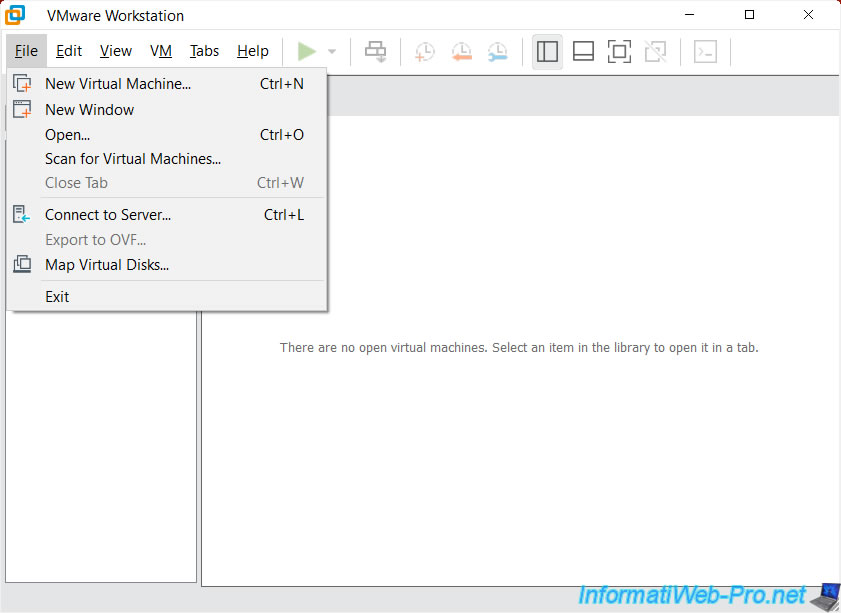
Since VMware Workstation Pro 16.2.3, you will notice that the "Virtualize a Physical Machine" option in the "File" menu has disappeared.
Note : this is most likely due to the temporary removal of VMware vCenter Converter Standalone from February to October 2022.
A new version 6.3.0 of this VMware converter was then released on 10/11/2022.
Note that this option has still not returned on VMware Workstation Pro 17.
2. Disable User Account Control (UAC)
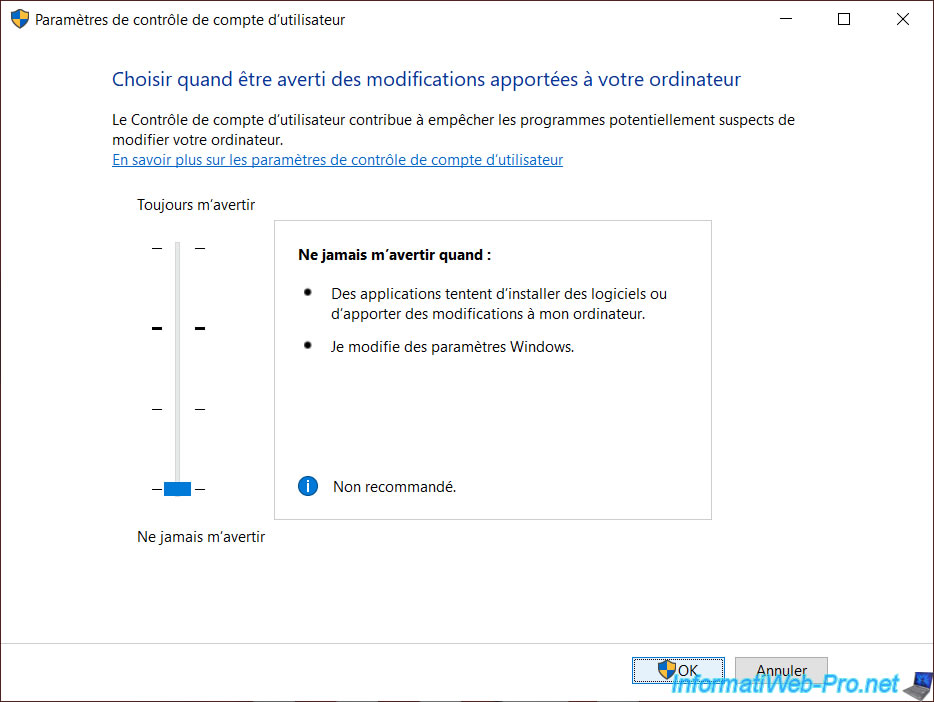
As VMware Workstation Pro previously stated in its "Virtualize a Physical Machine" wizard, starting with Windows Vista, you must disable User Account Control (UAC) and have administrator rights on the physical PC you want to virtualize.
To do this, on Windows 10, search for "account control" in the start menu and click on the "Change User Account Control settings" result.

Disable User Account Control by hovering the slider all the way down and click OK.
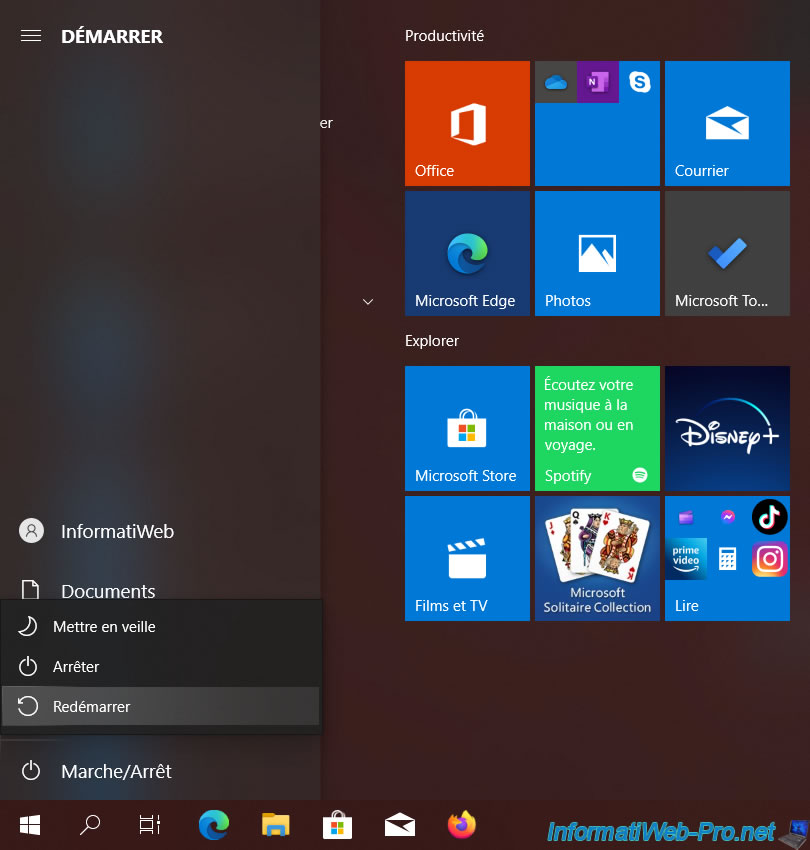
Then, restart your computer for this change to take effect.
3. Virtualize the physical PC from VMware vCenter Converter Standalone
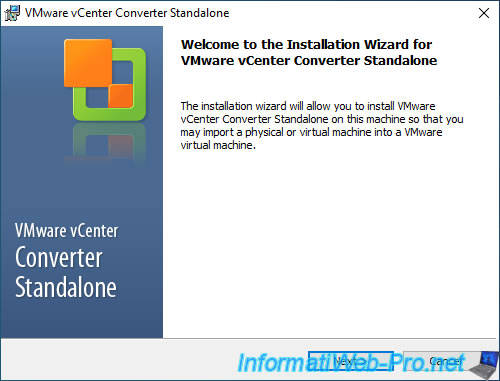
To get started, download and install VMware vCenter Converter Standalone.
Note : the installation mode doesn't matter, although we have chosen "Client-Server installation (advanced)" as requested for the use of P2V from VMware Workstation Pro.
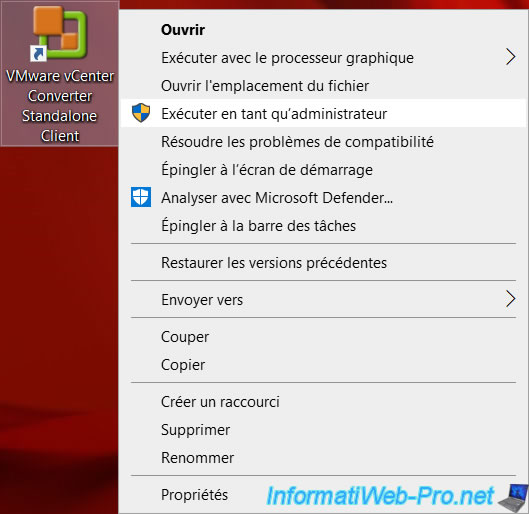
Once VMware vCenter Converter Standalone is installed, right-click "Run as administrator" (even if User Account Control is disabled).
Otherwise, errors might occur while converting the physical PC to a virtual machine.
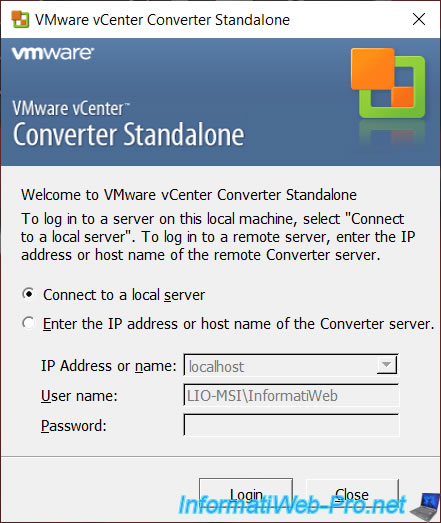
If you installed VMware vCenter Converter Standalone in "Client-Server installation (advanced)" mode, this window will appear.
In this case, select "Connect to a local server" and click on Login.
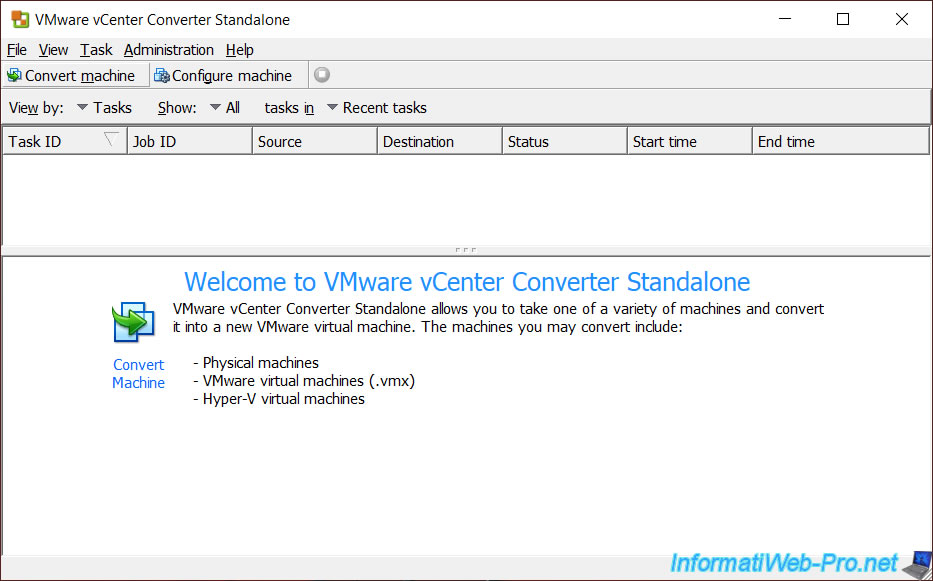
In the "VMware vCenter Converter Standalone" window that appears, click on : Convert machine.
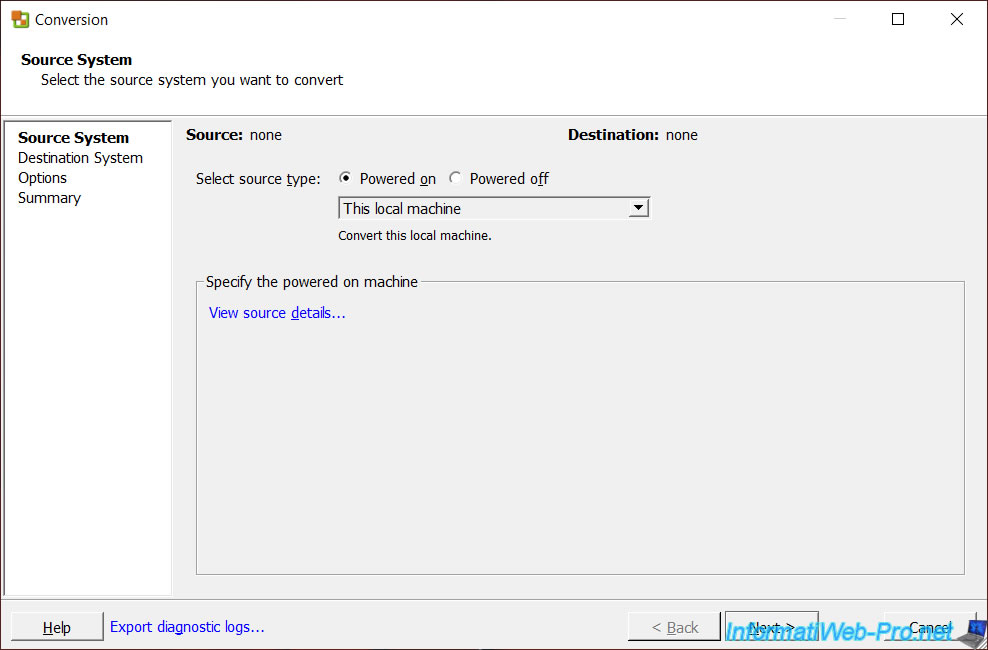
In the conversion wizard that appears, select "Select source type: Powered on", then select "This local machine" from the list.
For information about your physical computer, click on the "View source details" link.
A "Machine Details for [name of physical PC]" window appears with :
- Name : NETBIOS name of the physical machine.
- Machine type : Physical machine. Indicates that the source machine is a physical computer.
- Firmware : the type of firmware / BIOS used. It can be EFI firmware or old BIOS.
- Operating system : name and version of the operating system installed on your physical computer.
- Total size : total storage size of your physical computer.
- Number vCPUs : total number of processor cores (number of processor (CPU) and number of cores they have)
- RAM : amount of RAM in your physical computer.
- Network : physical and virtual network adapters present on your physical computer.
- Source disks/volumes layout : list of hard drives / SSDs in your computer with their sizes and partitions.

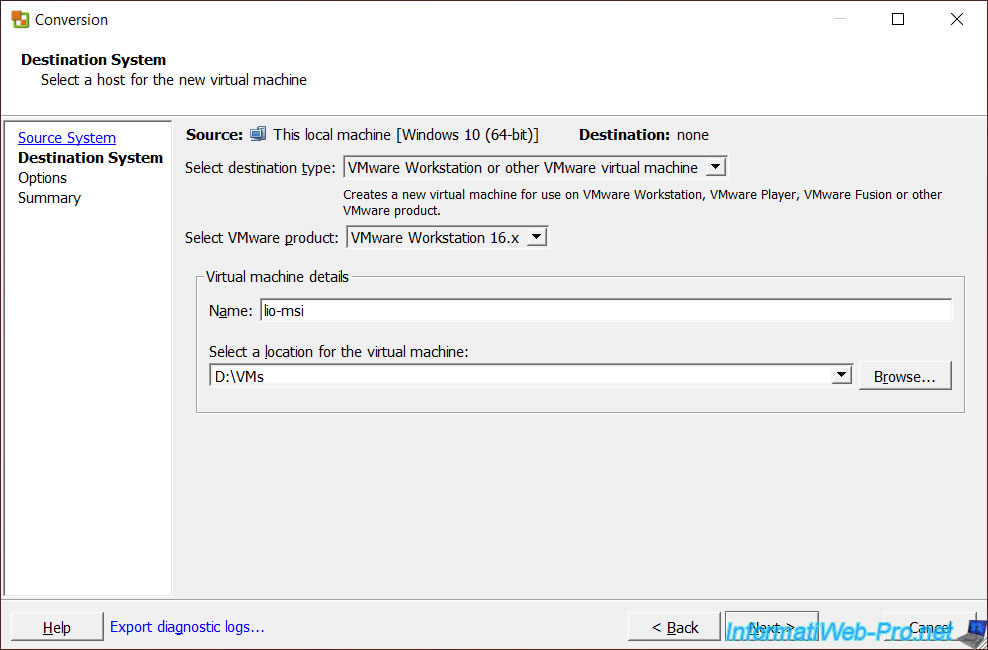
For the Destination System, select :
- Select destination type : VMware Workstation or other VMware virtual machine.
- Select VMware product : VMware Workstation 16.x.
Then, specify :
- Virtual machine details - Name : the name of the virtual machine that will be created.
- Select a location for the virtual machine : the folder where you want to store your virtual machine.
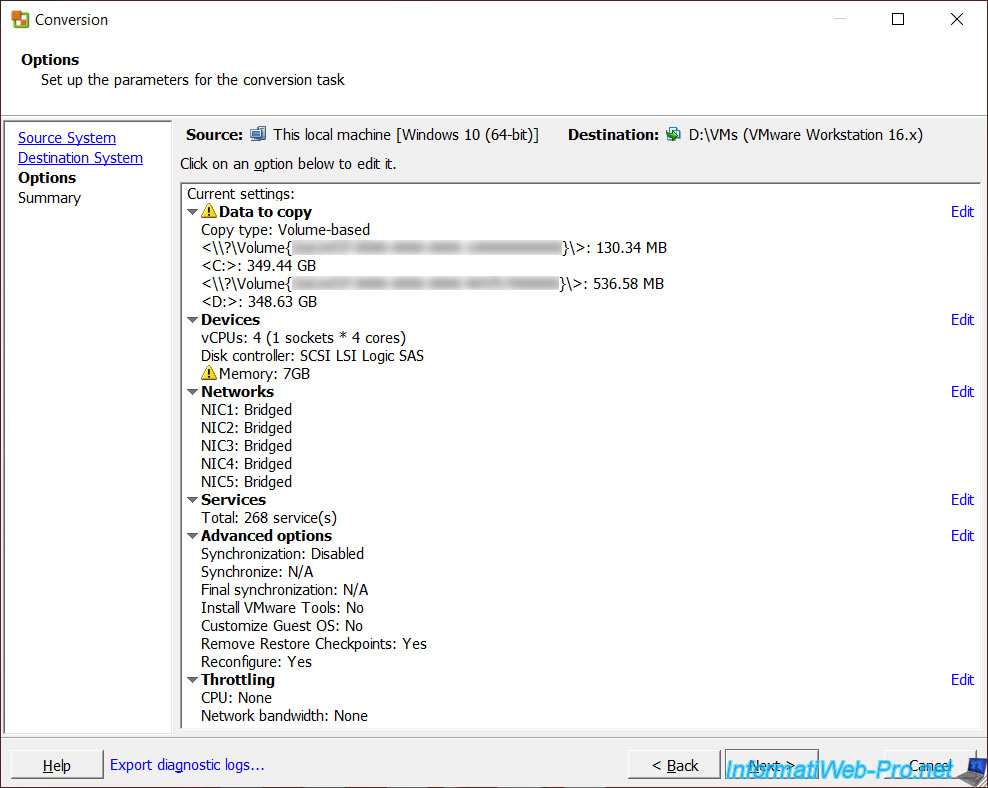
A list of conversion options appears with some warnings.
To begin, click on the "Data to copy" option.
Note : as you may notice by looking at the default values used by this converter, the shortcut that was available in VMware Workstation Pro allowed to virtualize a physical PC by modifying certain values so that the virtual machine could start without problem from the 1st shot.
Which is not the case when you use VMware vCenter Converter Standalone directly, because you will have to modify some values manually (as explained later in this tutorial).
For the "Data to copy" option, you will see this warning.
Plain Text
Warning: The size of the source disks may exceed the capacity of 'D:\VMs'.
Which means the maximum virtual hard disk size exceeds the target physical hard disk size.
This can cause an overprovisioning problem in the event that you try to completely fill the hard disk of the virtual machine that will be created.
Click on the "Advanced" link to the right of the "Data copy type" list.
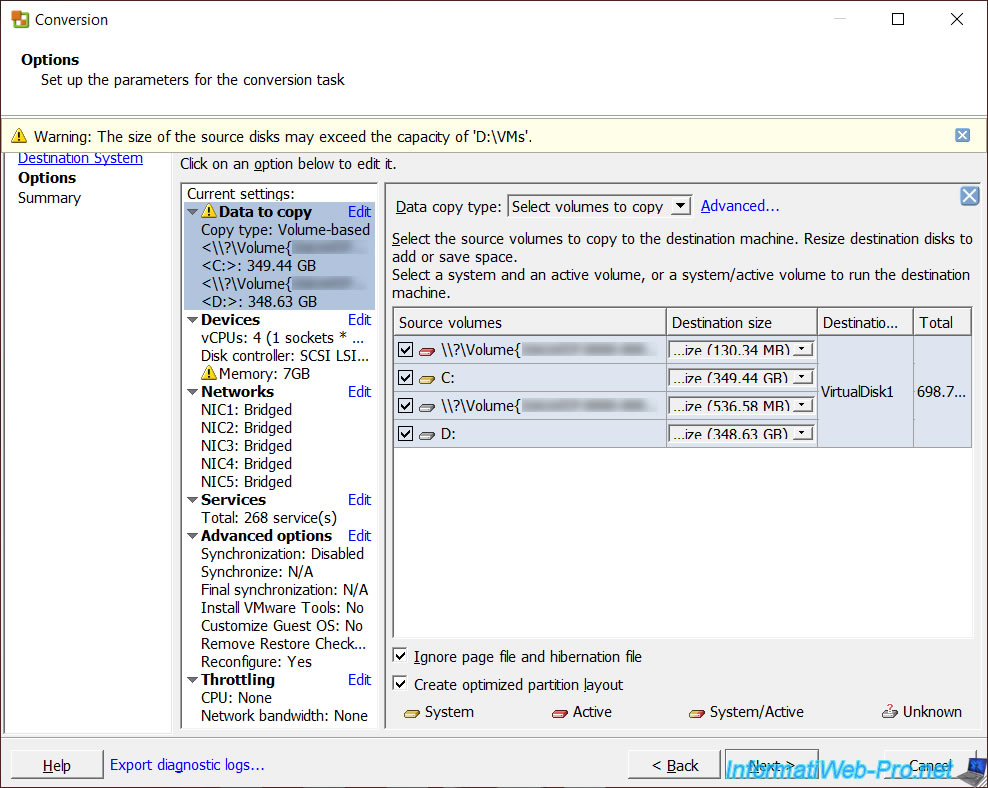
Then, go to the "Destination layout" tab.
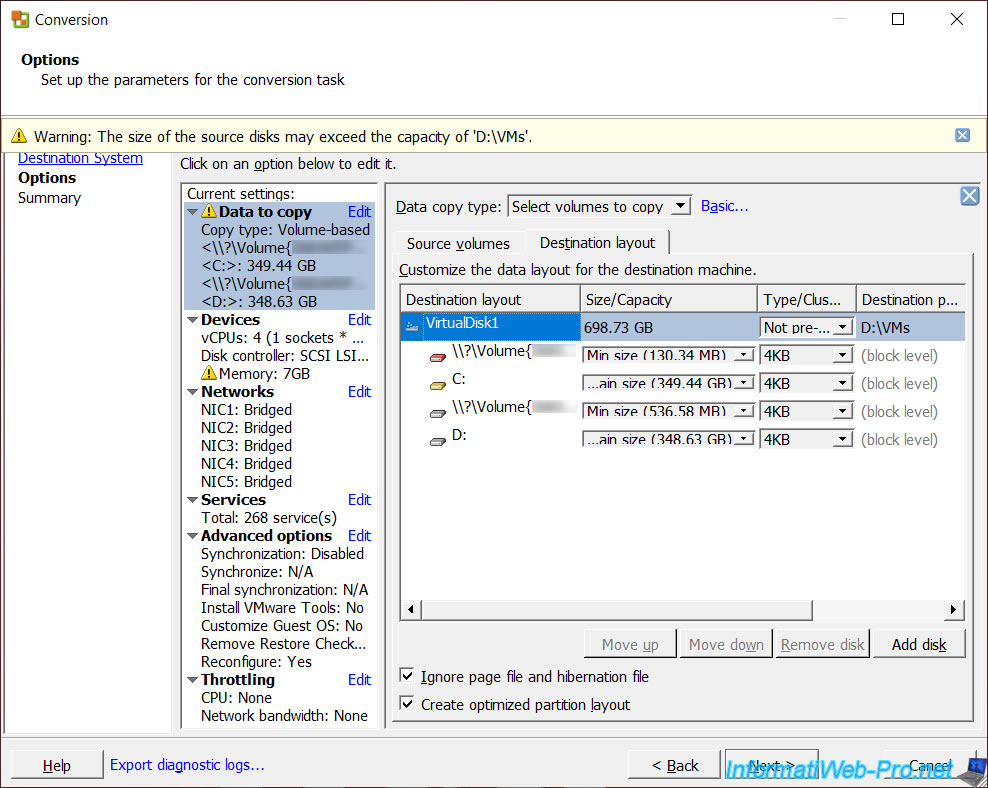
To fix the problem, you can change the size/capacity of the destination partitions. Preferably, only change the size of partitions with a letter.
The other partitions named "\\?\Volume{xxxxx...xxxxx}" correspond to system partitions (EFI partition, recovery partition, ...) used by the operating system installed on your computer.
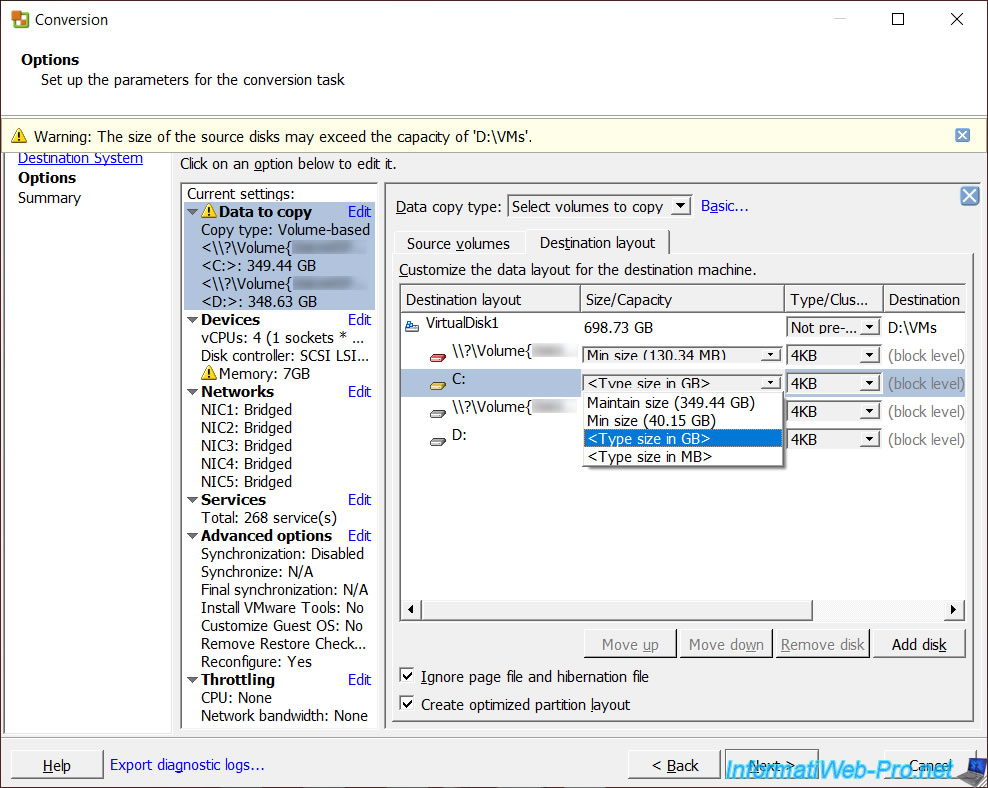
In the "Size/Capacity" list of each partition, you will have the choice between :
- Maintain size (xxx.xx GB) : allows you to maintain the partition size used on your physical PC for the partition that will be created on the virtual hard disk in your virtual machine.
- Min size : allows you to reduce the size of the partition to the minimum size possible to be able to copy the data found there.
So this also indicates how much data is currently on that partition. - <Type size in GB> : allows you to change the size of this partition by manually specifying the new size of this partition in GB.
- <Type size in MB> : ditto, but to indicate a size in MB.
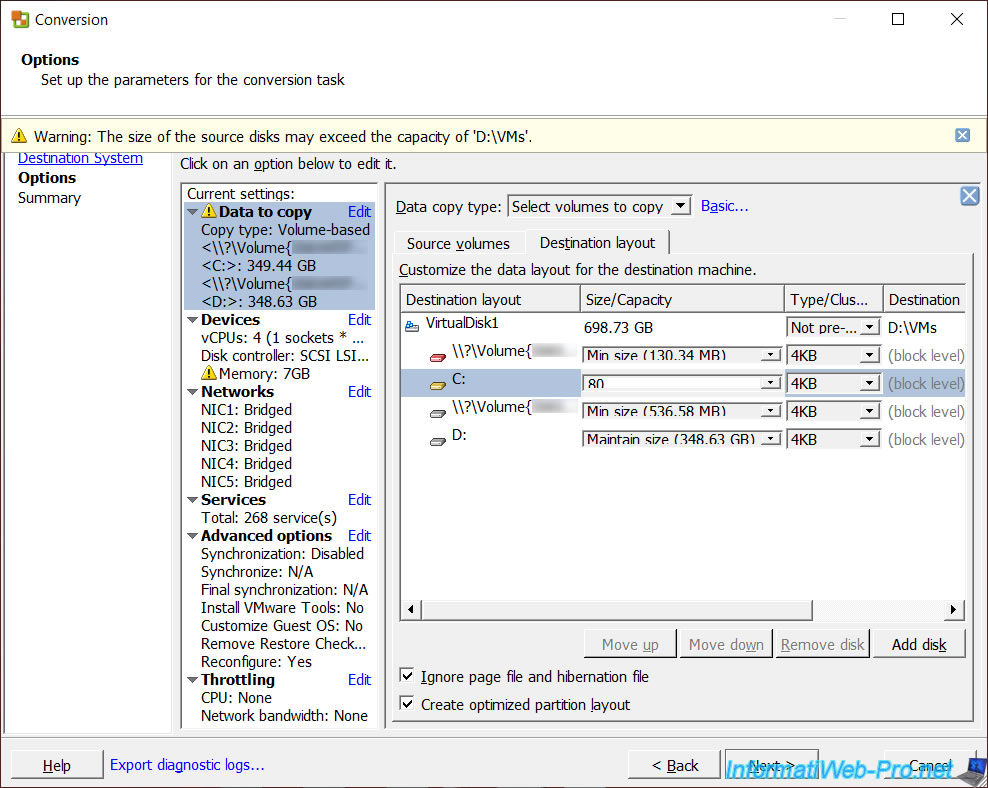
In our case, we are going to reduce the size of our "C:" partition by specifying a size in GB.
For example, type 80 to indicate a size of 80 GB.
Warning : specify a size greater than that indicated by the "Min size ..." option of this same list.
Also keep some margin for creating temporary files or installing updates, for example, on this partition.
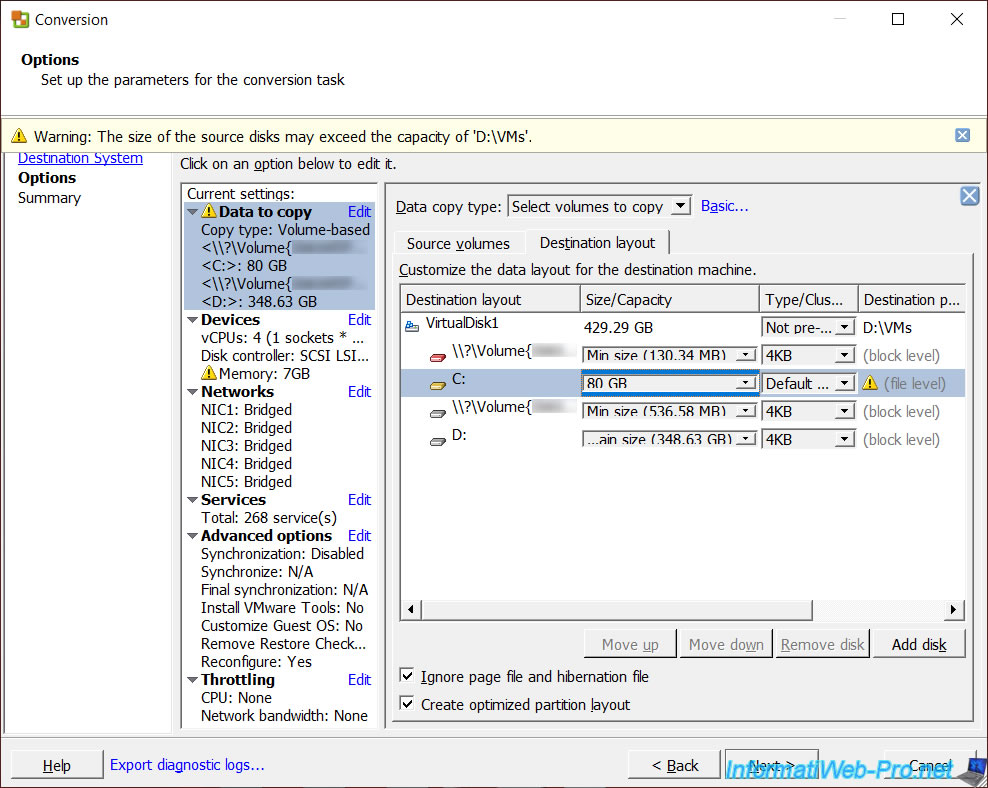
Important : when you change the size of a partition, VMware vCenter Converter Standalone will copy file-level data instead of block copying.
Which, as indicated by this VMware converter, will be slower than when block copying is used.
Note : you could also keep the partition sizes as they are for the moment and then use a live CD to repartition hard disks from the virtual machine that will be created.
This would allow you to benefit from VMware's block copy performance.
Share this tutorial
To see also
-

VMware 3/16/2013
VMware Workstation - Boot a VM on the BIOS / EFI firmware
-

VMware 2/7/2020
VMware Workstation 15 - Installation on Linux
-

VMware 12/24/2021
VMware Workstation 15 - Slice the virtual hard disk of a VM
-

VMware 12/10/2021
VMware Workstation 15.5 - Convert a Virtual PC virtual machine to a VMware VM
You must be logged in to post a comment