- VMware
- 28 August 2020 at 09:38 UTC
-

- 1/3
Usually, when you use a virtualization solution, you create the virtual machines from this program and you install the operating system there.
However, thanks to VMware Workstation and their VMware vCenter Converter Standalone product, you can also virtualize a physical PC to turn it into a virtual machine.
- Install VMware vCenter Converter Standalone
- Virtualize the physical PC from VMware Workstation
- Uninstall old drivers and install VMware Tools
- Reactivate User Account Control (UAC)
- Upgrade the virtual hardware of the virtual machine
- Size of the virtual machine
- Copy the virtual machine to another computer
1. Install VMware vCenter Converter Standalone
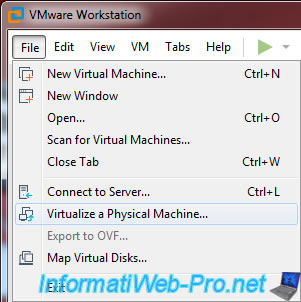
To get started, open the "File" menu of VMware Workstation and click : Virtualize a Physical Machine.
Warning : the "Virtualize a Physical Machine" option is no longer available since version 16.2.3 of VMware Workstation Pro.
Source : VMware Workstation 16.2.3 Pro Release Notes - VMware Docs.
Hence the fact that we used VMware Workstation Pro 16.2.2 for our 2nd test with the new version 6.3.0 of VMware vCenter Converter Standalone.
This is due to the temporary retirement of VMware vCenter Converter Standalone by VMware from February to October 2022.
However, as the new version 6.3.0 of the VMware converter was released on October 11, 2022, this feature will probably reappear in the next versions of VMware Workstation Pro.
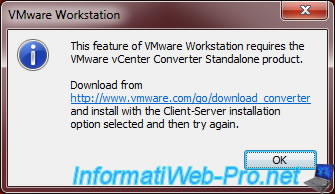
If VMware vCenter Converter Standalone is not installed on your computer, this message will be displayed :
Plain Text
This feature of VMware Workstation requires the VMware vCenter Converter Standalone product.

Download from https://www.vmware.com/go/download_converter and install with the Client-Server installation option selected and then try again.
Important : the link displayed by VMware Workstation no longer works.
To download this program, you will need to use this alternative link : Download VMware vCenter Converter Standalone.
Then, run the downloaded "VMware-converter-en-6.2.0-8466193.exe" file.
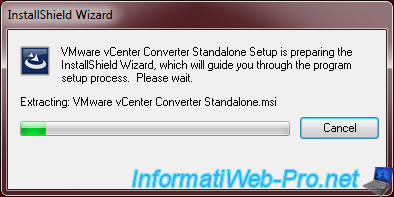
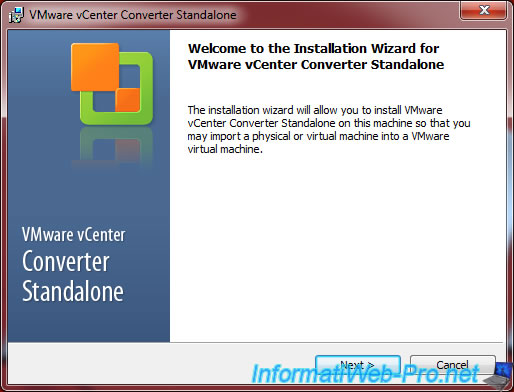
The VMware vCenter Converter Standalone installation wizard appears.
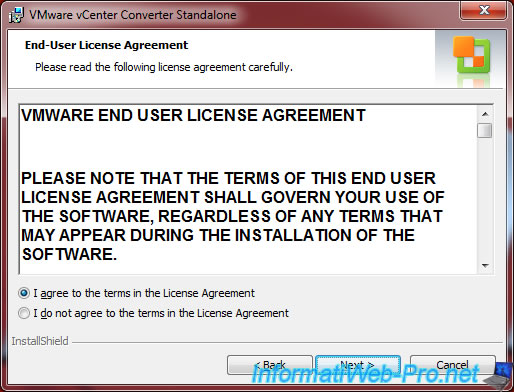
Accept the license agreement.
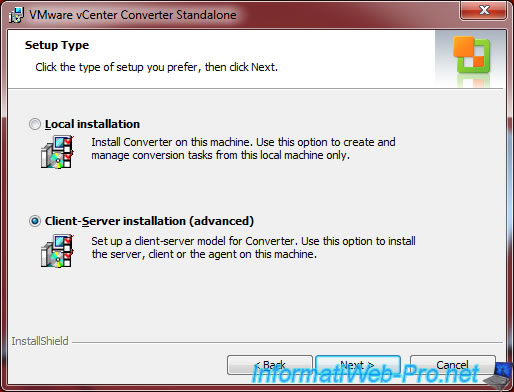
Choose : Client-Server installation (advanced).
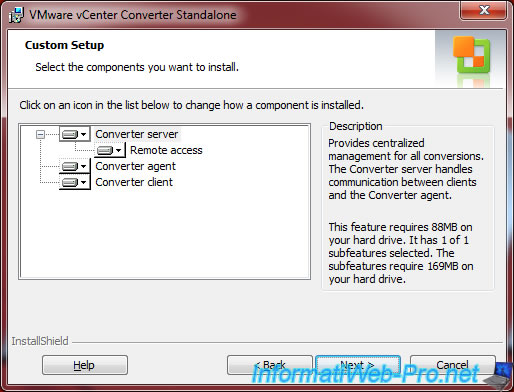
As you can see, several components will be installed :
- Converter server : centralizes conversion management
- Remote access : allows access to the remote conversion server
- Converter agent : allows you to convert the current PC (and thus to choose it as a source) into a virtual machine
- Converter client : this client connects to the conversion server and provides a graphical interface to manage conversions
Then, you will see that VMware vCenter Converter Standalone will use 3 different ports :
- HTTPS Service Port : 433
- HTTP Service Port : 80
- Agent Service Port : 9089
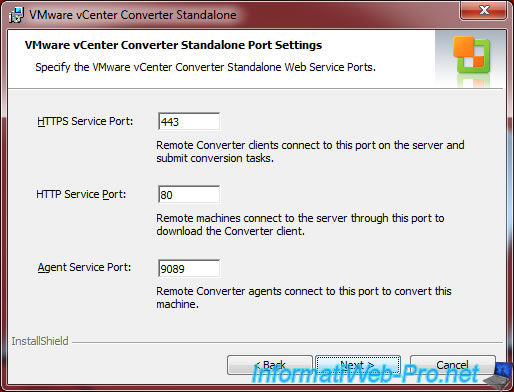
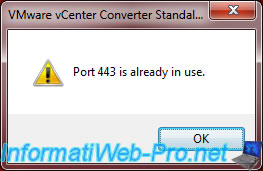
The small problem is that if you want to install VMware vCenter Converter Standalone on the same computer as VMware Workstation, you may receive the "Port 443 is already in use" error.
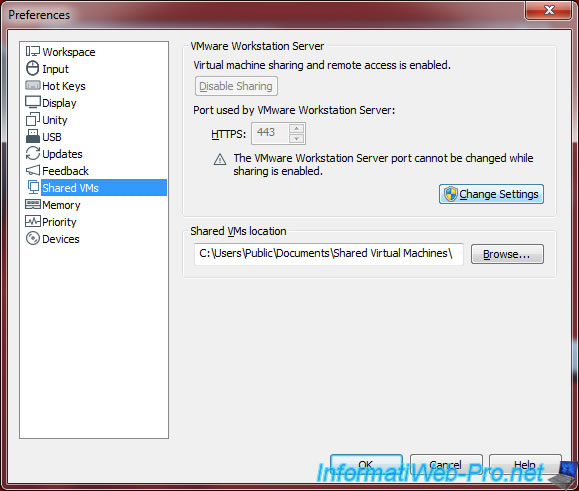
If so, go to VMware Workstation's "Shared VMs" section and disable VM sharing.
To do this, click on "Change Settings" then on : Disable Sharing.
OR change the port shown here so that the VMware Workstation Server doesn't conflict with VMware vCenter Converter Standalone.
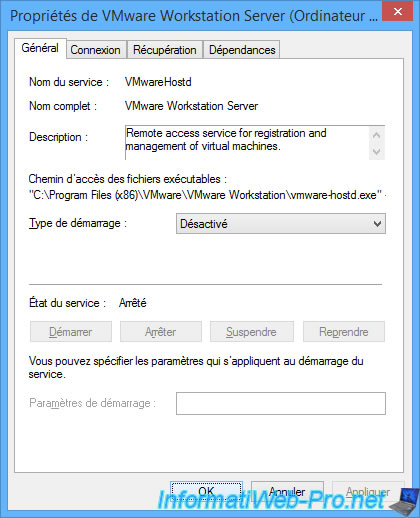
Important : in the version 16.0 only of VMware Workstation, this feature no longer exists, but the associated "VMware Workstation Server" service (which corresponds to the "vmware-hostd.exe" process) still exists and is configured to start automatically when Windows starts up .
You can therefore no longer disable this sharing of virtual machines in the settings of VMware Workstation.
To solve the problem with this new version of VMware Workstation, you have 2 possibilities.
The 1st solution is to open notepad as administrator and edit this file : C:\ProgramData\VMware\hostd\proxy.xml
In this file, change the line "<httpsPort>443</httpsPort>" to "<httpsPort>-1</httpsPort>".
Then, restart the "VMware Workstation Server" service from Windows.
Source : [BUG] Service uses port 443

The 2nd solution is to stop the "VMware Workstation Server" service and change the startup type to "Disabled".
This is what happened when you turned off virtual machine sharing in older versions of VMware Workstation.
As a reminder : this service has become unnecessary since this feature has been retired from VMware Workstation.
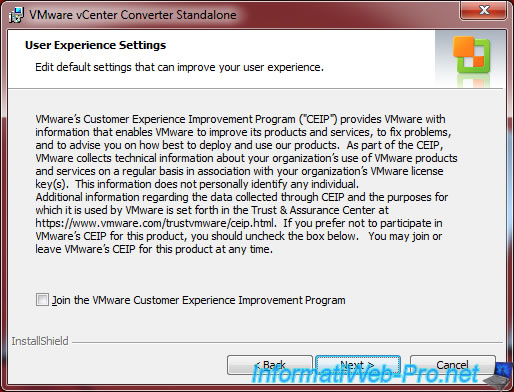
Join the VMware Customer Experience Improvement Program (CEIP) if you wish.
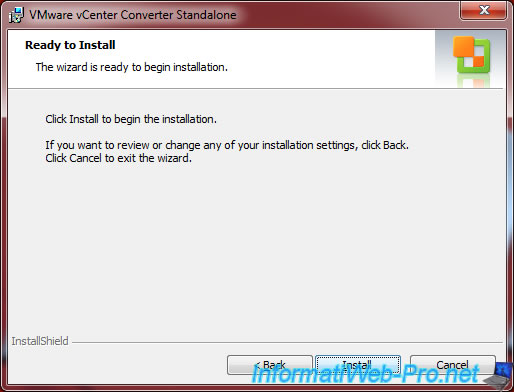
Click Install.
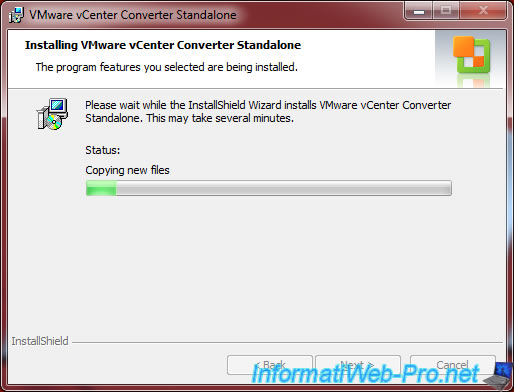
Wait while installing VMware vCenter Converter Standalone.
At the end of the installation, it's possible that a warning "Could not start service" appears.
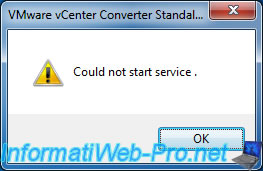
If so, go to Windows Services and look for the "VMware vCenter Converter Standalone Agent" service in the list and start it.
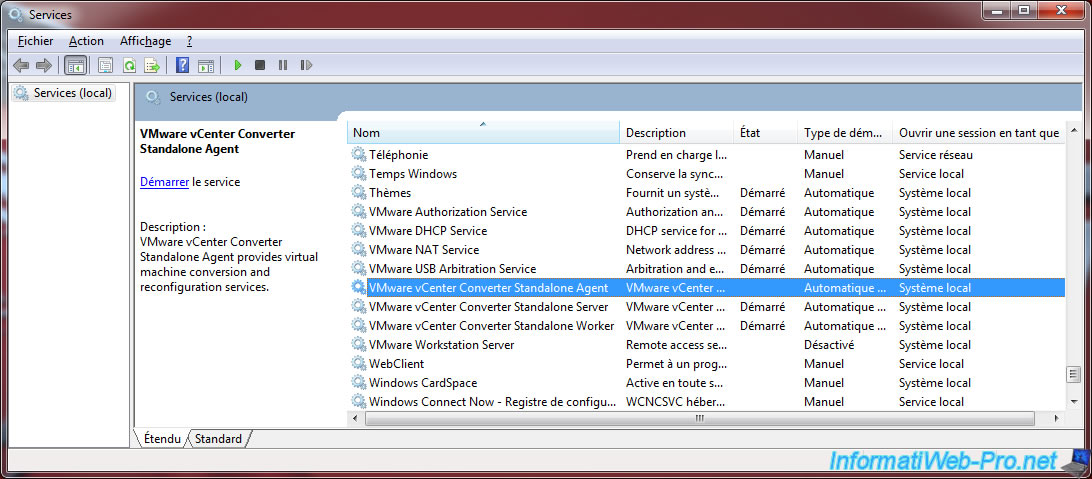
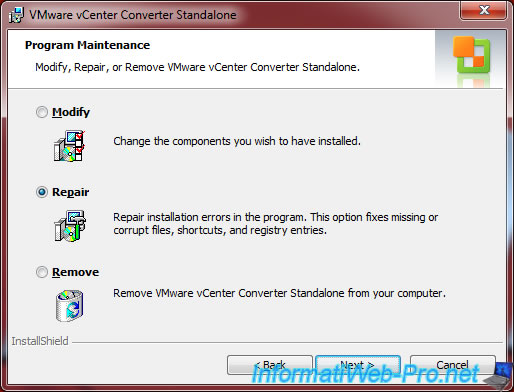
Always if you had this warning, restart the installation of VMware vCenter Converter Standalone and choose the option "Repair" if these choices are available.
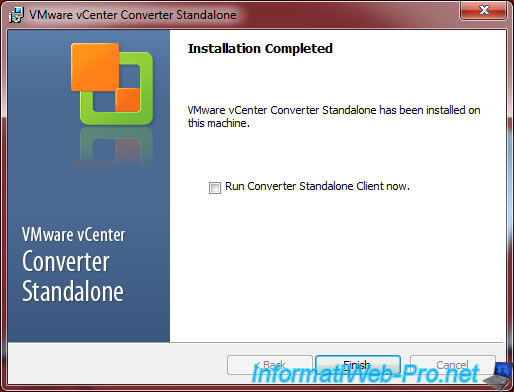
Once installed, uncheck the "Run Converter Standalone Client now" box and click Finish.
2. Virtualize the physical PC from VMware Workstation
To virtualize your physical PC where you just installed VMware vCenter Converter Standalone, launch VMware Workstation and click : File -> Virtualize a Physical Machine.

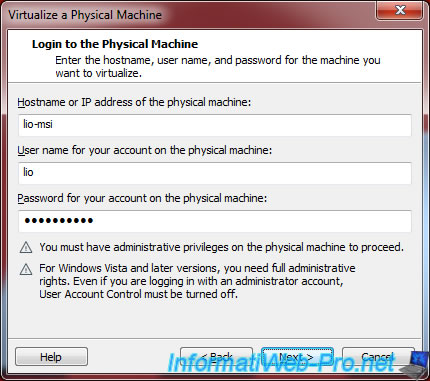
A "Virtualize a Physical Machine" window appears.
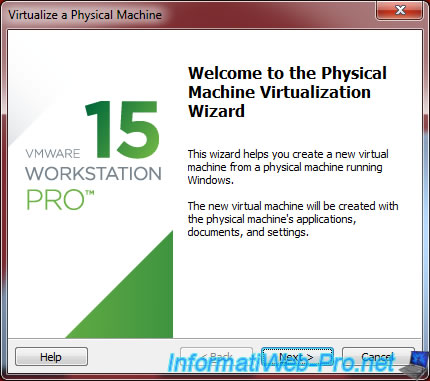
Specify :
- the name or IP address of the physical PC to virtualize (where you installed the vCenter Converter)
- a user account with administrator rights on this computer
- his password. Warning : the account must have a password, otherwise, it doesn't work.
Warning : as specified by VMware, you must have administrator rights on the desired machine and if this computer is running Windows Vista or later, you will also need to disable the Windows User Account Control (UAC).
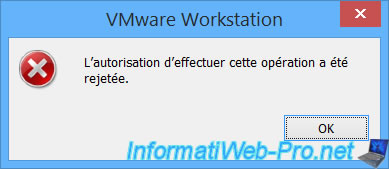
If the error "Permission to perform this operation was denied" appears, your account does not have administrator rights.
The easiest way to resolve this problem is to enable the "Administrator" account present by default on Windows and add a password to this account.
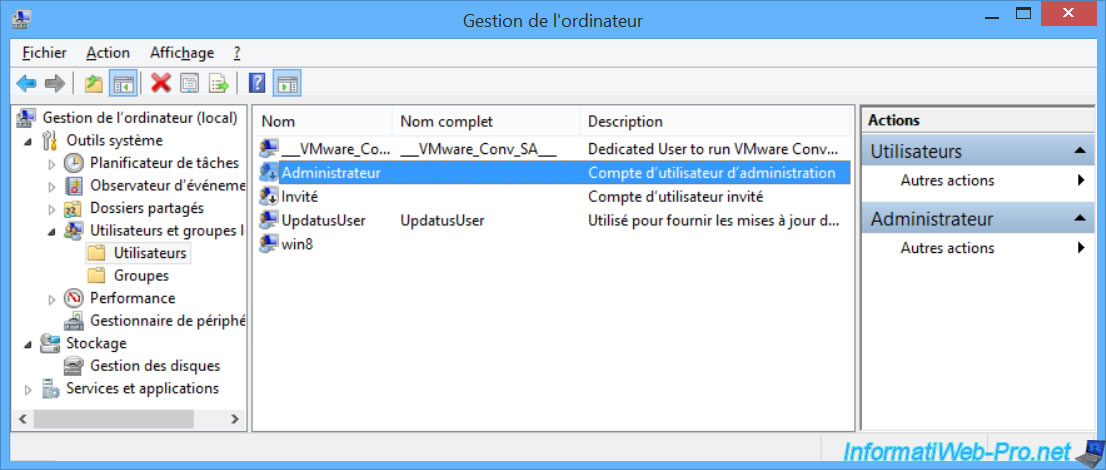
To use the Administrator account, type this.
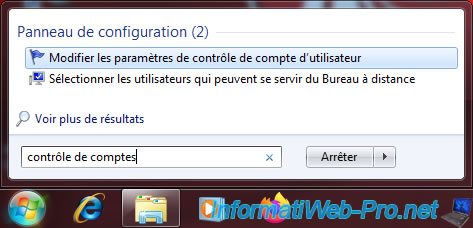
To do this, in the Windows Start menu, look for "Account Control" and click "Change User Account Control settings".
Move the cursor all the way down (which is obviously not recommended by Windows) and click OK.
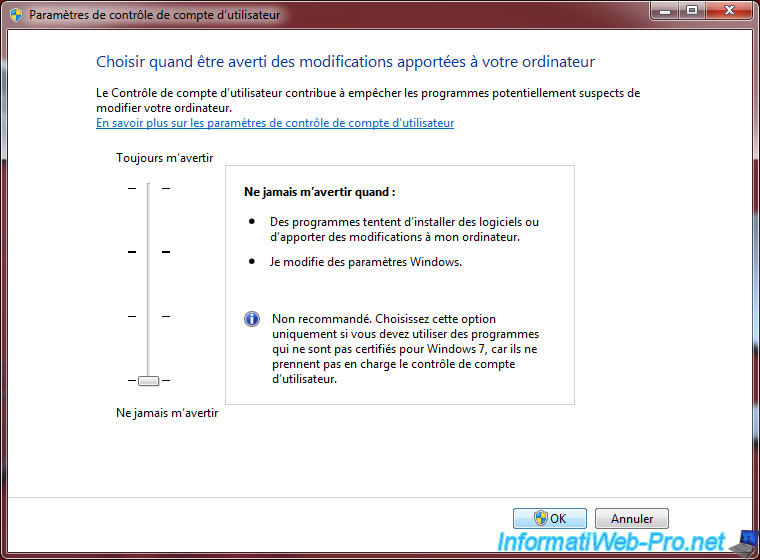
As Windows will tell you through the notifications, you will need to restart the computer for the user account control to be disabled.
Click on it and restart the computer.

Restart the previously launched wizard and click Next at this step.

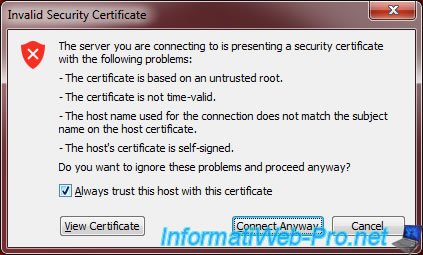
Ignore the error caused by using VMware self-signed SSL certificates by checking the "Always trust this host with this certificate" box and clicking : Connect Anyway.
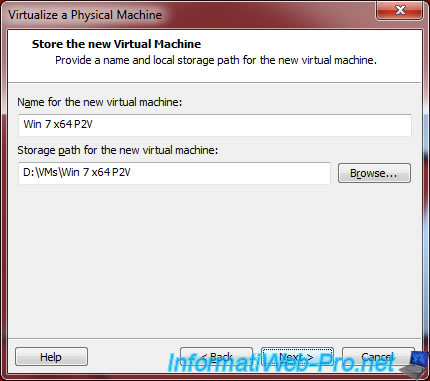
Choose a name and location to store the virtual machine that will be created from your physical PC.
Note : P2V means Physical to Virtual.
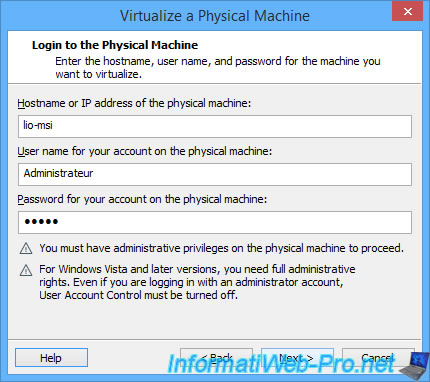
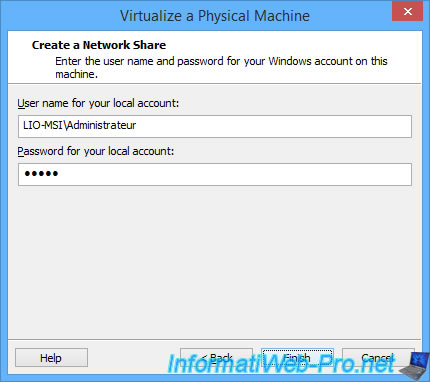
Provide the same credentials as before for the network share.
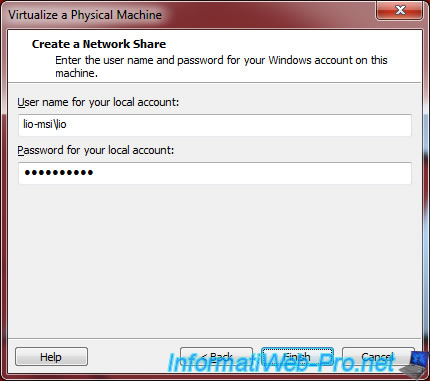
If you had used the Administrator account at the previous step, reuse it here.
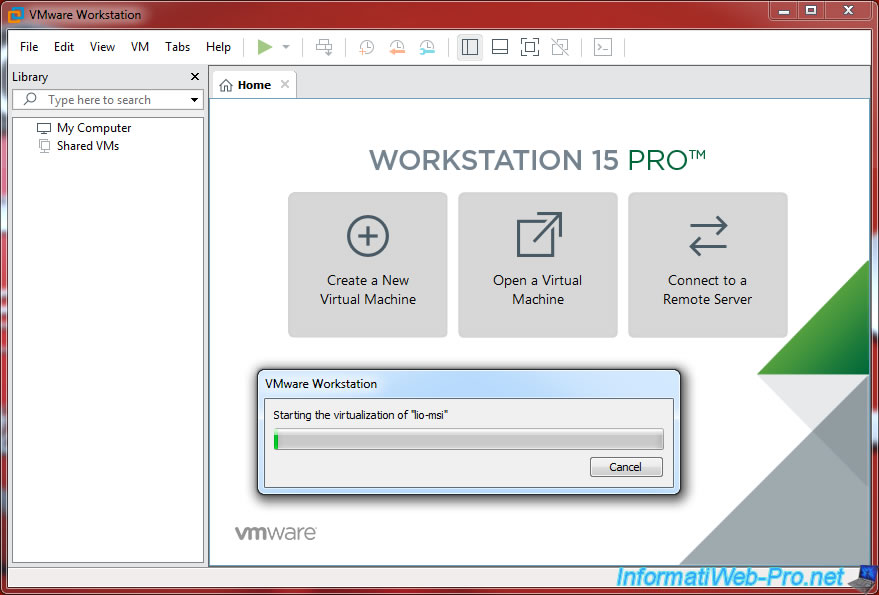
Wait during the virtualization process of your physical PC.
Note that this process can obviously take a lot of time depending on how much data is on your physical PC.
Different statuses will appear during this virtualization process :
- Starting the virtualization of "[name of the physical PC]"
- Copying the disk data of "[name of the physical PC]"
- Configuring "[name of the physical PC]" as a new virtual machine


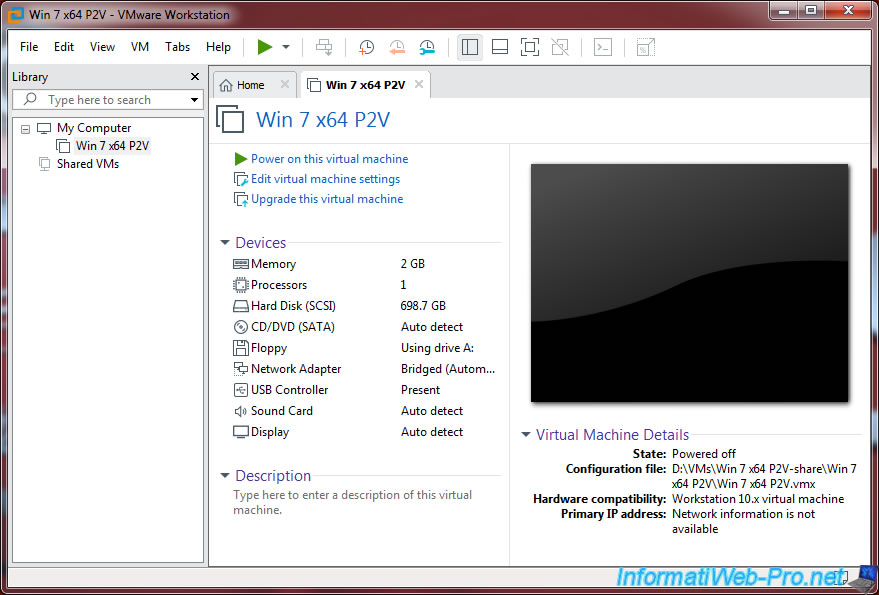
After a while, your virtual machine will appear in VMware Workstation.
Share this tutorial
To see also
-
VMware 3/16/2013
VMware Workstation - Boot a VM on the BIOS / EFI firmware
-
VMware 2/7/2020
VMware Workstation 15 - Installation on Linux
-
VMware 12/24/2021
VMware Workstation 15 - Slice the virtual hard disk of a VM
-
VMware 12/10/2021
VMware Workstation 15.5 - Convert a Virtual PC virtual machine to a VMware VM

You must be logged in to post a comment