Virtualize a physical computer (P2V) with VMware vCenter Converter Standalone for VMware Workstation 17 or 16
- VMware
- 09 June 2023 at 12:33 UTC
-

- 2/4

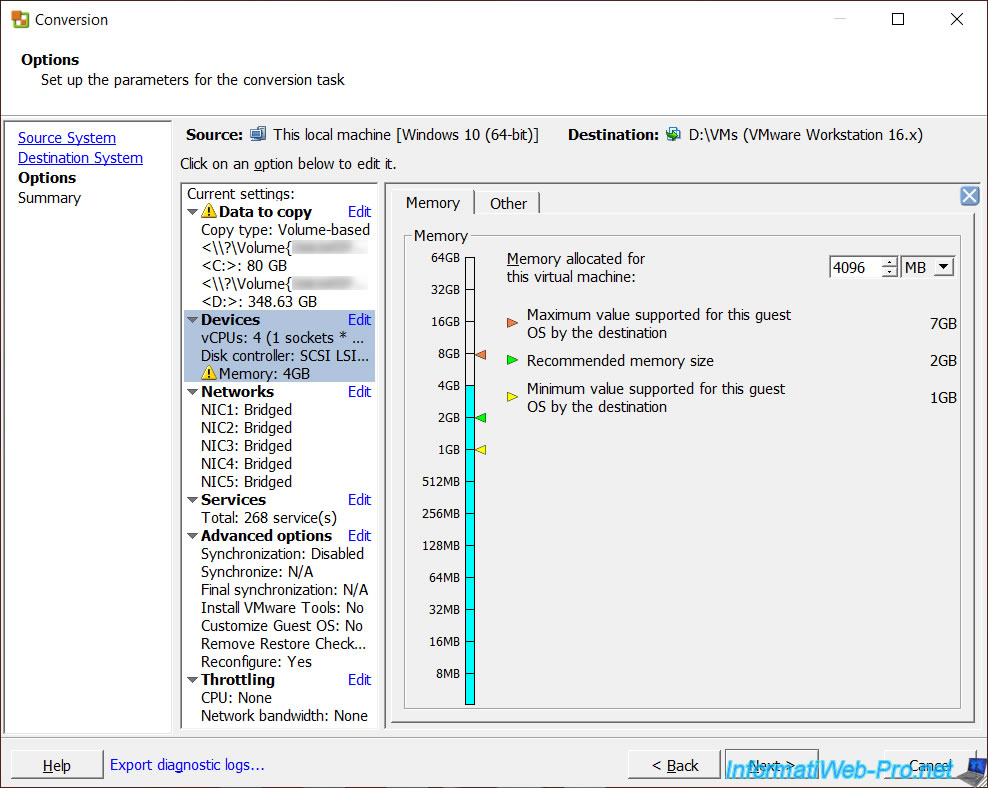
By default, the VMware Converter allocates too much RAM because it bases itself on the amount of RAM on the physical PC.
However, it's necessarily impossible to allocate all of your physical RAM to your virtual machine.
Hence the warning that appears in the "Devices" section (accessible via the left column).
Plain Text
The memory allocated for the destination machine is less than the source memory setting. This is the maximum supported for the guest operating system by the destination host.

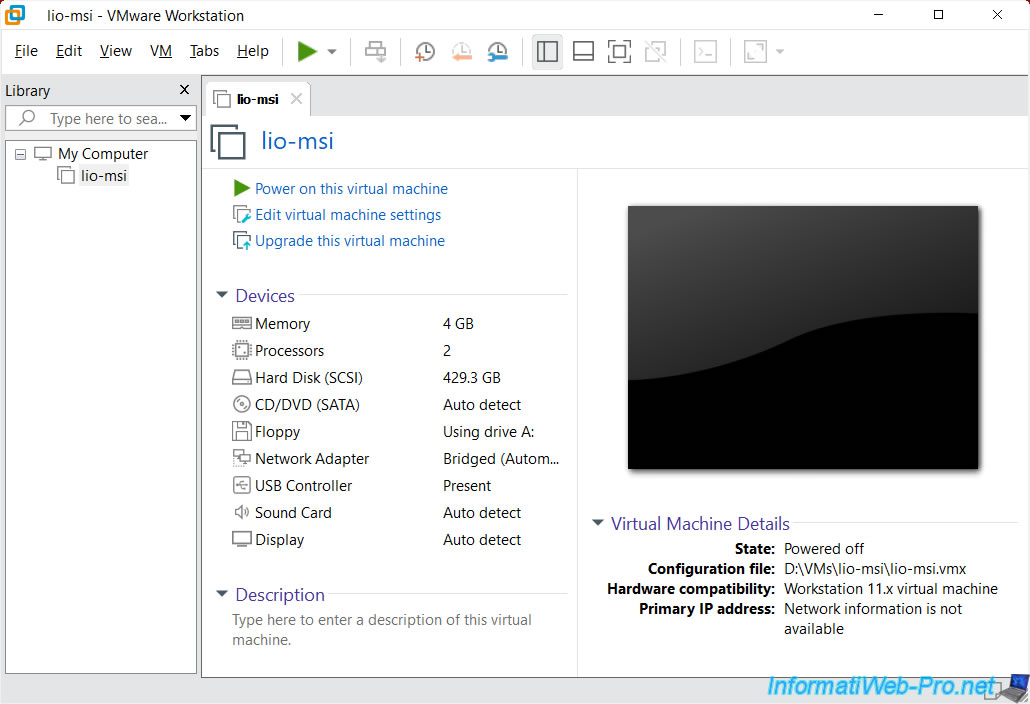
In our case, we have allocated only 4GB (4096 MB) of random access memory (RAM) to our future virtual machine on Windows 10.
In the "Other" tab, you can also change the number of processor cores that will be usable by your virtual machine.
Again, the VMware converter allocates all available cores on your physical PC to your virtual machine.
Which obviously can't work.
In our case, the converter has therefore allocated the 4 available cores.
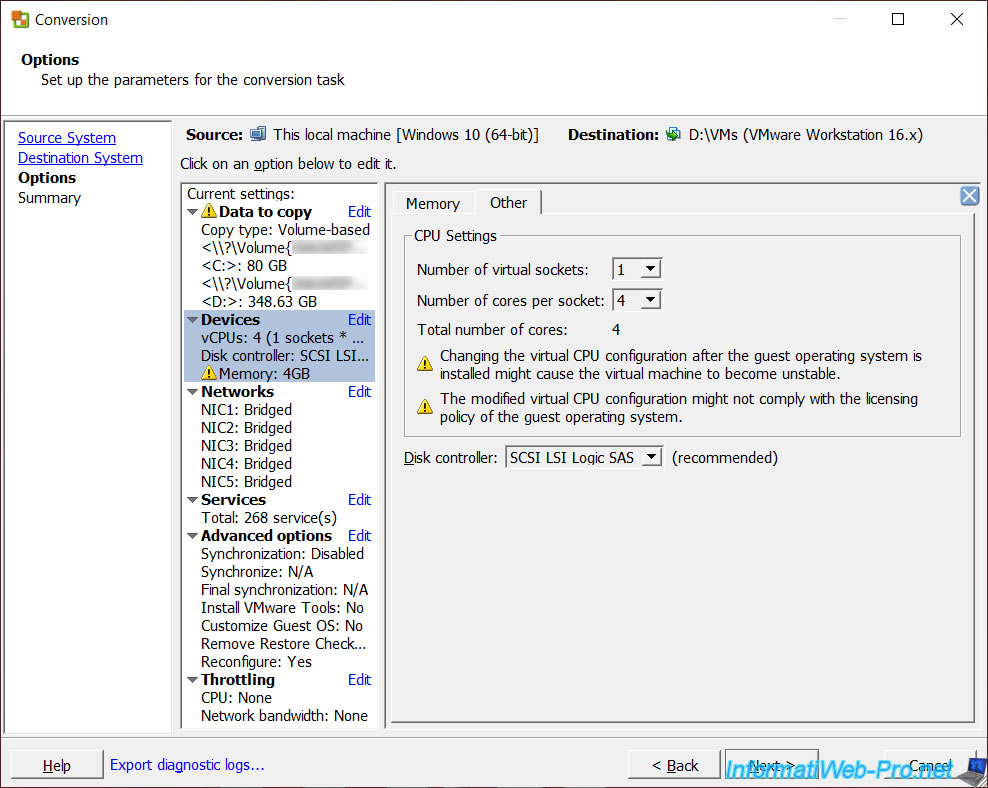
So that Windows 10 can work properly without freezing our physical PC, we have allocated only 2 cores to it.

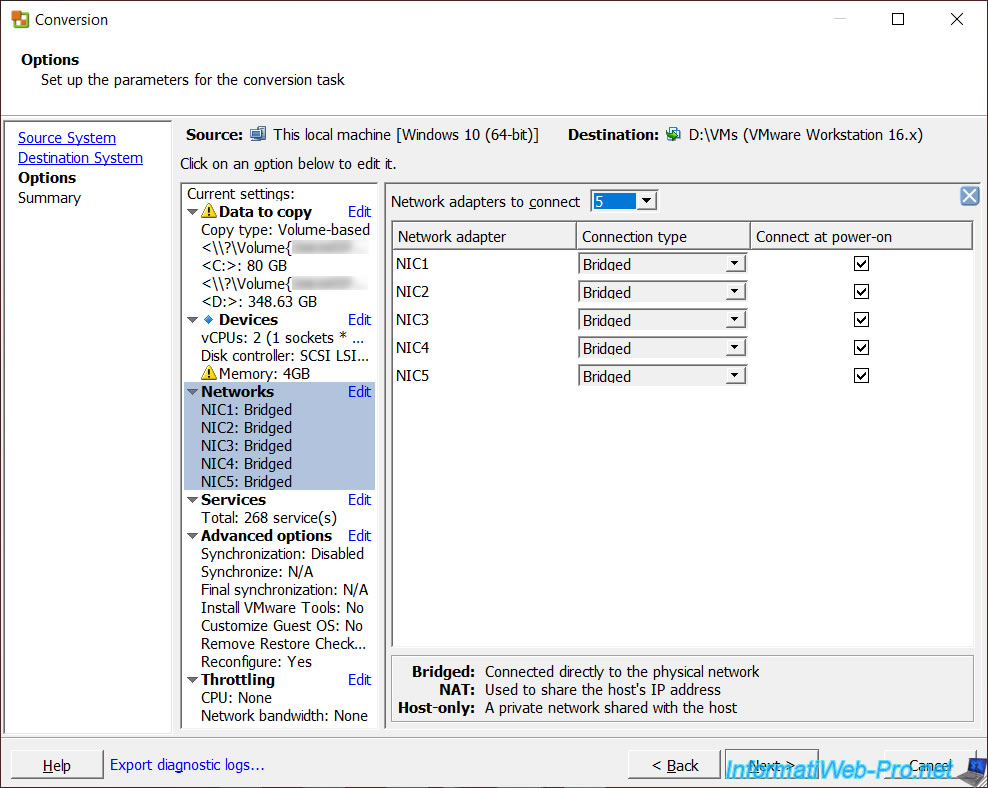
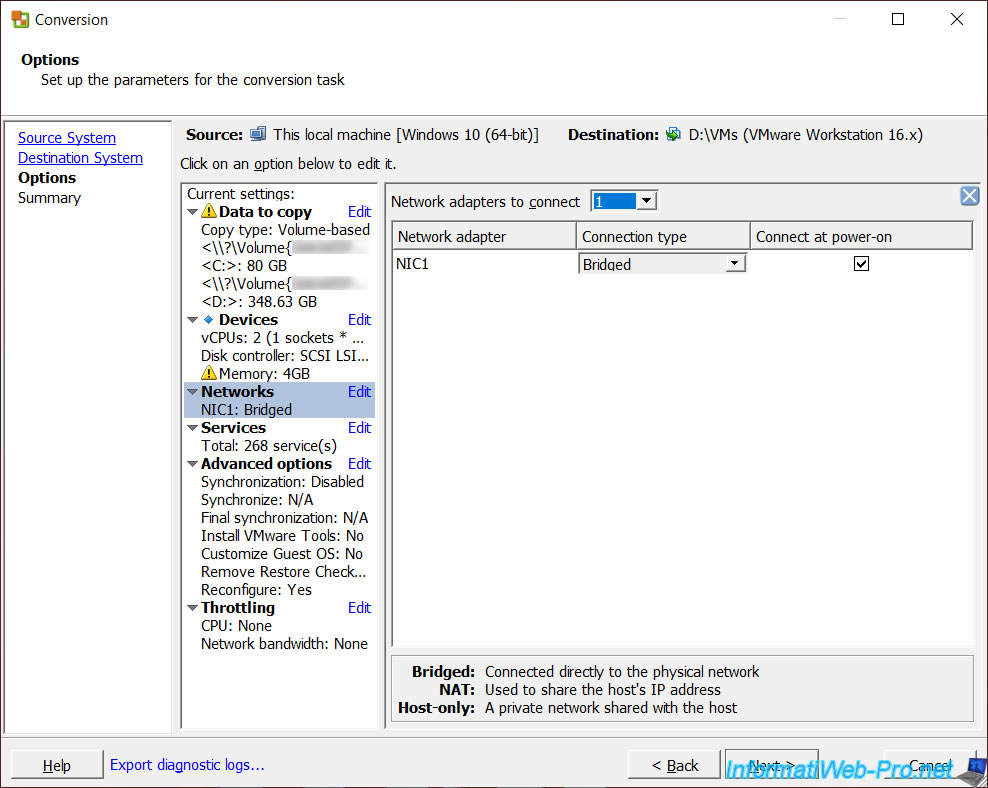
In the "Networks" section, you will see that, by default, VMware vCenter Converter Standalone wants to create more network adapters than the number of physical network adapters actually present on your physical computer.
In our case, he wants to create 5 by default.
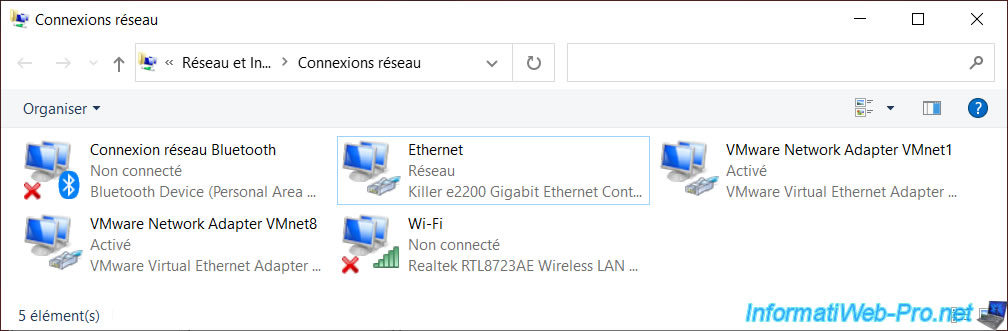
To understand where this value comes from, just look at the number of network connections available on your physical computer.
As you can see, our physical computer has 5 network connections :
- Bluetooth network connection : a virtual network card due to the Bluetooth driver installed on our physical computer.
- Ethernet : the wired (Ethernet) network adapter of our physical computer.
- VMware Network Adapter VMnet1 and VMnet8 : virtual network adapters created by VMware Workstation Pro (and potentially others, created later via the Virtual Network Editor).
- Wi-Fi : the wireless (Wi-Fi) network adapter of our physical computer.
Which means that only 2 network cards physically exist in our physical computer.
For your virtual machine to access the network, only one network adapter is needed.
So, select the number "1" in the list and change the network access mode (Connection type) if you wish.
By default, it's configured in "Bridged", so your virtual machine will appear on your physical network as if it were a physical computer.
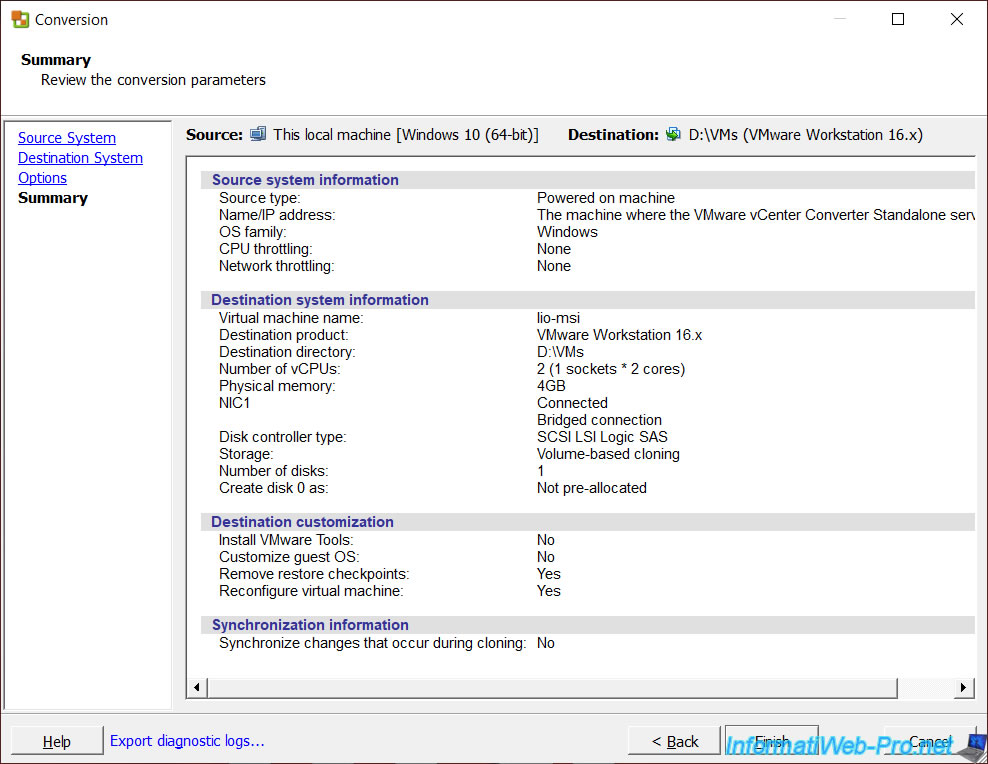
A summary of the conversion settings appears.
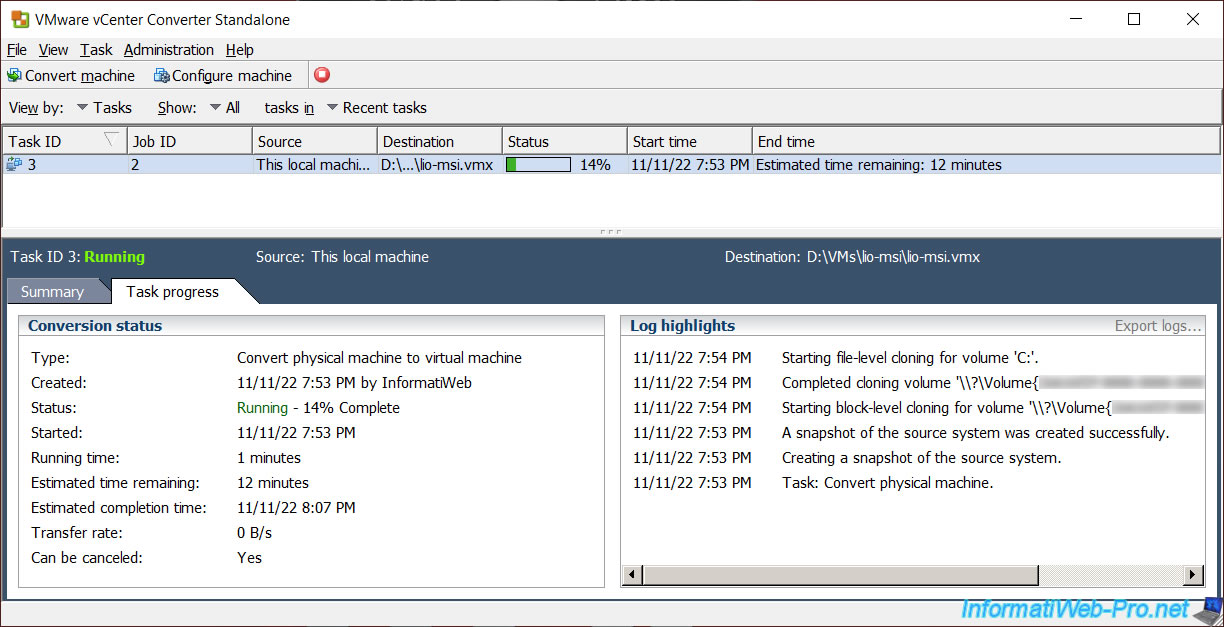
The virtualization of your physical PC begins.
Plain Text
Type : Convert physical machine to virtual machine.
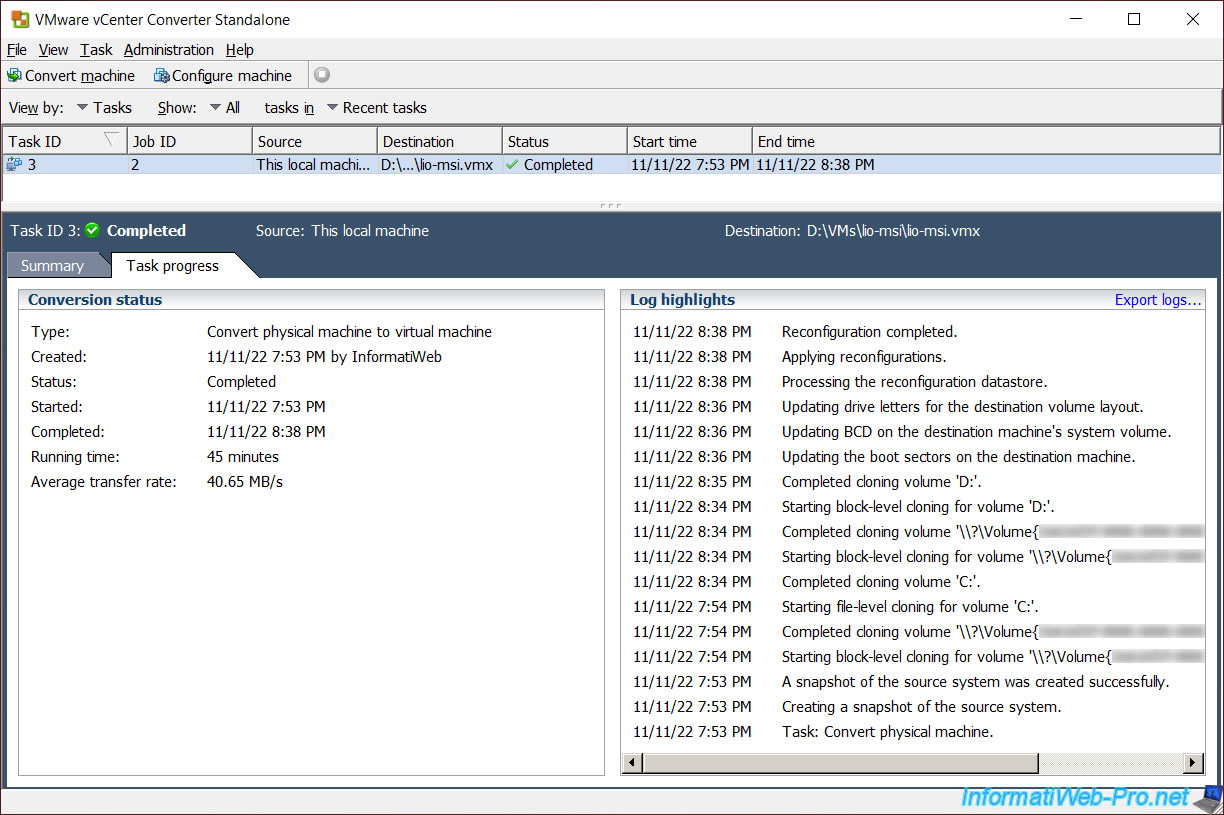
Once the conversion and copying of the partitions (volumes) is complete, you will see that some reconfigurations will take place, including modifications allowing the virtual machine to boot correctly on the operating system that is there.
A folder with the name of your virtual machine will have been created on your physical computer.
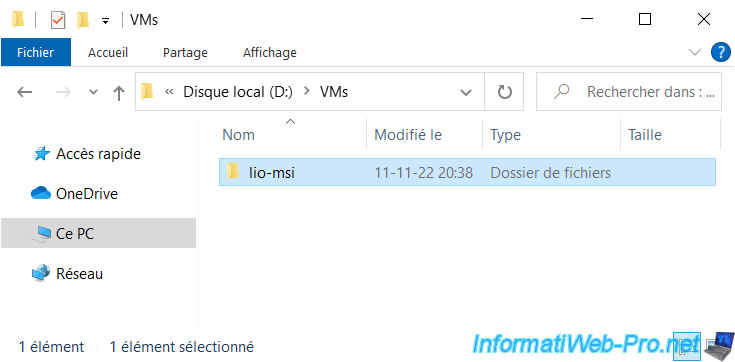
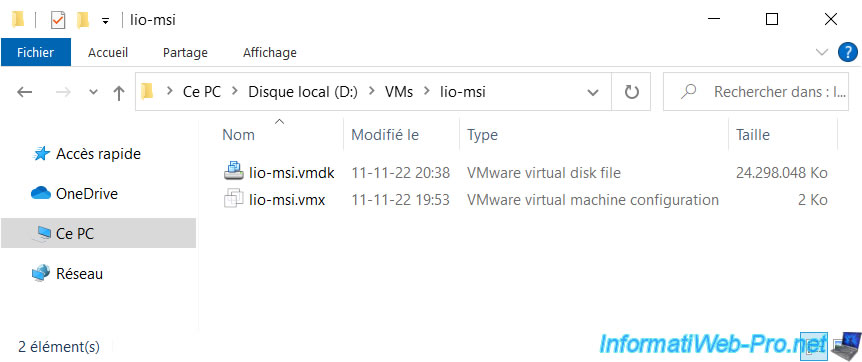
In this folder, you will only find :
- .vmdk : the virtual hard disk containing the data of your physical hard disk.
- .vmx : the configuration file of your virtual machine.
The other ".vmxf" files, the log files, ... of this virtual machine will be created automatically by VMware Workstation Pro when you start it for the 1st time.
Double click on the ".vmx" configuration file of your virtual machine to open it with VMware Workstation Pro.
Your virtual machine appears in VMware Workstation Pro.
4. Uninstall old drivers from your physical PC copied into your VM
To start, you need to uninstall the old drivers of your physical PC that are in your virtual machine.
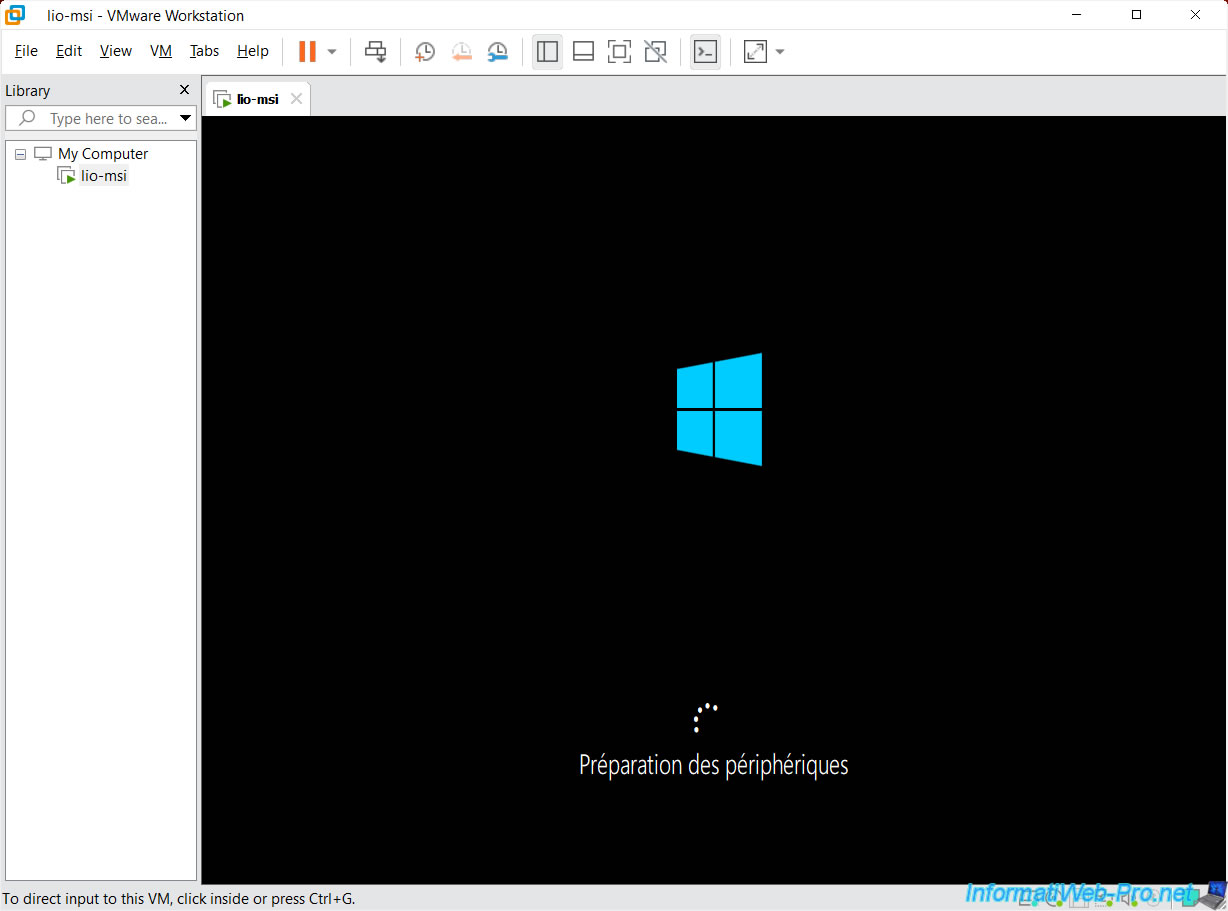
To do this, start your virtual machine.

The virtual machine starts and detects that the hardware has changed.
Hence the appearance of the "Preparing devices" message when Windows 10 starts.
Note : this message may vary from one version of Windows to another.
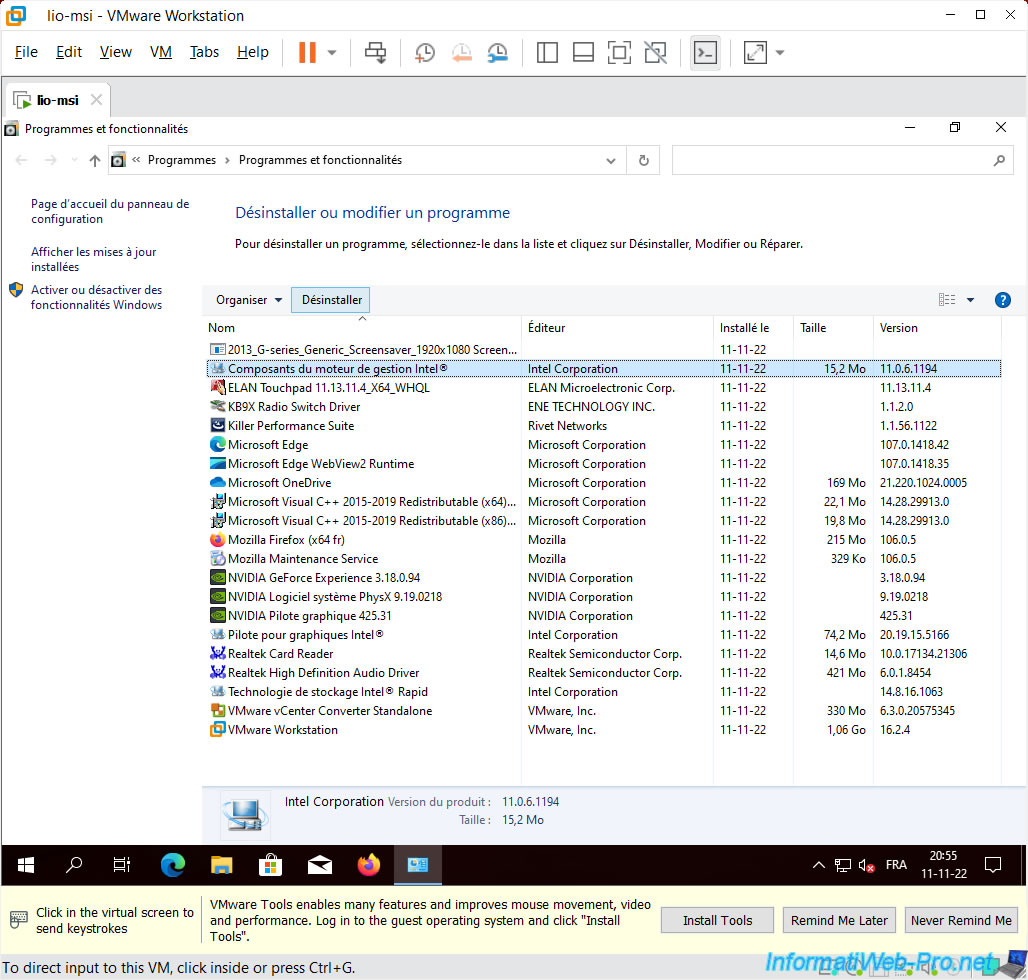
Open the control panel and click on "Programs : Uninstall a program".
To begin, uninstall all drivers that affect your physical PC.
Generally, these are provided by Intel, NVIDIA, Realtek, ...
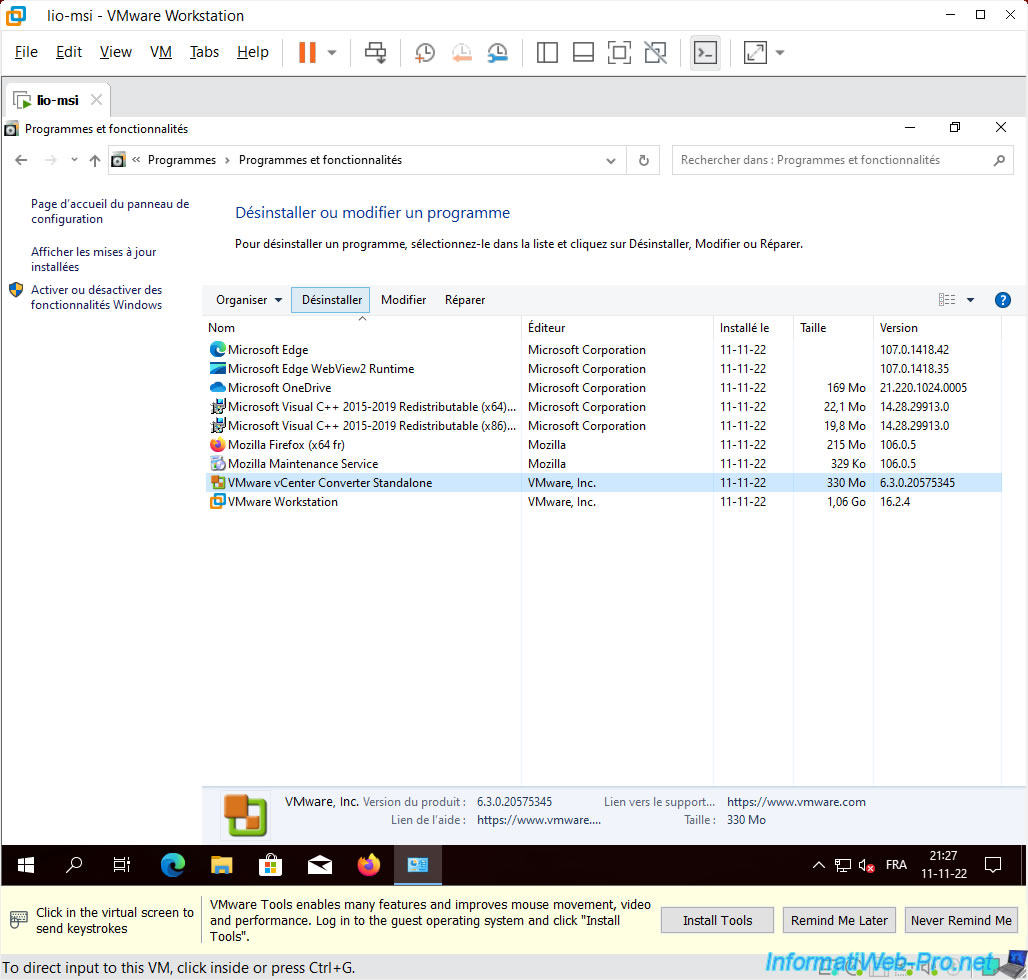
Once the drivers are uninstalled, also uninstall these VMware products present in your virtual machine :
- VMware vCenter Converter Standalone
- VMware Workstation
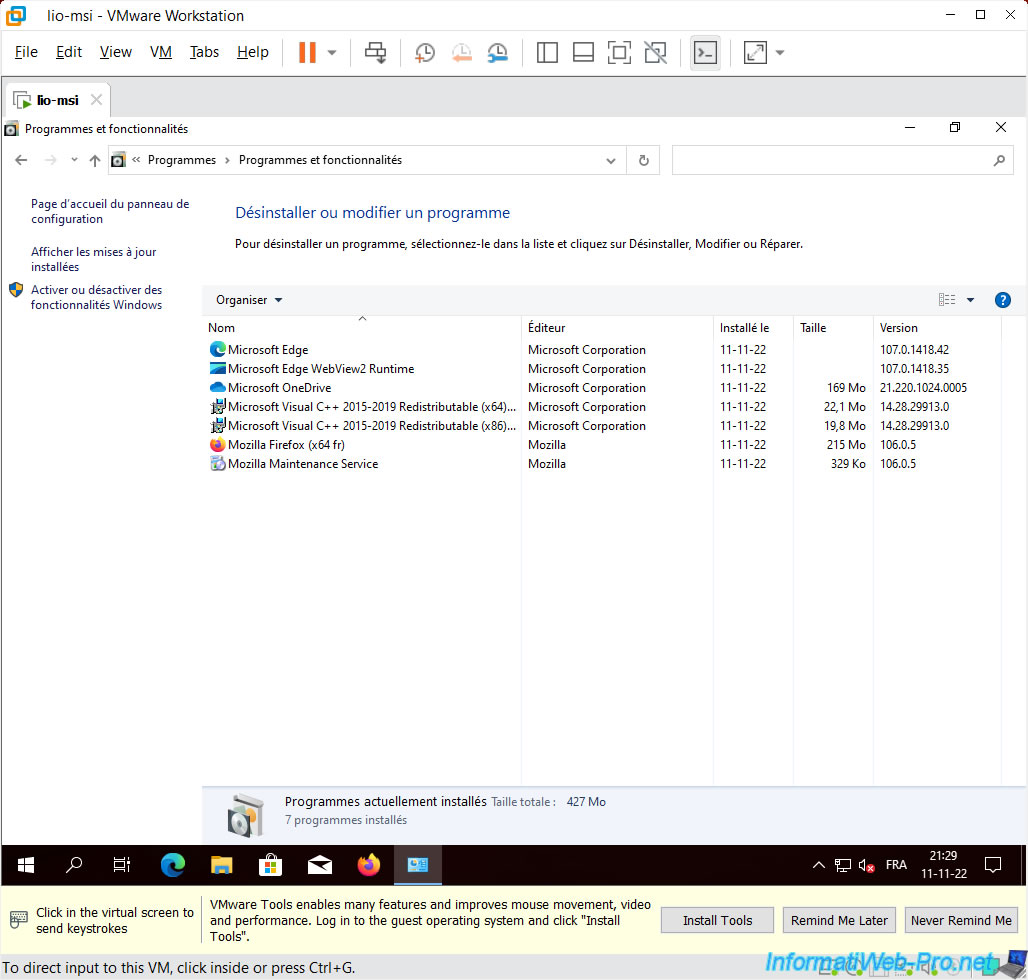
Now, everything unnecessary in your virtual machine has been uninstalled.
Restart your virtual machine at least once for all uninstallations to be fully completed.
Share this tutorial
To see also
-

VMware 3/16/2013
VMware Workstation - Boot a VM on the BIOS / EFI firmware
-

VMware 2/7/2020
VMware Workstation 15 - Installation on Linux
-

VMware 12/24/2021
VMware Workstation 15 - Slice the virtual hard disk of a VM
-

VMware 12/10/2021
VMware Workstation 15.5 - Convert a Virtual PC virtual machine to a VMware VM
No comment