Virtualize a physical computer (P2V) with VMware vCenter Converter Standalone for VMware Workstation 17 or 16
- VMware
- 09 June 2023 at 12:33 UTC
-

- 3/4
5. Install the new drivers (VMware Tools) of your virtual machine
Now that the old drivers (which had become unnecessary) are uninstalled, you must install the new drivers corresponding to the virtual hardware of your VMware virtual machine.
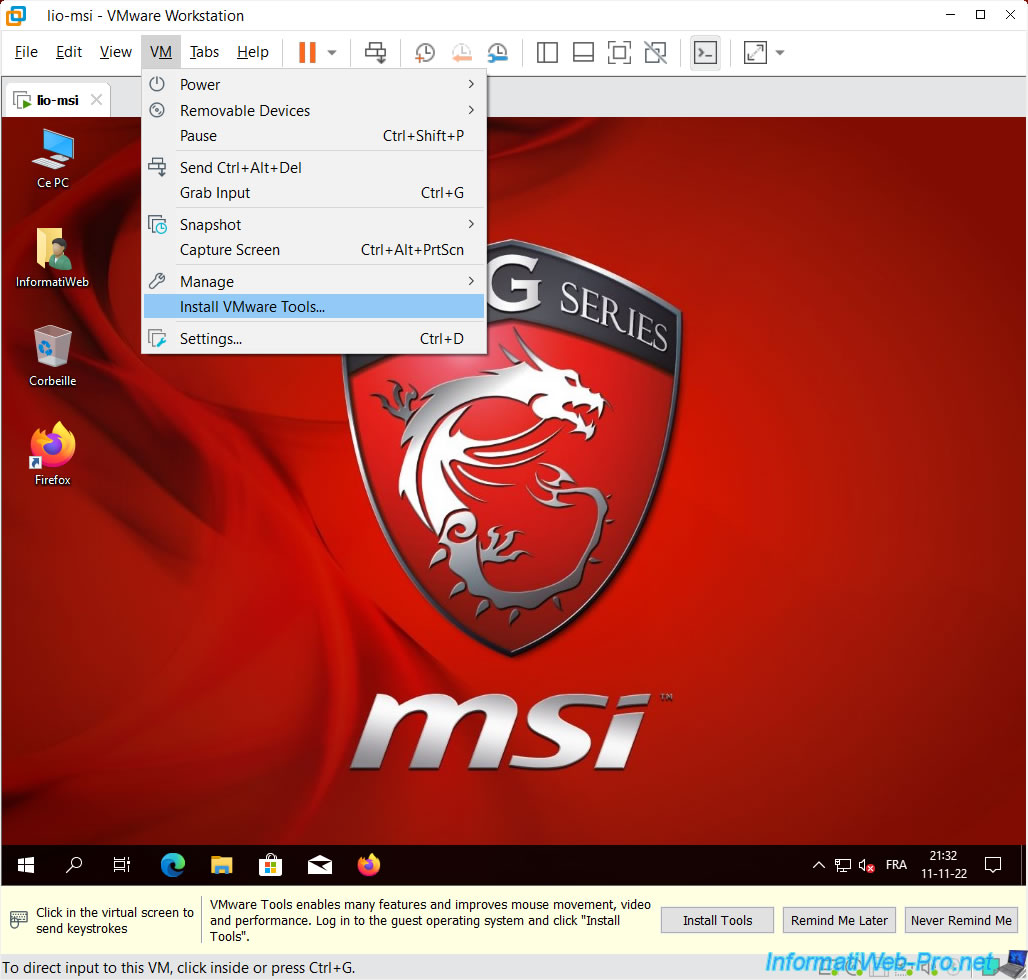
To do this, as usual, go to the "VM -> Install VMware Tools" menu.
Note : if the "Install VMware Tools" option is grayed out, check that the virtual hardware of your virtual machine contains a virtual CD/DVD drive.
Indeed, if the virtualized physical PC doesn't have a CD/DVD drive, which is increasingly common, the converter will not create one for your virtual machine either.
To solve the problem, go to the "VM -> Settings" menu, click on "Add" (at the bottom), select "CD/DVD Drive" and click on Finish, then on OK.
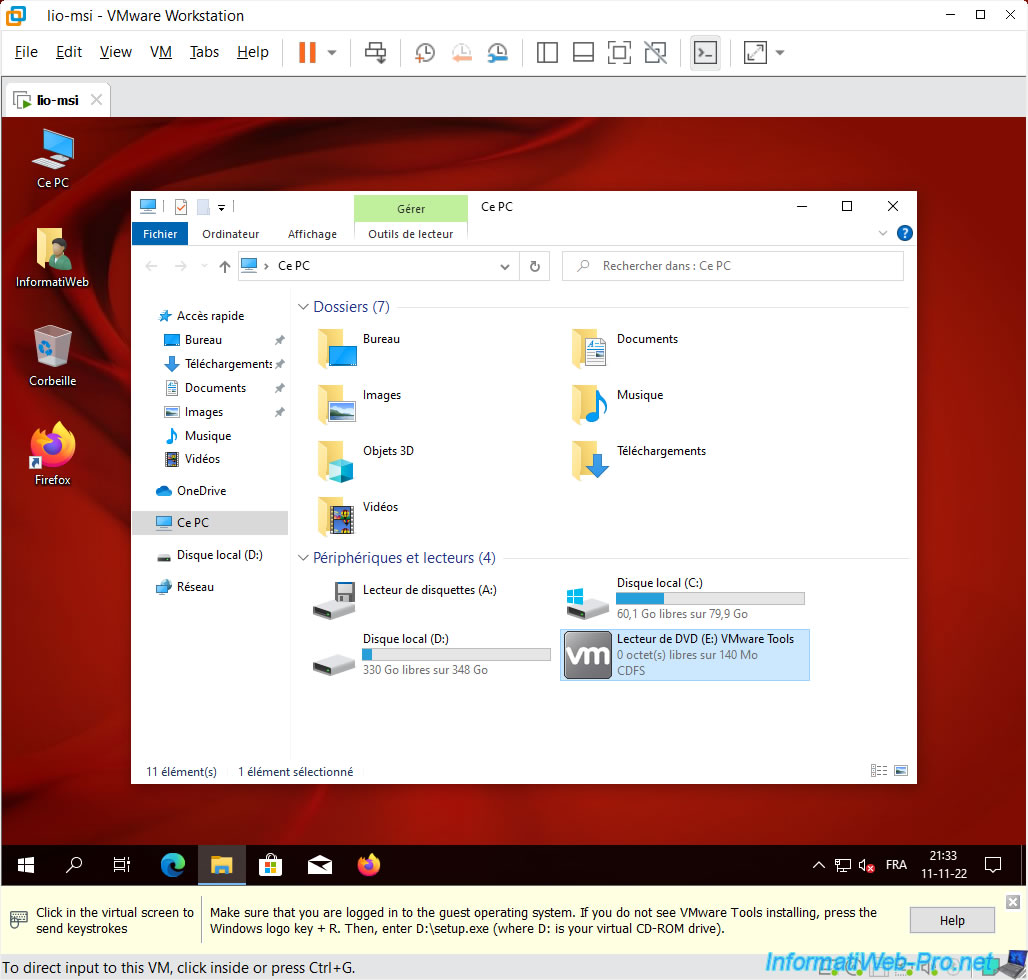
Open the file explorer and double-click on the DVD drive renamed "VMware Tools".
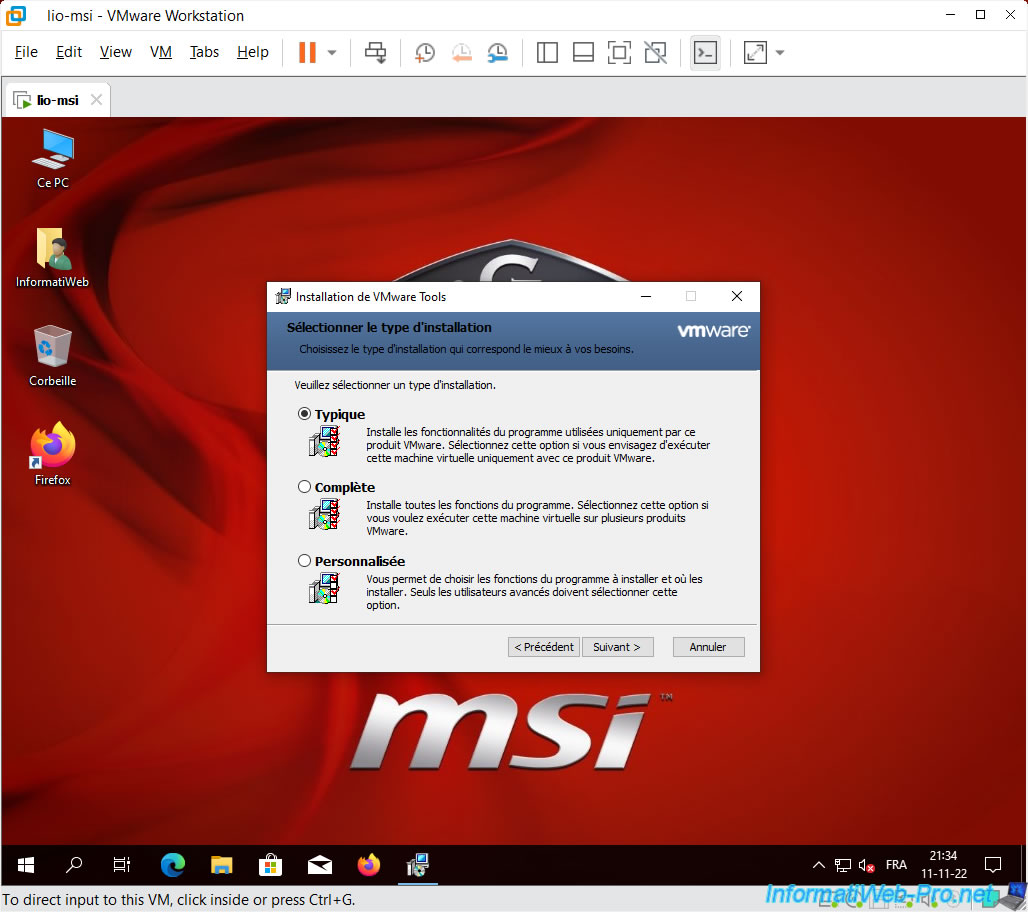
Select the "Typical" installation type as usual.
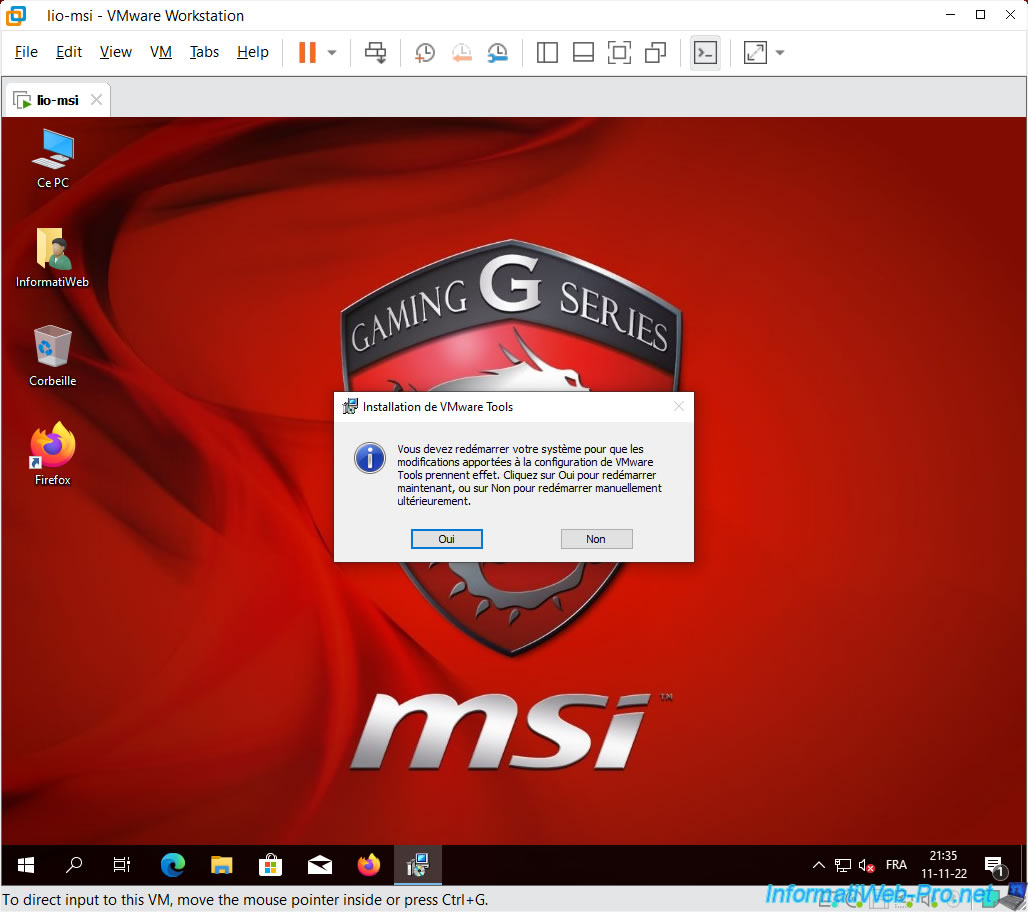
Once VMware Tools is installed, click Yes to restart your virtual machine.
If Windows 10 is installed as a guest operating system and you are using a recent version of VMware Workstation Pro, the Windows taskbar may have become transparent.
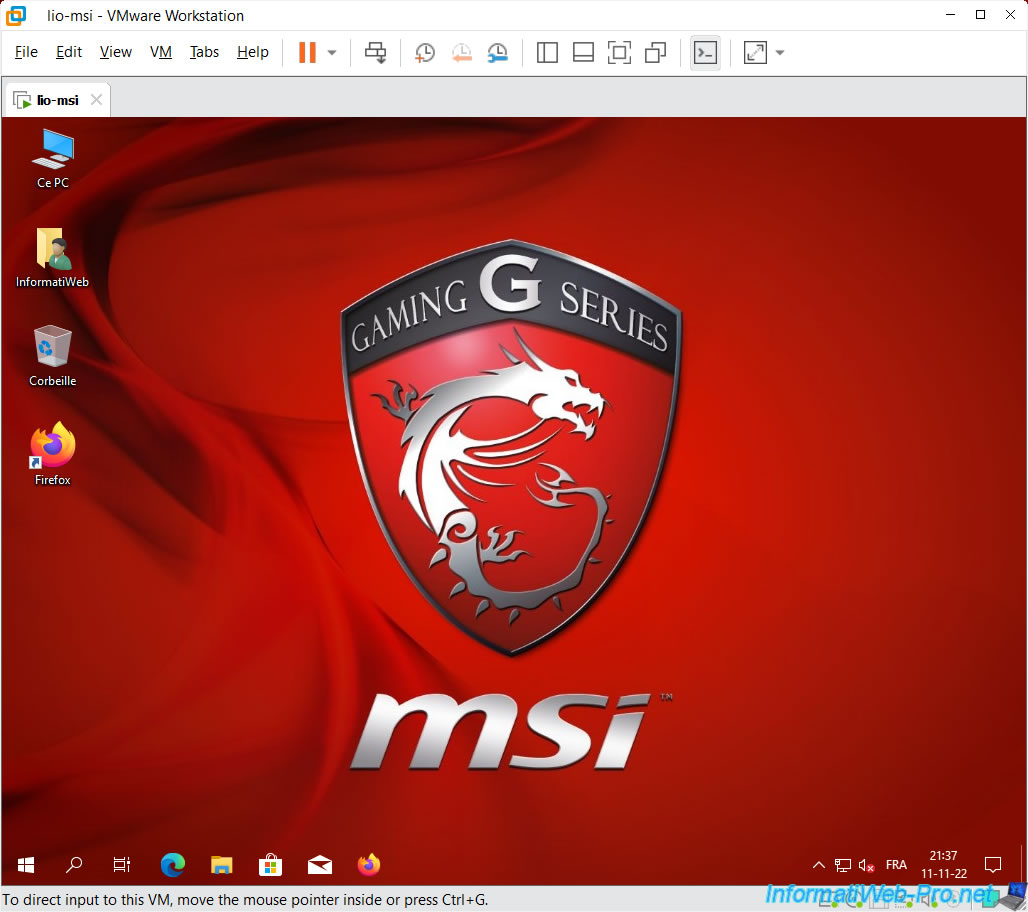
To solve this problem, start by shutting down this virtual machine.
However, because of this bug, the "Shut down" option in the start menu may not appear.
Since VMware Tools are installed, the easiest way to properly shut down your virtual machine this time around is to use VMware Workstation Pro's "Shut Down Guest" option.
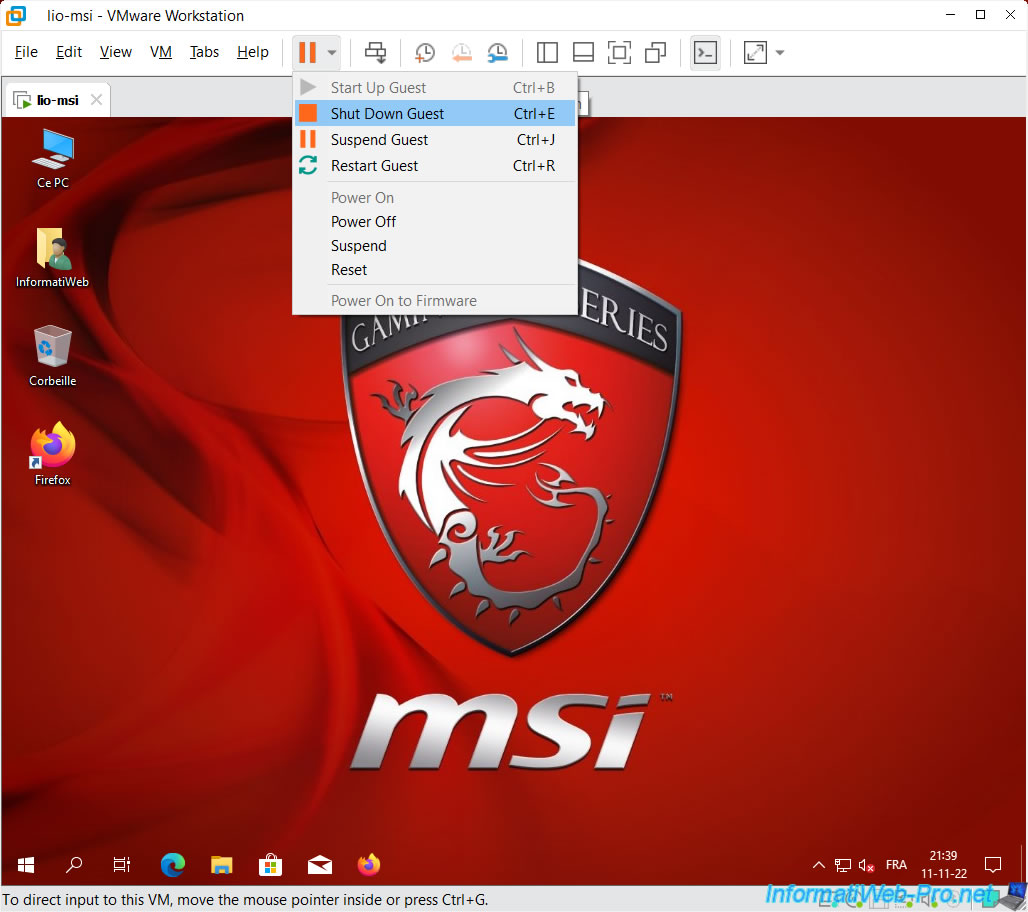
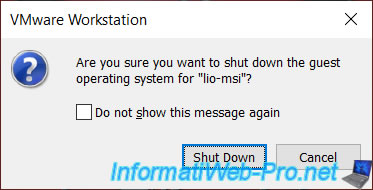
Confirm by clicking on : Shut Down.
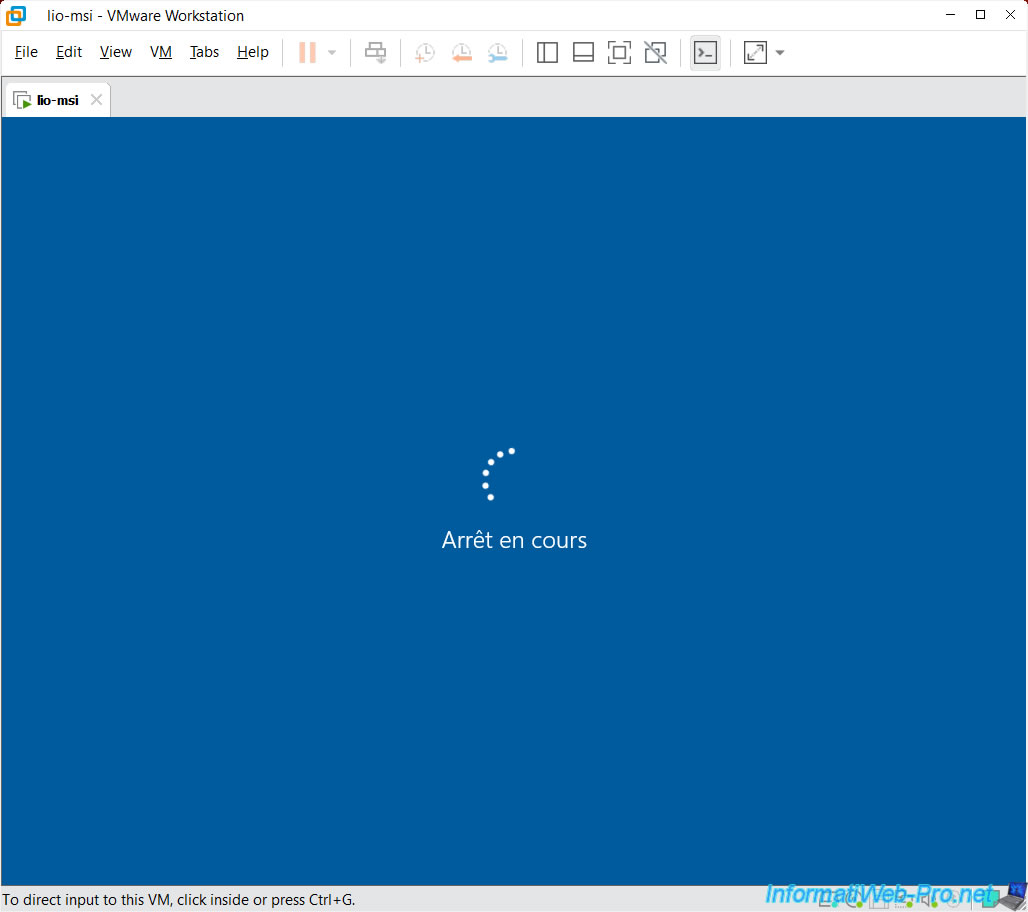
Wait while the guest operating system shuts down.
6. Update the virtual hardware (vHardware) of your VMware virtual machine
If this problem appeared, it's because the virtual hardware used is old.
Indeed, by default, VMware vCenter Converter Standalone uses virtual hardware in version 11 (including with the latest version 6.3.0 of this VMware converter).
To solve the problem, click on : Upgrade this virtual machine.
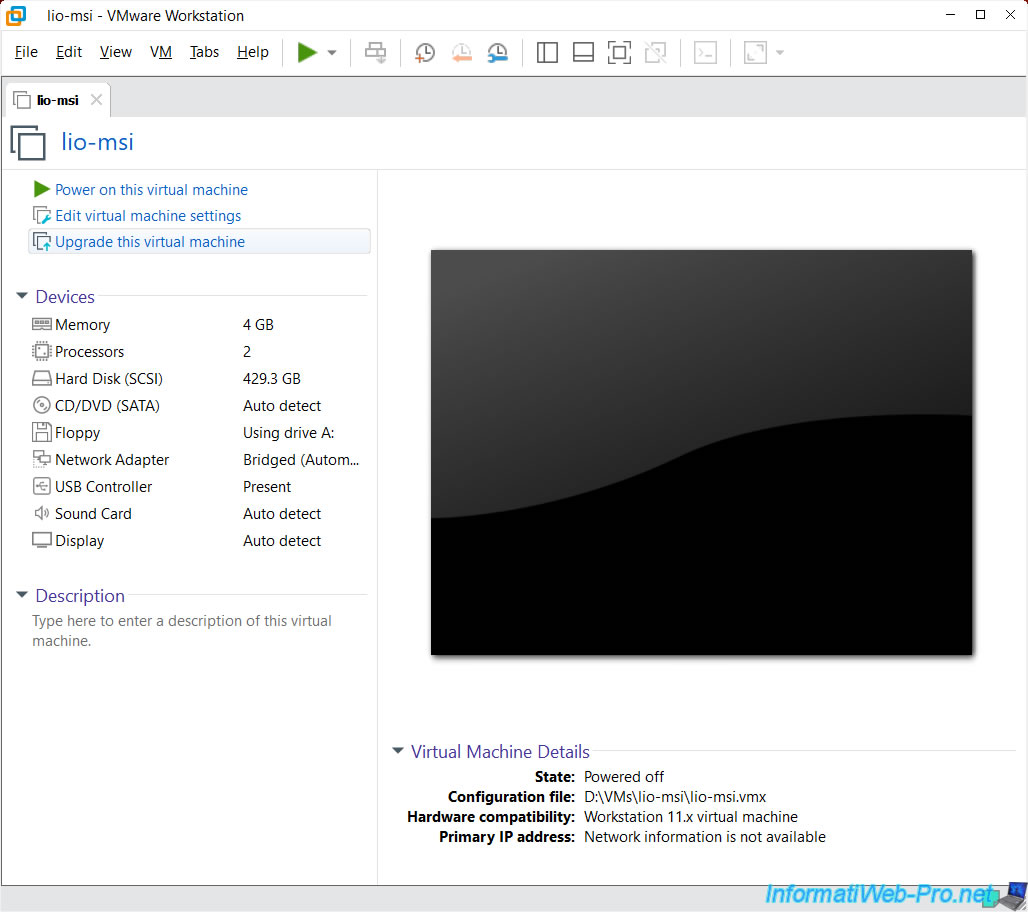
In the "Change Hardware Compatibility Wizard" window that appears, select the most recent version available from the list and click Next.
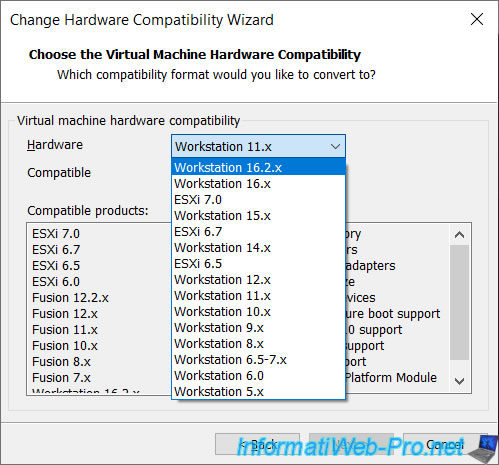
Select "Alter this virtual machine" and click Next.
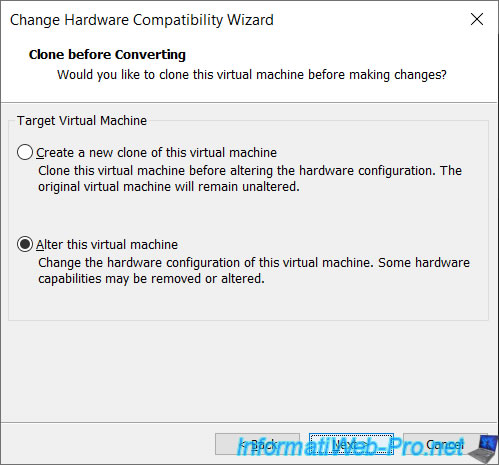
As you can see, the virtual hardware upgrade will make some compatibility changes.
Click Finish.
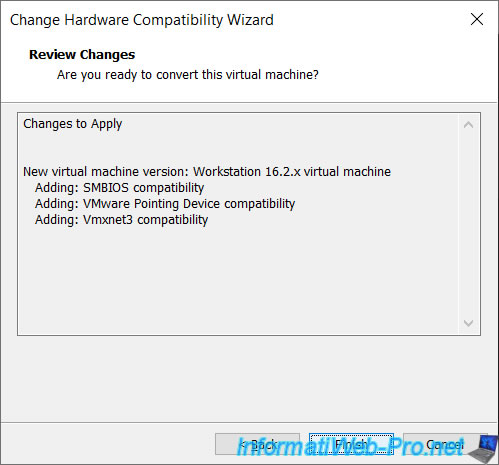
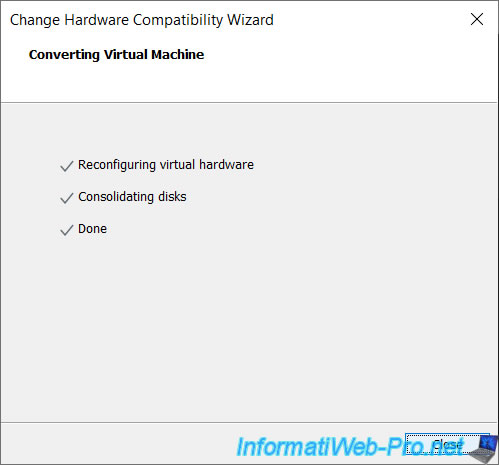
Wait while your virtual machine's virtual hardware is quickly reconfigured, then click Close.
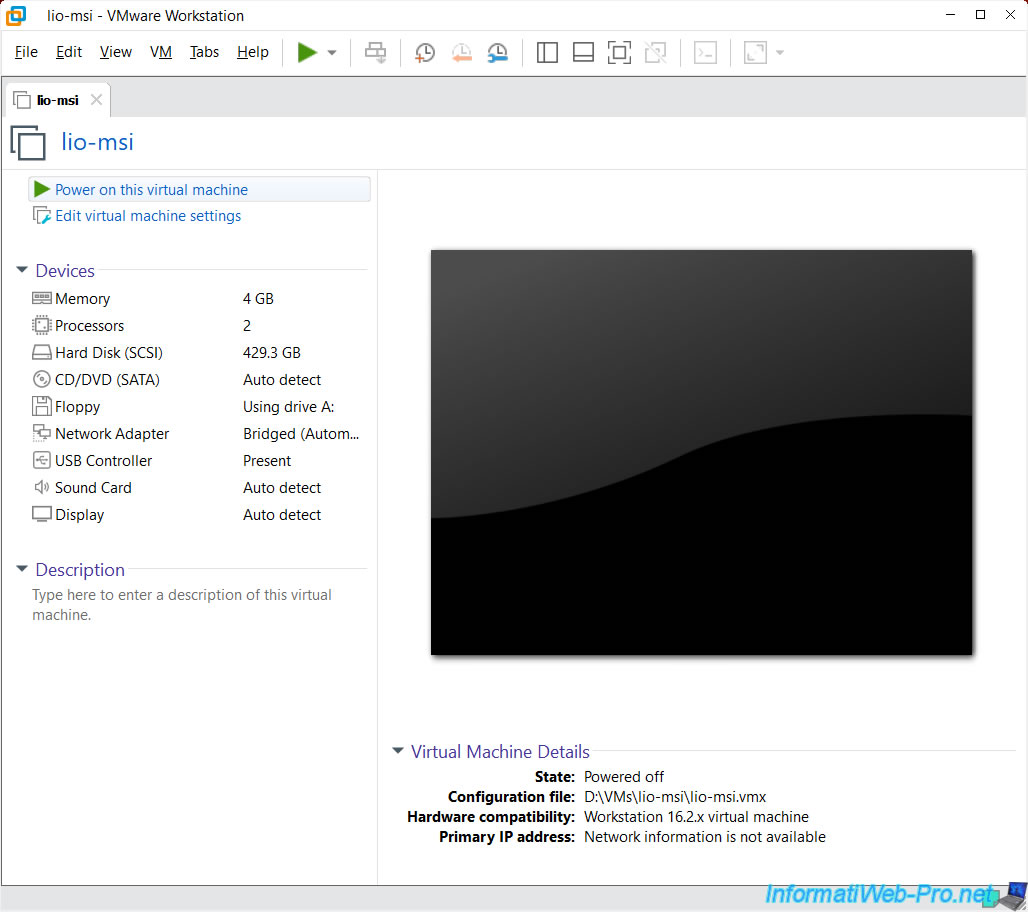
As you can see in the bottom right of your virtual machine, the virtual hardware used is much newer.
Start your virtual machine.
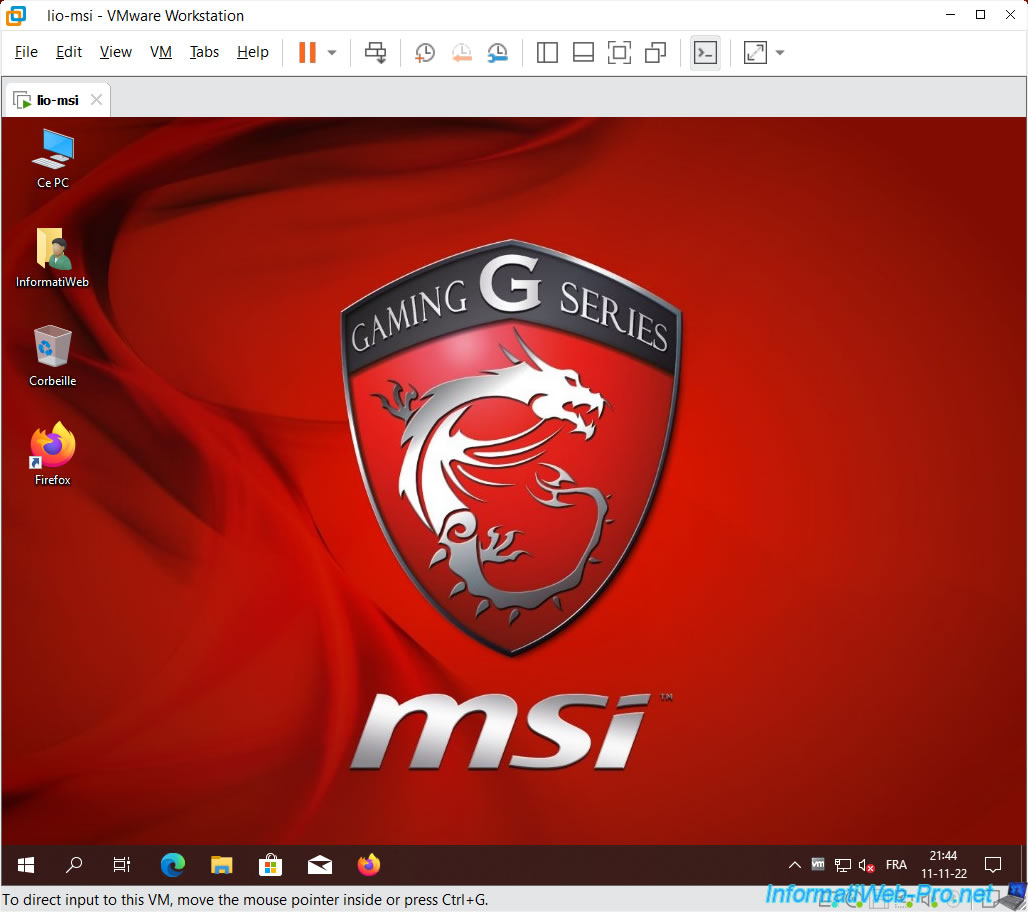
Your virtual machine starts and the problem disappears.
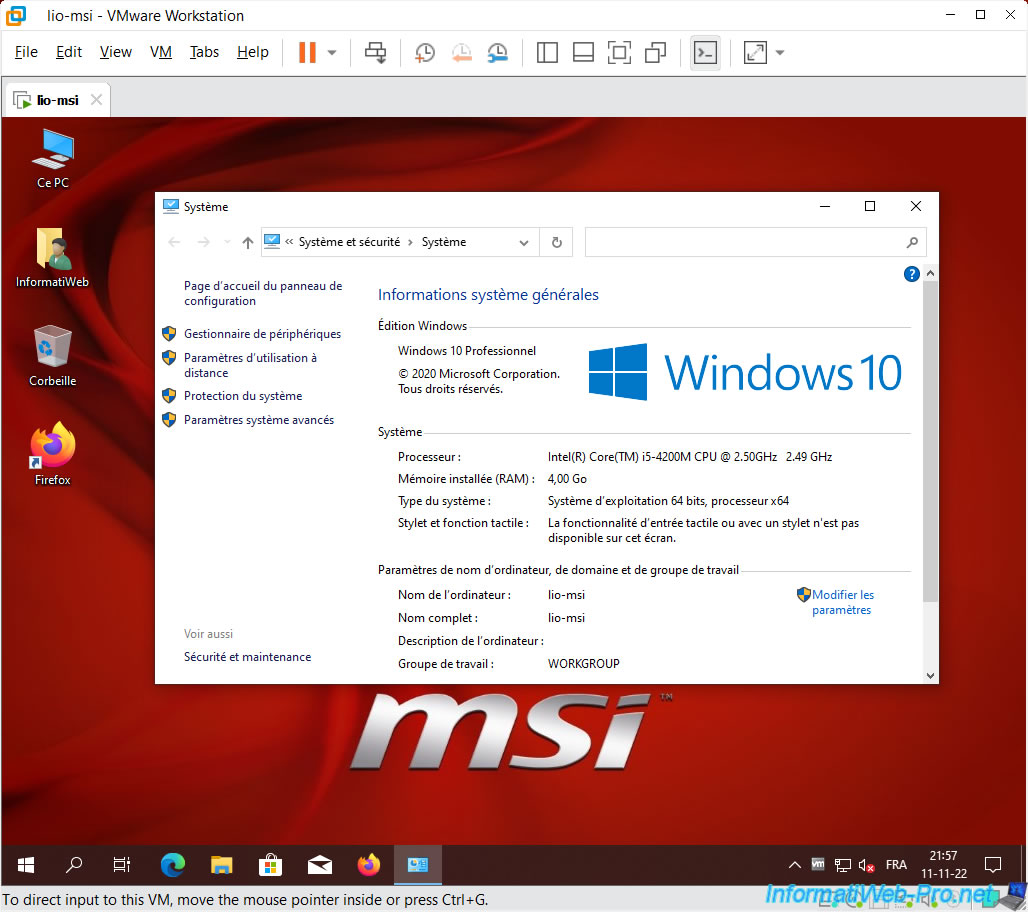
As expected, Windows continues to work fine.
Share this tutorial
To see also
-
VMware 3/16/2013
VMware Workstation - Boot a VM on the BIOS / EFI firmware
-
VMware 2/7/2020
VMware Workstation 15 - Installation on Linux
-
VMware 12/24/2021
VMware Workstation 15 - Slice the virtual hard disk of a VM
-
VMware 12/10/2021
VMware Workstation 15.5 - Convert a Virtual PC virtual machine to a VMware VM

No comment