Convert a Hyper-V virtual machine to a VMware Workstation virtual machine using VMware vCenter Converter Standalone
- VMware
- 17 December 2021 at 20:05 UTC
-

- 2/3

5. Convert a Hyper-V virtual machine to VMware Workstation format
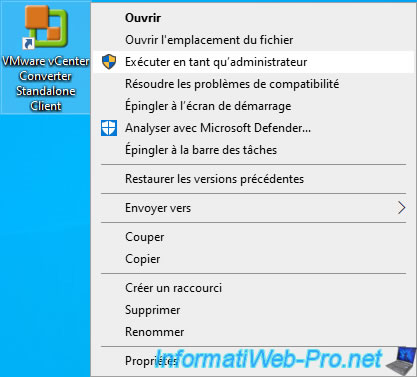
Launch VMware vCenter Converter Standalone as administrator.
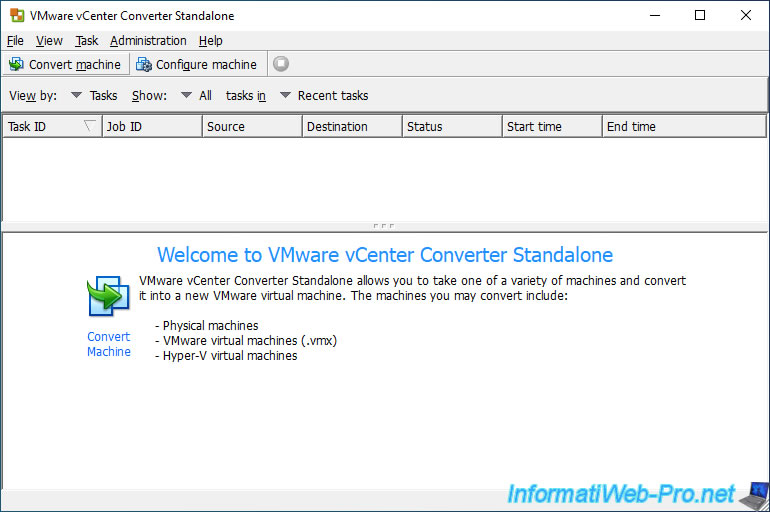
Click on : Convert machine.
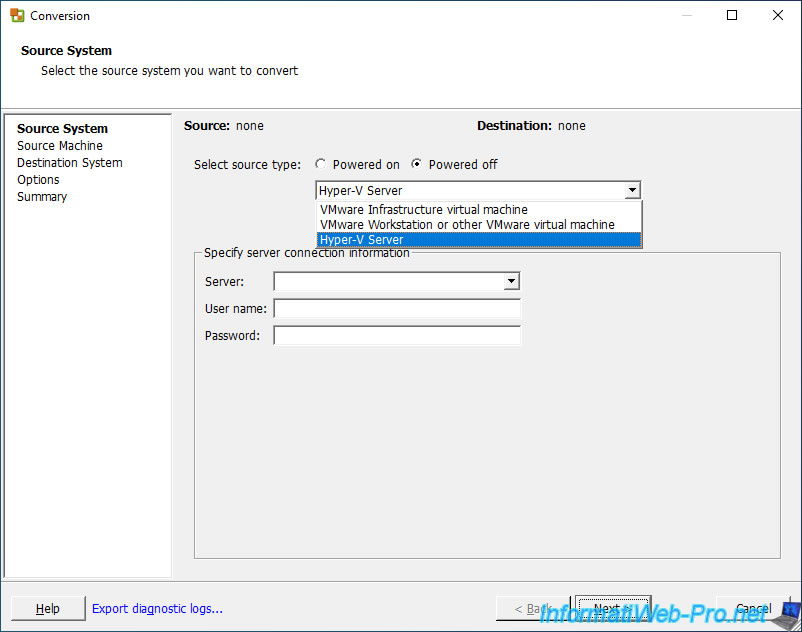
Select "Select source type: Powered off", then "Hyper-V Server" from the list.
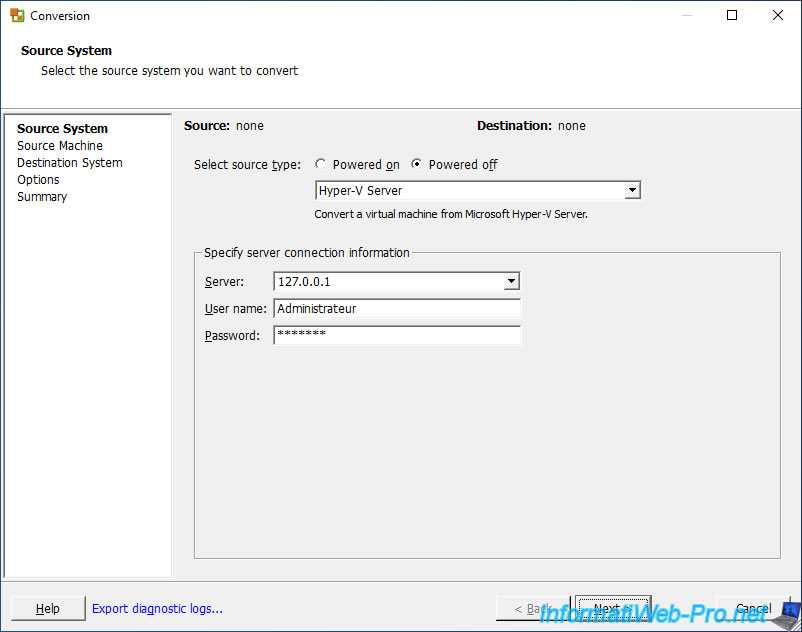
Since VMware vCenter Converter Standalone is installed on the computer where Hyper-V is installed, provide the network loopback IP address (127.0.0.1) to connect to the local computer.
Then, specify the credentials of the Administrator account of your computer (where Hyper-V is installed) and click on Next.
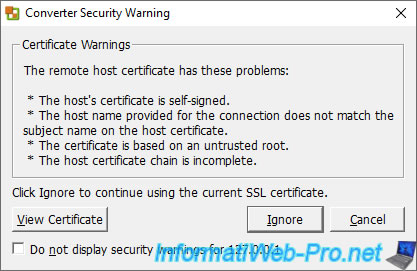
If a warning appears, ignore it.
In our case, this is due to the use of a self-signed certificate. Which is the case by default.
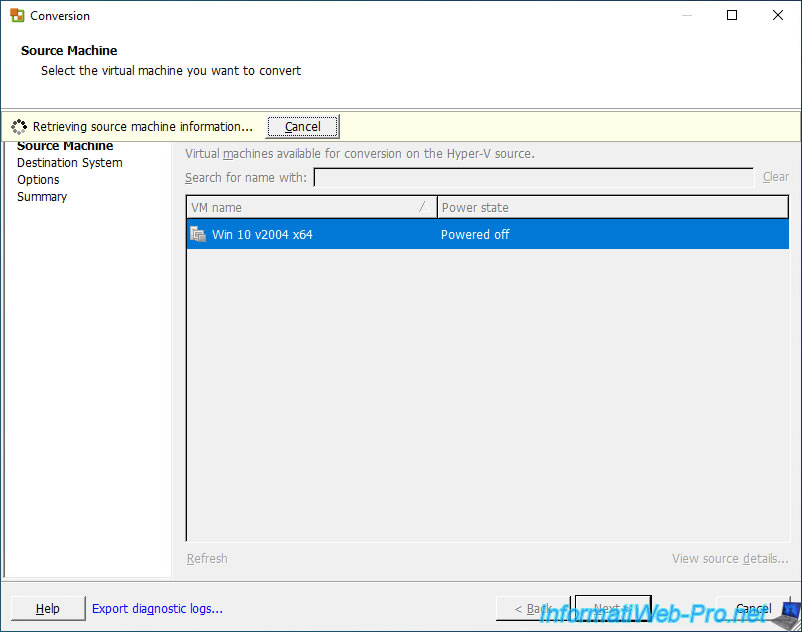
The list of virtual machines present on your Hyper-V hypervisor is displayed.
To get information about a virtual machine, select it from the list and click on the "View source details" link at the bottom right.

The "Retrieving source machine information" message appears for a few seconds.
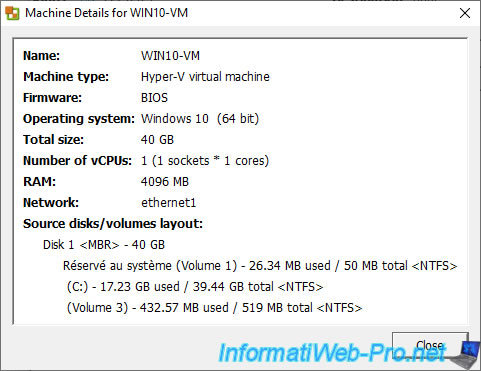
A "Machine Details for [virtual machine name]" window appears with :
- Name : the name of it in the guest operating system. In the case of Windows, this name is a NETBIOS name.
- Machine type : the type of machine. That is, a Hyper-V virtual machine in this case.
- Firmware : BIOS (in the case of a Generation 1 virtual machine) or EFI (for those of Generation 2).
- Operating system : name, version, and architecture of the guest operating system installed in this virtual machine.
- Total size : total size of the virtual machine. Note that the size is calculated relative to the maximum size of the virtual hard disk of this one.
- Number of vCPUs : number of virtual CPUs (number of sockets * number of cores per virtual CPUs).
- RAM : the amount of RAM allocated to this virtual machine.
- Network : the name of its network adapter.
- Source disks/volumes layout : the list of virtual hard disks used by this virtual machine, as well as information concerning the partitions present on them.
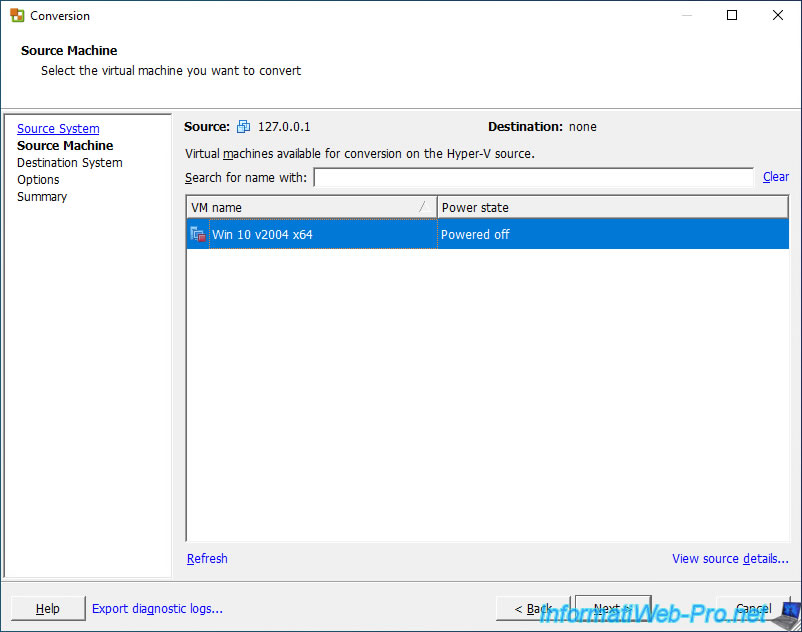
To convert a virtual machine of your Hyper-V server, select it and click Next.
You can also simply double click on its name.
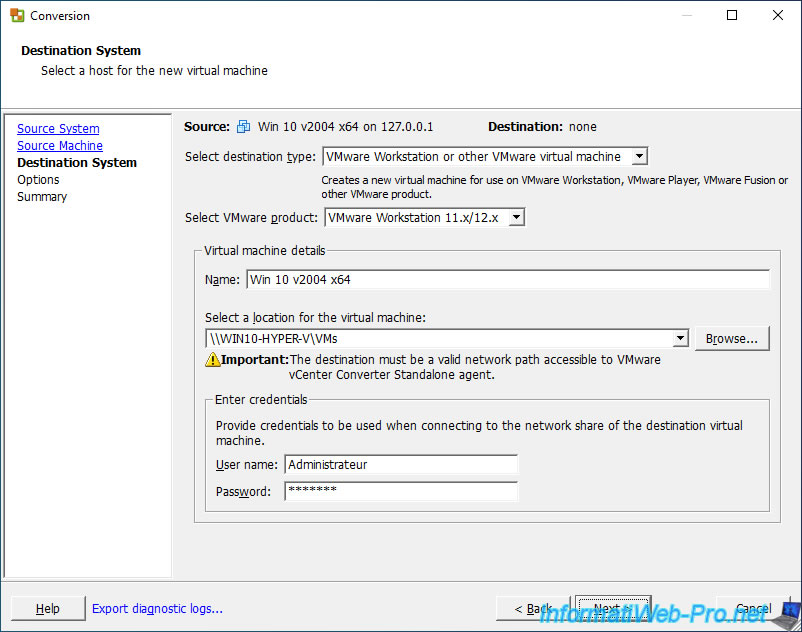
Select "VMware Workstation or other VMware virtual machine" as the destination type, and "VMware Workstation 11.x/12.x" as the VMware product.
This value is the highest value available in this VMware converter.
By default, the name of the virtual machine that will be created in VMware format will be the same as the name of the source virtual machine of your Hyper-V server.
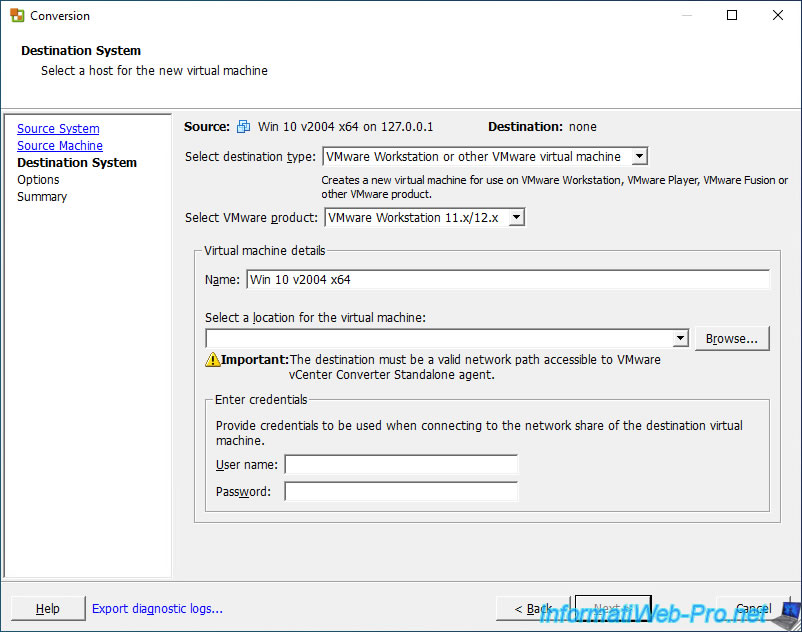
For the location of the virtual machine, specify the network path obtained previously when sharing the desired folder.
As indicated by the wizard, VMware vCenter Converter Standalone requires that this destination location be a network path :
Plain Text
Important : The destination must be a valid network path accessible to VMware vCenter Converter Standalone agent.
Then, enter the credentials of the user to whom you previously granted read/write rights on this network share.
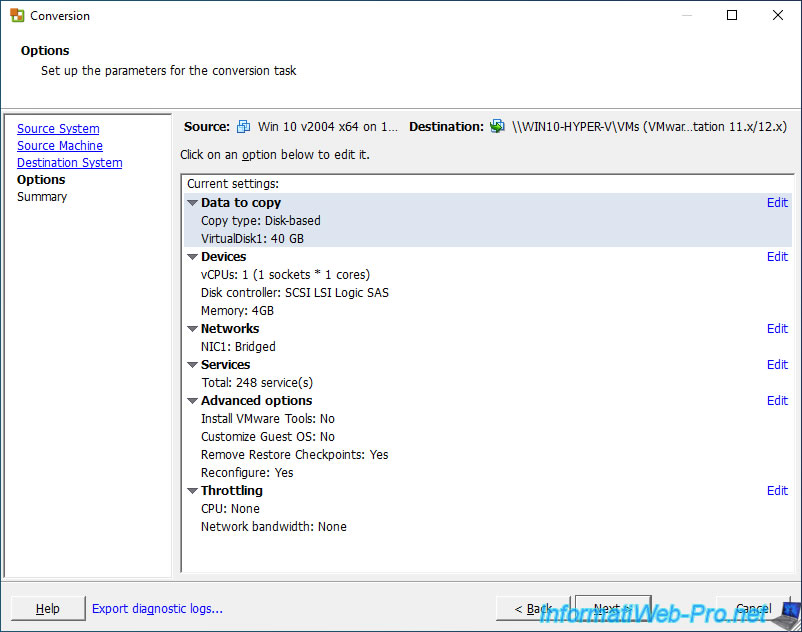
A list of options appears allowing you to adapt the configuration of the destination virtual machine.
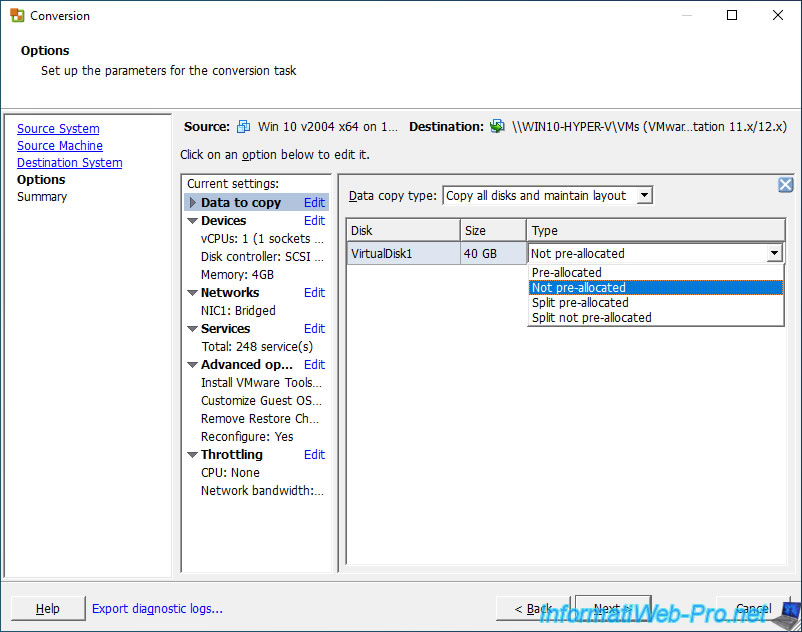
To choose the type of virtual hard disk provisioning, click on the "Edit" link in the "Data to copy" section.
For the type of virtual hard disk (VirtualDisk1) to use, select "Not pre-allocated" to use dynamic provisioning.
Thus, the virtual hard disk will only take up the space necessary for the data that is inside it.
The available types are :
- Pre-allocated : the space will be pre-allocated and the size of the virtual hard disk file (".vmdk" file) will therefore correspond to the maximum size of this virtual hard disk.
- Not pre-allocated : space will not be preallocated. This means that the virtual hard disk file (".vmdk" file) will only take up the space necessary for the data in it and that it will grow larger as you add more data from the guest operating system.
- Split pre-allocated : the space will be pre-allocated (as with the "Pre-allocated" option). In addition, the virtual hard disk will be automatically split into several 2 GB files (if the size of the virtual hard disk is less than 2 TB) or into 2 TB files otherwise.
- Split not pre-allocated : space will not be pre-allocated (as with the "Not pre-allocated" option). In addition, the virtual hard disk will be split into a 2 GB file (if the maximum size of the virtual hard disk is less than 2 TB) or into a 2 TB file otherwise.
Then, new 2 GB or 2 TB files (as explained above) will be created as you create data from your virtual machine's guest operating system.
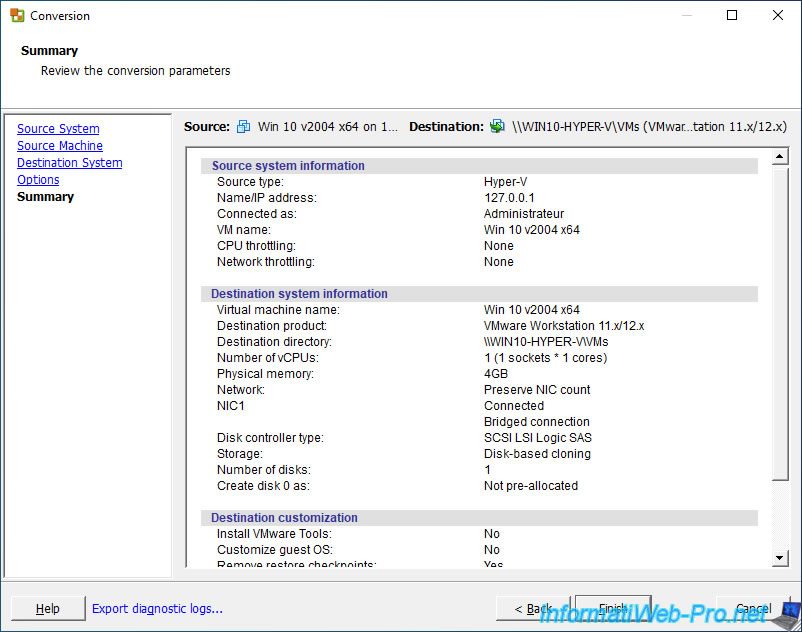
A summary of the conversion parameters appears.
A "Convert virtual machine or backup image" task starts and as you can see the converter starts by cloning the virtual hard disk of the source virtual machine.
Plain Text
Starting to clone disk C:\Users\Public\Documents\Hyper-V\Virtual Hard Disks\Win 10 v2004 x64.vhdx.

After the virtual hard disk is copied, VMware vCenter Converter Standalone will update the boot sector on the destination virtual machine and perform several reconfigurations of it.
Plain Text
Updating the boot sectors on the destination machine.
Applying reconfigurations.
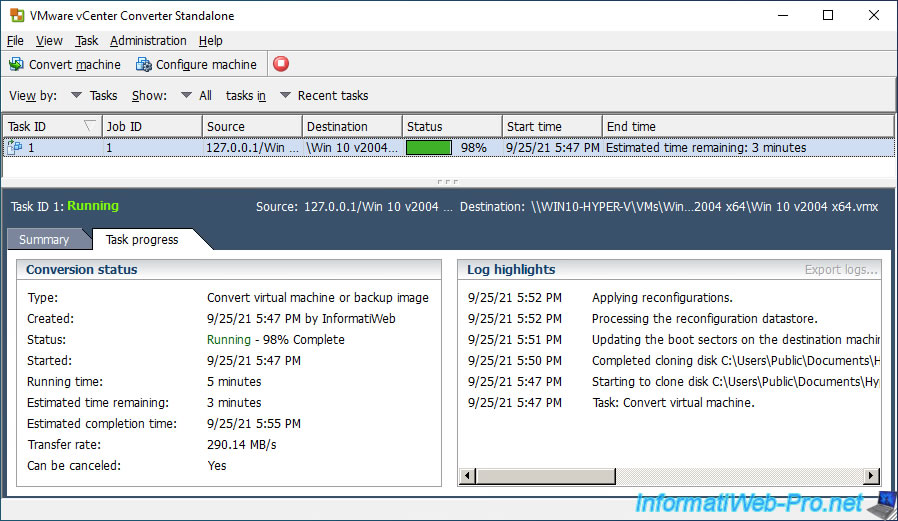
Once the conversion is complete, the status will be "Completed" if it was completed correctly and the message "Reconfiguration completed" will appear in the conversion history (Log highlights).

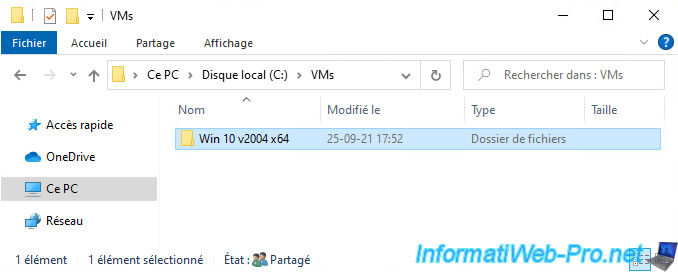
In the destination shared folder, you will see that a new folder has appeared.
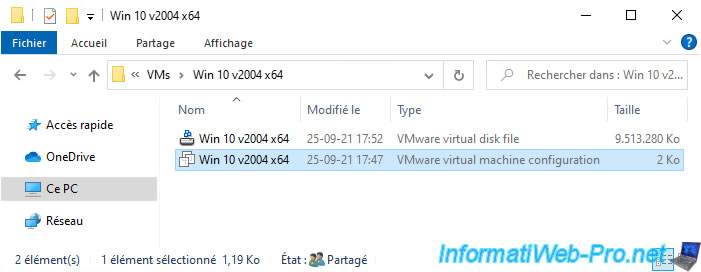
Inside this folder, you will find :
- the virtual hard disk in VMDK format of your new VMware virtual machine
- the configuration file in VMX format of your VM

Double click on the configuration file (in VMX format) to open this virtual machine with VMware Workstation.
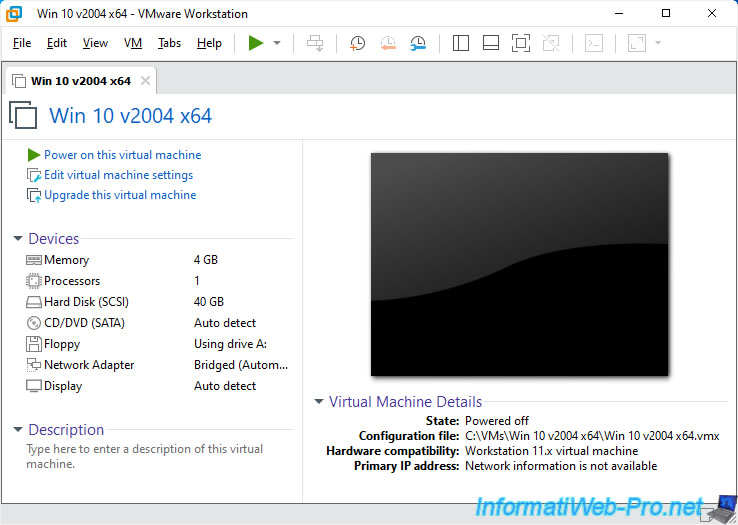
The virtual machine appears in VMware Workstation.
Note that the additional files (VMXF file, log files, ...) of the virtual machine will be created automatically by VMware Workstation.
6. Install VMware Tools in the virtual machine
Start the virtual machine by clicking on : Power on this virtual machine.
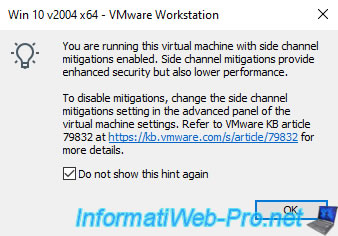
If a "You are running this virtual machine with side channel ..." message appears, check the "Do not show this hint again" box and click OK.
This happens when VMware Workstation 16 is installed on a computer where Hyper-V is also enabled.
Source : Using Hyper-V and VMware Workstation simultaneously.
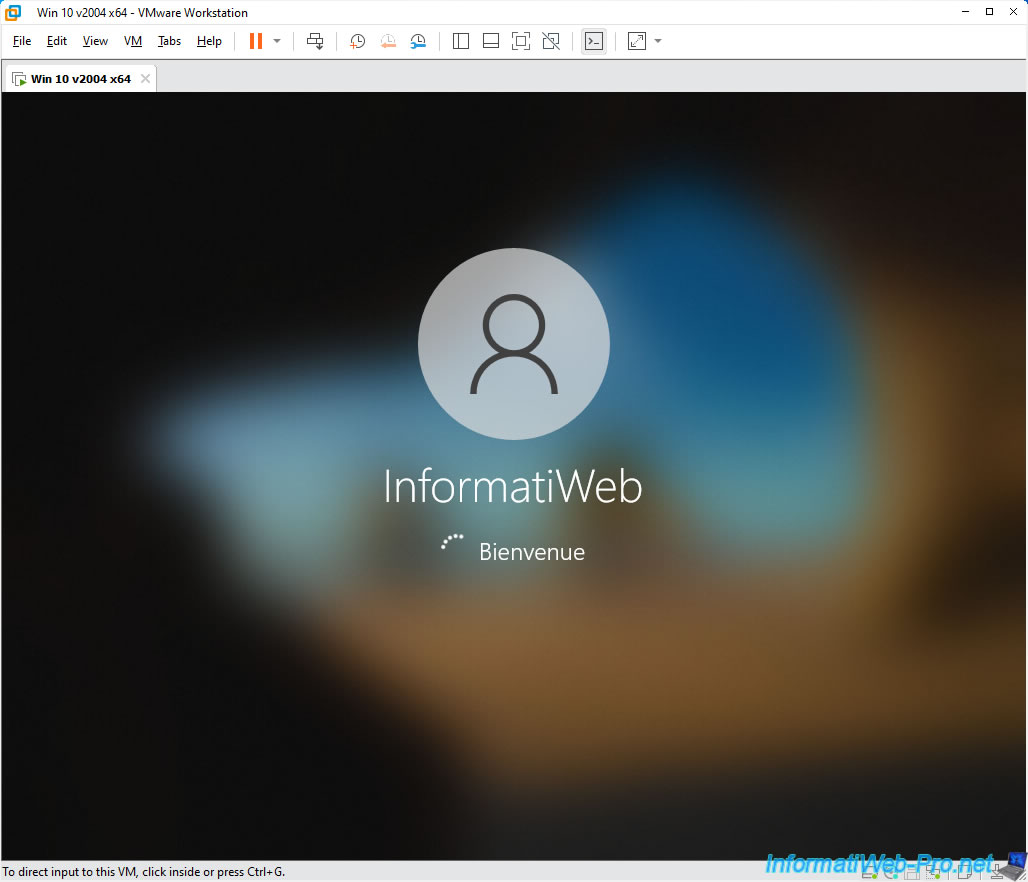
The Windows session opens.
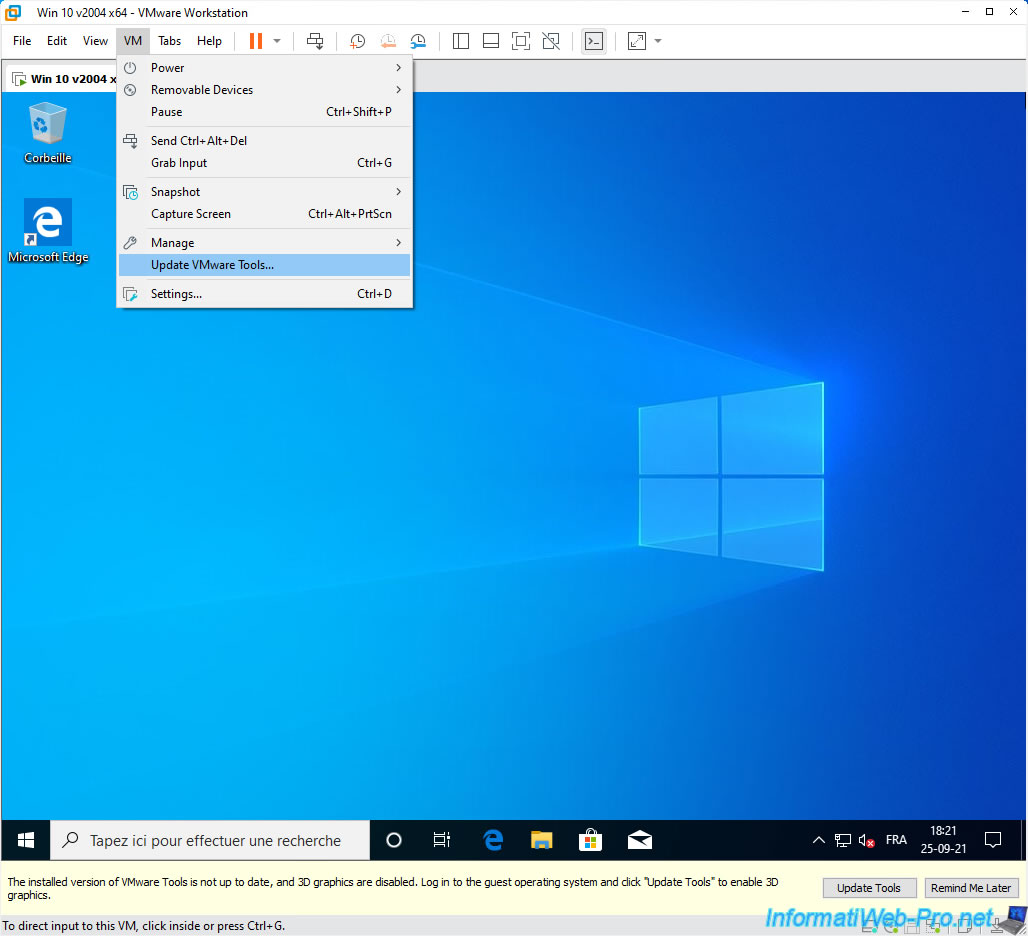
Click on "VM -> Update VMware Tools" to insert the VMware Tools ISO file into the virtual CD/DVD drive of the virtual machine.
When you convert a virtual machine from Hyper-V to VMware format, the mouse may no longer function properly in the guest operating system.
This will be resolved when the VMware Tools have been installed in the guest operating system.
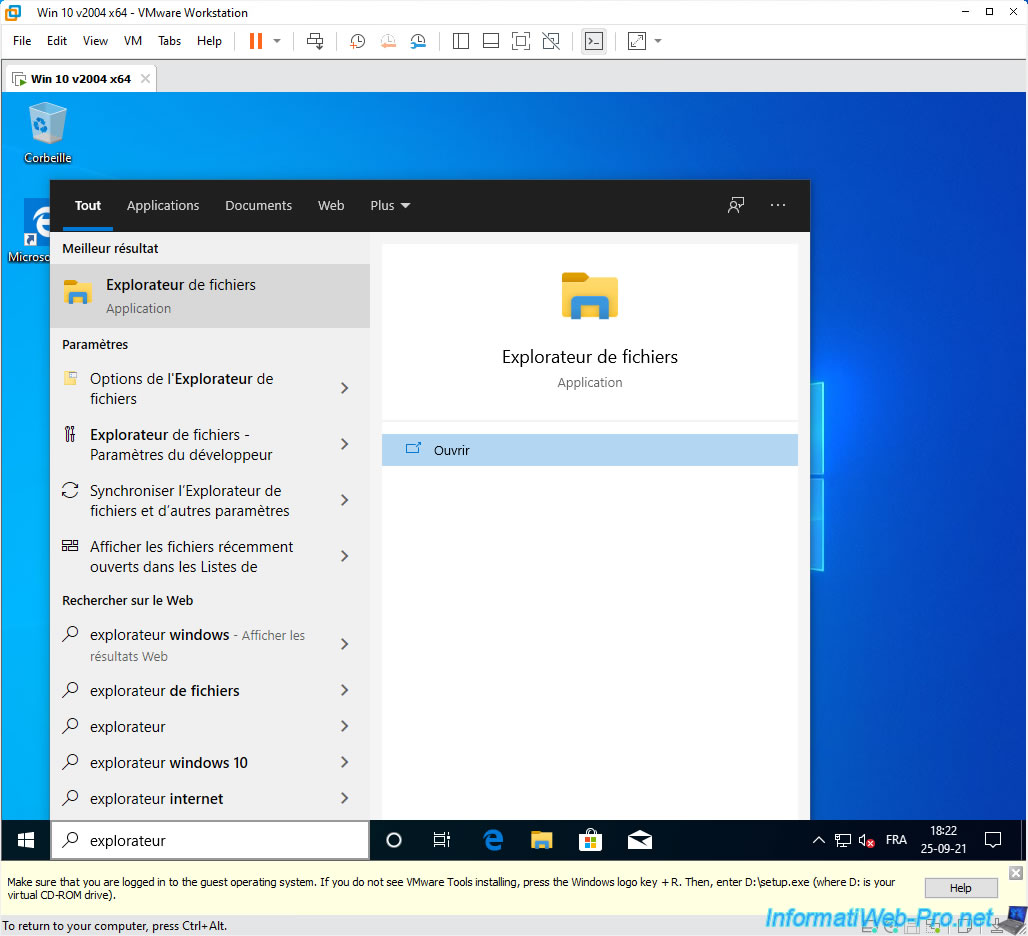
To install them, use your keyboard.
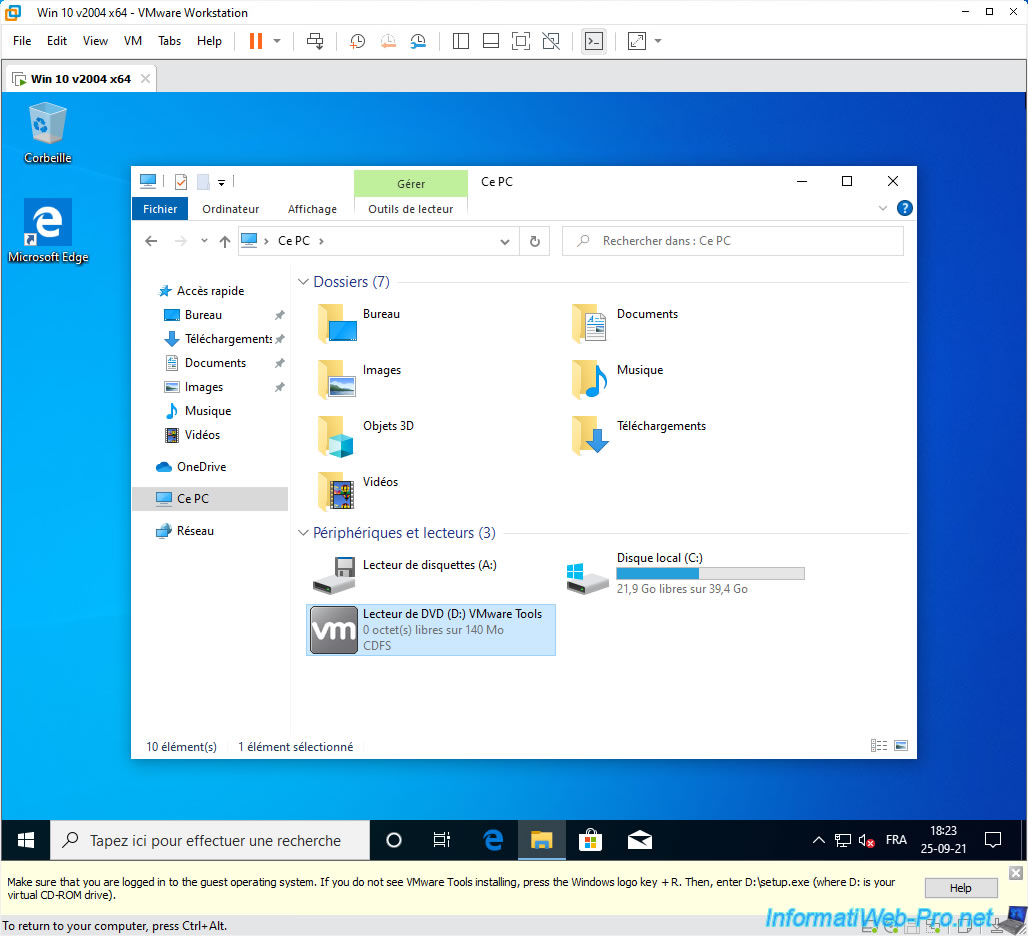
To begin, press the "Windows" key on your keyboard and write "explorer".
When the "File Explorer" result appears, press Enter to open it.
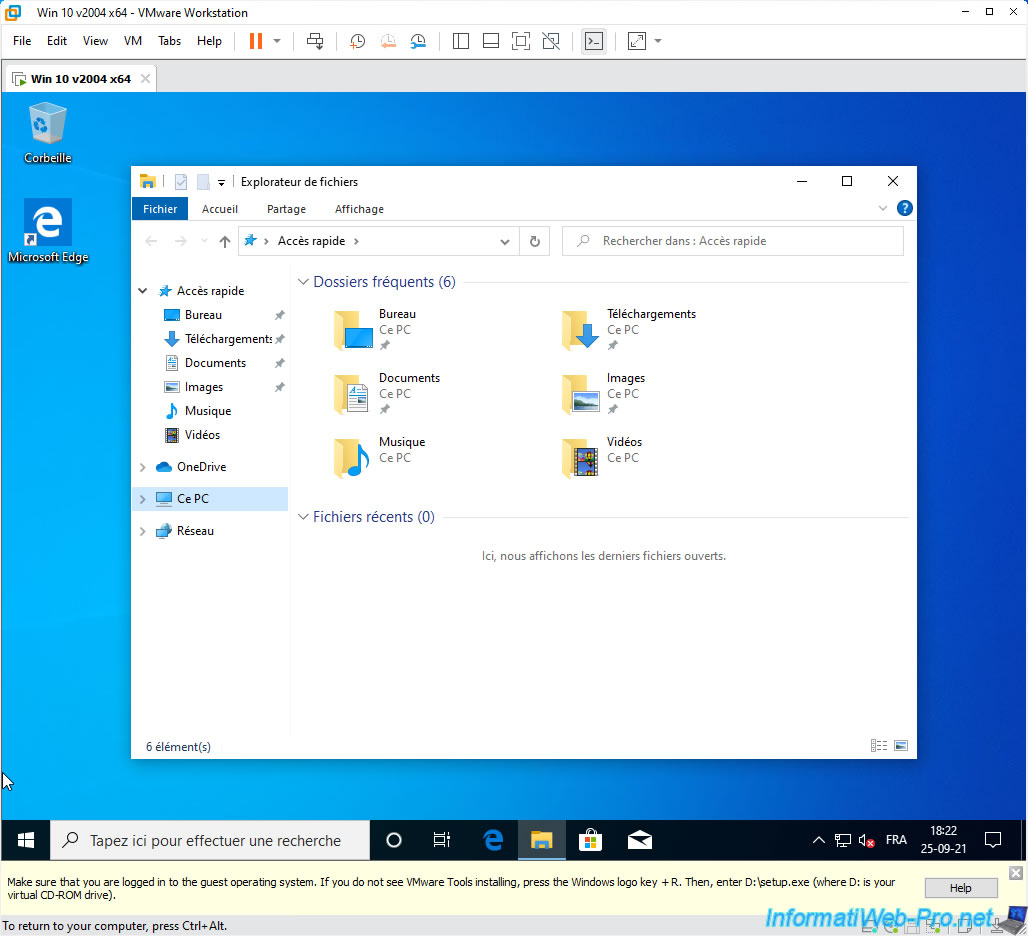
The file explorer appears.
Use the "Tab" key on your keyboard to select the "Quick access" item.

Scroll down to the "This PC" item using the "down" arrow on your keyboard.
Then, press Enter.
Use the "Tab" key again to select the 1st folder (Desktop).
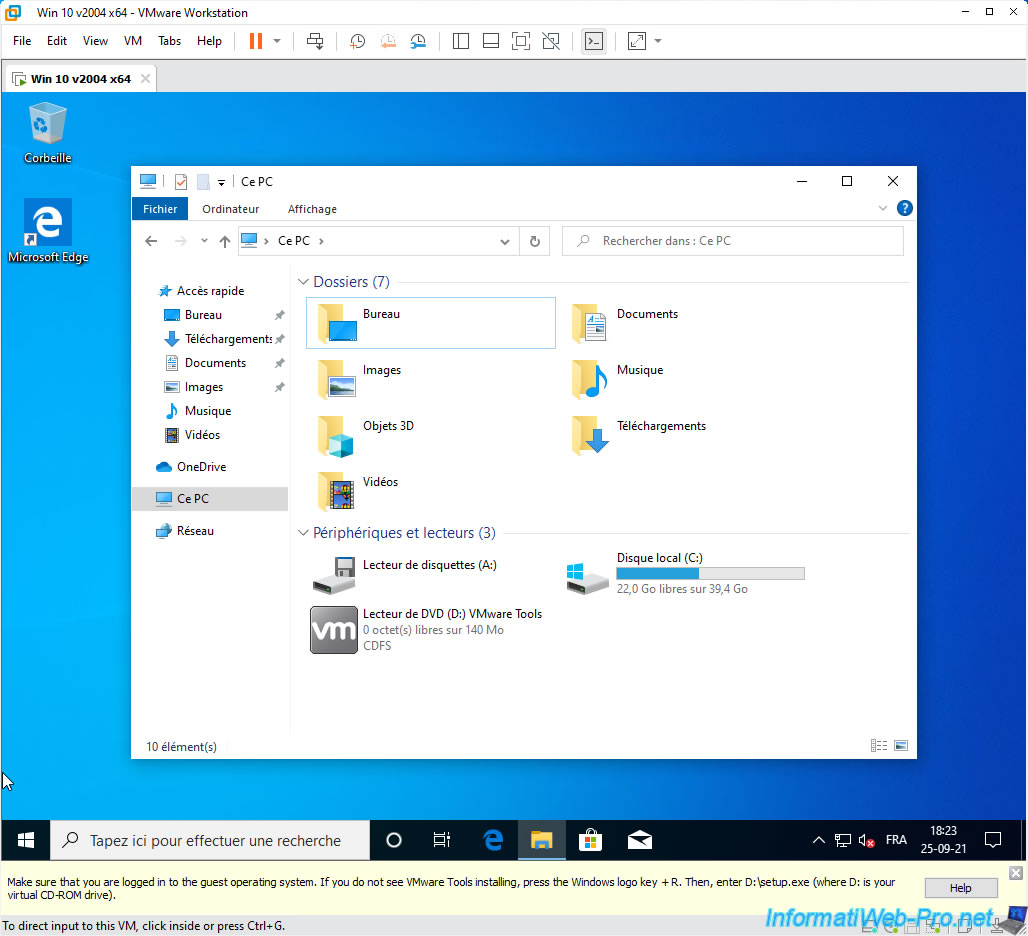
Then, use the arrows on the keyboard to select the DVD drive where the VMware Tools ISO file is inserted.
Then, press Enter to start the installation of VMware Tools.
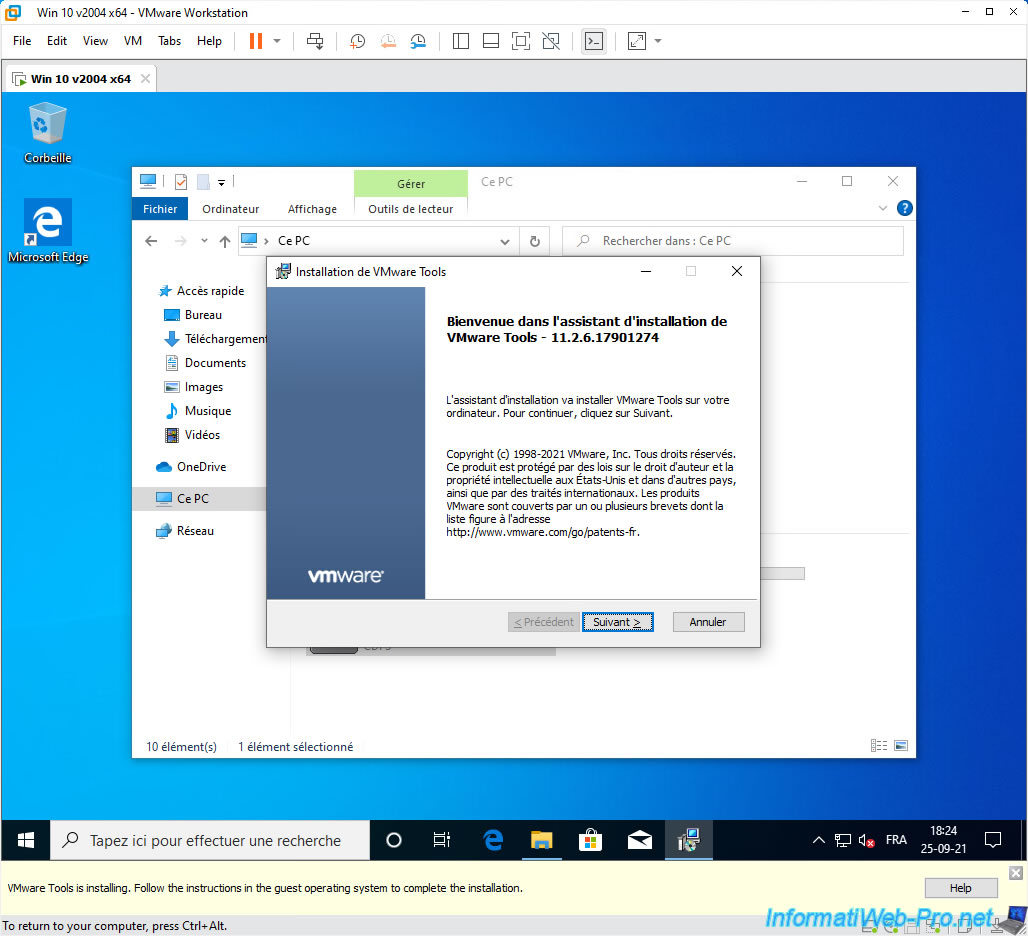
The VMware Tools installation wizard appears.
Press Enter.
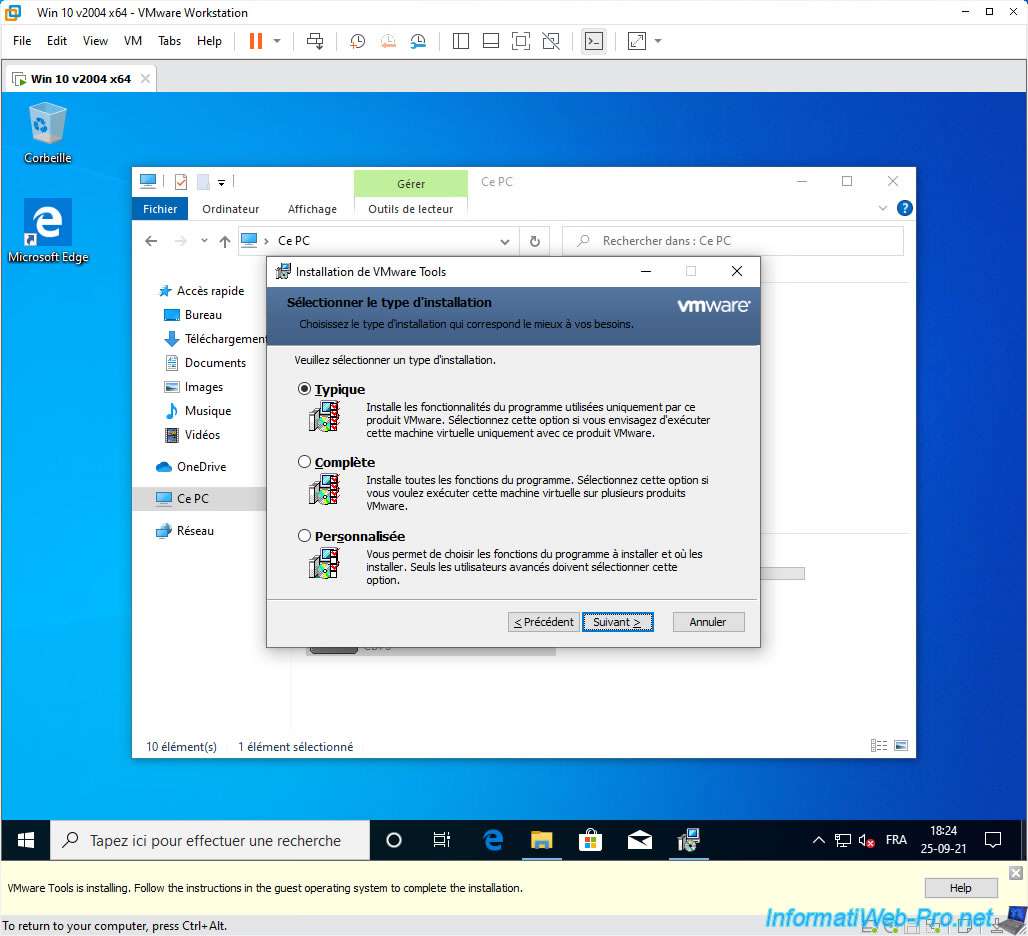
The "Typical" type is selected by default. Press the "Tab" key several times to select the "Next" button.

Press Enter
Press Enter to start the installation of VMware Tools.
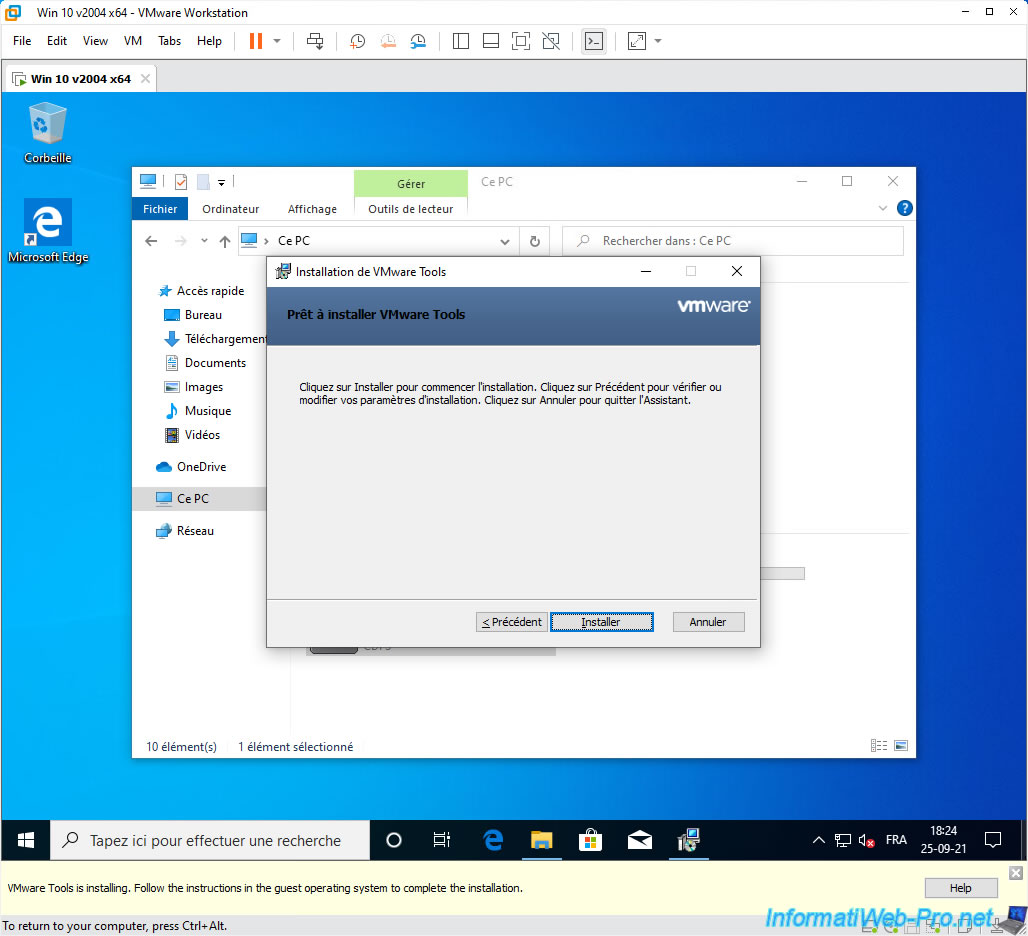
The installation begins.

When the VMware Tools installation is complete, press Enter to close the wizard.
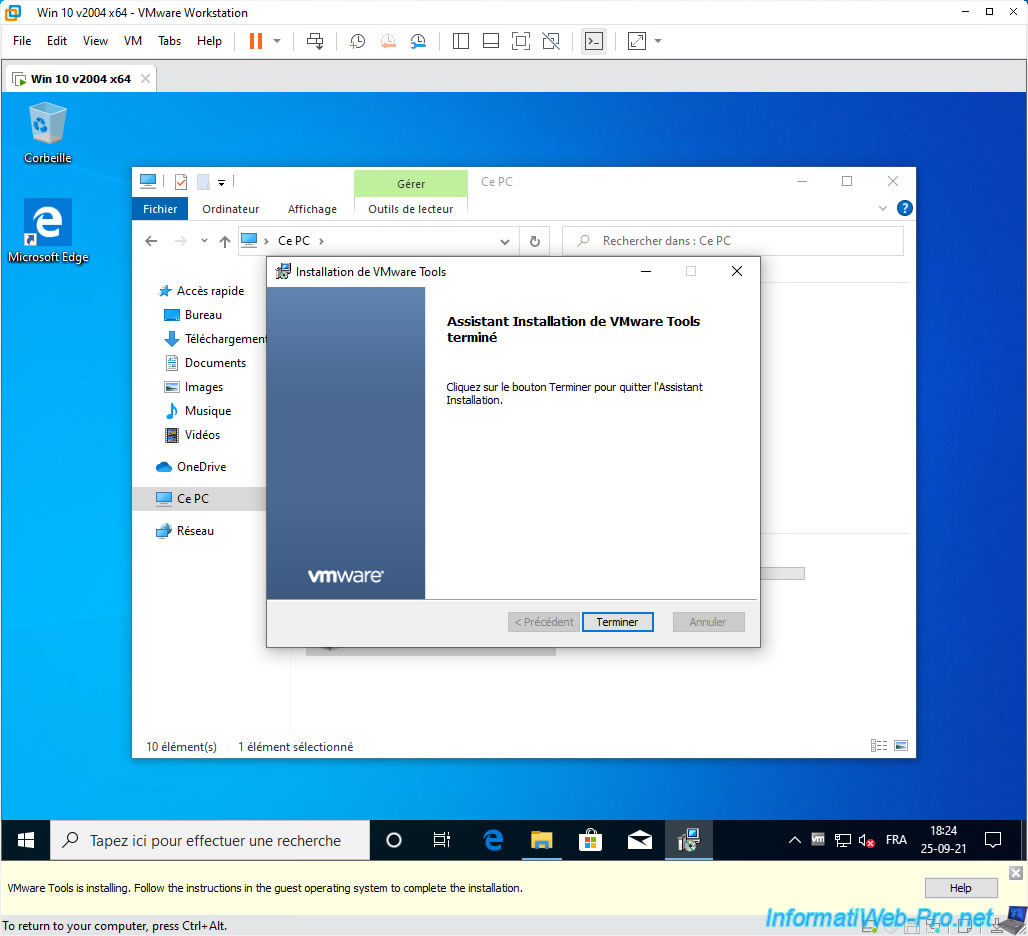
Select the "Yes" button and press Enter to restart the virtual machine.
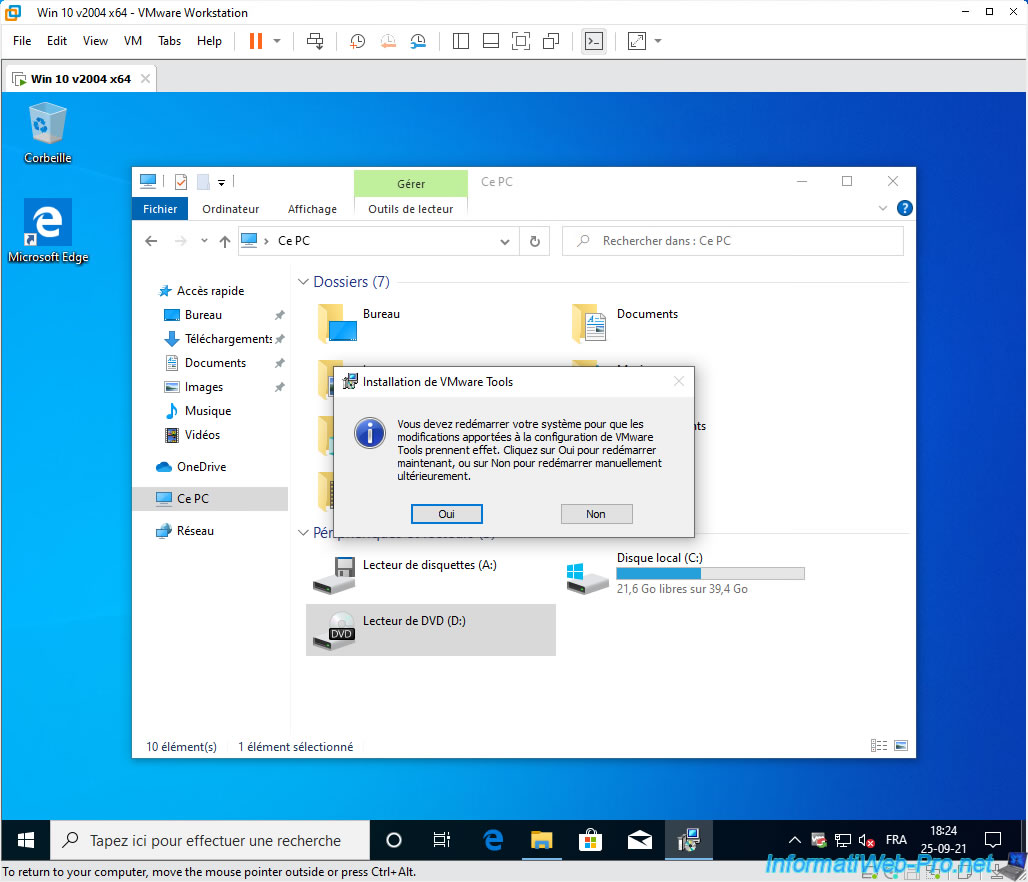
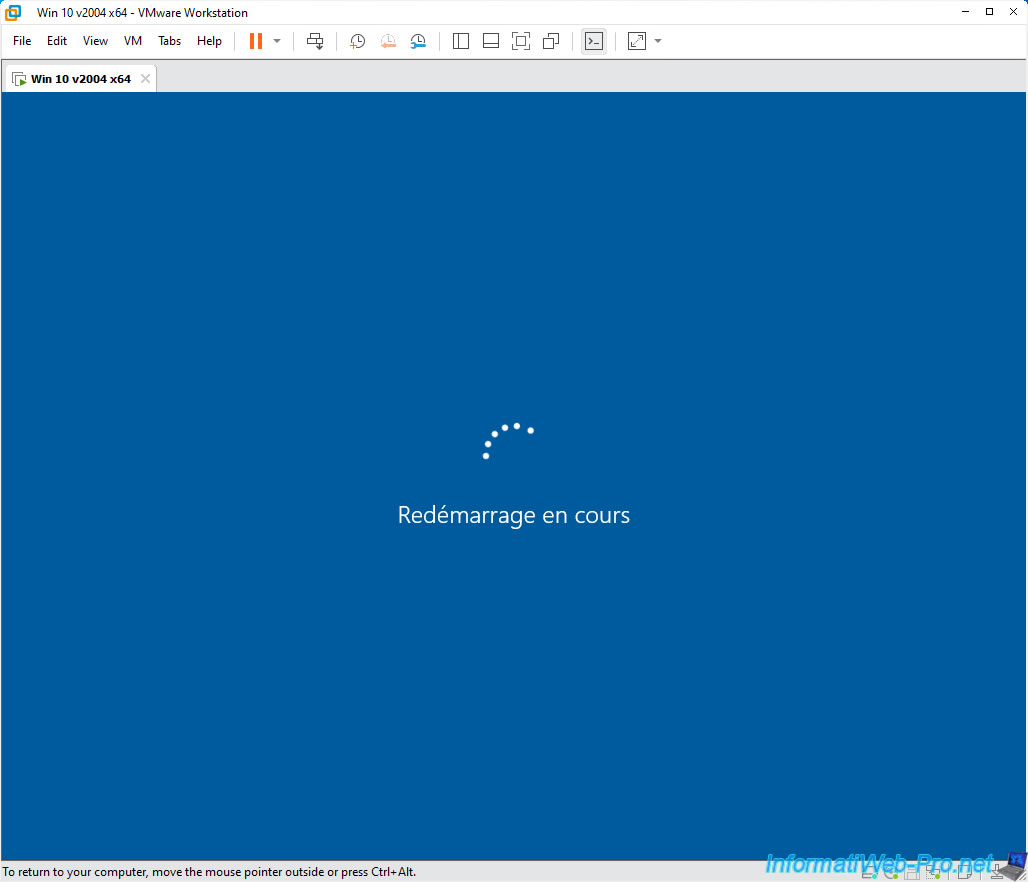
The virtual machine restarts.
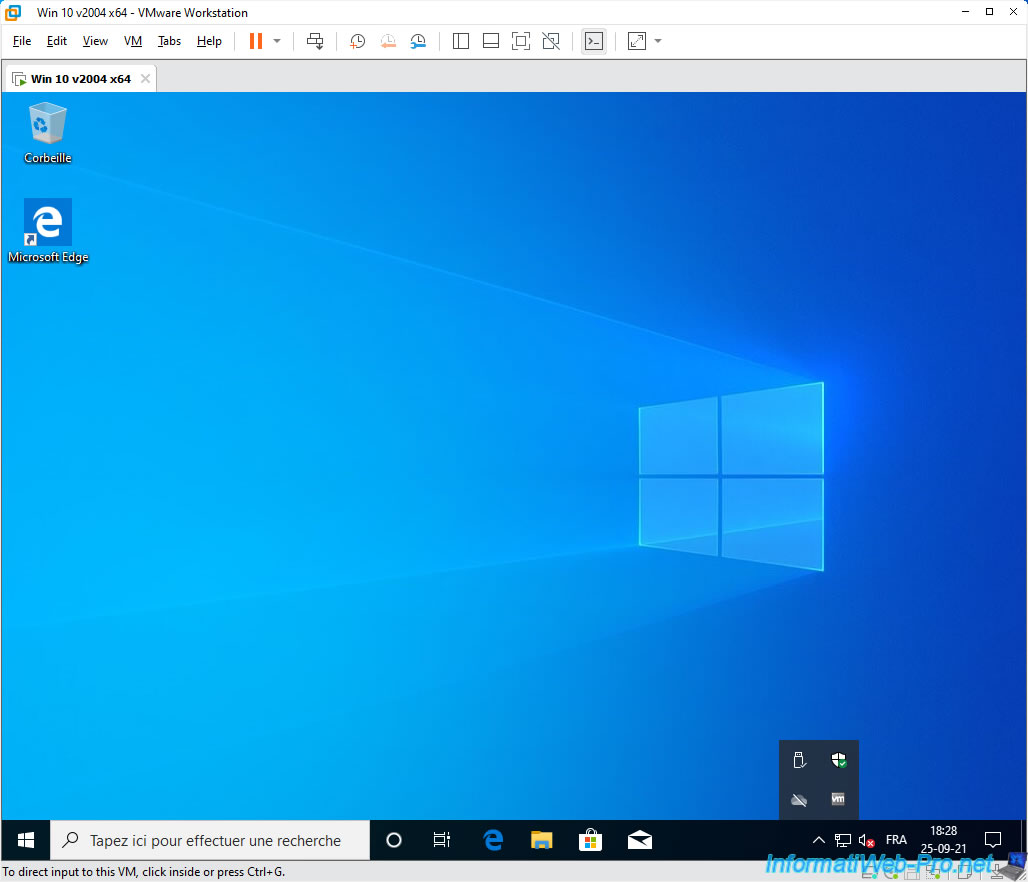
As you can see in the taskbar, the "VM" icon appears.
Which means that the VMware Tools have been installed.
Now, the mouse is working properly.
Share this tutorial
To see also
-

VMware 3/16/2013
VMware Workstation - Boot a VM on the BIOS / EFI firmware
-

VMware 2/7/2020
VMware Workstation 15 - Installation on Linux
-

VMware 12/24/2021
VMware Workstation 15 - Slice the virtual hard disk of a VM
-

VMware 12/10/2021
VMware Workstation 15.5 - Convert a Virtual PC virtual machine to a VMware VM
No comment