Convert a Hyper-V virtual machine to a VMware Workstation virtual machine using VMware vCenter Converter Standalone
- VMware
- 17 December 2021 at 20:05 UTC
-

- 3/3

7. Solution for Generation 2 imported virtual machines
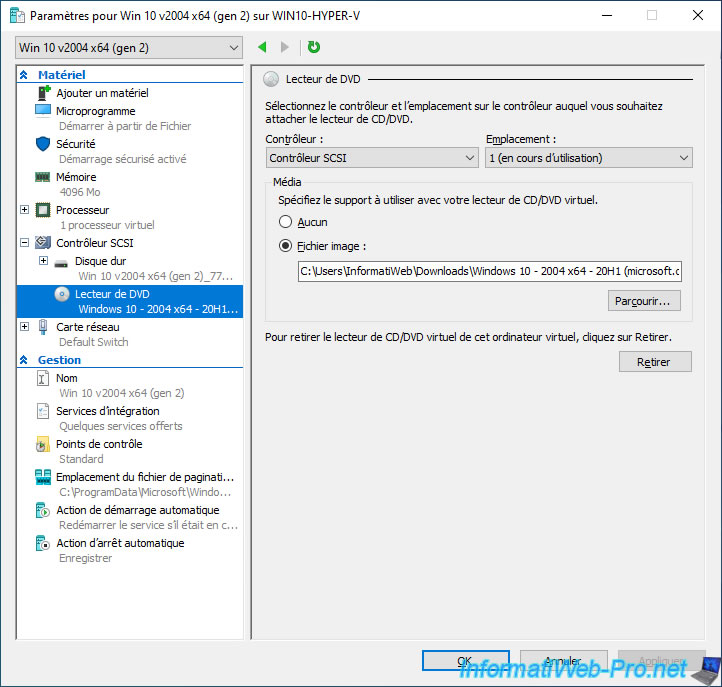
If the source virtual machine was Generation 2, it's highly likely that your VMware virtual machine doesn't have a DVD drive.
Without this DVD drive, installation of VMware Tools will not be possible.

Note that in Generation 2, the virtual DVD drive provided by Hyper-V is connected to a SCSI controller and not an IDE controller as is the case with Generation 1 virtual machines.
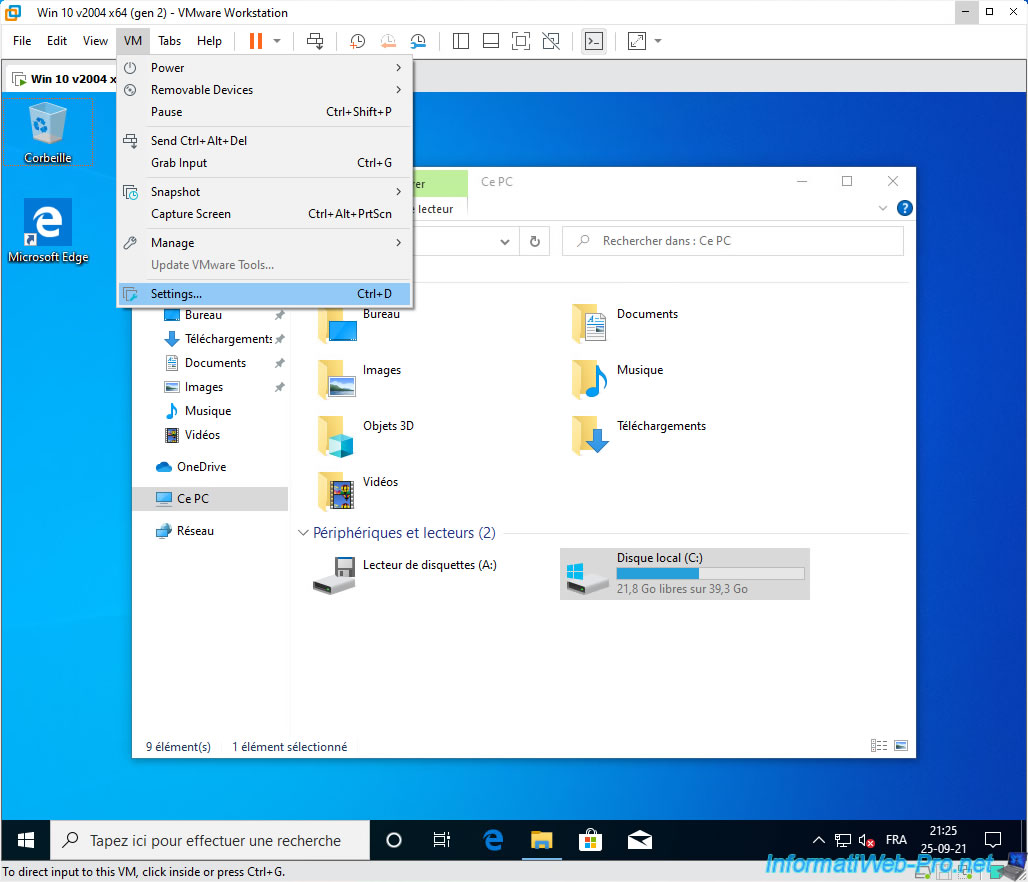
To add the missing virtual DVD drive, click on : VM -> Settings.
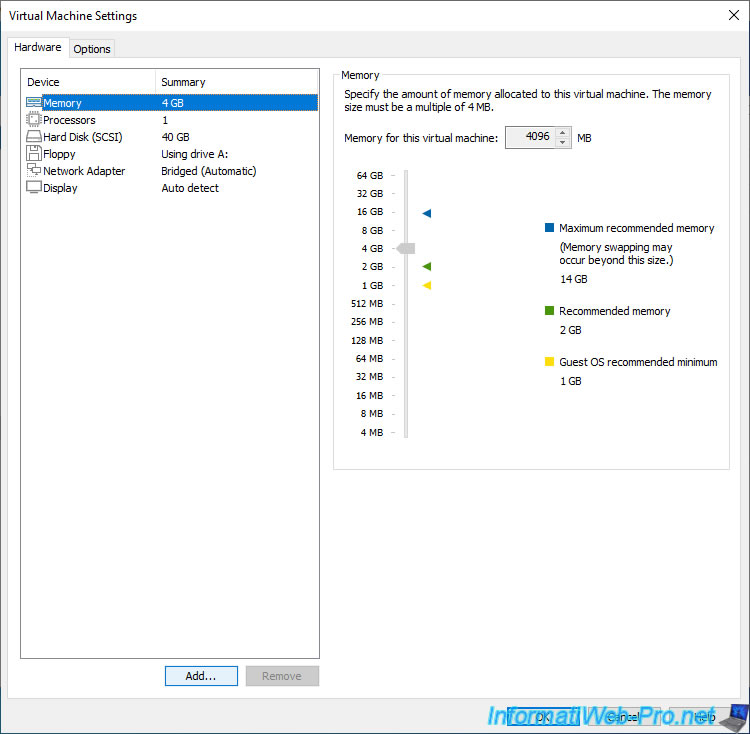
Click the "Add" button at the bottom of the list.
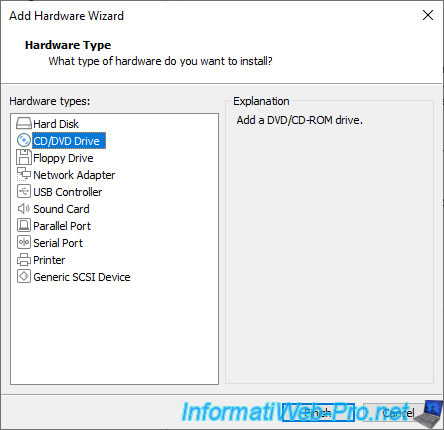
Select "CD/DVD Drive" and click Finish.
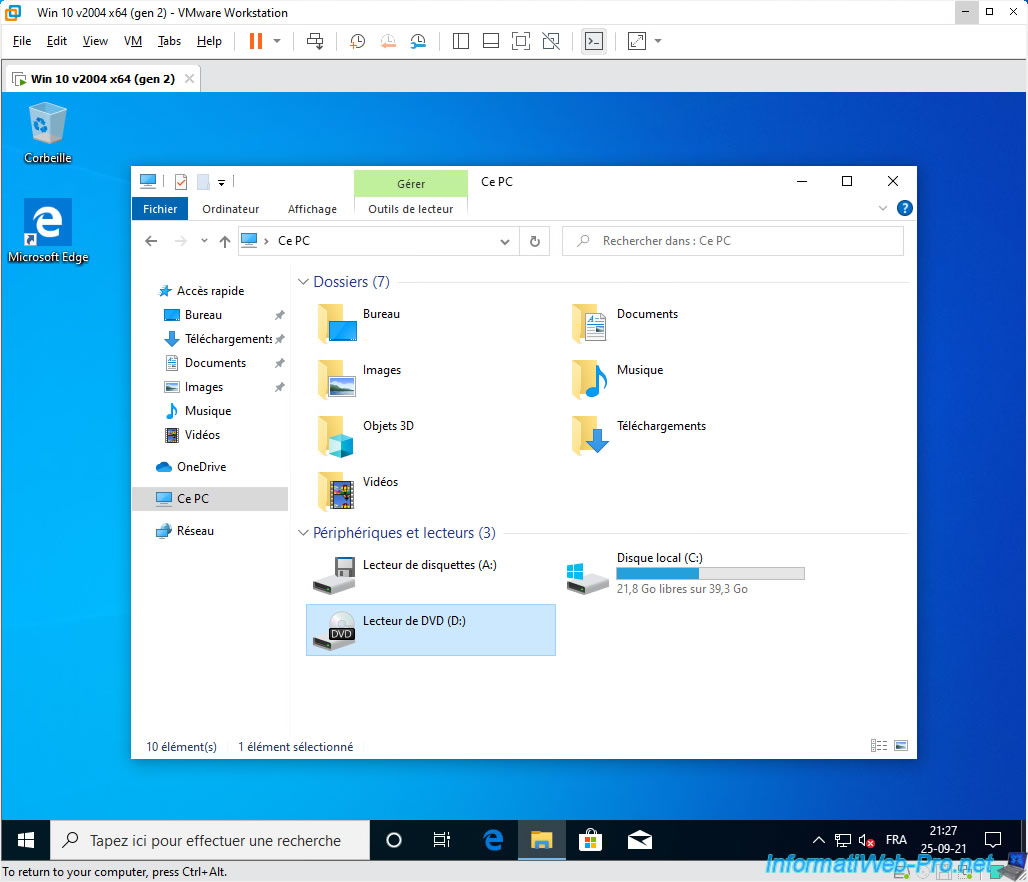
Uncheck the "Connect at power on" box and select "Use physical drive: Auto detect".
Then, click on OK.

A new DVD drive appears in the guest operating system's file explorer.
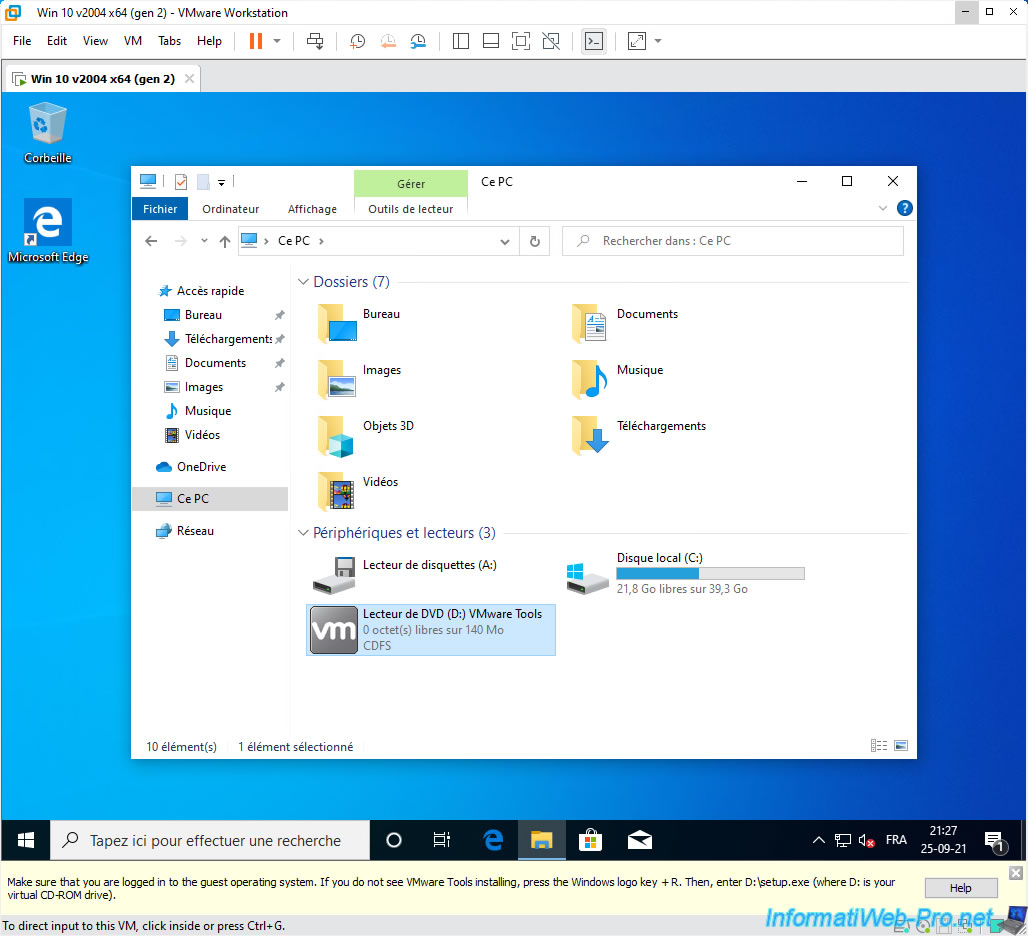
Now, you have the possibility to launch the installation of VMware Tools by clicking on : VM -> Update VMware Tools.

The VMware Tools virtual CD appears.
8. Upgrade virtual machine virtual hardware
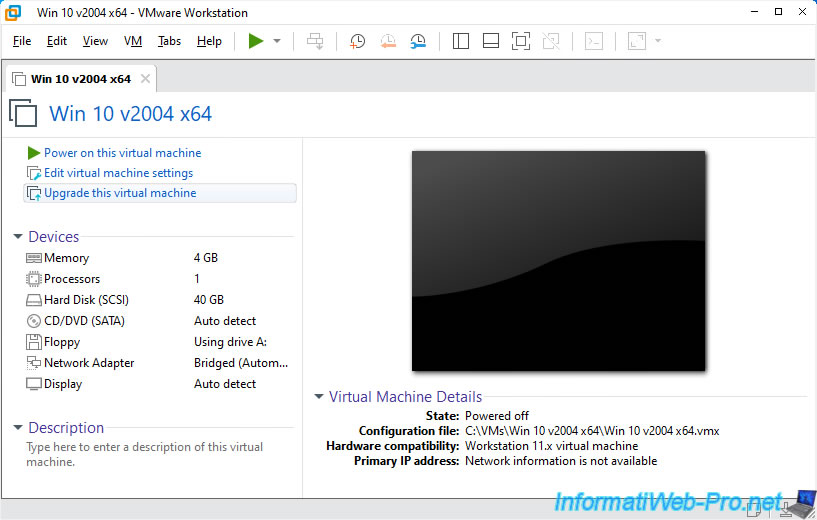
In VMware vCenter Converter Standalone, you could use VMware Workstation version 11.x/12.x as a maximum for the destination.
This means that the virtual machine will be created with virtual hardware in version 11.x.
To upgrade it and thus benefit from all the features and performance offered by your version of VMware Workstation, click on : Upgrade this virtual machine.
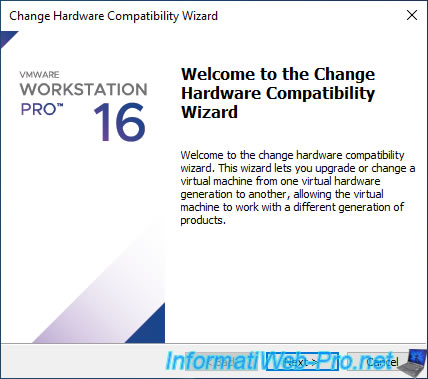
The "Change Hardware Compatibility Wizard" appears.
Click on : Next.
Select your version of VMware Workstation from the list and click Next.
In our case : Workstation 16.x.

Select "Alter this virtual machine" and click Next.
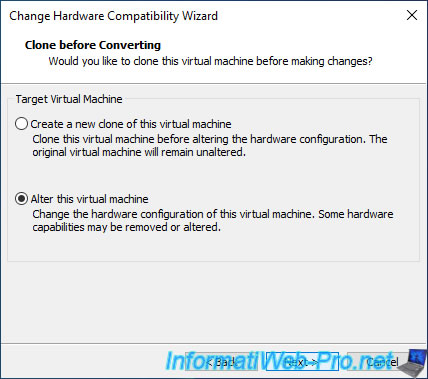
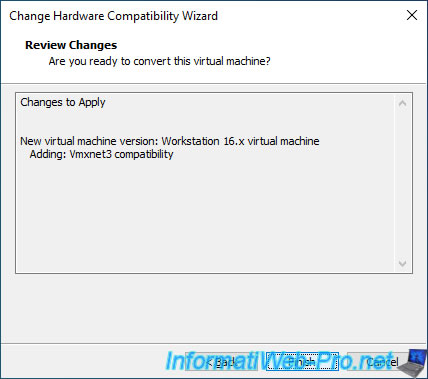
As you can see, in our case, it will add compatibility with Vmxnet3 network adapters.
Click on Finish.
Click on Close.
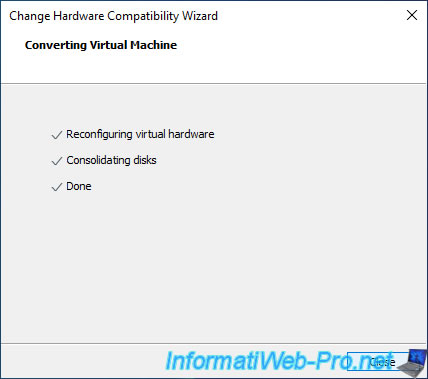
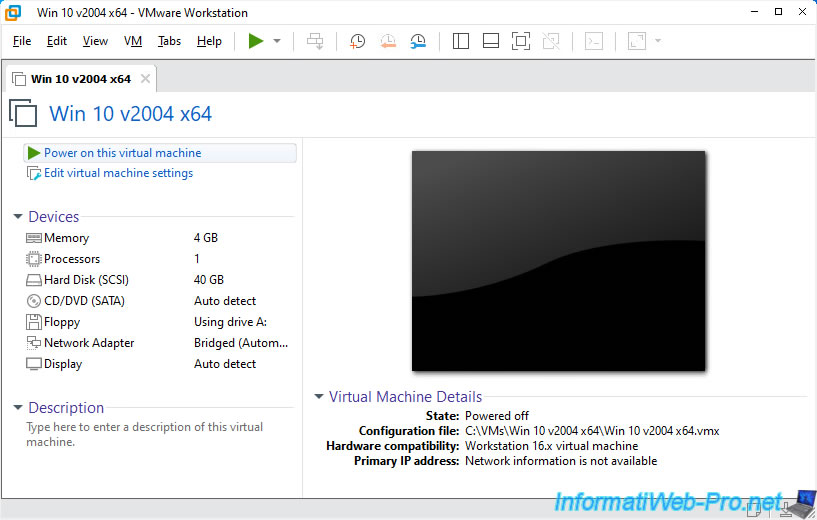
Your virtual machine's virtual hardware has been upgraded.
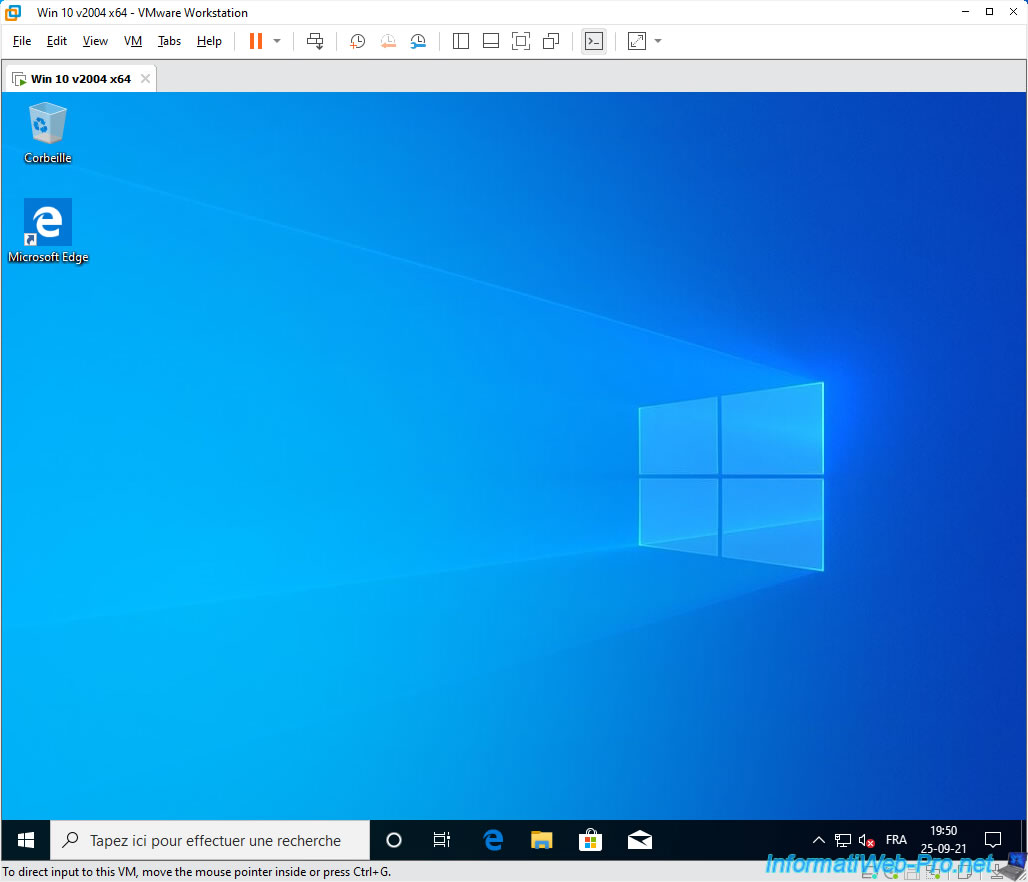
Now, start your virtual machine to make sure it's still running.
As expected, this works without any problem.
And VMware Tools are still functional.
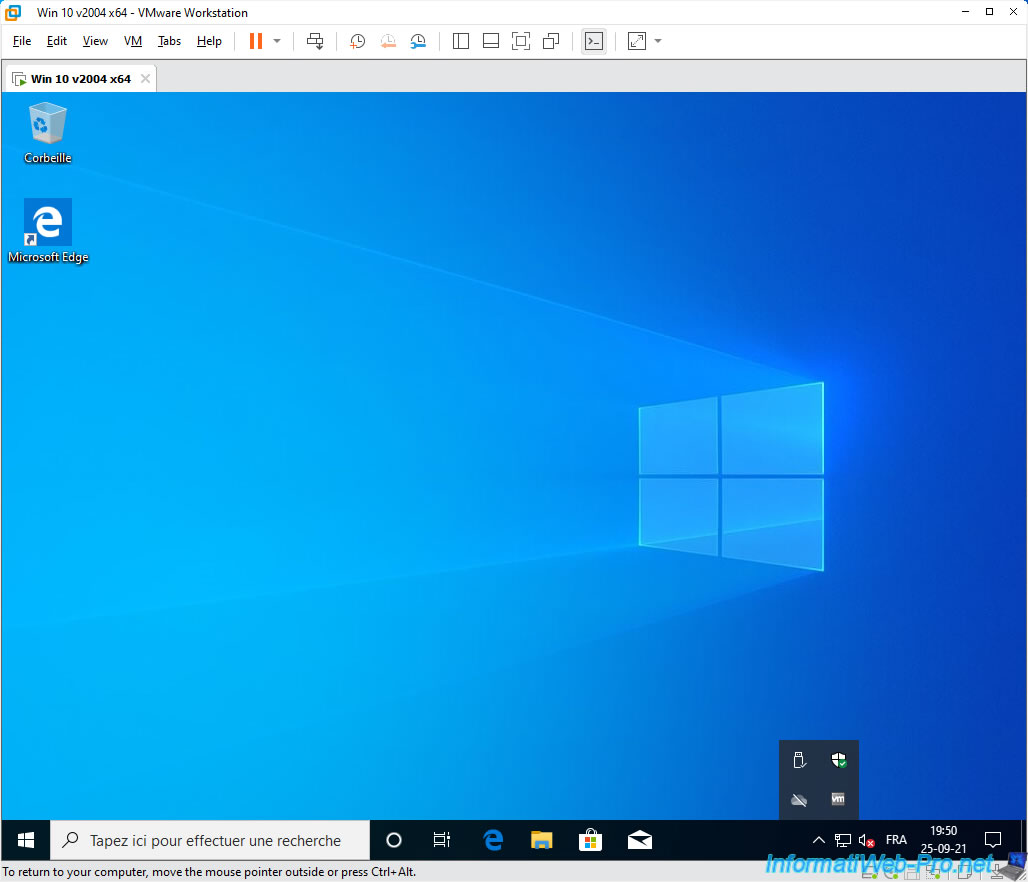
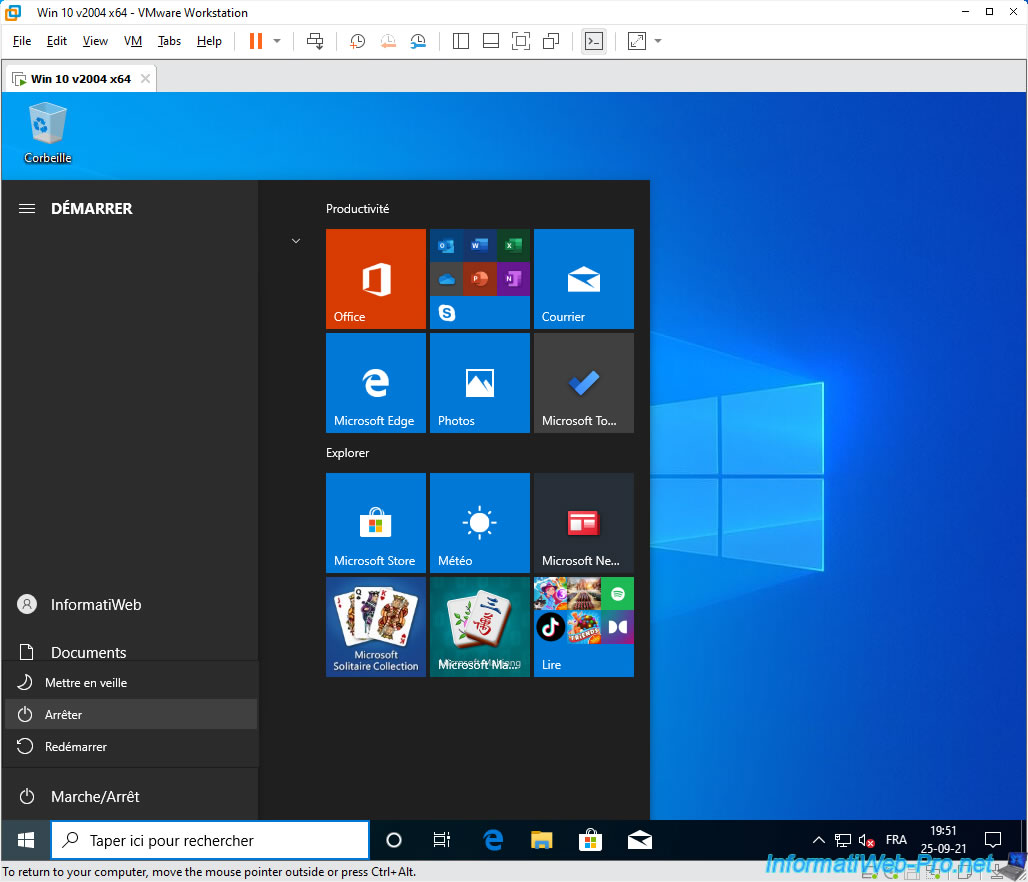
You can shut down your virtual machine.
Share this tutorial
To see also
-

VMware 3/16/2013
VMware Workstation - Boot a VM on the BIOS / EFI firmware
-

VMware 2/7/2020
VMware Workstation 15 - Installation on Linux
-

VMware 12/24/2021
VMware Workstation 15 - Slice the virtual hard disk of a VM
-

VMware 12/10/2021
VMware Workstation 15.5 - Convert a Virtual PC virtual machine to a VMware VM
No comment