- VMware
- 02 October 2020 at 12:17 UTC
-

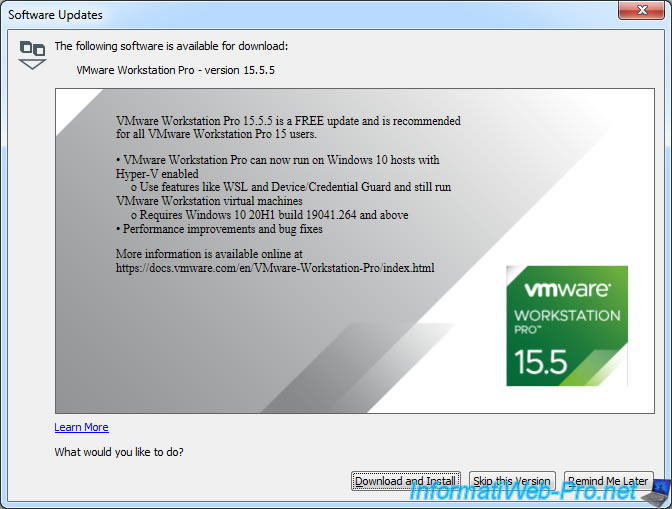
Since VMware Workstation 15.5.5, you can now use VMware Workstation and Hyper-V simultaneously if you have Windows 10 v2004 (20H1) or later.
What was not possible before : Hyper-V - Coexistence with VirtualBox or VMware Workstation
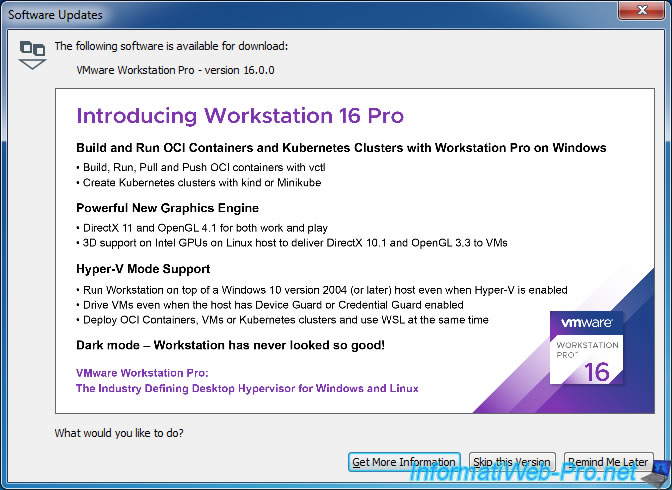
With VMware Workstation 16, this support has been updated to also support the deployment of OCI (Open Container Initiative) containers, virtual machines and Kubernetes clusters at the same time as using WSL (Windows Subsystem for Linux).
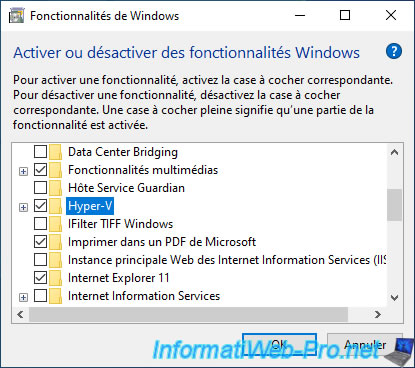
For this tutorial, we therefore installed Windows 10 Pro in version 2004 (20H1) and we activated the "Hyper-V" feature.
Note : Hyper-V is not available in the Family edition of Windows 10.
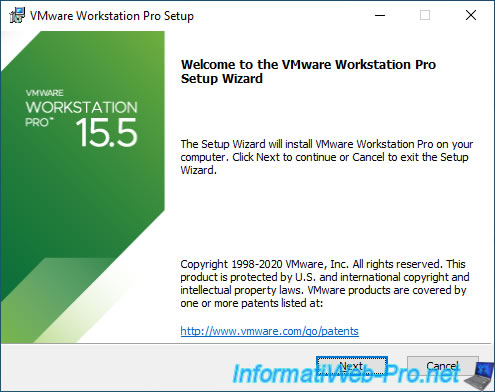
Start the installation of VMware Workstation 15.5.5 (if it's not already installed).
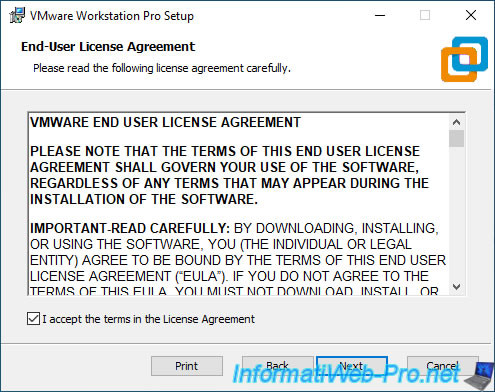
Accept the license agreement.
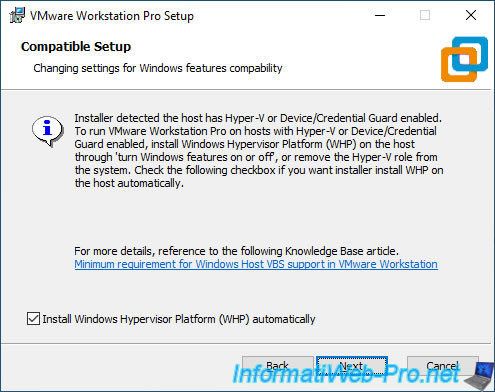
If Hyper-V is installed, but the "Windows Hypervisor Platform" (WHP) Windows feature is not installed, the "Compatible Setup" step will be displayed.
As indicated by this wizard, the installer has detected that Hyper-V is enabled. However, for VMware Workstation to function properly, you will need to install/activate the feature mentioned above.
Leave the "Install Windows Hypervisor Platform (WHP) automatically" box checked and click Next.
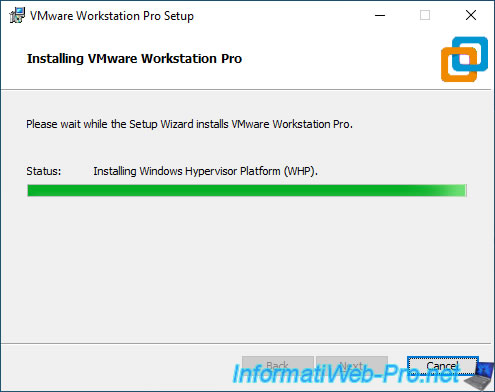
At the end of the installation of VMware Workstation Pro, you will see the "Installing Windows Hypervisor Platform (WHP)" message appears.
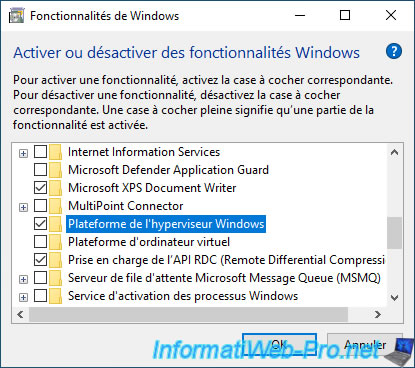
Once the installation is complete, you will see that the "Windows Hypervisor Platform" Windows feature is now activated.
If VMware Workstation was already installed before you enabled Hyper-V, be sure to enable this "Windows Hypervisor Platform" feature manually.
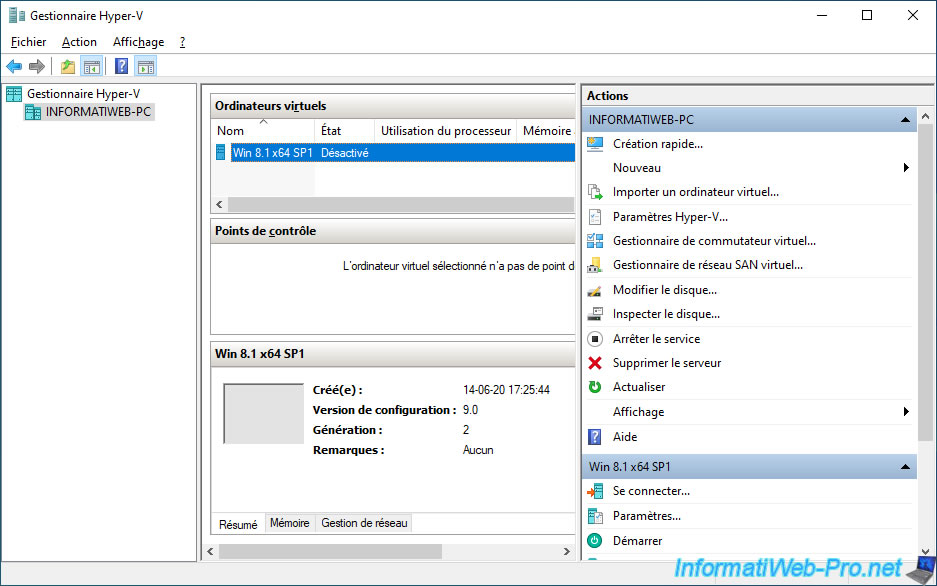
We created and installed a virtual machine via the Hyper-V manager of Windows 10 v2004 (20H1).
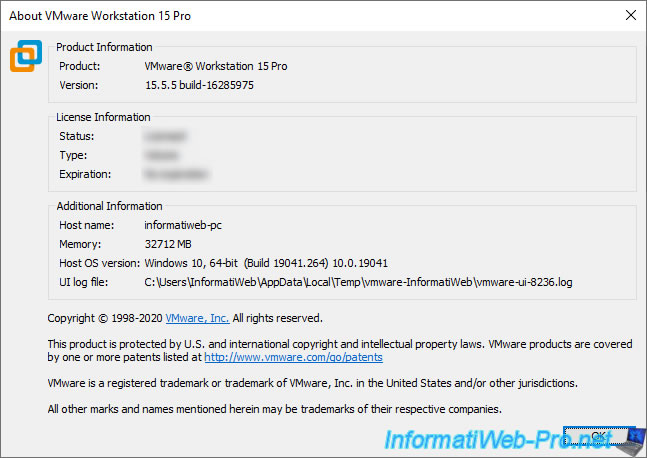
As shown in the image below, we are using version 15.5.5 of VMware Workstation Pro.
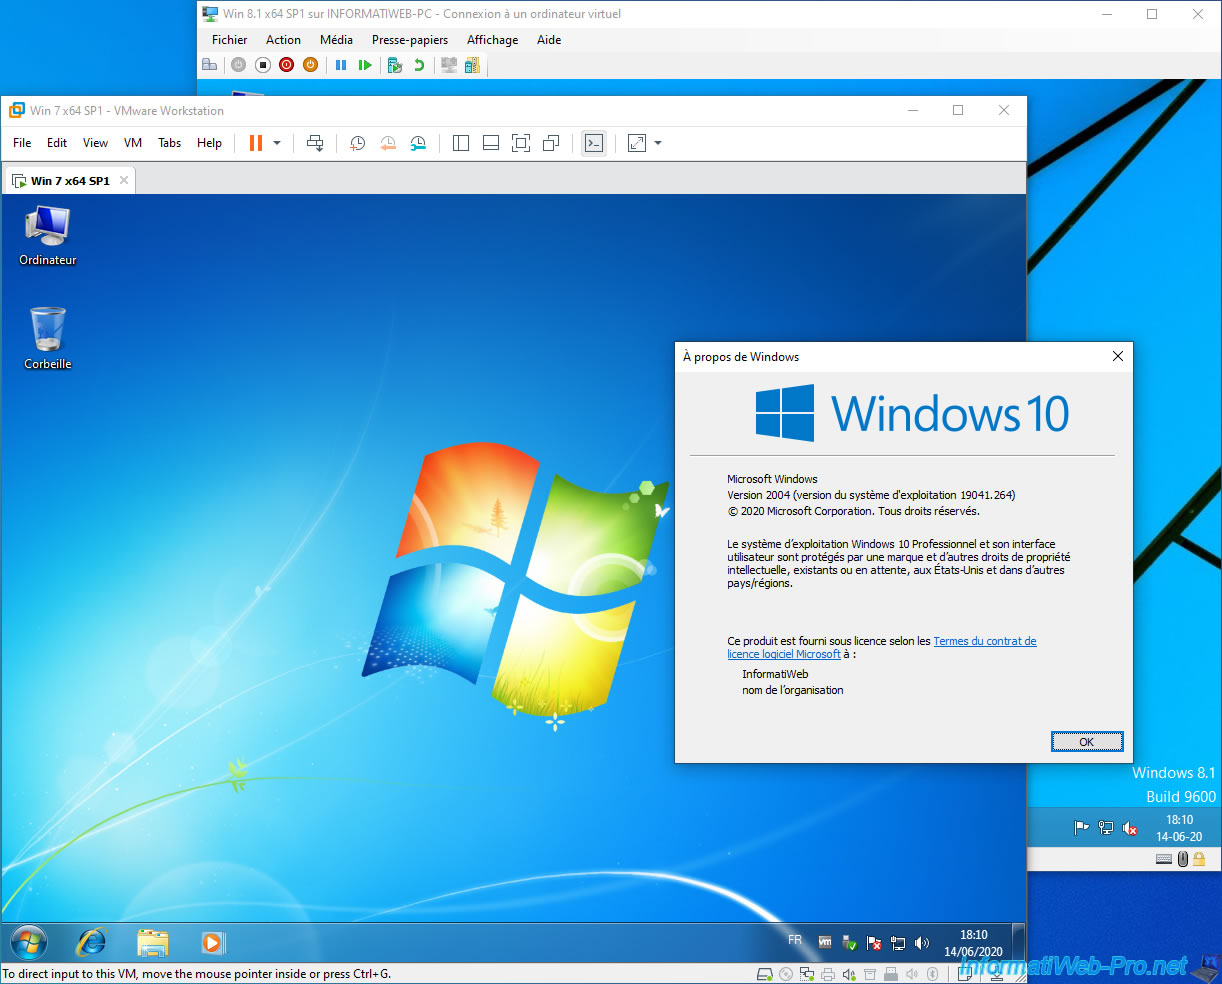
And as expected, you can use VMware and Hyper-V virtual machines simultaneously without any problem.
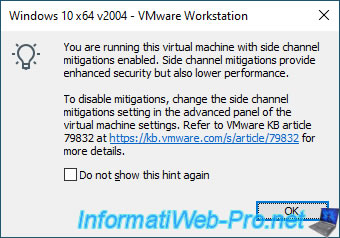
Update 2020 : since VMware Workstation 16, you will see this message appear when launching your virtual machines :
You are running this virtual machine with side channel mitigations enabled. Side channel mitigations provide enhanced security but also lower performance.

To disable mitigations, change the side channel mitigations setting in the advanced panel of the virtual machine settings. Refer to VMware KB article 79832 at https://kb.vmware.com/s/article/79832 for more details.
Check the "Do not show this hint again" box and click OK.
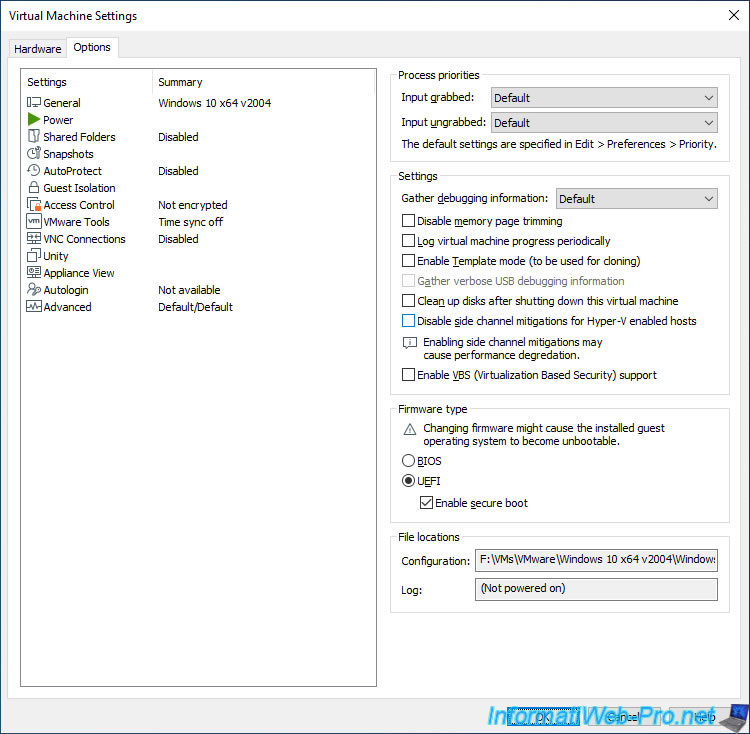
As indicated in this post, you can disable this option in the advanced settings of your virtual machine.
To do this, open the settings of your virtual machine and go to the "Options" tab.
Then, select "Advanced" and you will find the "Disable side channel mitigations for Hyper-V enabled hosts" box.
Share this tutorial
To see also
-
VMware 3/16/2013
VMware Workstation - Boot a VM on the BIOS / EFI firmware
-
VMware 2/7/2020
VMware Workstation 15 - Installation on Linux
-
VMware 12/24/2021
VMware Workstation 15 - Slice the virtual hard disk of a VM
-
VMware 12/10/2021
VMware Workstation 15.5 - Convert a Virtual PC virtual machine to a VMware VM

You must be logged in to post a comment