- Windows Server
- 24 March 2018 at 11:20 UTC
-

- 1/5

When you choose the Windows MultiPoint Server 2012 Premium Edition, Microsoft allows you to link your WMS 2012 server to an Active Directory.
By joining the server to your Active Directory, the virtual desktops will be automatically linked to the same Active Directory domain as your WMS 2012 server.
With this link, you can centralize your users, as well as the group policies that you want to apply to different virtual desktops.
- Required configuration
- Virtual desktop linked to the domain
- DHCP network configuration
- Check the virtual desktop network configuration
- Virtual desktop management from MultiPoint Manager
- Active Directory users management for virtual desktops
- Manage Active Directory user rights on virtual desktops
- Check the rights of Active Directory users on virtual desktops
- Fix to allow virtual desktop administrators to access the MultiPoint programs
1. Required configuration
In our case, we used :
- 1 server running Windows MultiPoint Server 2012 Premium
- 1 server running Windows Server 2012 with the Active Directory (AD DS) role installed
Note : the Active Directory (AD DS) role can't be installed on the Windows MultiPoint Server 2012 server.
To link your Windows MultiPoint Server 2012 Premium server to an Active Directory, refer to our previous tutorial : Windows MultiPoint Server 2012 - Join a WMS 2012 server to an Active Directory and use roaming profiles
2. Virtual desktop linked to the domain
Enable virtual desktops and create one if necessary, then click : Customize virtual desktop template.
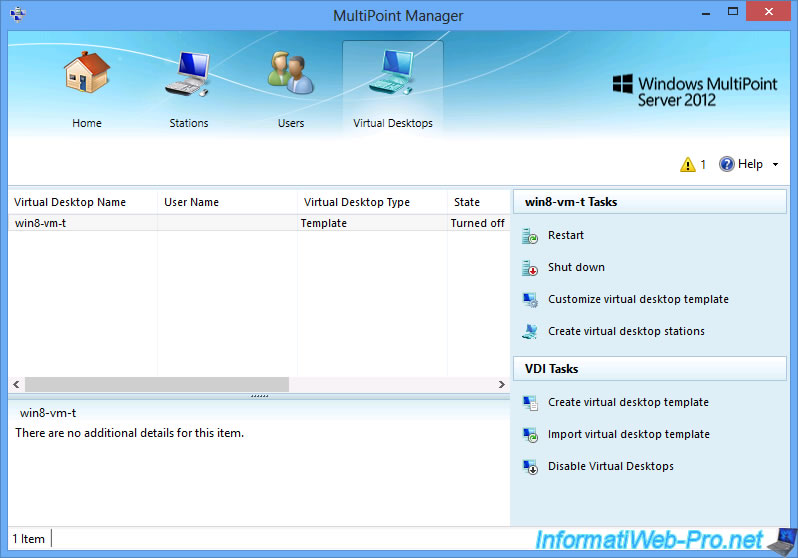
From the moment your Windows MultiPoint Server 2012 Premium server is joined to a domain, you will no longer be able to manage virtual desktops with a local account.
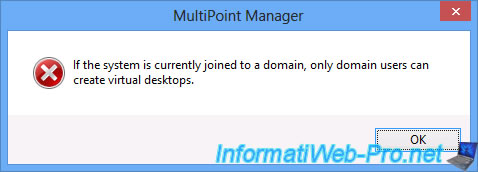
In our case, we logged in with an Active Directory account that we added to the administrators of our WMS 2012 server.
So, the above error will not appear.
In the Windows 8 Enterprise system properties, we see that the virtual desktop template is actually linked to the same domain that we linked our WMS 2012 server.
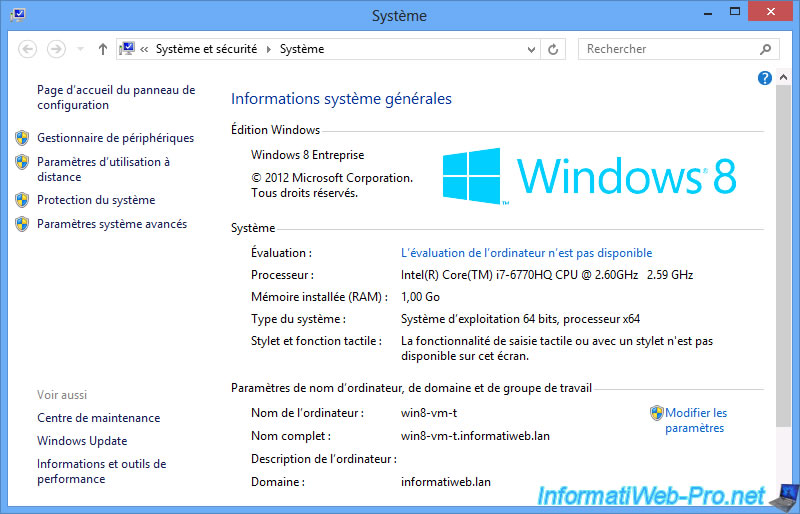
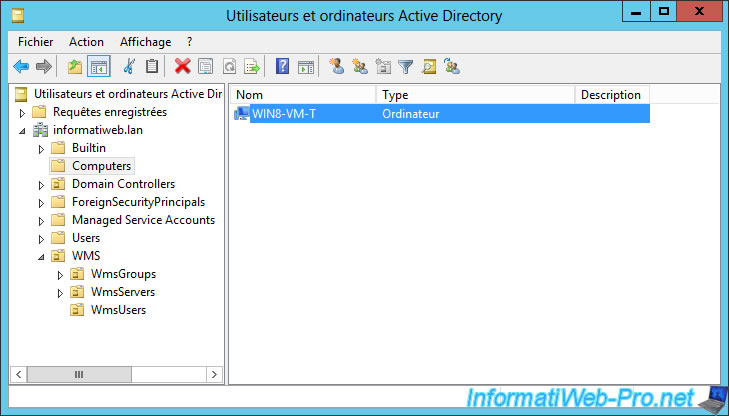
A computer account will have appeared on your Active Directory server.
3. DHCP network configuration
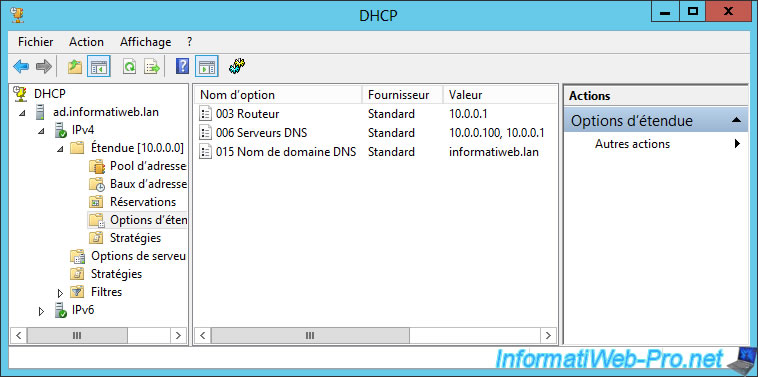
To allow your virtual desktops to connect to your Active Directory server (to manage user authentication and to receive group policies that you have defined on your Active Directory server), you will need to specify the IP address of your Active Directory server as the primary DNS server.
To do this, you will need to disable your router's DHCP server and install the Windows Server DHCP role.
In our case, we added the DHCP role on our Active Directory server.
Once the DHCP role is installed, create a new scope.
In our case, we chose the range "10.0.0.11 to 10.0.0.30" because our WMS server 2012 has the "10.0.0.10" IP address.
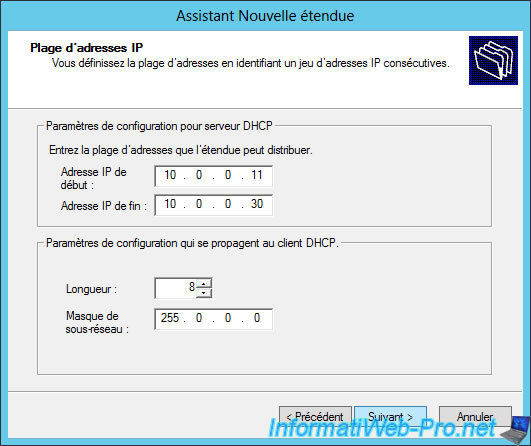
Click Next.
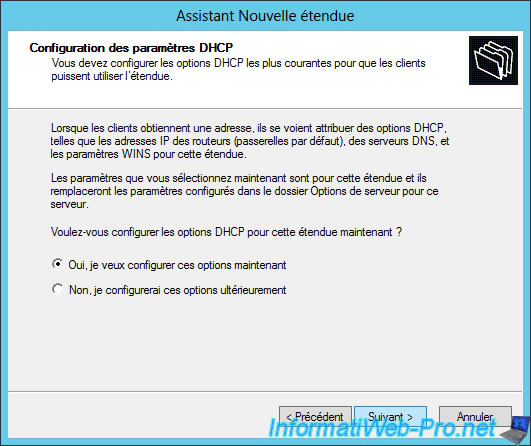
Choose the "Yes, I want to configure these options now" option and click Next.
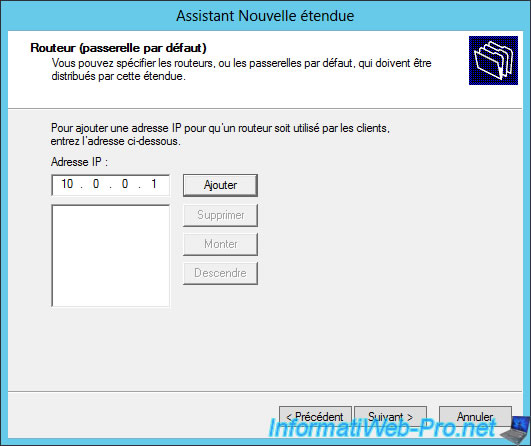
Enter the IP address of your router and click Add, then Next.
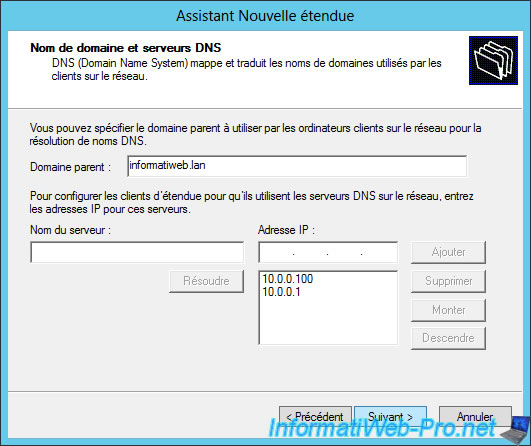
If you installed the DHCP role on your Active Directory server, the required data might already be shown :
- parent domain : your Active Directory domain
- IP addresses of DNS servers : the IP address of your Active Directory server, then that of your router.
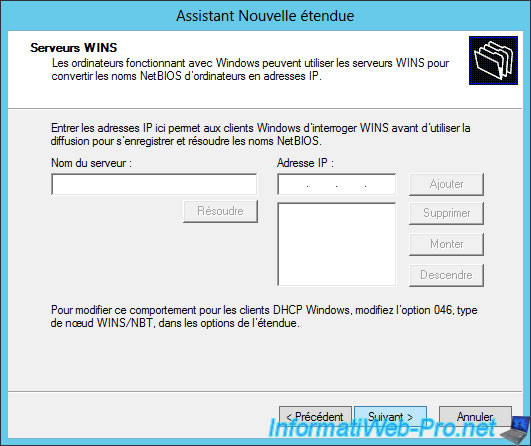
No need for a WINS server.
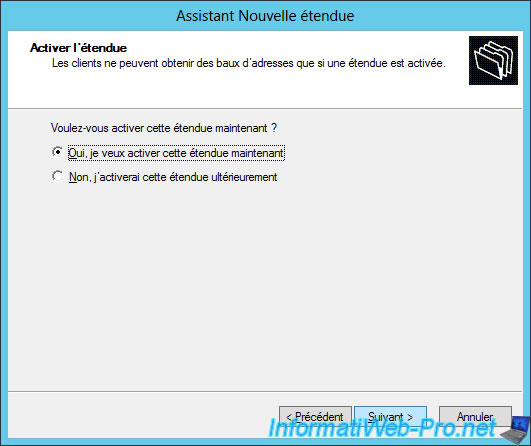
Choose "Yes, I want to activate this scope now".
Here is a summary of the configured DHCP options.
Share this tutorial
To see also
-
Windows Server 2/12/2018
WMS 2012 - Enable the Disk Protection
-
Windows Server 1/17/2018
WMS 2012 - Install, configure and how works MultiPoint 2012
-

Windows Server 2/21/2018
WMS 2012 - Joining an AD and use roaming profiles
-

Windows Server 2/3/2018
WMS 2012 - Manage desktop computers with the MultiPoint Connector
You must be logged in to post a comment