- Windows Server
- DHCP
- 15 April 2015 at 14:19 UTC
-


A DHCP server can distribute IP addresses to client computers, but also other information such as: the DNS server to use, the address of the gateway (router), a boot file to download for a PXE boot network, ...
Important :
- For the clients receive IP addresses only from your DHCP server, you must connect your server and clients on a Switch (don't use a router). If you use a router, you must disable his DHCP server.
- For your clients can access the Internet, you have 2 options :
1. Enter the IP address of a router as the default gateway for your clients (by using the option 003 Router of your DHCP server).
2. Turn your server into a router by follow this (to do after the installation and the DHCP server configuration) : "Windows Server 2012 - NAT and network routing"
In this case, you'll need at least 2 NICs (Network Cards). One connected to the Switch (private network) and the other to the modem, switch, or the router where Internet is connected.
- Set a fixed IP address on the server
- Install the DHCP server
- Configure the DHCP server
- DHCP server test
1. Set a fixed IP address on the server
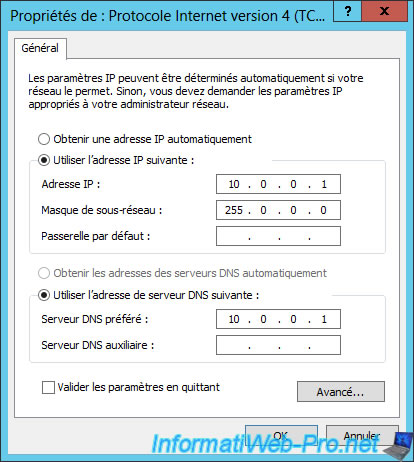
Before starting the tutorial, we will first set an IP address for the server. This IP address must be in the same IP address range that customers so that machines can communicate.
To do this, go to : Start Menu -> Control Panel -> Network Connections and right-click on "Local Area Connection".
In this tutorial, we will create a class scope A (10.x.x.x).
Here is the configuration of the Local Area Connection that we will use :
2. Install the DHCP server
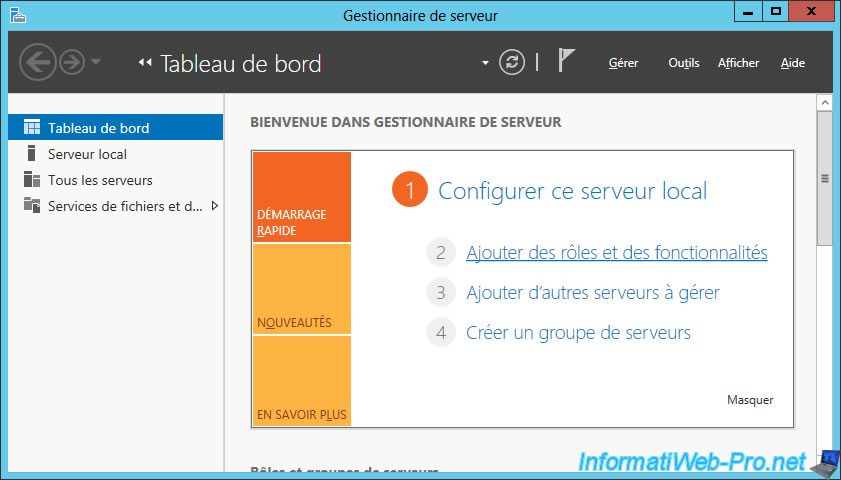
In the "Server Manager" window, click "Add roles and features."
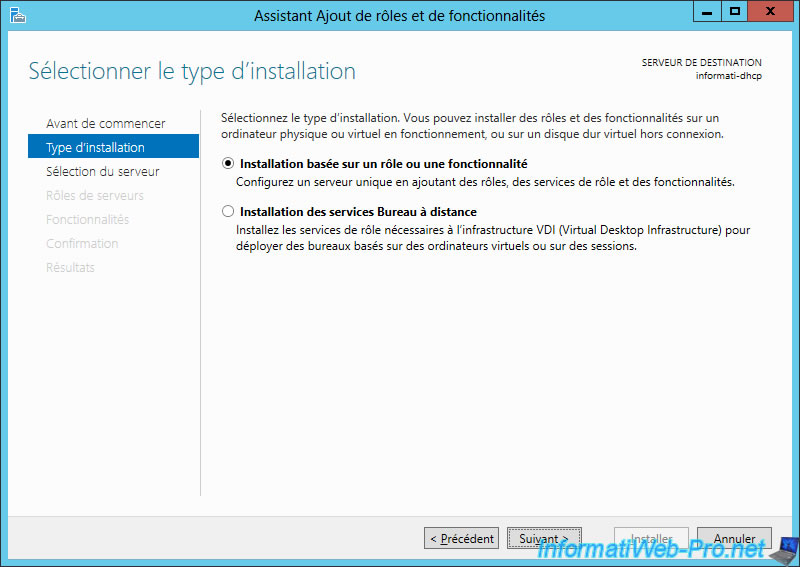
Select "Application based on a role or a feature".
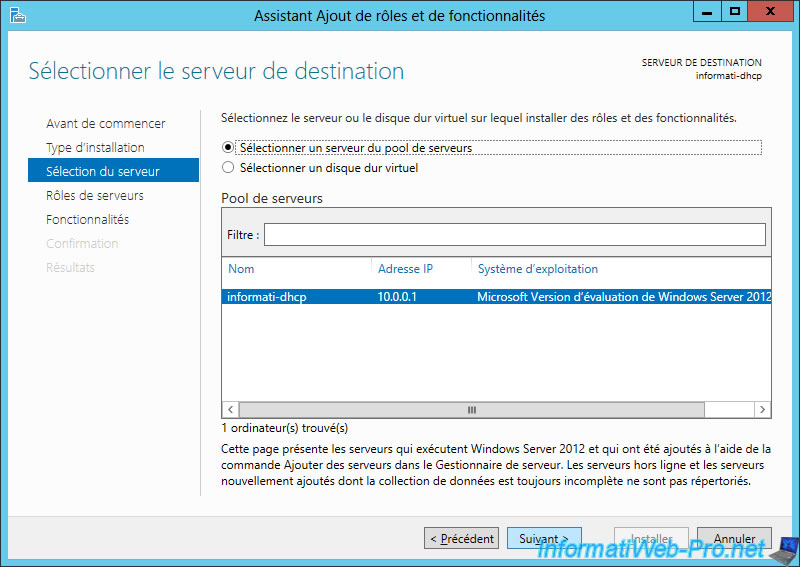
Select the server where you want to install your DHCP server.
Select the "DHCP Server" role.
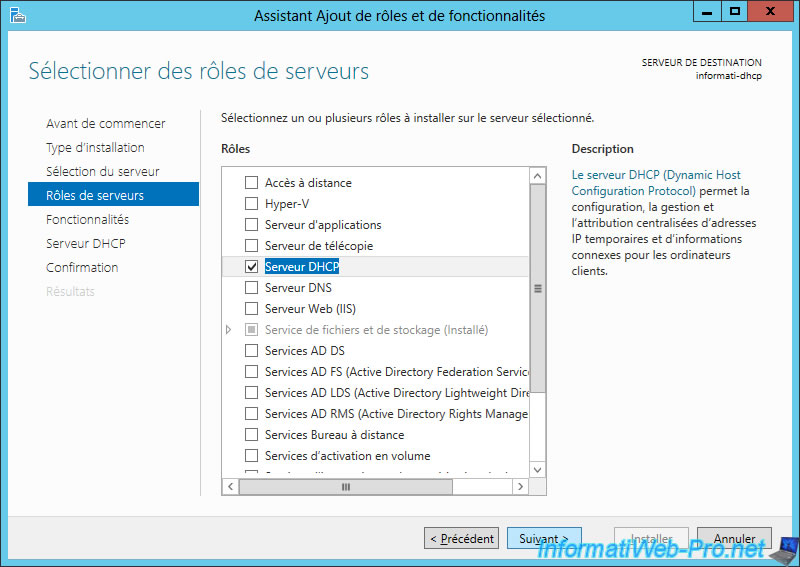
The wizard displays a description of the DHCP server.
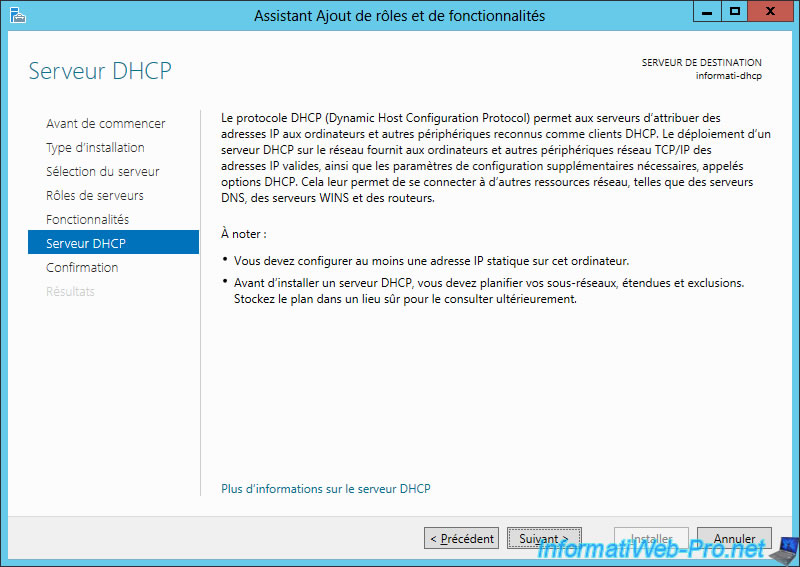
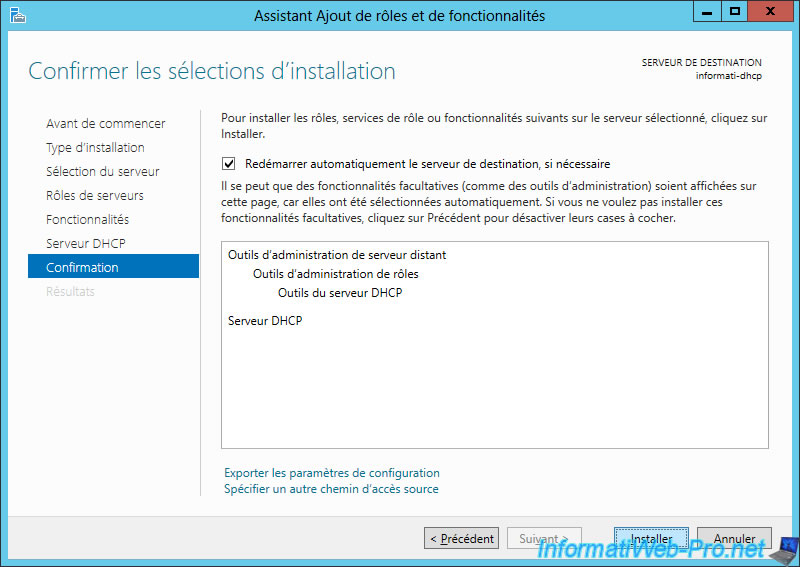
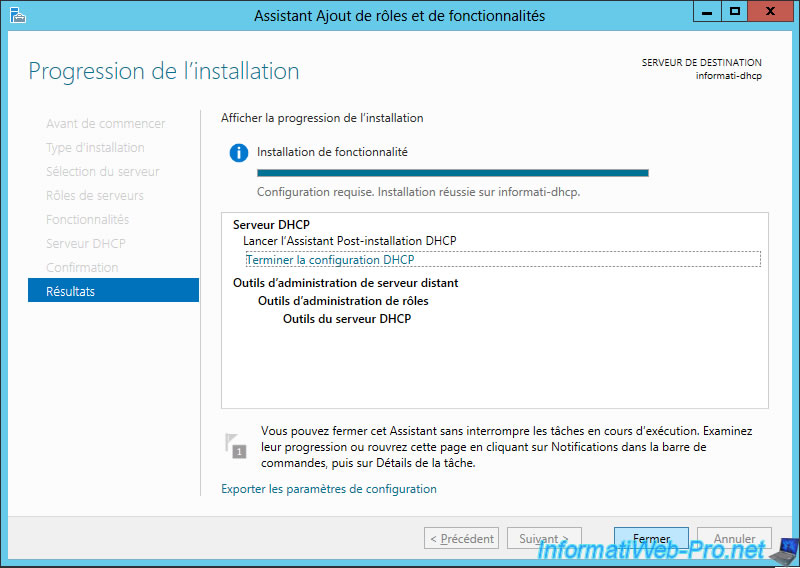
Click "Install".
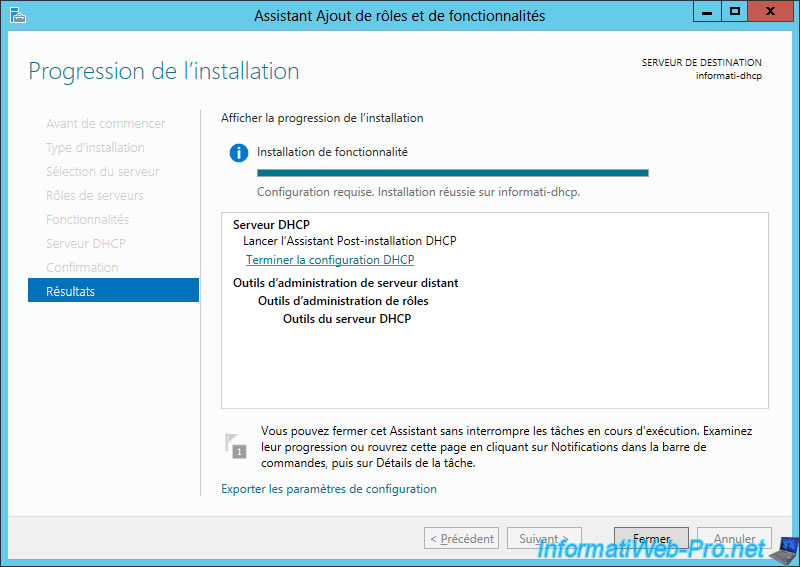
Small difference compared to Windows Server 2008, a small automatic configuration is required after installing the DHCP server. Click on the "Finish the DHCP configuration" link.
Click "Submit".
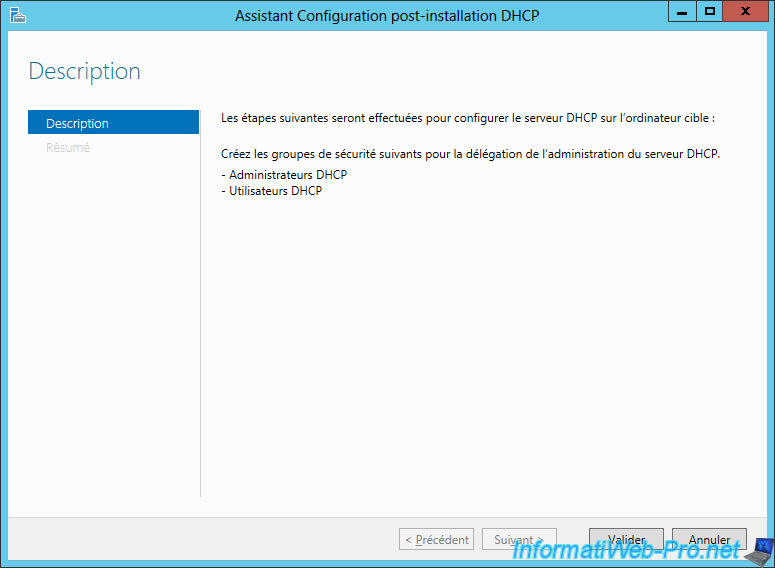
The wizard create security groups needed for the DHCP server.
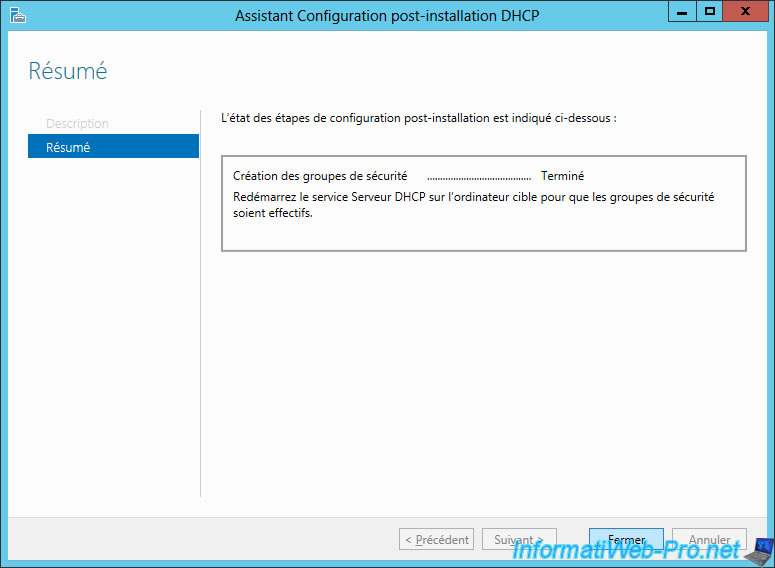
The DHCP server is installed. Click Close.
3. Configure the DHCP server
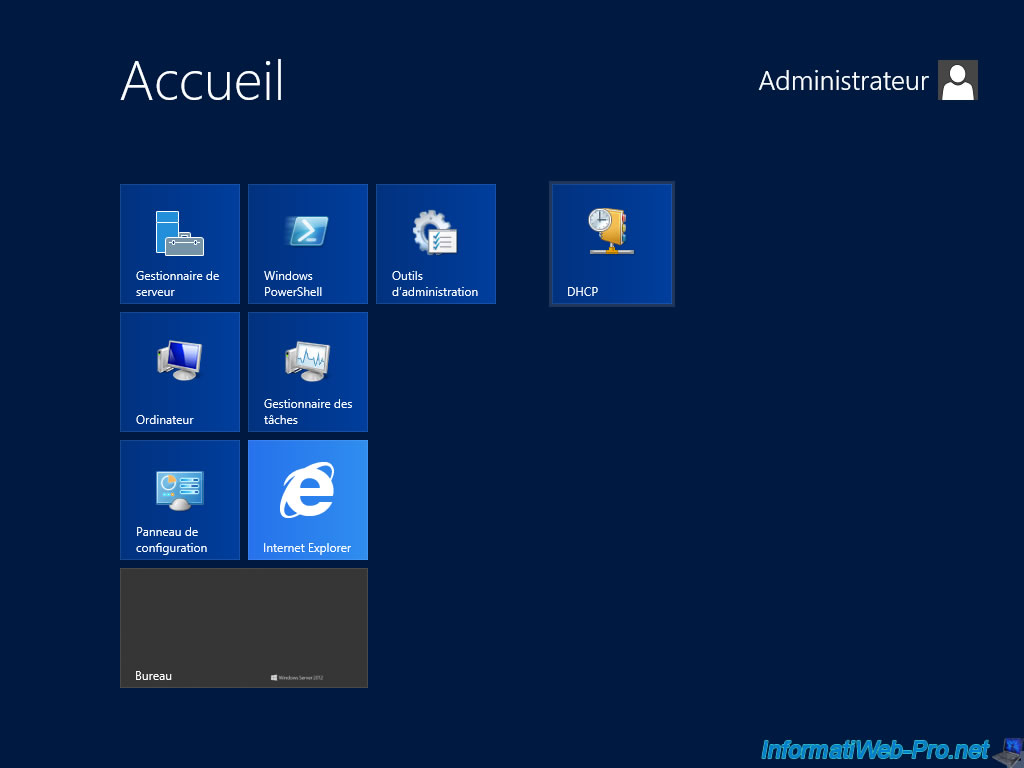
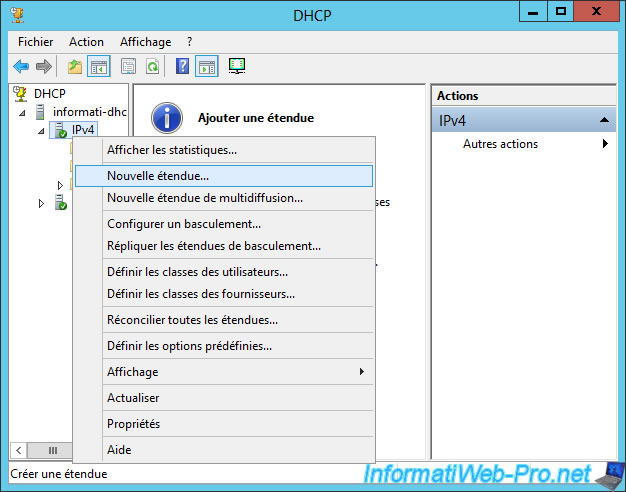
To configure the DHCP server, launch the DHCP program.
Right click on the IP protocol to be used (in our case : IPv4) and click "New Scope".
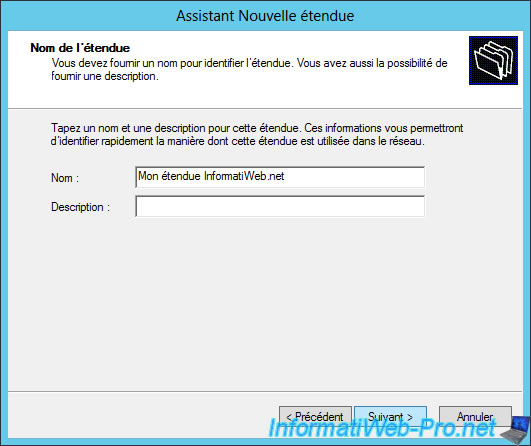
Specify a name and a description, if you wish.
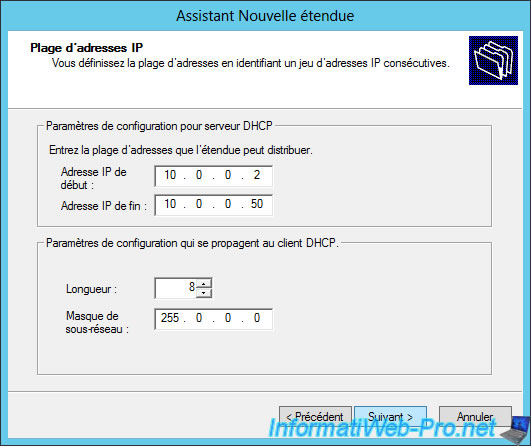
Specify the range of IP addresses to distribute to network computers.
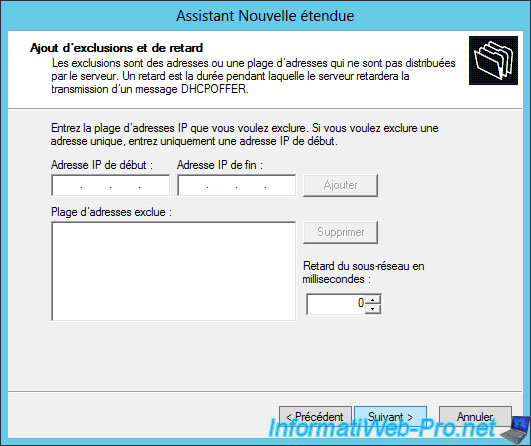
Indicate the IP addresses to exclude from the range of IP addresses.
Example :
You create a range of IP addresses "10.0.0.2 to 10.0.0.50" but a server is configured with a static IP address "10.0.0.24". To prevent tha a computer receives this IP address (which would cause an IP address conflict), specify the IP address (in this example : 10.0.0.24) in the "Start IP Address" case. Then, click "Add".
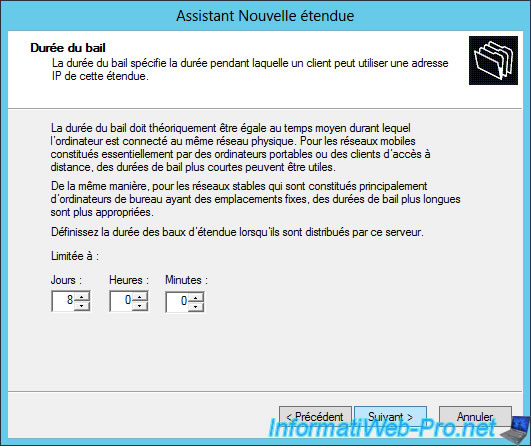
Indicate the lifetime of an IP address. After this time, the client computer must request a new IP address from the DHCP server.
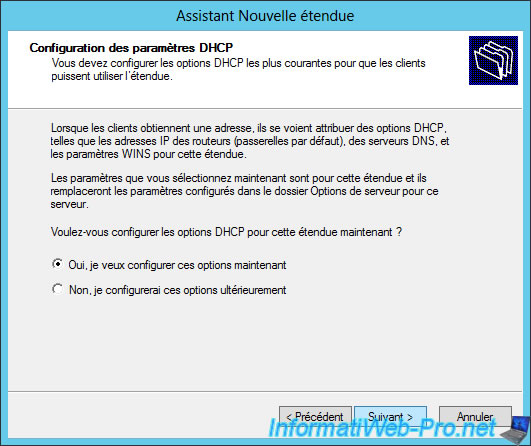
Choose "Yes, I want to configure these options now".
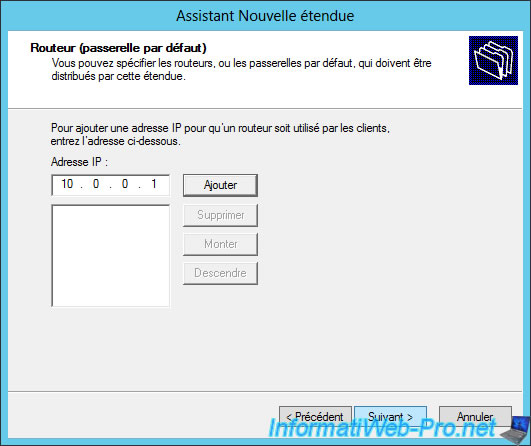
Enter the IP address of the router that clients use.
In our case, we will transform our server into a router. We have therefore indicated the IP address of our server as a router, but you can also use a physical router.
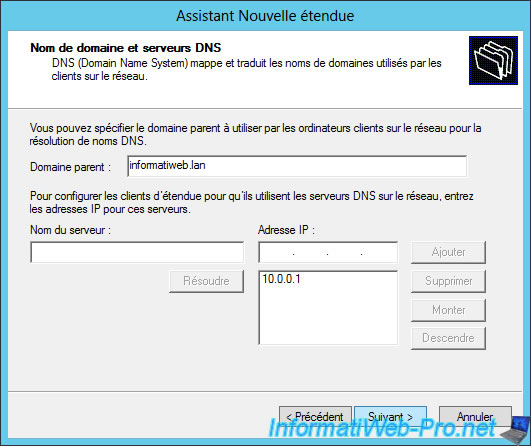
If you have an Active Directory installed on your network, you can specify the domain as the parent domain. (this isn't required)
For the DNS server, you can specify :
- the IP address of your server if you have installed a DNS server.
- the IP address of your router (because the IP addresses of the DNS servers of your ISP are indicated therein).
- IP addresses of Google public DNS servers : 8.8.8.8 and 8.8.4.4
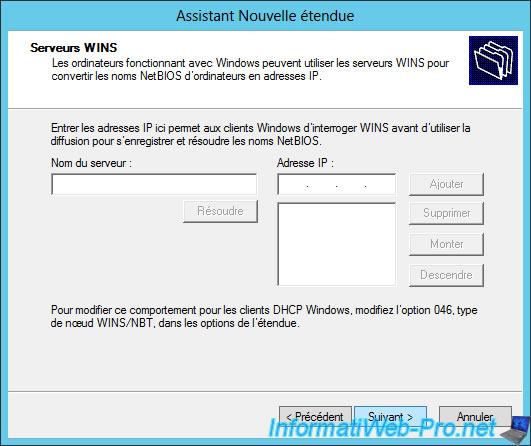
The WINS server translates NetBIOS computer names into IP addresses.
This is similar to the DNS server that translates domain names into IP addresses.
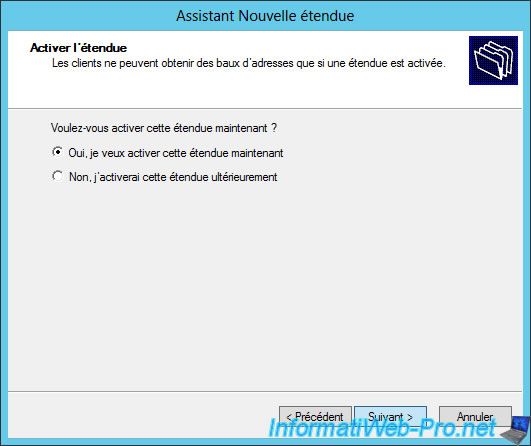
Select "Yes, I want to activate this scope now".
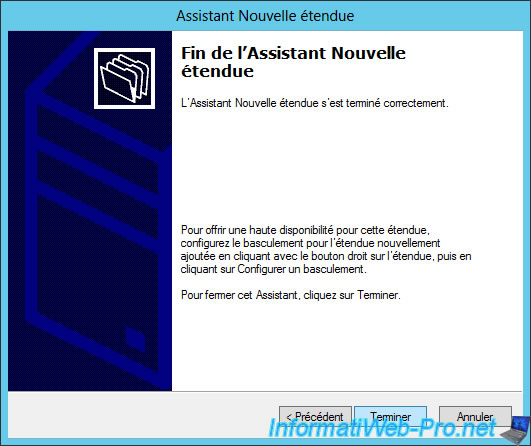
The new scope is configured.
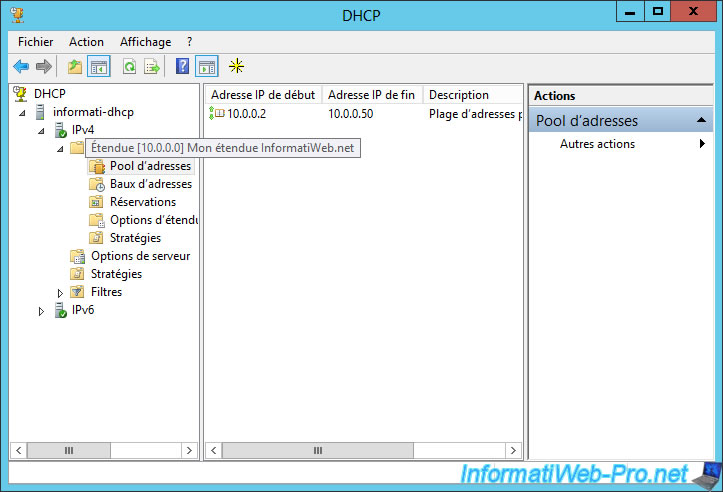
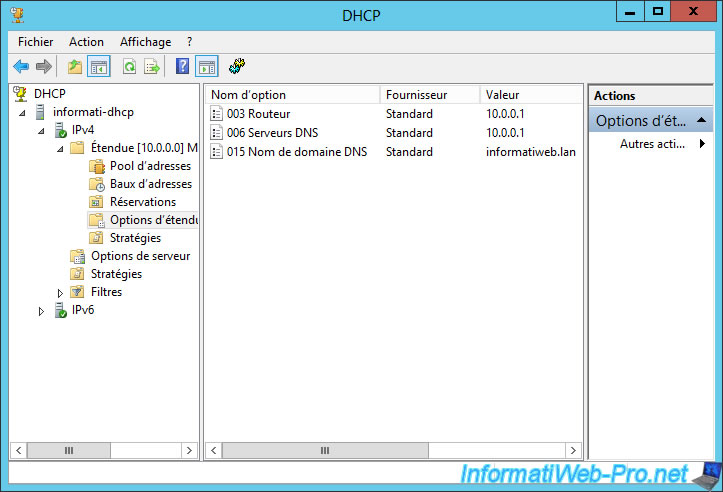
In the DHCP window you will find :
- the list of scopes configured on your DHCP server.
- the IP address pool : IP address range to distribute to client computers.
- IP address leases : IP addresses that are currently associated with your client computers.
- Reservations : IP addresses reserved for specific devices. Example : a server or a network printer that must always receive the same IP address.
- scope options : IP addresses of the DNS servers, gateway, ... to send to client computers.
- server options : same as the scope options, but these options are apply for all scopes configured on your DHCP server.
- other more advanced information for filter requests, ...
4. DHCP server test
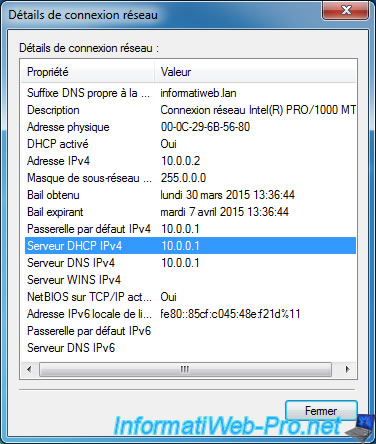
To test our DHCP server, we connect a machine with Windows 7 on the same switch that our server. The network card of this machine is configured to automatically receive an IP address by DHCP (default configuration of a machine running Windows, Linux, ...)
As you can see, our client computer has received IP address "10.0.0.2" for him and IP address "10.0.0.1" as the default gateway and as a DNS server.
Note : If your client computer doesn't have Internet access, check that :
- the IP address of the gateway is the router's IP address
- the IP address of the DNS server is the IP address of the router, or an existing DNS server. If necessary, indicate those of Google (8.8.8.8 and 8.8.4.4) in the "006 DNS Servers" option of your DHCP server.
If you want to turn your server router, follow our tutorial : Windows Server 2012 - NAT and network routing
Share this tutorial
To see also
-

Windows Server 4/28/2012
WS 2003 - Créer un serveur DHCP
-

Windows Server 8/8/2012
WS 2008 - Créer un serveur DHCP
You must be logged in to post a comment