Join Windows MultiPoint Server 2012 virtual desktops to an Active Directory and centralize users management
- Windows Server
- 24 March 2018 at 11:20 UTC
-

- 4/5

7. Manage Active Directory user rights on virtual desktops
To ensure that our users have the correct rights on our virtual desktops, simply add our Active Directory groups to the local groups present in the virtual desktops.
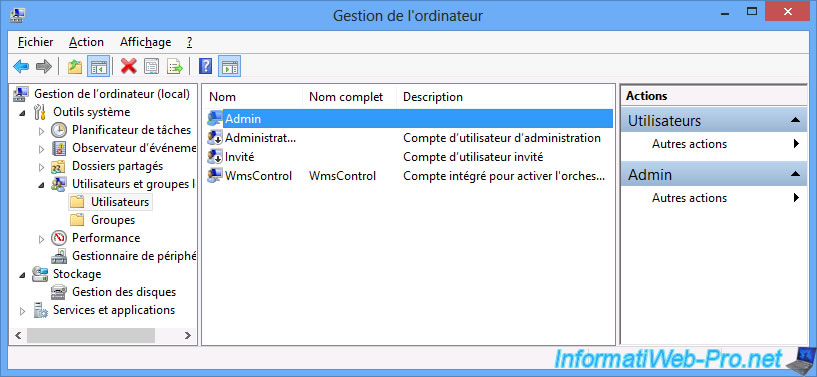
To find out in which group is the local administrator created when creating the virtual desktop template, just look at the properties of this account directly from the virtual desktop.
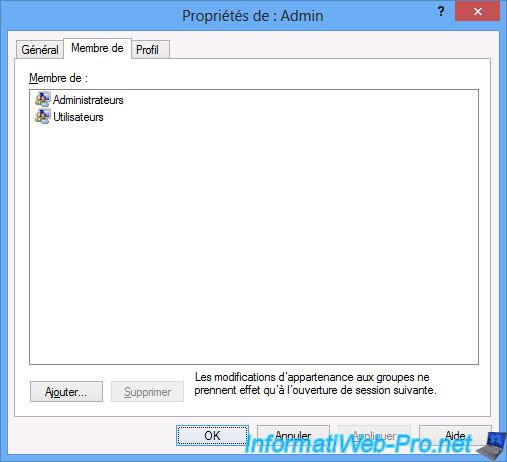
As you can see, the local administrator created with the virtual desktop is a member of these groups : Administrators and Users.
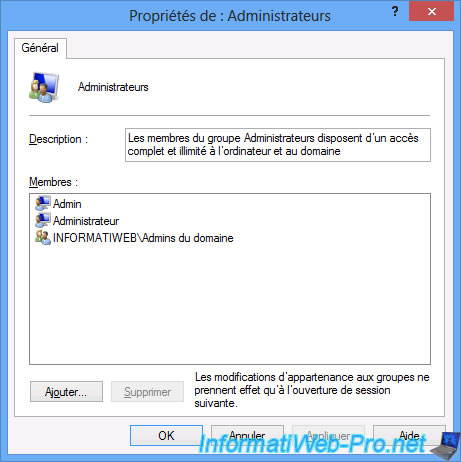
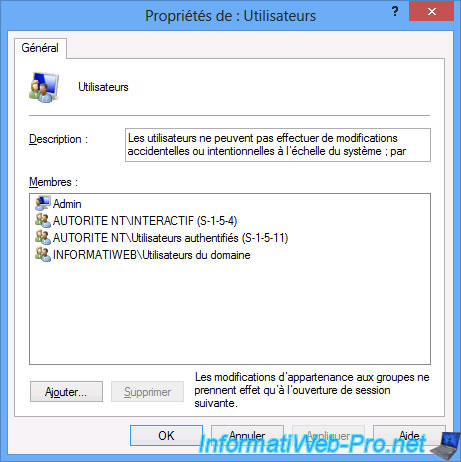
In addition, if you look at the properties of these 2 groups, you will see that 2 "built-in" Active Directory groups have been added automatically.
In order to properly manage our users, we will remove these 2 groups through group policies.
On your Active Directory server, open the "Group Policy Management" console and create a GPO for the "WMS-VD" element.
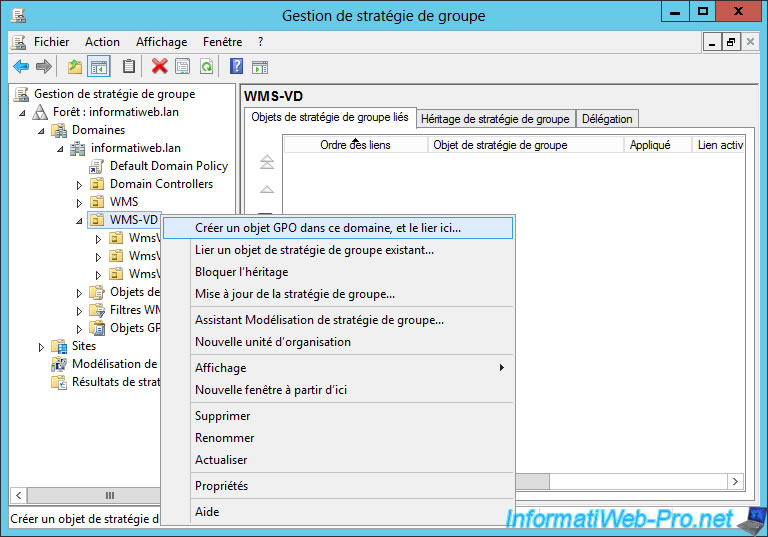
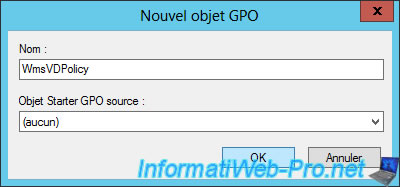
Name this object : WmsVDPolicy.
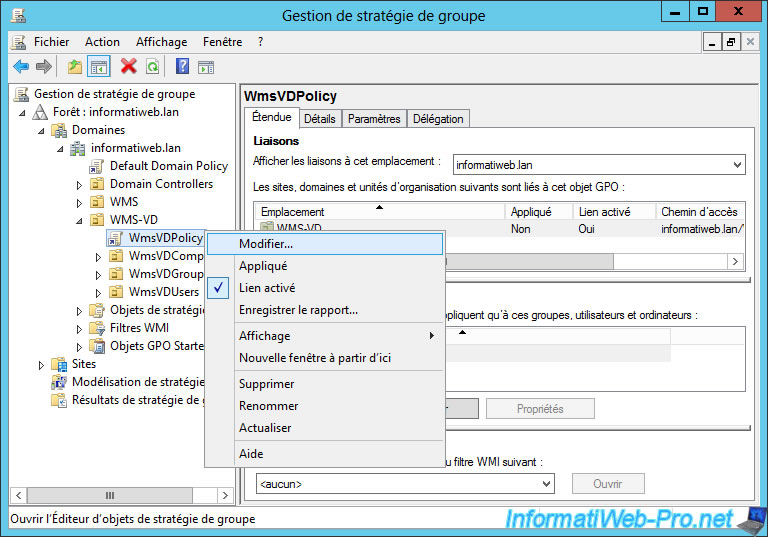
Then, right-click "Edit" on it.
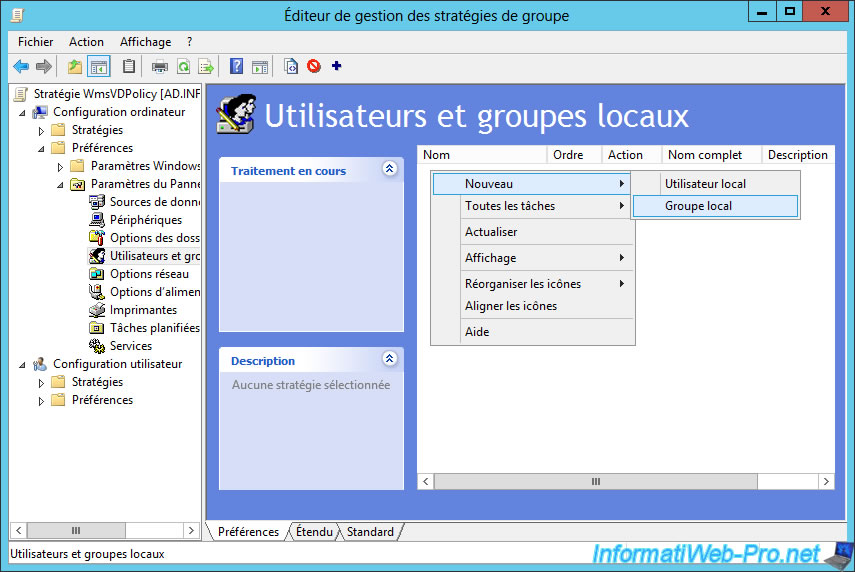
Go to "Computer Configuration -> Preferences -> Control Panel Settings -> Local Users and Groups" and right-click "New -> Local Group" on the right side.
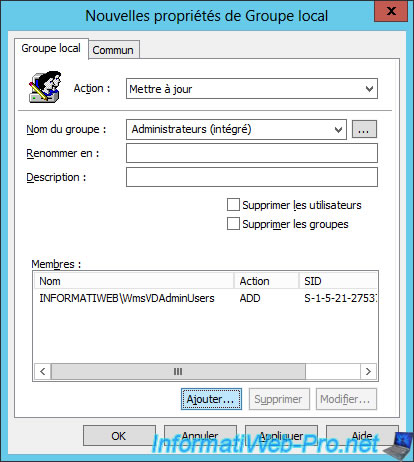
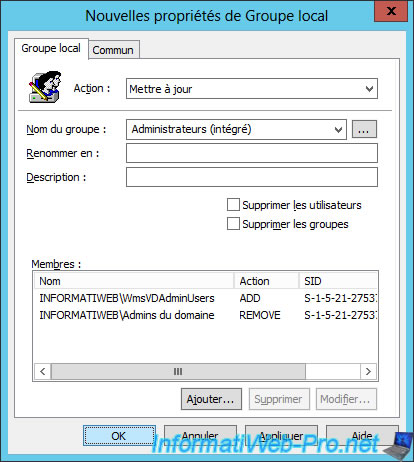
Select the "Update" action and select the "Administrators (built-in)" group from the drop-down list.
Then, click the Add button.
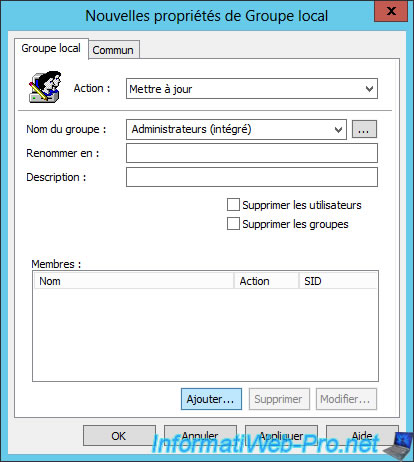
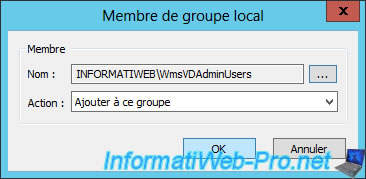
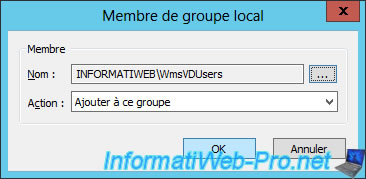
Select the previously created WmsVDAdminUsers group and the "Add to this group" action and click OK.
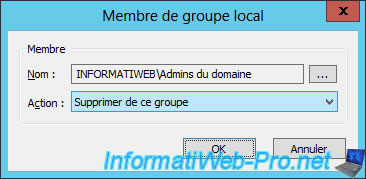
Then, to avoid adding the "Domain Admins" group automatically to the "Administrators" group of virtual desktops, click Add.
Select the "Domain Admins" group and the "Delete from this group" action and click OK.
Validate by clicking OK.
For the "Users (built-in)" group, select the "Update" action and click Add.

Select the previously created WmsVDUsers group and the "Add to this group" action and click OK.
Then, click Add.
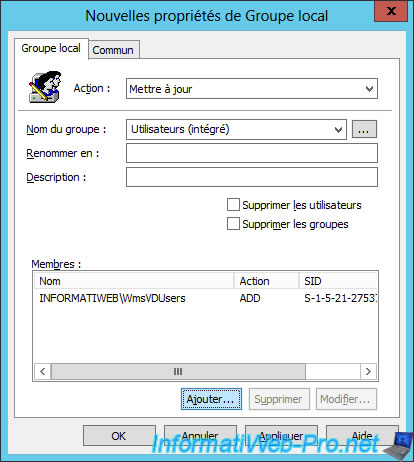
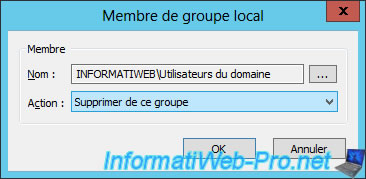
Select the "Domain Users" group and the "Delete from this group" action and click OK.
Validate by clicking OK.
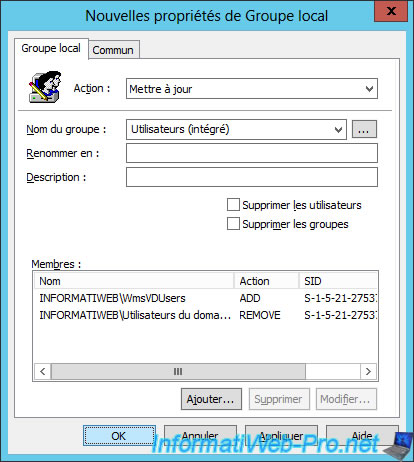
You should get this.

To apply the new group policies, restart the server or run the "gpupdate /force" command as an administrator.
Share this tutorial
To see also
-
Windows Server 2/12/2018
WMS 2012 - Enable the Disk Protection
-
Windows Server 1/17/2018
WMS 2012 - Install, configure and how works MultiPoint 2012
-

Windows Server 2/21/2018
WMS 2012 - Joining an AD and use roaming profiles
-

Windows Server 2/3/2018
WMS 2012 - Manage desktop computers with the MultiPoint Connector
No comment