- Windows Server
- 12 March 2018 at 10:02 UTC
-

- 1/7

By default, Windows MultiPoint Server 2012 provides sessions with an experience similar to Windows 8.
However, it's not really Windows 8. This can be problematic with some programs that are only compatible with client versions of Windows (such as Windows 7 and 8).
To overcome this problem, Microsoft offers the "Virtual Desktops" feature that allows you to create virtual desktops running Windows 7 or 8.
Warning : you must have the Enterprise edition of Windows 7 or 8 which works with a Volume Licensing (VL) system. So, you will also need CAL licenses for each user who will use a virtual desktop-based station.
- Enable the Virtual Desktops feature
- Customize the template (Windows 8 virtual desktop)
- Creating stations based on a virtual desktop
- Configure a station
- Launch the MultiPoint Manager and the MultiPoint Dashboard from a user station
- Delete a virtual desktop
- Use Windows 7 virtual desktops
- Creating stations based on a Windows 7 virtual desktop
1. Enable the Virtual Desktops feature
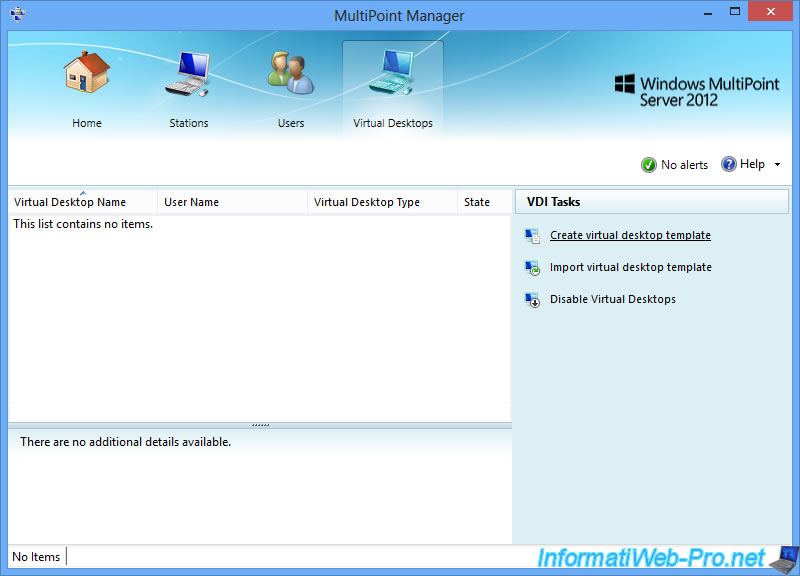
To enable virtual desktops, simply go to the "Virtual Desktops" tab of the MultiPoint Manager and click on "Enable virtual desktops".
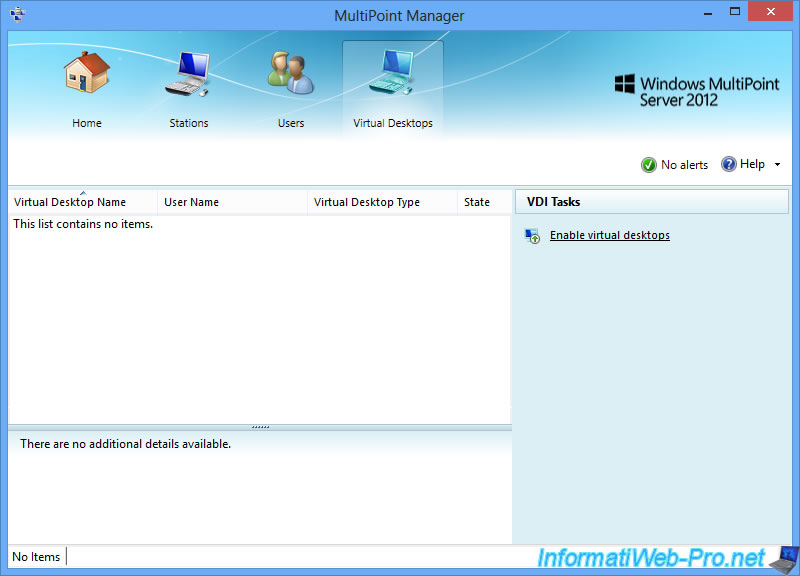
As indicated by MultiPoint Manager, it's best to enable this feature only if you need it.
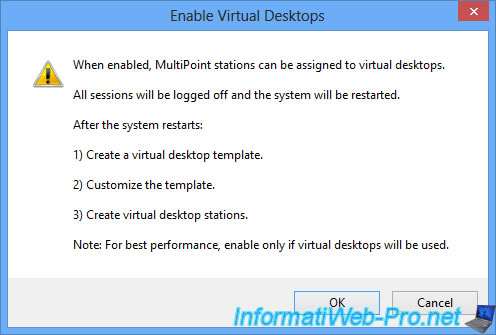
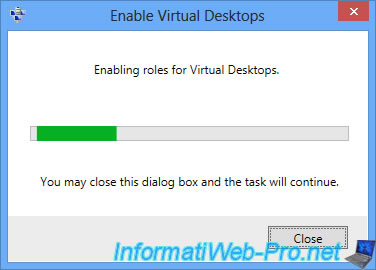
MultiPoint Manager simply indicates that it activates roles for virtual desktops.
But in reality, MultiPoint Manager installs the Hyper-V role of Windows Server in a completely transparent way for you.
Hyper-V being Microsoft's virtualization server.
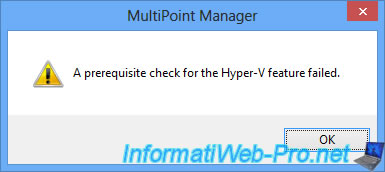
However, if you try to enable this Virtual Desktops feature in a virtual machine (either through VMware Workstation or any other similar virtualization solution), you will receive the following error message :
A prerequisite check for the Hyper-V feature failed.
This error is not due to Windows MultiPoint Server 2012, but to the Hyper-V virtualization server that can NOT be installed in a virtual machine.
So, you can't activate Virtual Desktops or install Hyper-V if your server is running in a virtual machine.
The only theoretical solution (which is not really possible) is the activation of the nested virtualization (as explained by Microsoft and VMware).
Nevertheless, even on a powerful PC (with 32 GB of RAM, an Intel Core i5 and a real RAID 5), the activation of this possibility will not allow you to test the virtual desktops, because the host computer, as well as the virtual machine where Windows MultiPoint Server is installed will end up freezer.
If Windows MultiPoint Server 2012 is installed on a real PC or a real server, Windows will reboot to continue the configuration of features installed in the background.
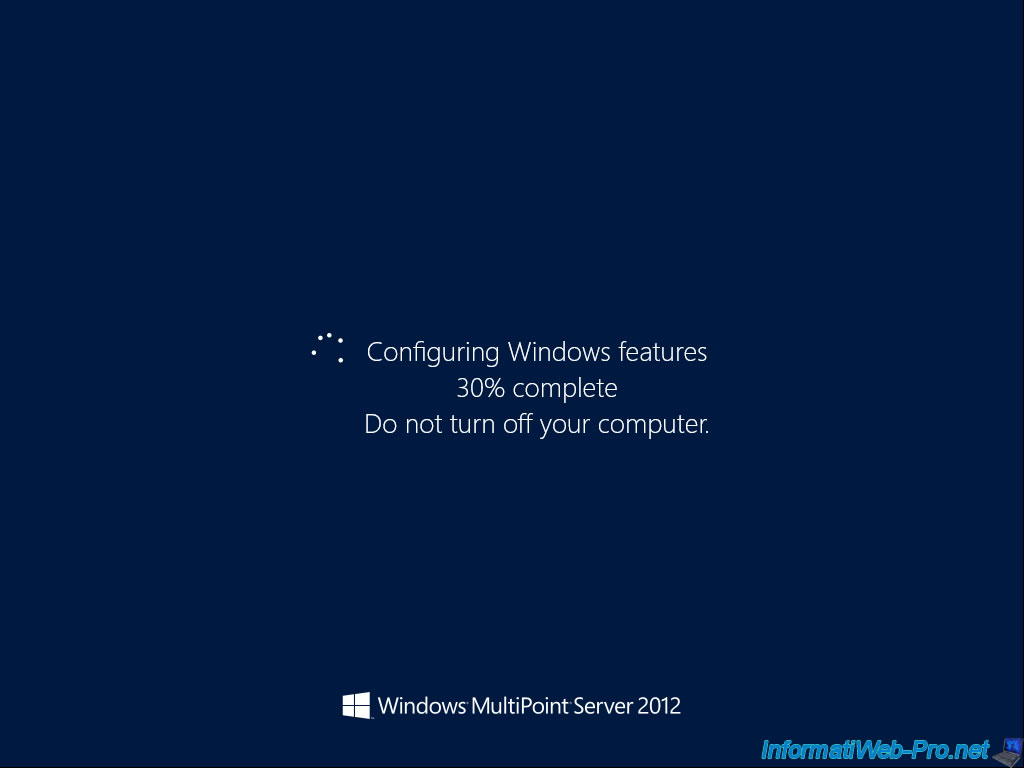
The computer will restart several times.

And you will see that Hyper-V has actually been installed by the MultiPoint Manager.

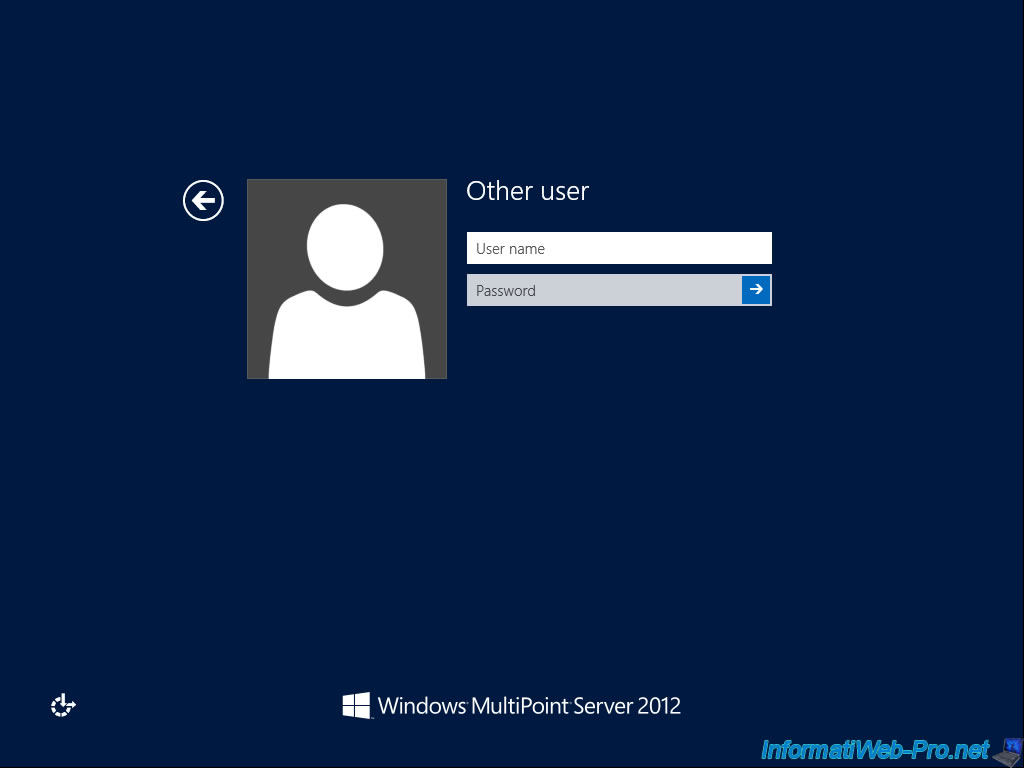
When the installation and configuration are complete, log back in as Administrator.
Launch the MultiPoint Manager.
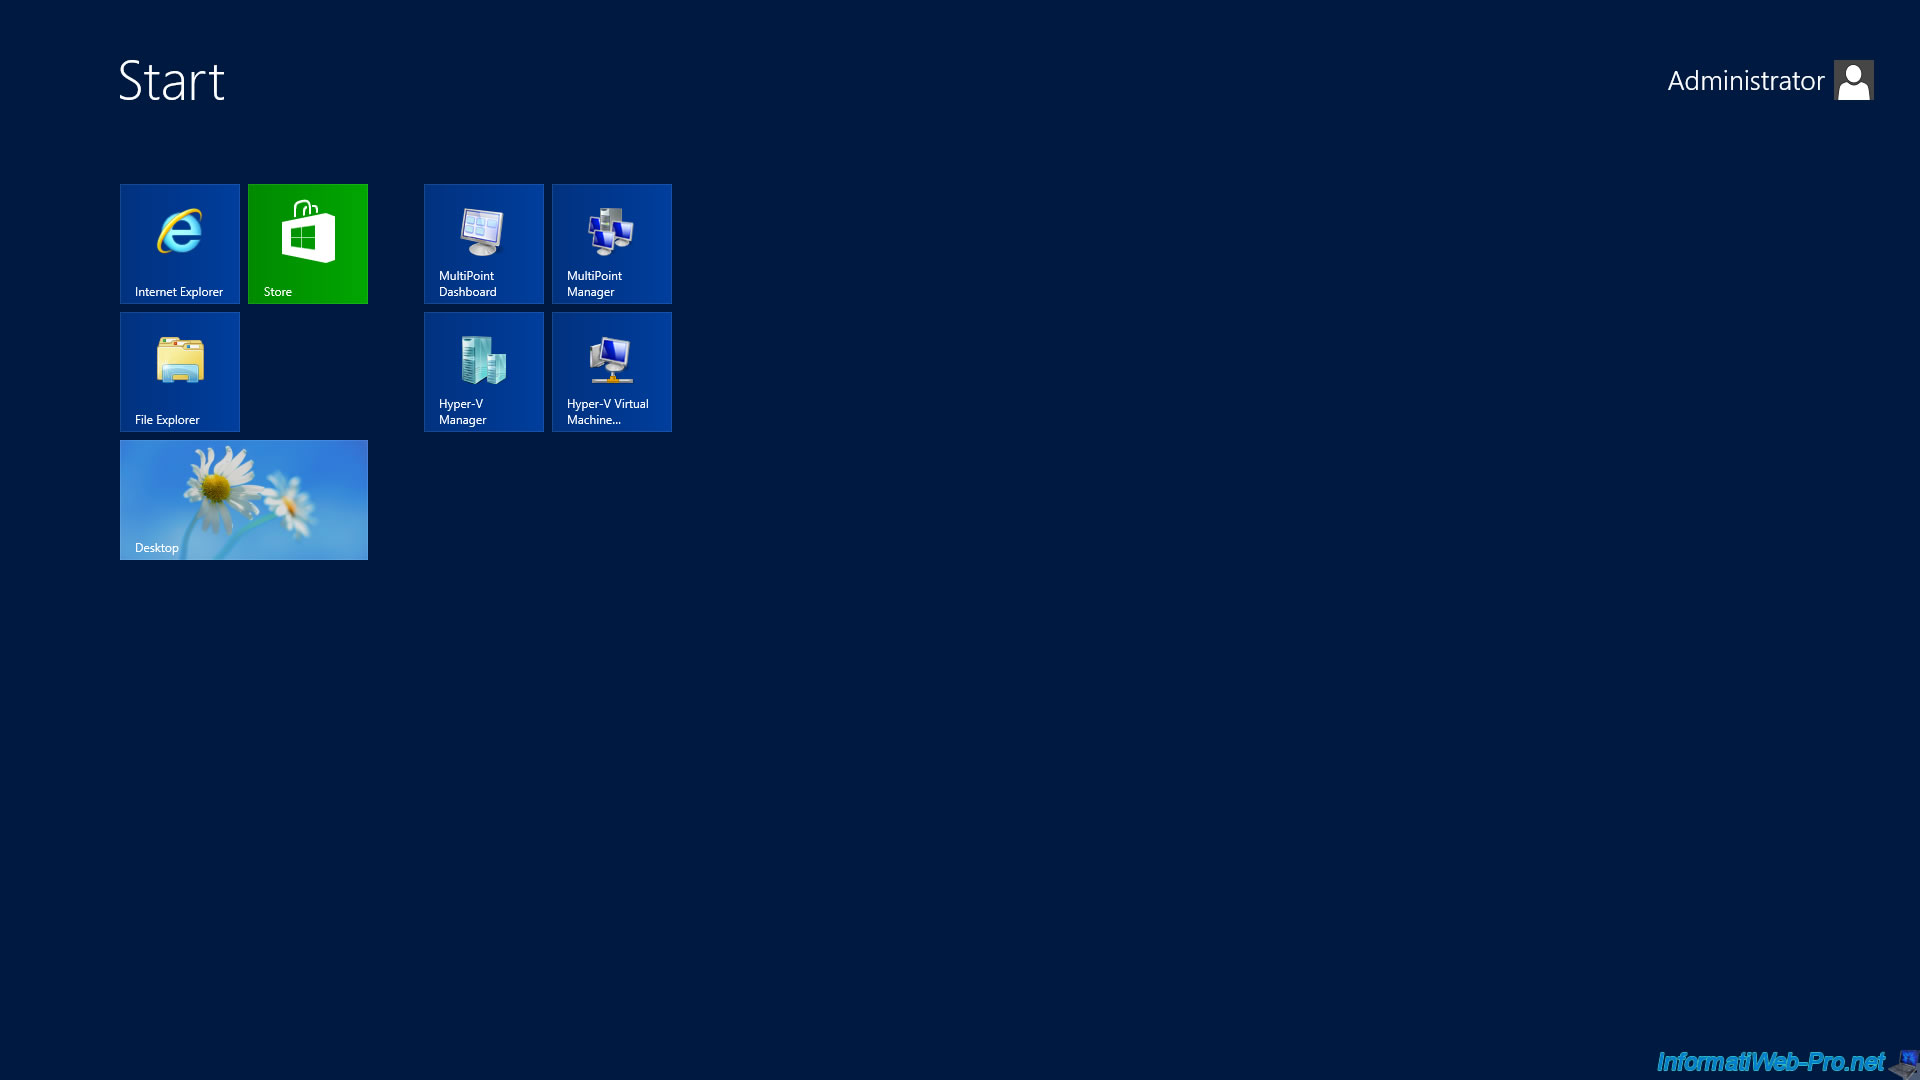
Now, options for creating virtual desktops are available.
Click : Create virtual desktop template.
As shown in the window that appears, the virtual desktops provided as stations will be based on the template that you will create.
To create it, you will need a virtual hard disk with Windows 7 or 8 Enterprise, its iso file or the "install.wim" file present in the source folder of the installation DVD of Windows 7 or 8 Enterprise.
Note: if the Windows 7 or 8 Enterprise DVD is already in your server's CD/DVD drive, the MultiPoint Manager will automatically detect the install.wim file. Ex : d:\sources\install.wim
In our case, we will use the iso file from Windows 8 Enterprise.
To do this, click on : Browse.
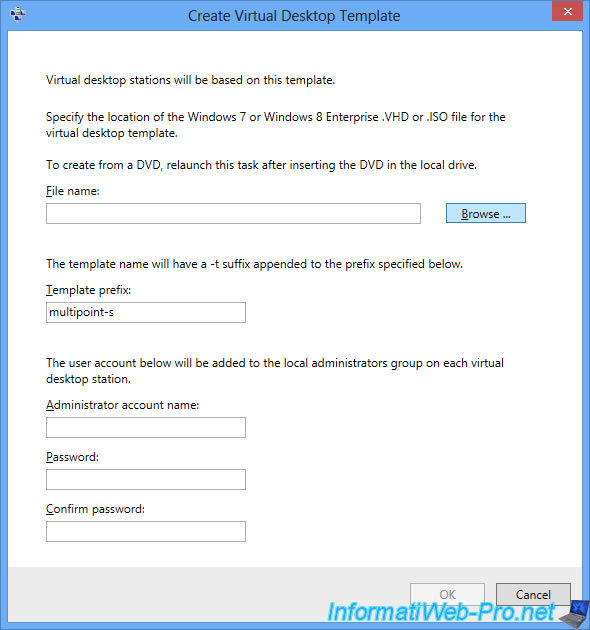
If you want to use an iso file of Windows 8 Enterprise or 7 Enterprise (not provided), you will first need to select "ISO files (*.iso)" in the list at the bottom right.
Then, the iso file will appear and you can select it.

Now, the path of the iso file is displayed.
Specify a prefix for the names of the future virtual desktops and configure the Administrator account that will be created in the virtual desktops.

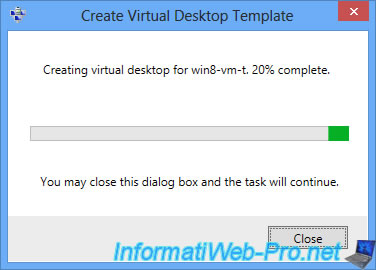
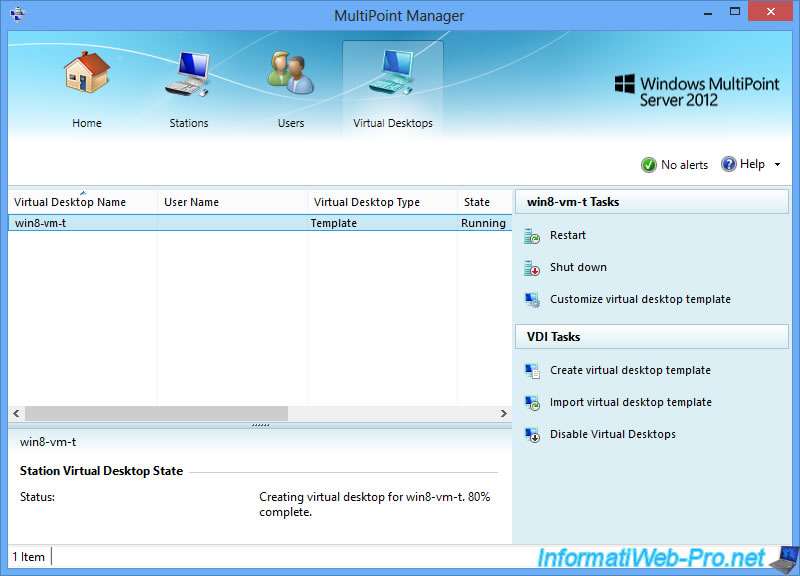
Wait while creating the virtual desktops.
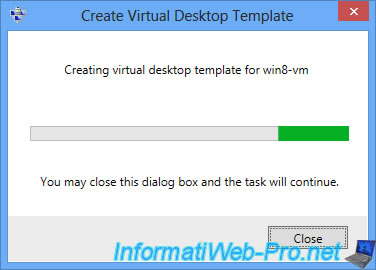
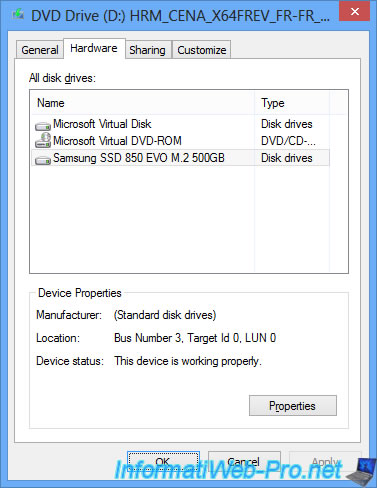
During the creation of the Template, you will see that a (virtual) DVD drive, as well as a partition will have appeared.
This is because Windows has mounted the iso file previously selected in a virtual DVD drive.
For the additional partition, this is a mount of the virtual hard disk also made by Windows.
Moreover, if you consult the hardware of your computer, you will see that you also have these 2 devices :
- Microsoft Virtual Disk
- Microsoft Virtual DVD-ROM
If Windows freeze during template creation, refer to the Microsoft solution : Virtual desktop template creation with UR1 - two issues
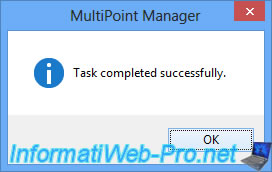
Once the template is created, the "Task completed successfully" message will be displayed.
Share this tutorial
To see also
-
Windows Server 2/12/2018
WMS 2012 - Enable the Disk Protection
-
Windows Server 1/17/2018
WMS 2012 - Install, configure and how works MultiPoint 2012
-
Windows Server 3/24/2018
WMS 2012 - Join virtual desktops to an AD
-

Windows Server 2/21/2018
WMS 2012 - Joining an AD and use roaming profiles
You must be logged in to post a comment