Configure your Adaptec SmartRAID 3154-8i8e controller via the BIOS of an Asus motherboard in UEFI mode
- RAID
- 09 April 2025 at 18:40 UTC
-

- 3/6

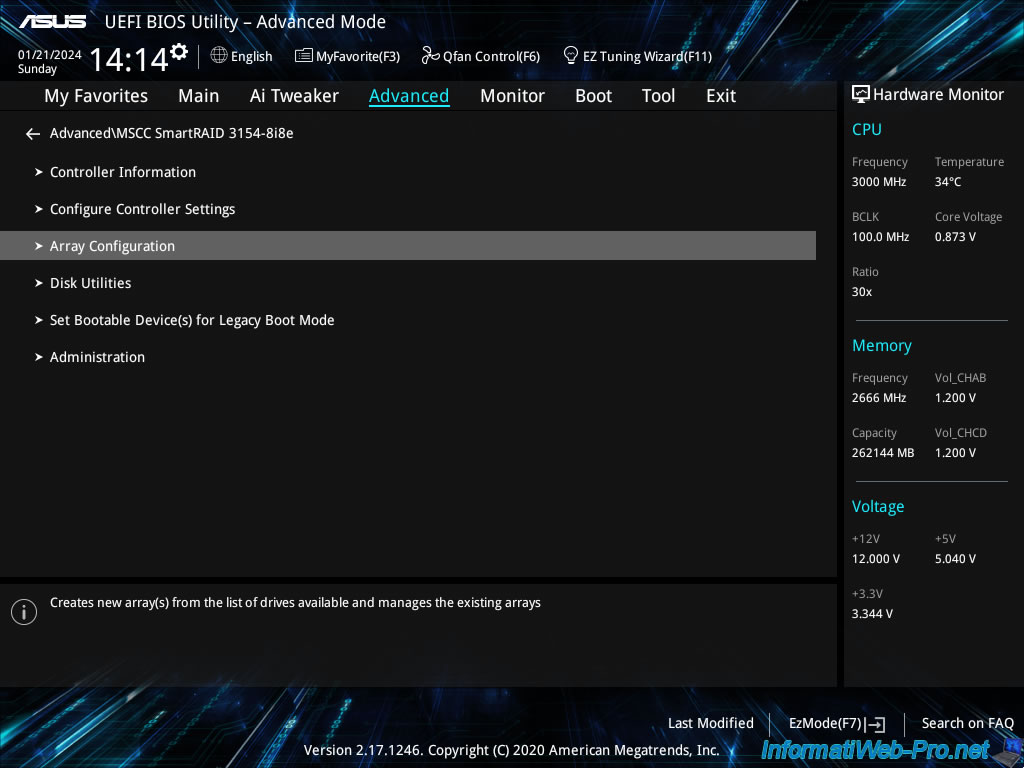
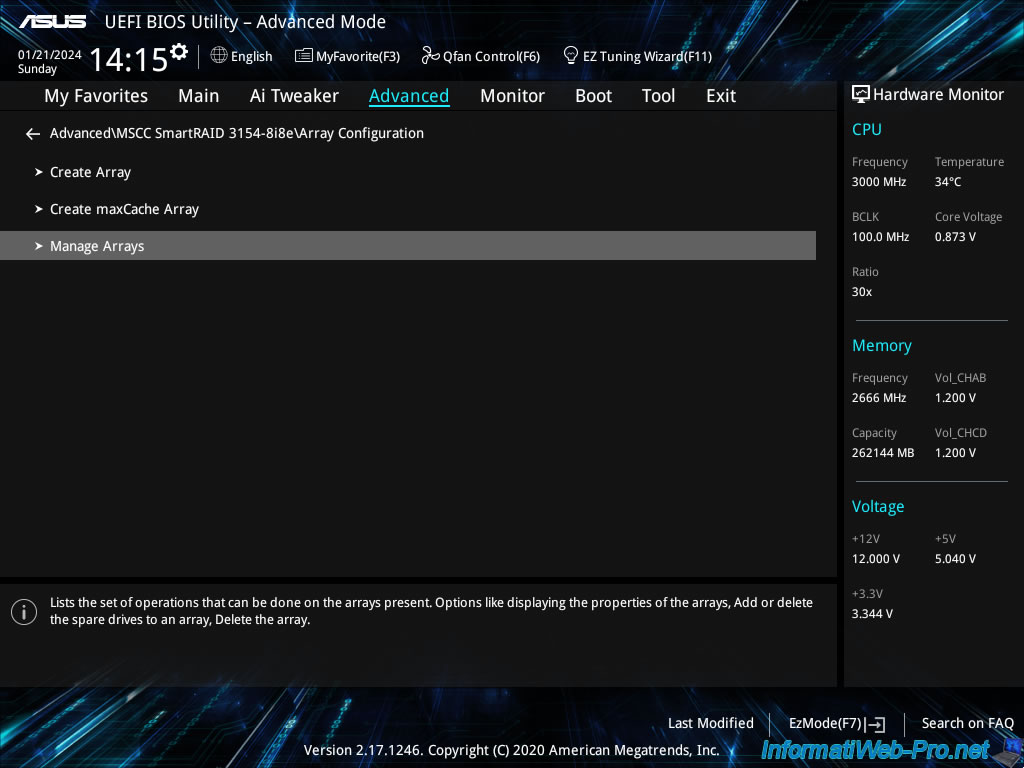
1.3. Array Configuration (configure RAID arrays on your controller)
In the "Array Configuration" section, you will be able to create and manage your arrays (RAID and maxCache) configured on your Adaptec SmartRAID controller.
1.3.1. Create Array (create a RAID array on your controller)
In the "Create Array" section, you will be able to create RAID arrays on your Adaptec SmartRAID controller.
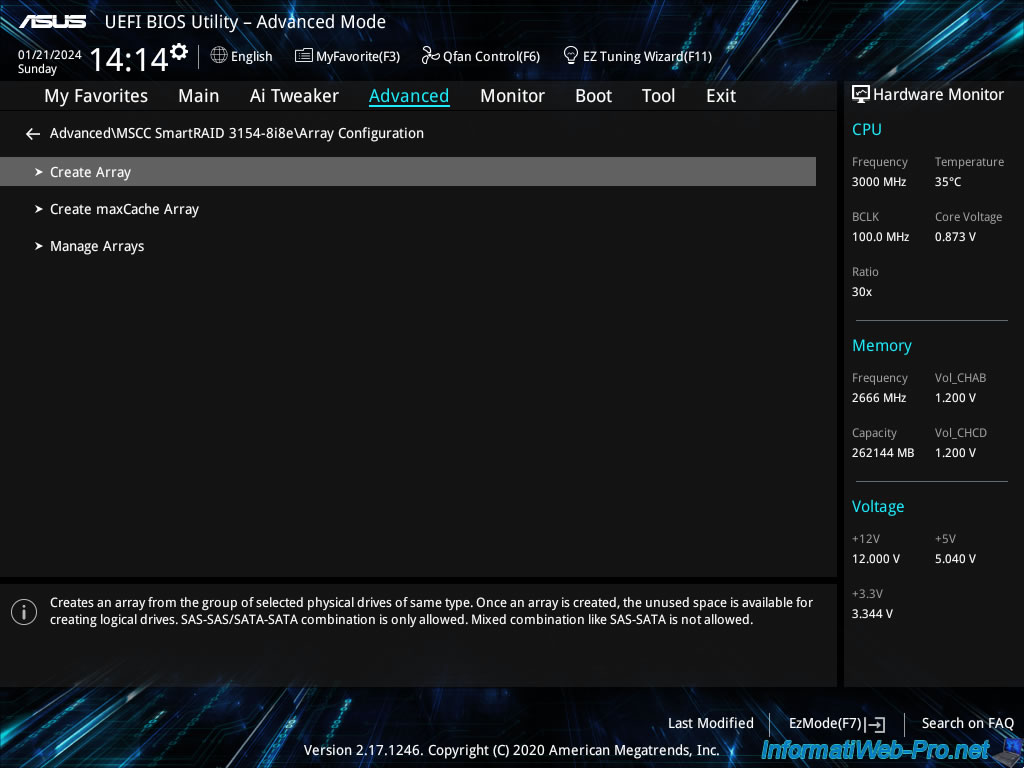
If physical disks (unassigned/unused) are available, you will be able to create new RAID arrays on your Adaptec SmartRAID controller by grouping disks of the same type.
In other words, create an array with only SATA disks, only SAS hard disks, only SATA SSDs, ...
In our case, all our disks are already used (for a RAID array and in HBA mode), so the message "No Eligible Devices Found" appears.
To create a RAID array on your Adaptec SmartRAID controller, we suggest you follow one of our tutorials:
- Adaptec SmartRAID 3154-8i8e - Create a RAID volume (from ACU)
- Adaptec maxView Storage Manager v3 - Create a RAID volume

1.3.2. Create maxCache Array (créer une grappe maxCache sur votre contrôleur)
Dans la section "Create Array", vous pourrez créer des grappes maxCache sur votre contrôleur Adaptec SmartRAID.
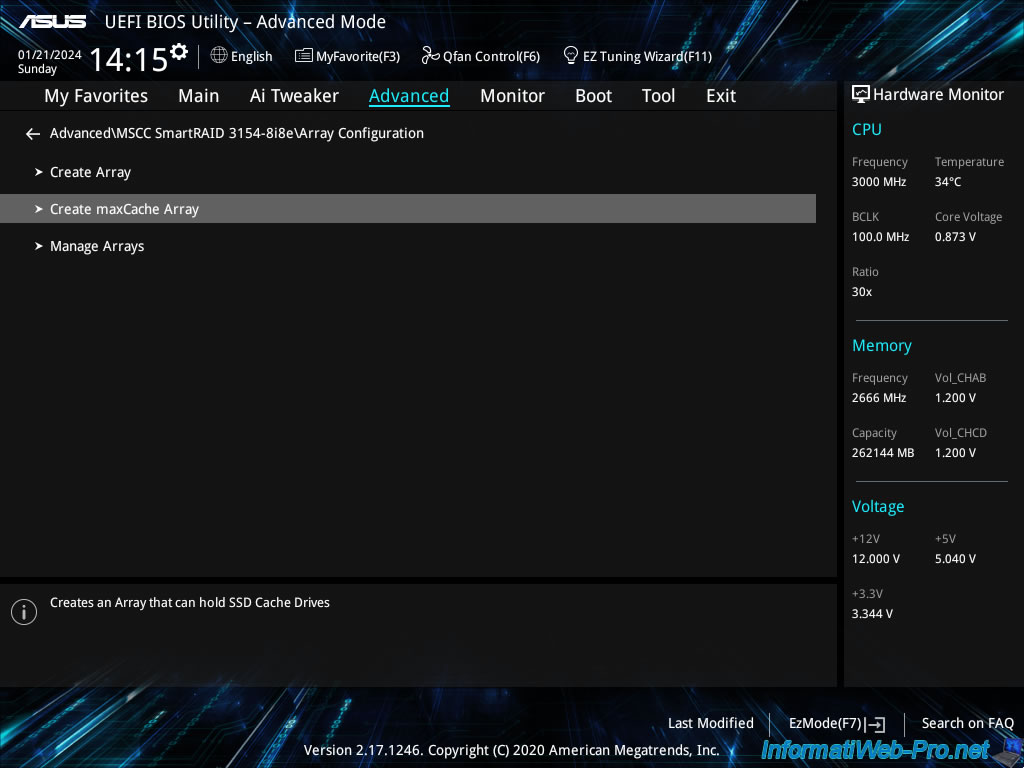
Si des SSDs (non assignés / non utilisés) sont disponibles, vous pourrez créer des grappes maxCache sur votre contrôleur Adaptec SmartRAID en regroupant des SSDs de même type (même connectique).
Les grappes maxCache permettent d'améliorer les performances d'une grappe de disques durs (HDDS), grâce aux SSDs qui composent votre grappe maxCache.
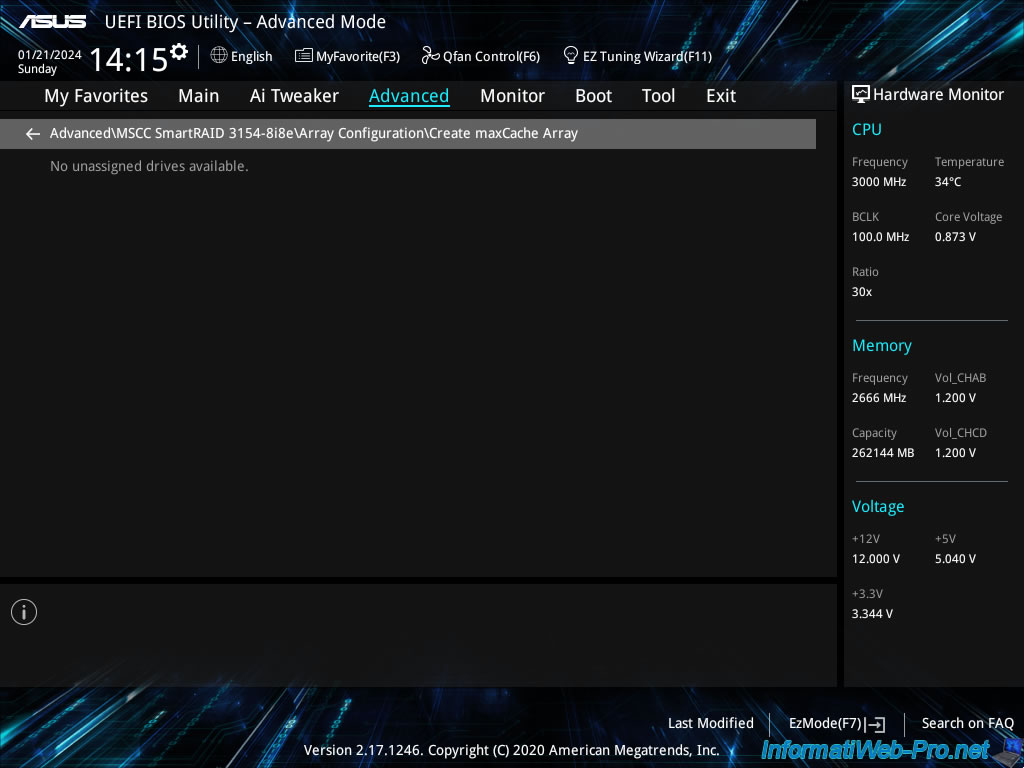
Dans notre cas, aucun SSD n'est disponible, donc le message "No unassigned drives available" apparait.
Pour en savoir plus sur cette fonctionnalité maxCache disponible chez Microsemi et créer une grappe maxCache, référez-vous à notre tutoriel : Adaptec SmartRAID 3154-8i8e - Avantages, configuration et utilisation de maxCache.
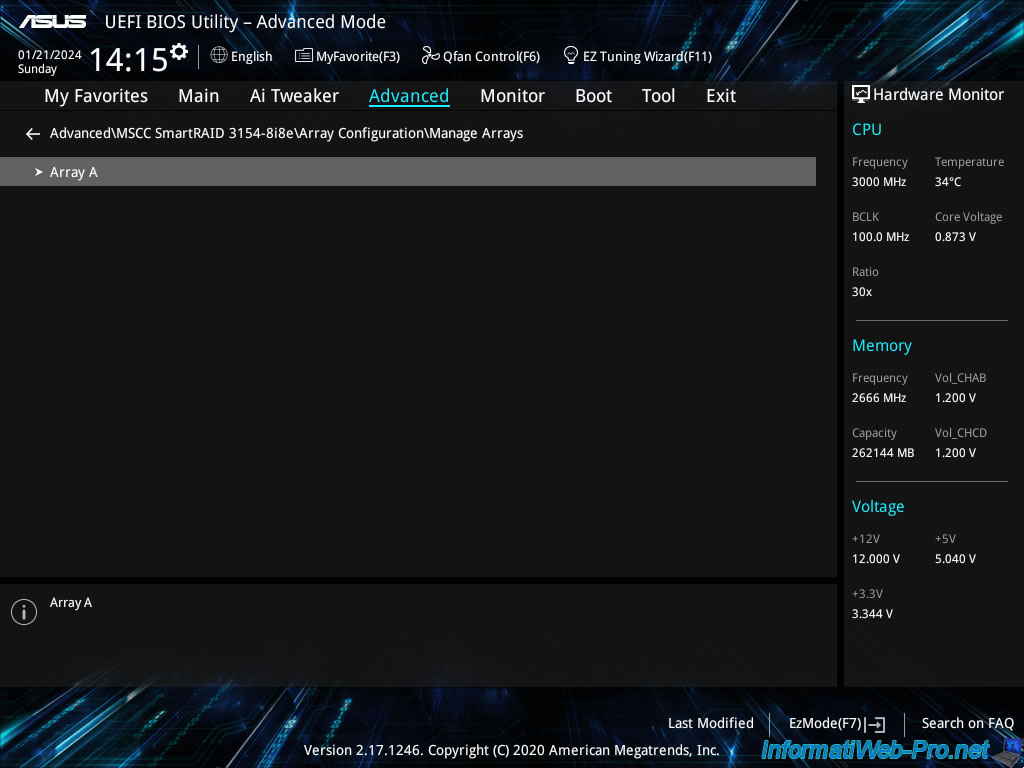
1.3.3. Manage Arrays (manage your RAID arrays on your controller)
In the "Manage Arrays" section, you will be able to manage your arrays (RAID and maxCache) configured on your Adaptec SmartRAID controller.
In this "Manage Arrays" section, you will see the list of arrays configured on your Adaptec SmartRAID controller appear.
Select the desired array. In our case: Array A.
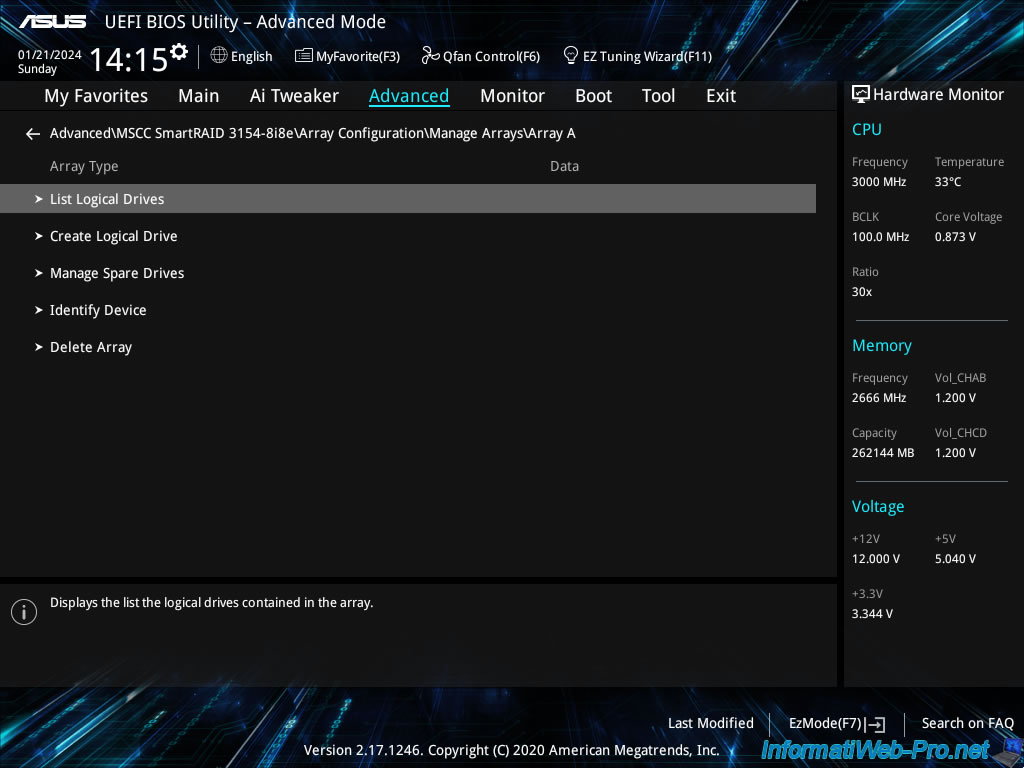
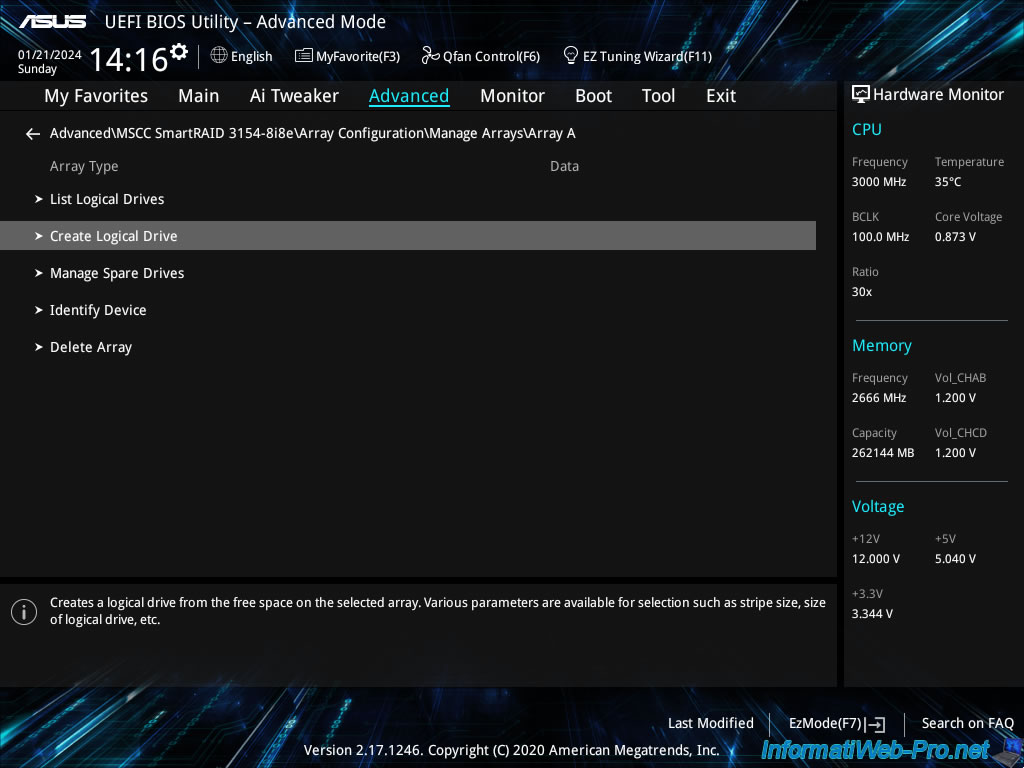
For each array (Array X), you can:
- List Logical Drives: see the list of RAID logical drives present on your RAID array.
- Create Logical Drive: create additional RAID logical drives on your RAID array, if you have not already used all the space in your RAID array.
- Manage Spare Drives: allows you to manage disks assigned as Spare on your RAID array.
This allows you to automatically repair a disk that fails in your RAID array. - Identify Device: allows you to easily identify the disks that make up this RAID array in a real server.
- Delete Array: allows you to delete the selected RAID array.
1.3.3.1. List Logical Drives (list of logical drives in a RAID array on your controller)
In this "List Logical Drives" section, you will see the list of RAID logical drives created on your RAID array.
In our case, there is only one: Logical Drive 1.
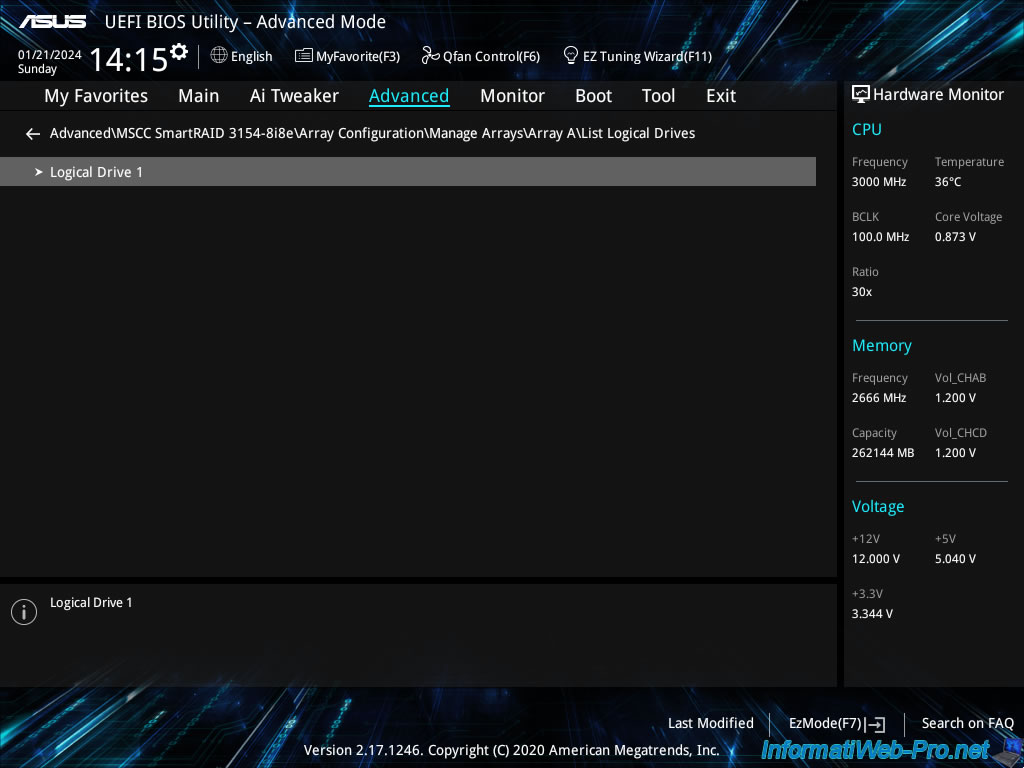
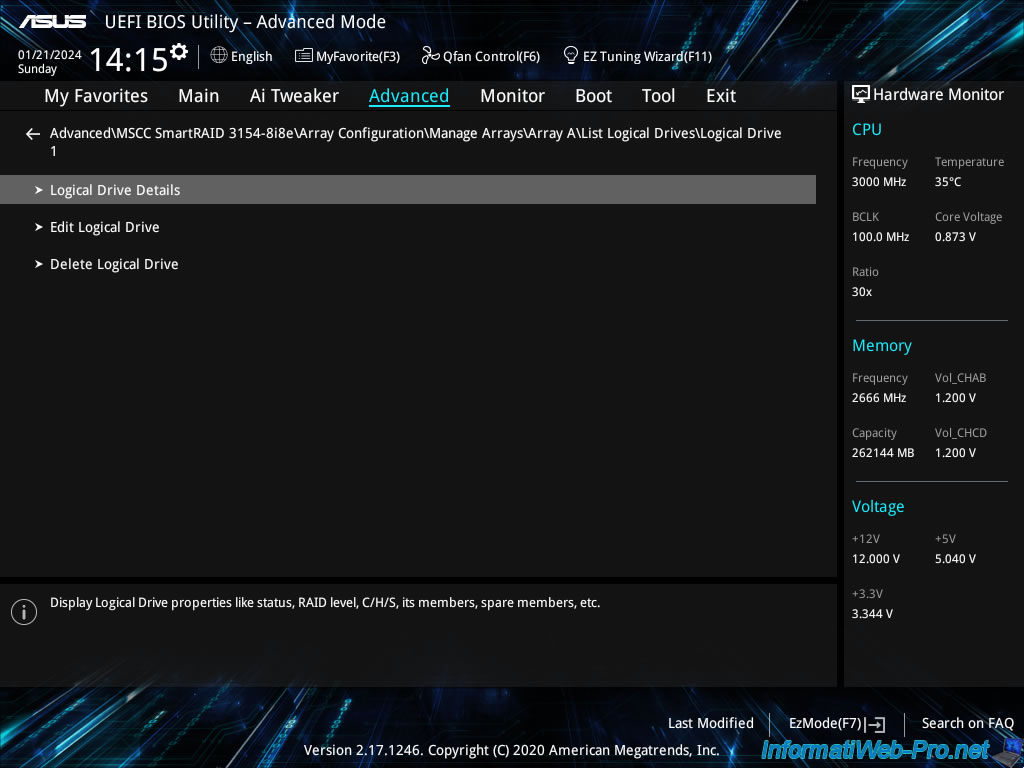
For each RAID logical drive (Logical Drive), you will be able to:
- Logical Drive Details: information (status, capacity, RAID level, ...) concerning this RAID logical drive.
- Edit Logical Drive: modify its name and enable or not the use of your controller's cache for this RAID logical drive.
- Delete Logical Drive: delete this RAID logical drive.
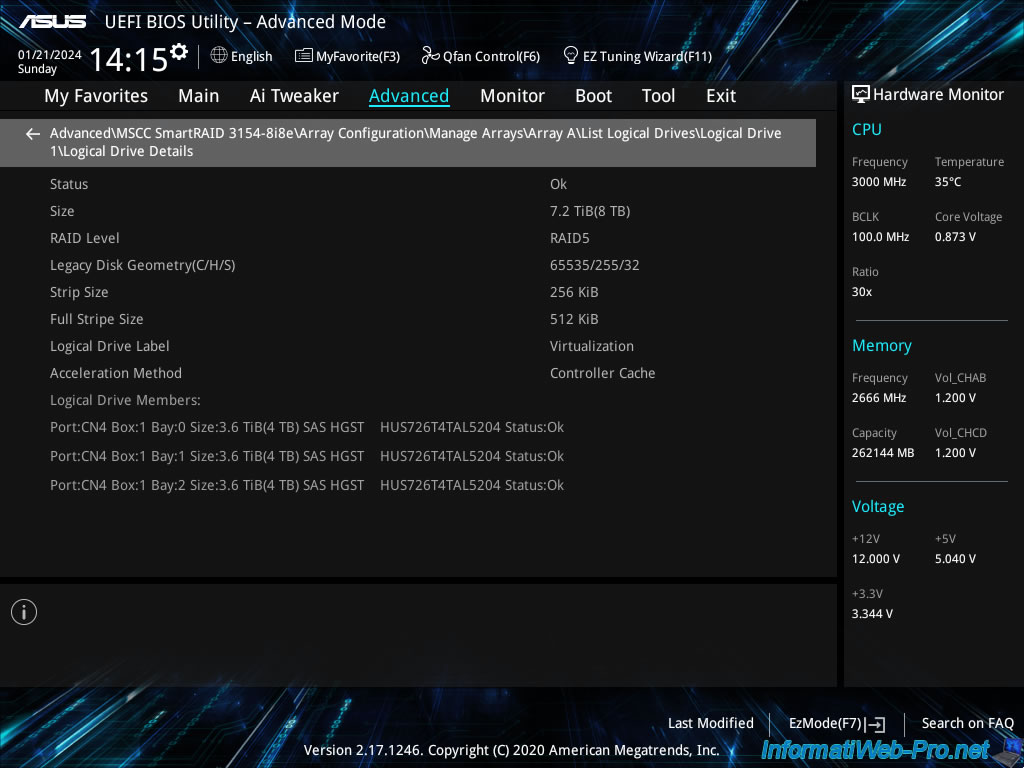
In this "Logical Drive Details" section, you will see:
- Status: the status of this RAID logical drive.
If all is well, the status is "Ok". - Size: the capacity (size) available for data storage.
So, not counting the disk space used for parity data.
In our case: 7.2 TiB (8 TB). - RAID Level: the RAID level of this RAID logical drive.
In our case: RAID5. - Legacy Disk Geometry (C/H/S): old information indicating the number of cylinders (C), heads (H) and sectors (S) of this disk.
In our case: 65535/255/32. - Strip Size: the size of a strip on a disk in the array.
- Full Stripe Size: the total stripe size counting only the disks where data can be stored.
The disks used for parity are therefore not counted.
In the case of RAID 5 with 3 disks (which is the case here), the total stripe size is 2 x 256 KiB (stripe size) = 512 KiB.
Indeed, the 3rd disk contains parity. - Logical Drive Label: the name of this RAID logical drive in Adaptec configuration tools.
Note: this name is NOT visible to the operating system installed on your computer or server. - Acceleration Method: indicates whether or not your Adaptec SmartRAID controller cache is used for this RAID logical drive.
- Logical Drive Members: the list of physical disks affected by this RAID logical disk.
For each disk, you will see: the physical connector used on your Adaptec SmartRAID controller, its capacity, its connectivity, its brand, its model and its status.
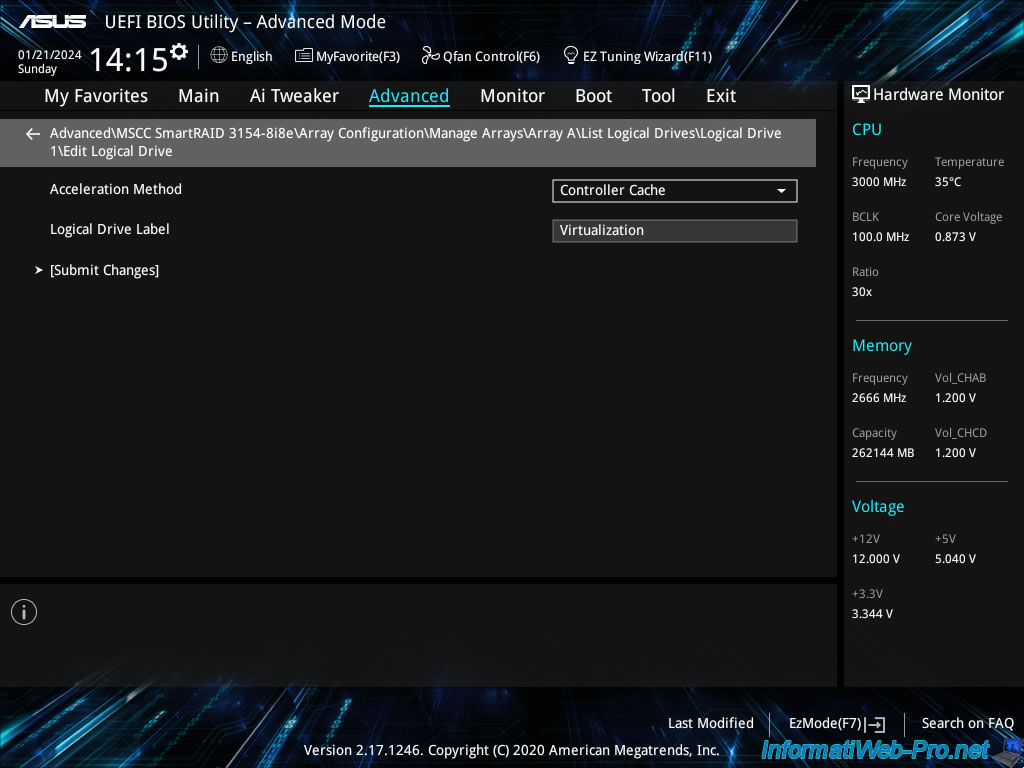
To edit a RAID logical drive, click: Edit Logical Drive.

In this "Edit Logical Drive" section, you can modify the settings:
- Acceleration: allows you to enable or disable the use of your Adaptec SmartRAID controller cache for this RAID logical drive.
- Controller Cache: use your Adaptec SmartRAID controller cache for this RAID logical drive.
- None: do not use your Adaptec SmartRAID controller cache for this RAID logical drive.
- Logical Drive Label: allows you to modify the name of this RAID logical drive.
Note that this name will only be visible in Adaptec configuration tools.
This is not visible to the OS installed on your computer or server.
Once you have changed any of these settings, remember to click "[Submit Changes]" to save the changes.
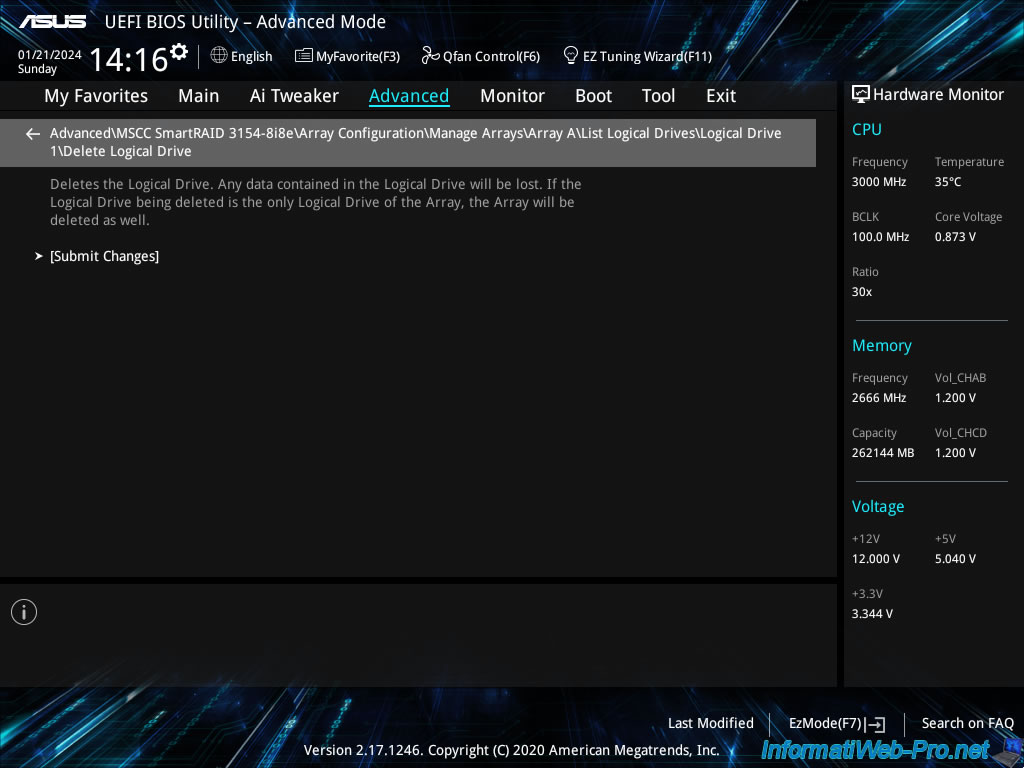
To delete a RAID logical drive, click: Delete Logical Drive.
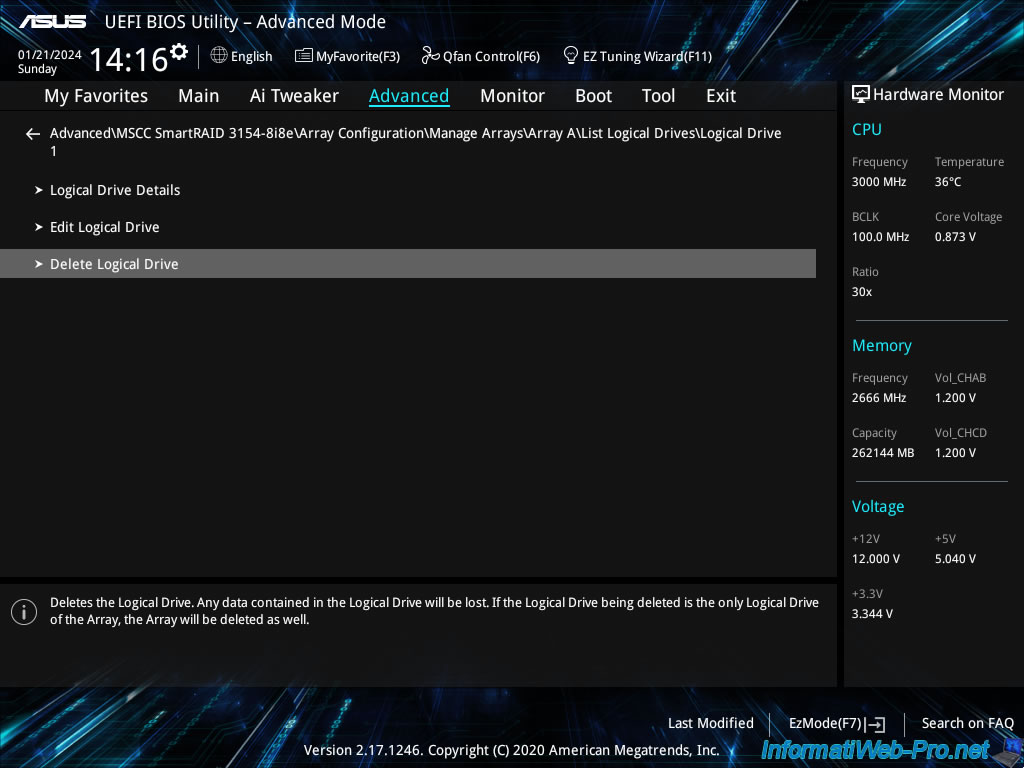
In this "Delete Logical Drive" section, click "[Submit Changes]" to confirm the deletion of this RAID logical drive.
Warning : as explained here, deleting this RAID logical drive will also result in the loss of all the data found there.
Additionally, if this RAID logical drive is the only one in your RAID array, then the affected RAID array will also be automatically deleted.
Plain Text
Deletes the Logical Drive. Any data contained in the Logical Drive will be lost. If the Logical Drive being deleted is the only Logical Dive of the Array, ...
1.3.3.2. Create Logical Drive (create a logical drive on a RAID array on your controller)
If you did not use all of the space in your RAID array when you created your first RAID logical drive, you can create additional RAID logical drives on it.
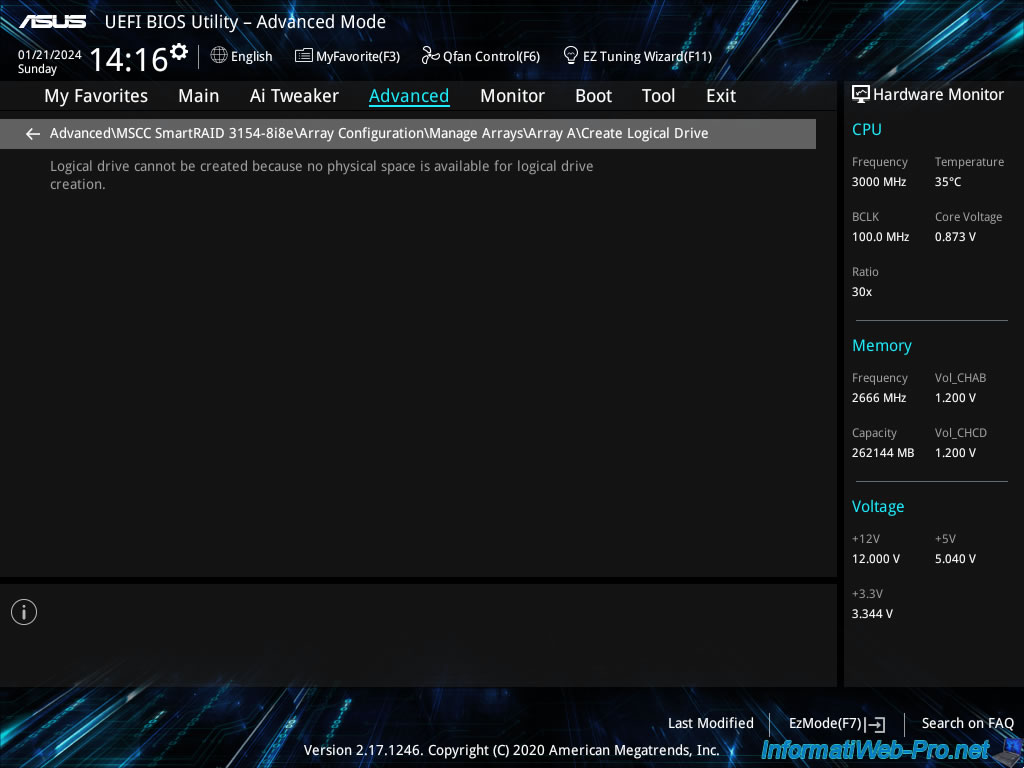
To do this, go to the "Create Logical Drive" section.
If all the space in your array is already used by one or more RAID logical drives, this message will appear.
Plain Text
Logical drive cannot be created because no physical space is available for logical drive creation.
If you wish, you can follow our tutorial : Adaptec SmartRAID 3154-8i8e - Create multiple logical drives in a RAID array.
Share this tutorial
To see also
-

RAID 4/20/2022
Adaptec maxView Storage Manager v3 - Create a RAID volume
-

RAID 4/8/2022
Adaptec maxView Storage Manager v3 - Download and boot on USB version
-

RAID 4/13/2022
Adaptec maxView Storage Manager v3 - Installation on Linux
-

RAID 4/15/2022
Adaptec maxView Storage Manager v3 - Manage an Adaptec SmartRAID controller on VMware ESXi 6.7
No comment