- RAID
- 25 February 2022 at 09:15 UTC
-

- 1/2

In our previous "Adaptec SmartRAID 3154-8i8e - Create a RAID volume (from ACU)" tutorial, we created an array with a single logical drive that took up all the space available on it.
In this new tutorial, we'll show you how to create multiple logical drives on a single RAID array.
- Create RAID 5 array
- Add a logical drive to an existing array
- Manage booting on logical drives created in a RAID array
- Boot on a logical drive of your Microsemi Adaptec SmartRAID controller
- Install Windows 10 on your 1st RAID logical drive
- RAID logical drives detected by Windows 10
- RAID logical drives displayed in the web interface : maxView Storage
- Install VMware ESXi on your 2nd RAID logical drive
- Storage visible to VMware ESXi
1. Create RAID 5 array
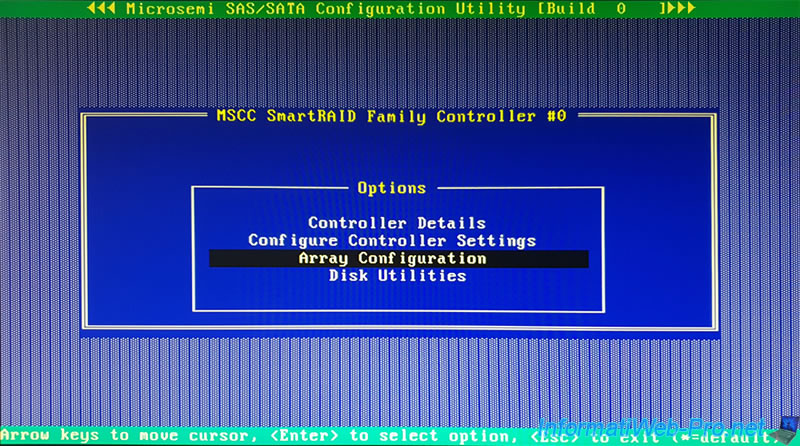
To start, when starting your computer, enter the configuration tool of your Microsemi Adaptec SmartRAID controller by pressing the "CTRL + A" keys (on a QWERTY keyboard, since it's in English) or "CTRL + Q "(on an AZERTY keyboard).

Then, in the Microsemi configuration tool (MSCC SmartRAID) that appears, go to : Array Configuration.
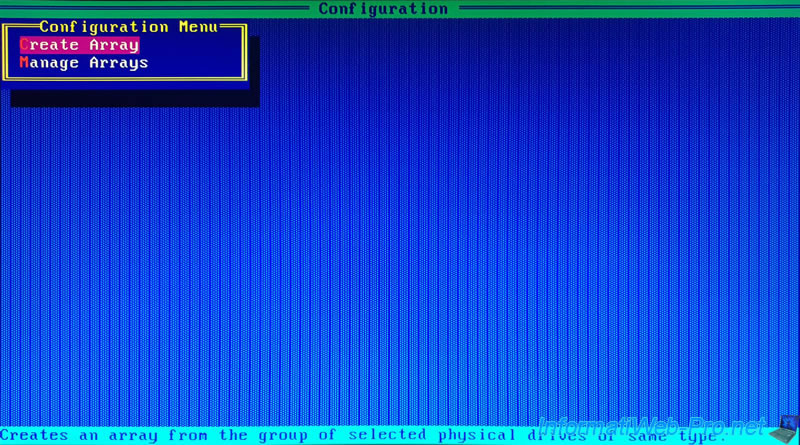
Choose : Create Array.
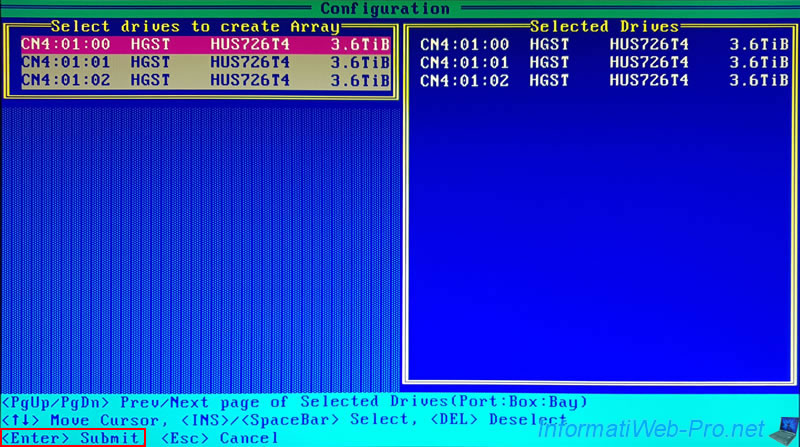
Select the hard drives to use to create your RAID array by pressing the space bar or "Insert" each time.
Note : it's in this array that we will then create our logical disks.
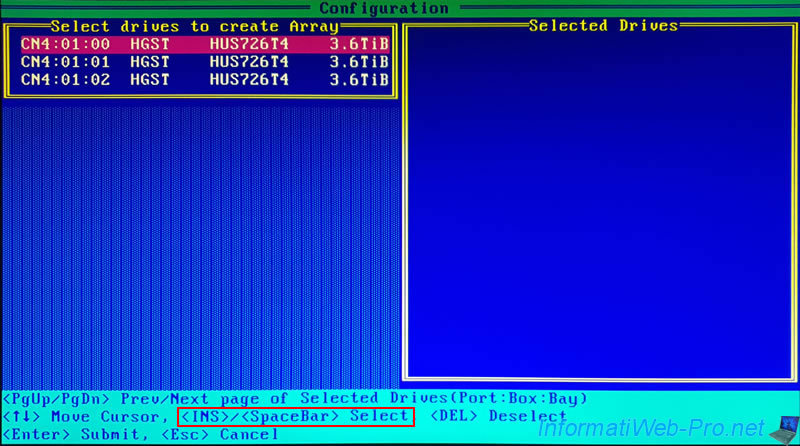
Once the physical disks have been selected, validate this selection by pressing Enter.
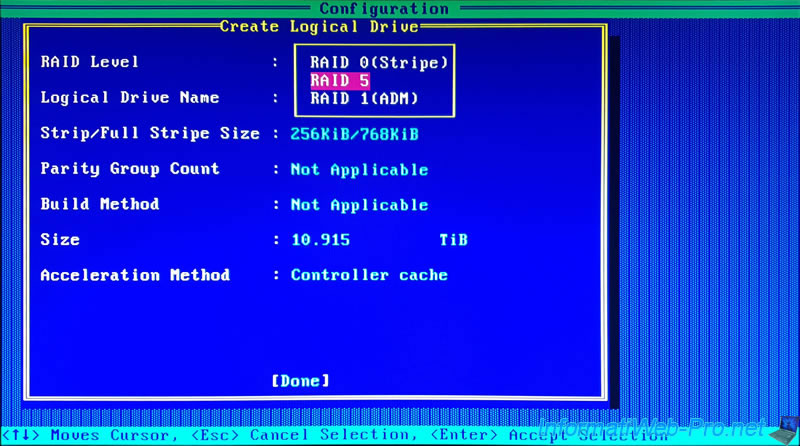
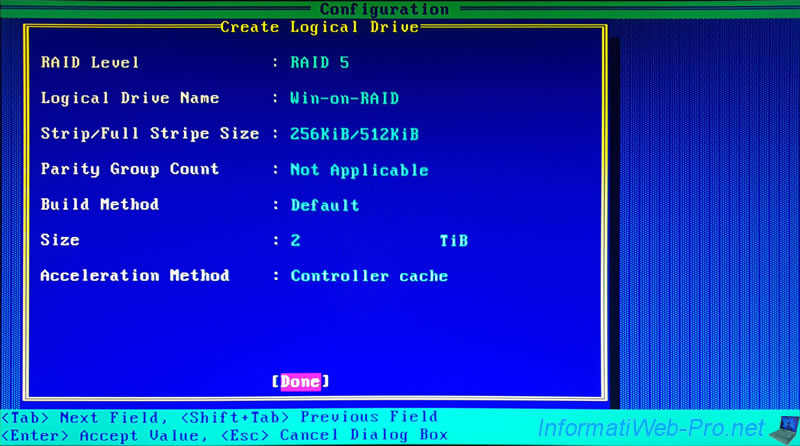
Select the desired RAID level.
In our case, we select "RAID 5" to combine performance and data security.
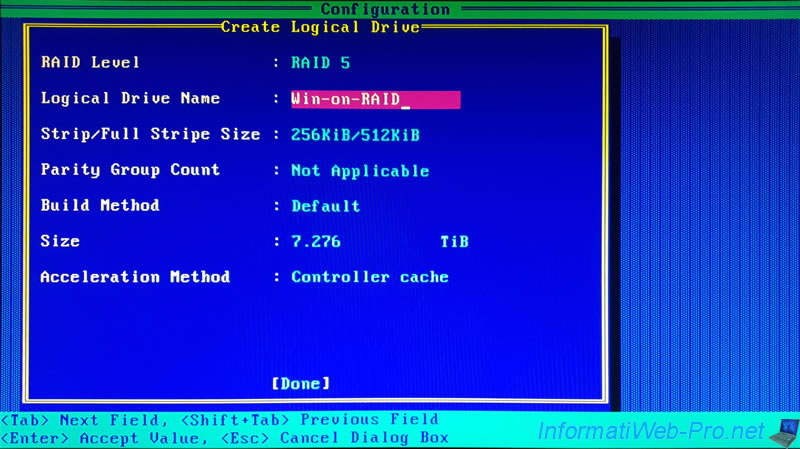
Enter a name for the 1st logical drive.
In our case, we named it "Win-on-RAID", because we will be installing Windows on it (but this is an example).
Note that by default, the size indicated is the one available for storing data (which depends on the number of hard drives and the RAID level selected).
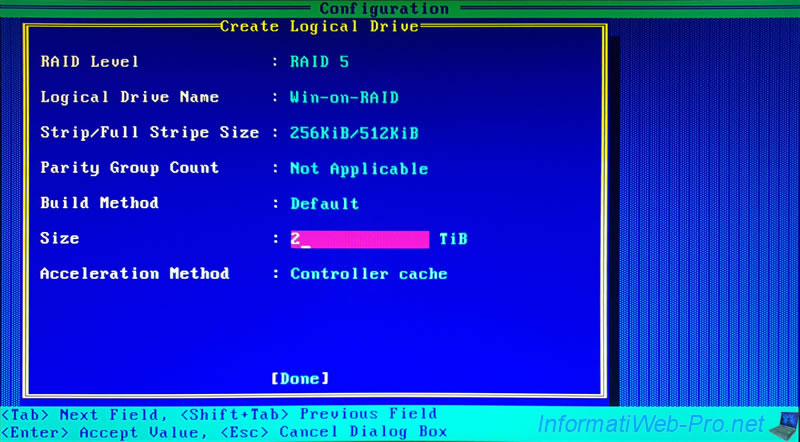
Specify a size smaller than the default size in your case, so that you can add more logical drives later to the array you created (the array being only the choice of physical disks).
In our case, we are going to create a logical drive for Windows of 2 TB.
Important : note that the MBR of a logical drive is limited to 2 TB.
If you specify a size greater than 2 TB, then you will have to use the GPT partition table (but this is not supported on older versions of Windows).
Validate the configuration of this 1st logical drive.
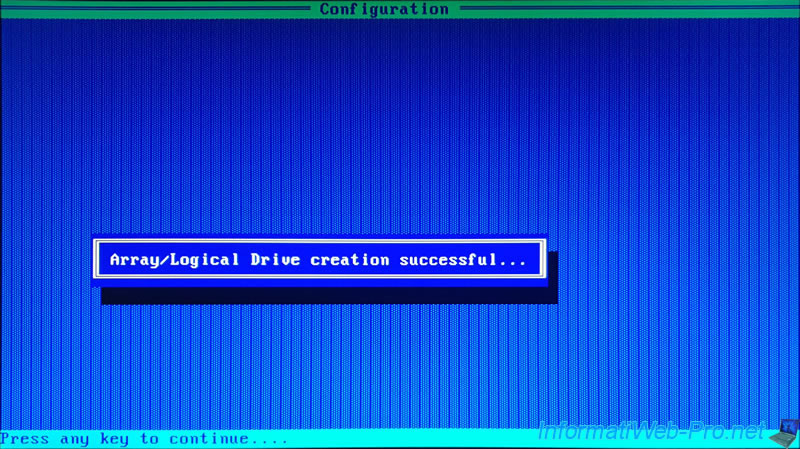
Your array and your 1st logical drive have been created.
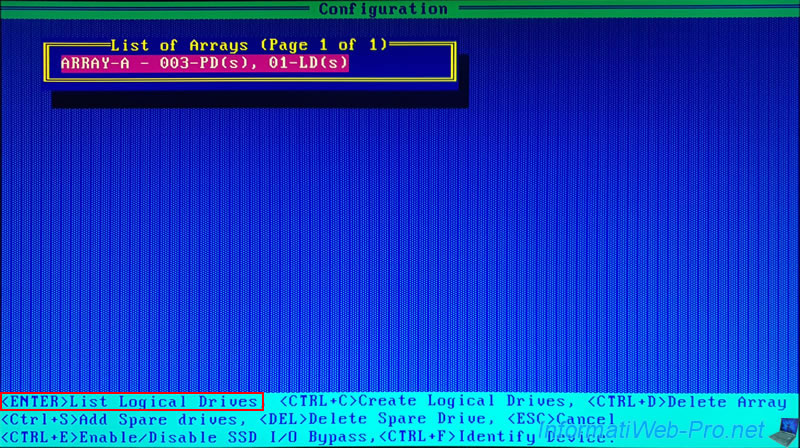
Go to : Manage Arrays.

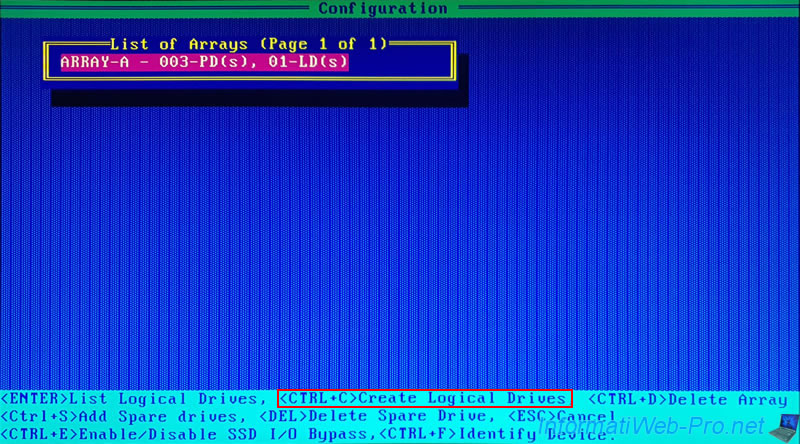
As you can see, you have a new array (ARRAY-A in our case) with only one logical drive (01-LD) at the moment.
To view the logical drive inside, press Enter.
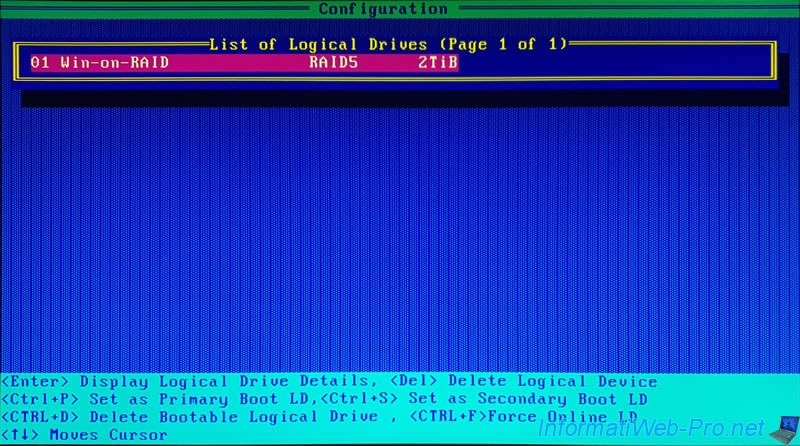
As you can see, at the moment there is only one logical drive in our Array.
2. Add a logical drive to an existing array
Select your array and press "CTRL + C" to create a new logical drive in it.
Select the RAID level for this logical drive.
In our case, we have again selected "RAID 5".

Provide a name for this new logical drive.
In our case, we named this second logical drive "ESXi-on-RAID", because we will be installing the "VMware ESXi" hypervisor on it (but this is again an example).
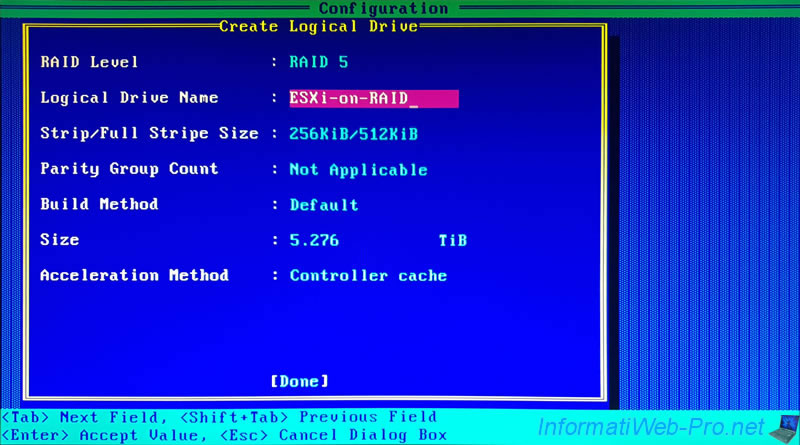
This time, we leave the size indicated by default for this logical drive to use all the space remaining on our array.
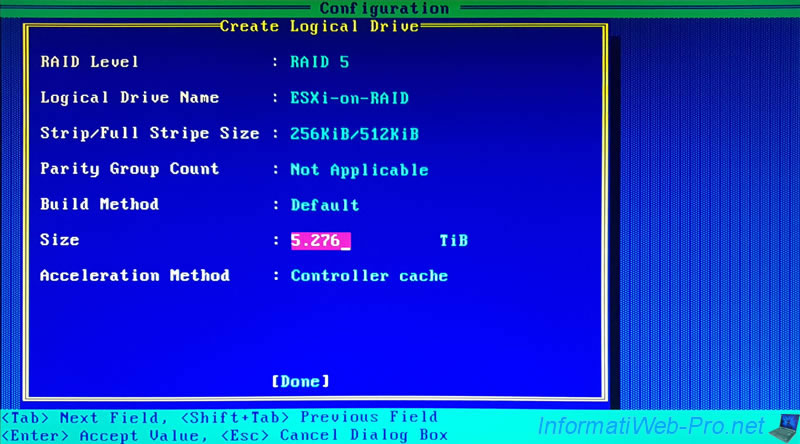
Validate the configuration of this new logical drive.
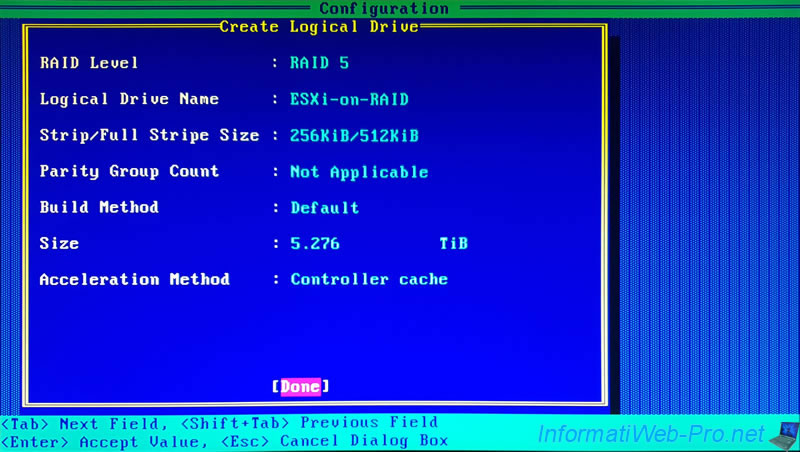
The new logical drive has been created (Array/Logical Drive creation Successful).

If you go to "Manage Arrays", you will see that your array now contains 2 logical drives (02-LDs).
Press Enter to display them.

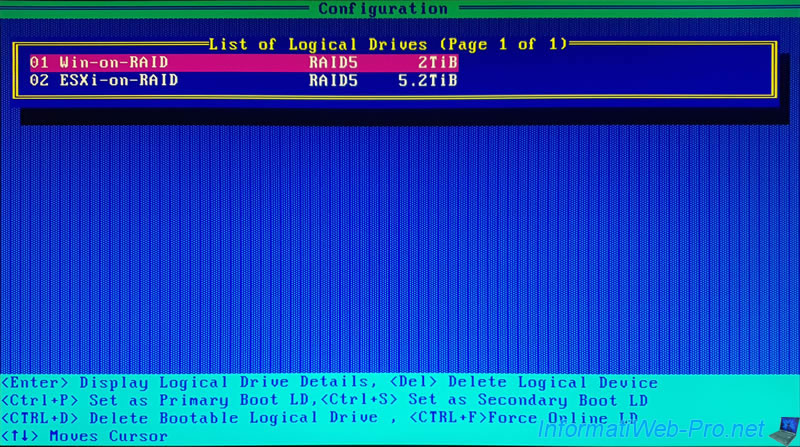
As you can see, we have an array with 2 logical drives whose RAID level is "RAID 5" :
- a logical drive of 2 TiB where we will install Windows (in our case)
- a logical drive of 5.2 TiB where we will install ESXi
Important : since these logical drives are created on the same array, it also means that if a physical disk of this one fails, all the logical drives present here will be impacted by this failure.
Share this tutorial
To see also
-

RAID 4/20/2022
Adaptec maxView Storage Manager v3 - Create a RAID volume
-

RAID 4/8/2022
Adaptec maxView Storage Manager v3 - Download and boot on USB version
-

RAID 4/13/2022
Adaptec maxView Storage Manager v3 - Installation on Linux
-

RAID 4/15/2022
Adaptec maxView Storage Manager v3 - Manage an Adaptec SmartRAID controller on VMware ESXi 6.7
You must be logged in to post a comment