Network access modes presentation and create custom virtual networks with VMware Workstation 16 or 15
- VMware
- 03 July 2020 at 18:06 UTC
-

- 3/4

4. Custom (custom virtual network)
Once you understand what the different network access modes presented above are, you can also create your own virtual networks to create virtual switches with or without an integrated DHCP server.
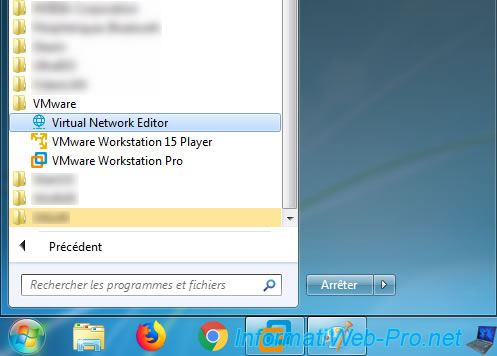
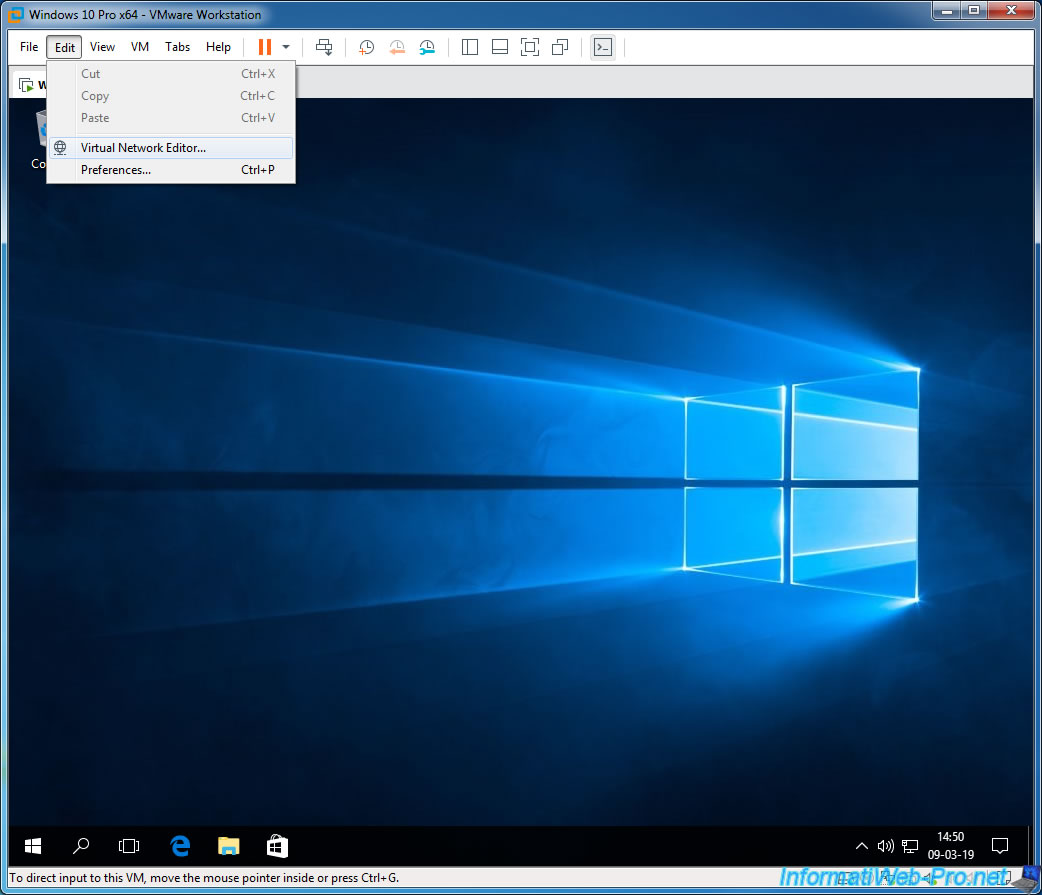
To do this, launch the Virtual Network Editor program installed with VMware Workstation from the Windows start menu or from the "Edit -> Virtual Network Editor" menu of VMware Workstation.
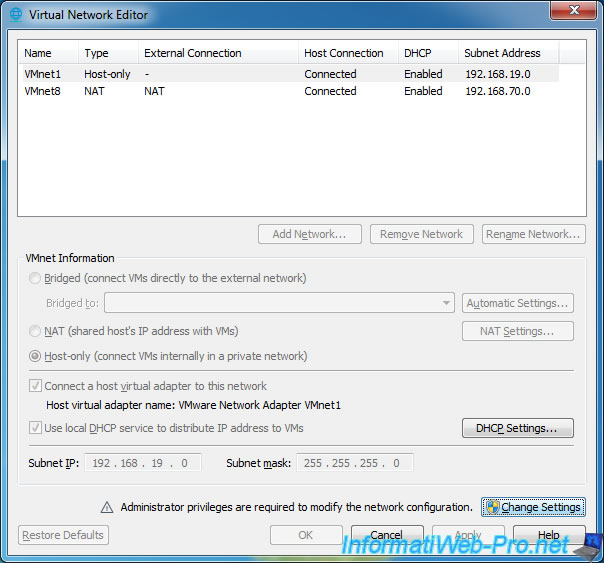
By default, the Virtual Network Editor program is started without administrator rights.
This allows you to know only some basic information about the different virtual networks configured by VMware by default.
Note that the Bridged network doesn't appear by default.
In order for it to appear, you will need to click on "Change Settings" in order for Virtual Network Editor to obtain the administrator rights.
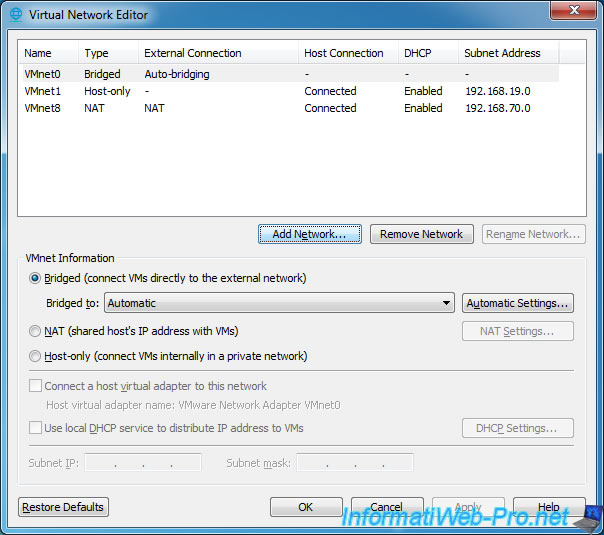
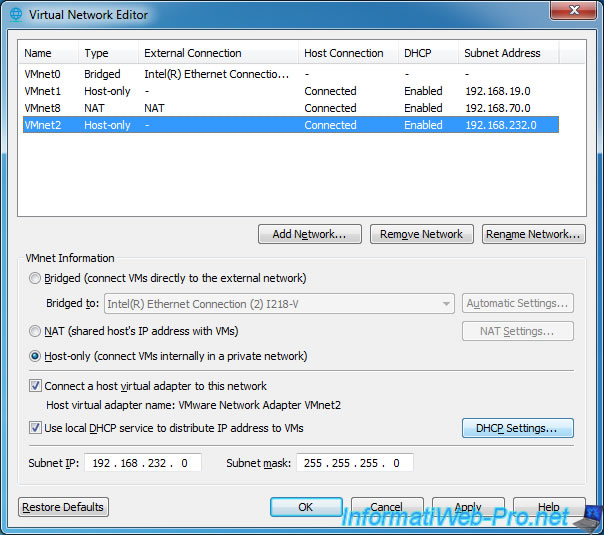
As you can see, by default there are 3 pre-configured virtual networks :
- VMnet0 : Bridged
- VMnet1 : Host-only
- VMnet8 : NAT
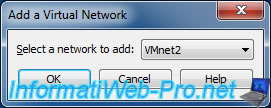
To add a new virtual network, click : Add Network.
Leave the option selected by default and click OK.
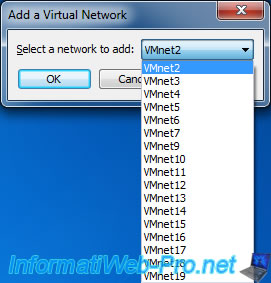
Note that in recent versions of VMware Workstation, you can create about 20 virtual networks. The number of networks was previously limited to about 10.
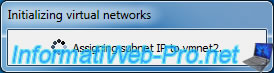
When you add a new virtual network, Virtual Network Editor will assign it a subnet IP address.
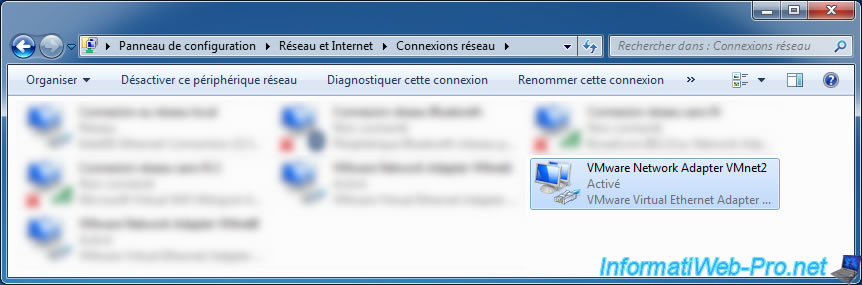
And Virtual Network Editor will by default create an additional virtual network adapter that will connect you virtually to this network.
These adapters will always be named : VMware Network Adapter VMnetx.
4.1. Create a new Bridged network
If you try to create a new Bridged network (which is VirtualBox's "Bridged Adapter" mode) to connect your virtual machines to a second physical network, you will see that it will not work by default.
Indeed, in our case, we have 2 physical network cards :
- a wired network card : Intel(R) Ethernet Connection
- a wireless network card (Wi-Fi) : Broadcom 802.11ac Network Adapter
However, Virtual Network Editor doesn't allow us to select it for the second network in Bridged mode.
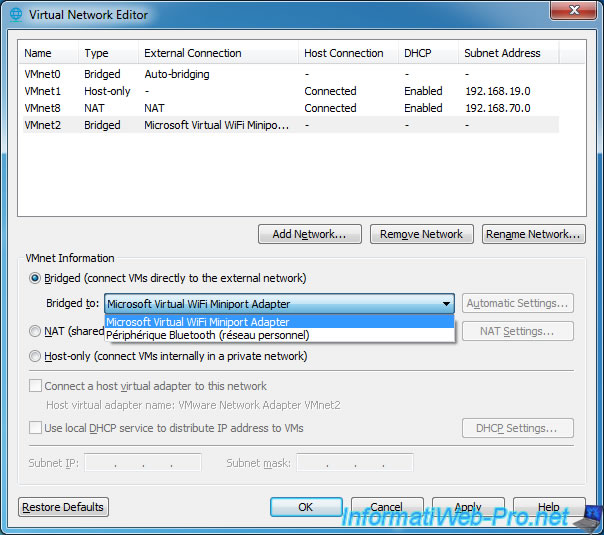
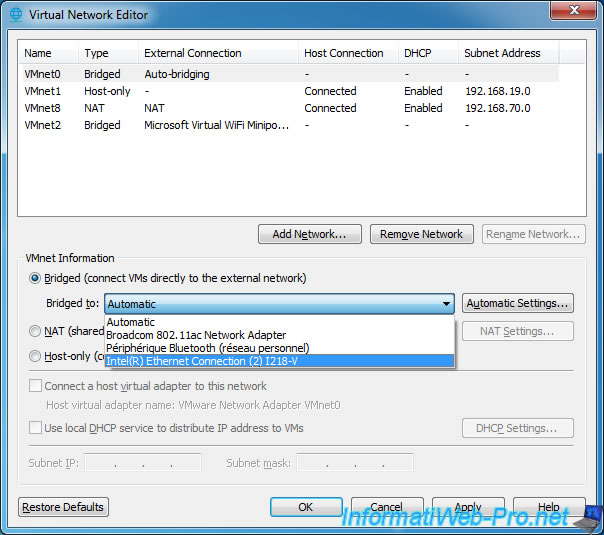
To correct this problem, you must stop using the "Automatic" option for the "VMnet0 / Bridged" network created by VMware by default.
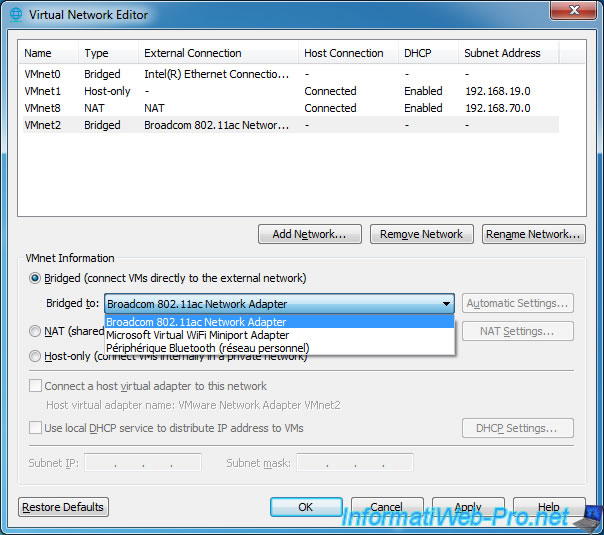
In our case, we have chosen that the default Bridged network access mode will use the wired network card (Intel (R) Ethernet Connection).
Now, our second network "VMnet2 / Bridged" can be connected to the wireless network card (Broadcom 802.11ac Network Adapter).
4.2. Create a new NAT network
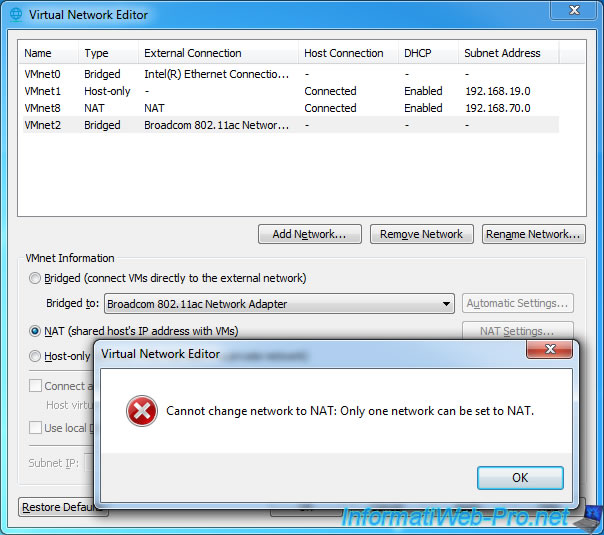
Although VirtualBox allows you to create additional NAT networks, this is not the case with VMware Workstation.
If you try to create a new virtual network in NAT mode, Virtual Network Editor will display this error message :
Plain Text
Cannot change network to NAT: Only one network can be set to NAT.
However, you can change the default settings of the original VMware Workstation NAT network.
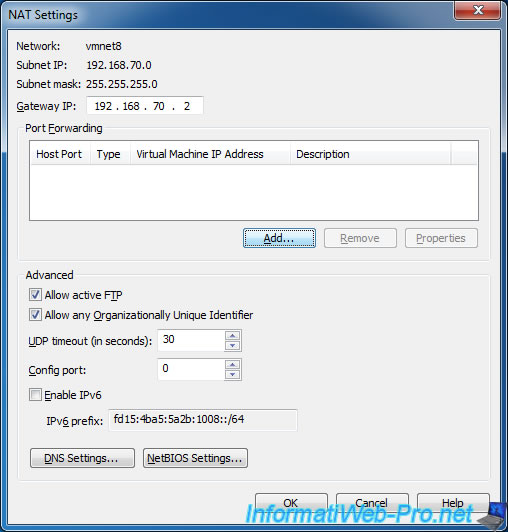
To do this, select the virtual network "VMnet8 / NAT" and click on : NAT Settings.
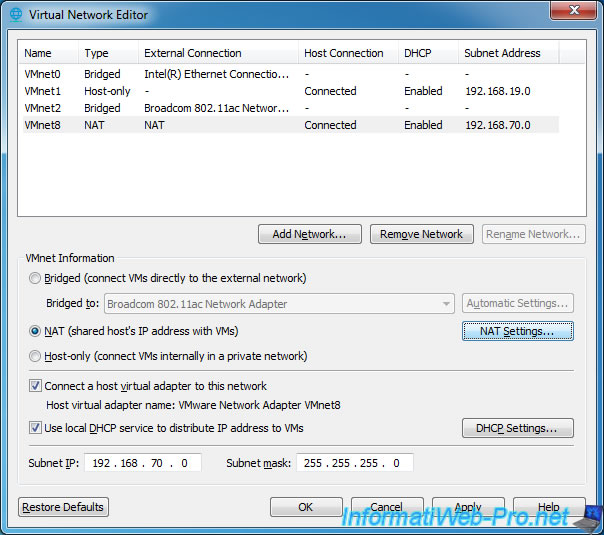
In the "NAT Settings", you will have the possibility to :
- Gateway IP : change the IP address of the default virtual gateway used by virtual machines connected in NAT mode
- Port Forwarding : redirect ports to access services hosted on virtual machines in NAT mode from any physical PC of your network
- Allow active FTP : allow FTP in active mode
- Enable IPv6 : add IPv6 support in this virtual network
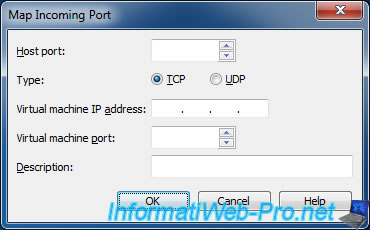
For port forwarding, you will need to specify :
- Host port : the host PC port through which physical machines on your network can access the service hosted in the virtual machine
- Type : the protocol used by the service hosted by the virtual machine. TCP (connected mode) or UDP (unconnected mode)
- Virtual machine IP address : the IP address of the virtual machine. This implies that you will need to set a static IP address in the guest OS of this virtual machine that is not present in the distributed IP address range on this virtual network.
- Virtual machine port : the port through which the service hosted on the virtual machine is accessible
- Description : an info allowing you to know what is the purpose of this rule.
To better understand how to use this feature, here is a small example :
- Host port : 8888
- Type : TCP
- Virtual machine IP address : 192.168.70.10 (the IP range for this NAT network is : 192.168.70.128 to 192.168.70.254)
- Virtual machine port : 80 (will allow access to the web server hosted by this VM)
- Description : WAMP web server
- Info : the IP of the host PC is 10.0.0.4
With this port forwarding rule, we will be able to access the web server hosted by the "192.168.70.10" virtual machine connected in NAT mode via the "http://10.0.0.4.48888/" address from any PC of the physical network.
Important : note that this also requires opening the necessary ports (in this case : TCP port 80) in the guest OS firewall.
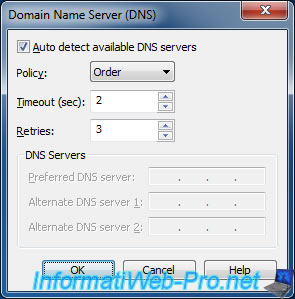
By default, the detection of the DNS servers to use for this virtual network is automatic (Auto detect available DNS servers), but you can uncheck this box if you want virtual machines connected in NAT mode to use specific DNS servers.
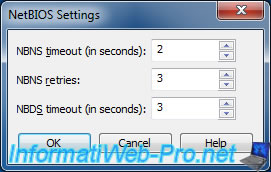
Although you will probably not use this option, you will be able to manage the NETBIOS settings for this virtual network.
And finally, you will be able to see the range of distributed IP addresses for VMs connected in NAT mode by clicking on : DHCP Settings.
As you can see, by default, VMware will distribute IP addresses from 192.168.70.128 to 192.168.70.254 on this network.

4.3. Create a new Host-only network
As expected, you can also create new networks in Host-only mode to allow your virtual machines to communicate only with the host machine.
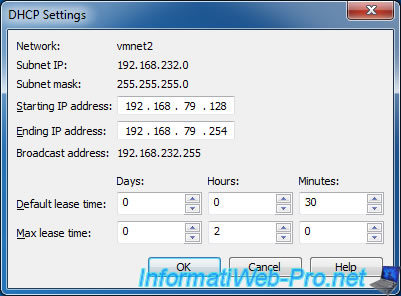
For this type of network, the only available settings are those of the DHCP server present on this virtual network.
4.4. Create a virtual switch
Small bonus : in our case, we use the Virtual Network Editor to create virtual switches without DHCP server to test different technologies or features.
For example : the creation of a virtual router, a virtual DHCP server, the addition of an additional network link for the redundancy of the networks of a cluster, ...
In short, creating a virtual switch with VMware is very convenient and is very useful in many cases.
And especially if you want to become a system administrator and/or a network administrator.
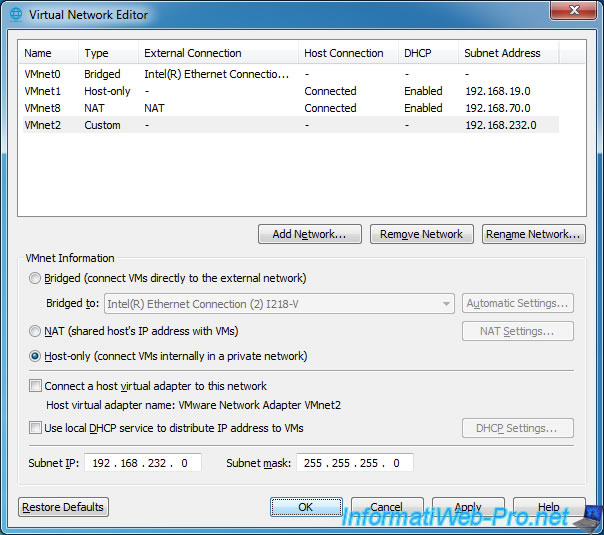
To create a virtual switch with Virtual Network Editor :
- click on : Add Network
- select : Host-only (connect VMs internally in a private network)
- uncheck the "Connect a host virtual adapter to this network" (to not connect the host PC on this virtual network) and "Use local DHCP service to distribute IP address to VMs" (since a switch is not supposed to distribute IP addresses) boxes.
- ignore the "Subnet IP" and "Subnet mask" options that are no longer needed with this configuration
If you still want to have a DHCP server integrated with this virtual switch, leave the "Use local DHCP service to distribute IP address to VMs" box checked and click on "DHCP Settings" to configure :
- the range of IP addresses to be distributed on this virtual network with the "Starting IP address" and "Ending IP address" options
- the period of validity of the IP addresses distributed by this one thanks to the "Default lease time" and "Max lease time" options

Share this tutorial
To see also
-

VMware 3/16/2013
VMware Workstation - Boot a VM on the BIOS / EFI firmware
-

VMware 2/7/2020
VMware Workstation 15 - Installation on Linux
-

VMware 12/24/2021
VMware Workstation 15 - Slice the virtual hard disk of a VM
-

VMware 12/10/2021
VMware Workstation 15.5 - Convert a Virtual PC virtual machine to a VMware VM
No comment