- VMware
- 16 June 2023 at 08:09 UTC
-

- 1/3

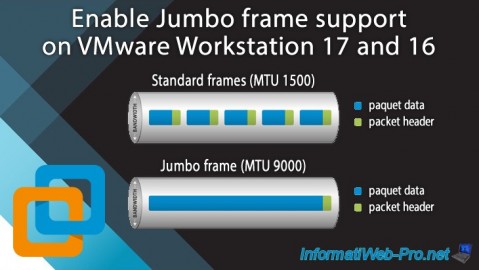
On VMware Workstation Pro, you can enable support for Jumbo frames on your VMware virtual networks to benefit from this technology with the solutions that use it.
As you will see in this tutorial, you can notably use Jumbo Frames with Windows as a guest operating system, but also with VMware ESXi as a guest operating system.
This will allow you to perform all your tests.
- Jumbo frames support since VMware Workstation Pro 15.5.0
- Enable Jumbo frames support on a Windows host
- Virtual network card used by default on VMware Workstation Pro
- Change the type of virtual network card to use for your virtual machine on VMware Workstation Pro
- Enable Jumbo frames support on VMXNET 3 paravirtual network adapters on Windows
- Network test to verify that Jumbo frame support is correctly enabled
- Jumbo frame support with VMware ESXi hypervisor as VM (VM traffic)
- Jumbo frame support with VMware ESXi hypervisor as VM (hypervisor traffic)
- Jumbo frames not supported on older versions of VMware Workstation Pro
- Enable Jumbo frames support on a Linux host
1. Jumbo frames support since VMware Workstation Pro 15.5.0
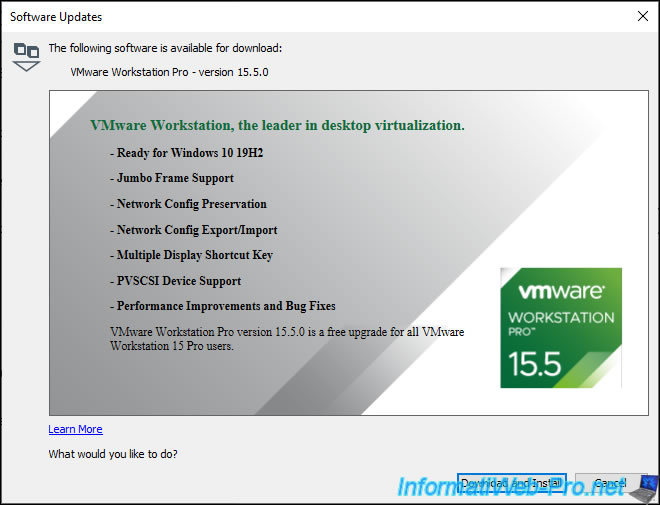
As you can see from the image below, as well as from the "VMware Workstation 15.5 Pro Release Notes" page of the official VMware website, Jumbo frames (MTU up to 9000 bytes) are supported since version 15.5.0 of VMware Workstation Pro.
Note : given that this support is therefore recent, it's normal that you find topics on the Internet that say the opposite, based for example on the documentation of version 7 (from 2009).
2. Enable Jumbo frames support on a Windows host
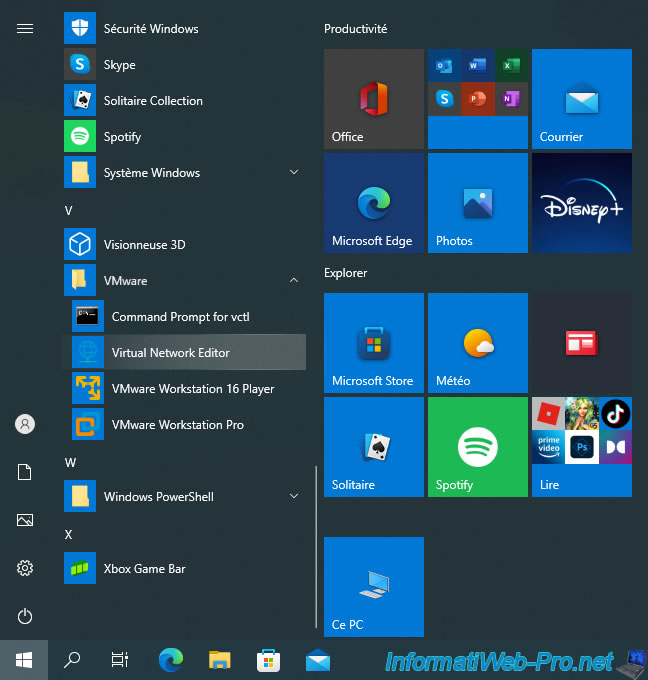
When you install VMware Workstation Pro, the "Virtual Network Editor" program is also installed.
This program allows you to manage the different virtual networks that you can use with your virtual machines on VMware Workstation Pro.
To launch this program, use the "Virtual Network Editor" shortcut located in the "VMware" folder of the Windows start menu.
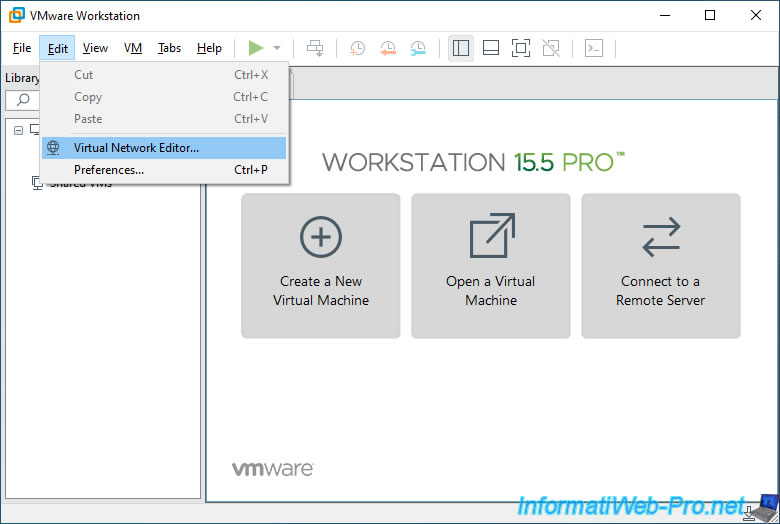
You can also launch this "Virtual Network Editor" program from VMware Workstation Pro by going to the "Edit -> Virtual Network Editor" menu.
By default, you will only see 2 virtual networks appear.
Click on the "Change Settings" button (at bottom right) to display them all.
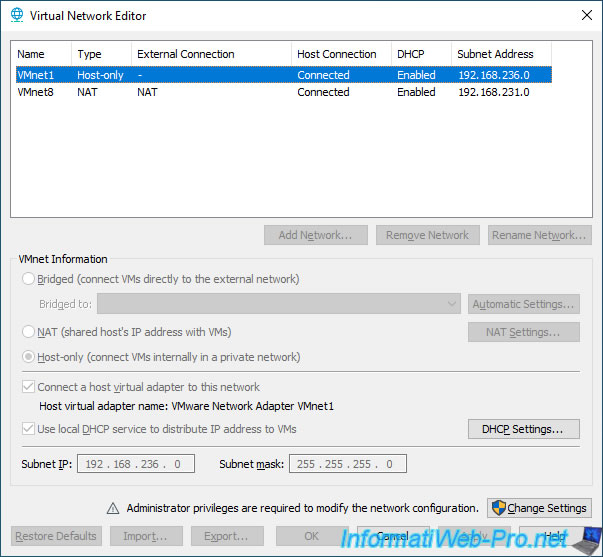
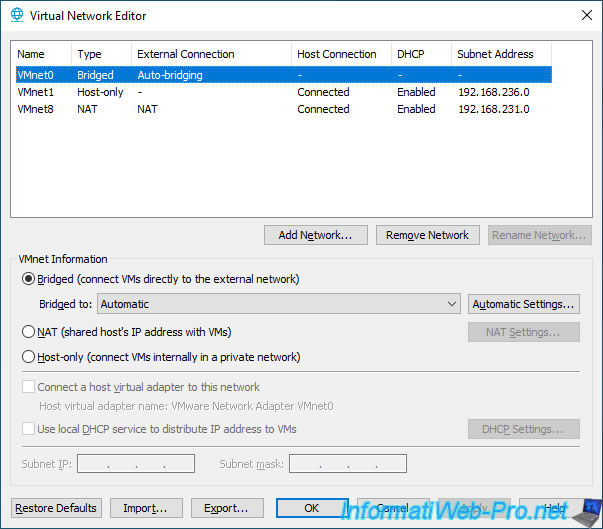
As you can see, by default, VMware Workstation Pro has 3 virtual networks :
- VMnet0 : Bridged. The VM is virtually connected to your physical switch / router (or Box).
- VMnet1 : Host-only. An internal network that only allows virtual machines to communicate with each other.
But, these don't have access to the physical network. - VMnet8 : NAT. Allows virtual machines to communicate with each other over a virtual network present only on your computer.
This type of virtual network also allows your virtual machines to access the Internet.
In short, as you can see, in the case of the "VMnet0" (Bridged) virtual network, no virtual network adapter (host virtual adapter for this network) is connected.
On the other hand, if you select the virtual network "VMnet1" or "VMnet8", you will see that the "Connect a host virtual adapter to this network" box is checked.
In order for Jumbo frames to pass correctly in VMware Workstation Pro virtual networks, you must enable support for these Jumbo frames on them.
To do this, you will need to modify the settings of the corresponding VMware virtual network adapters on your host PC.
As stated on the "Enable Jumbo Frames on Windows Host" page of the official VMware documentation.
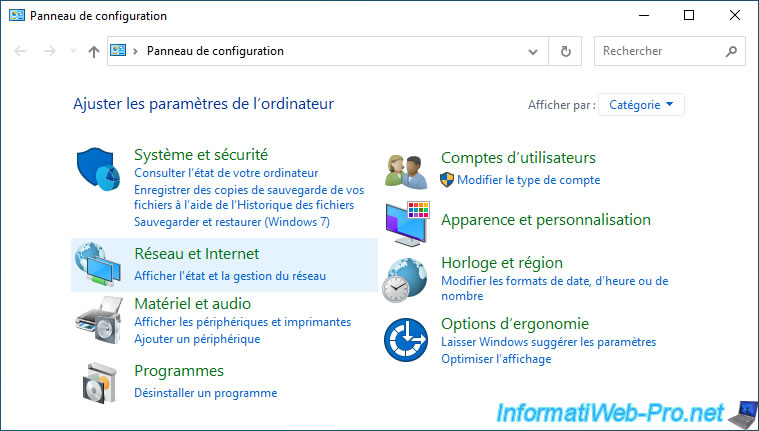
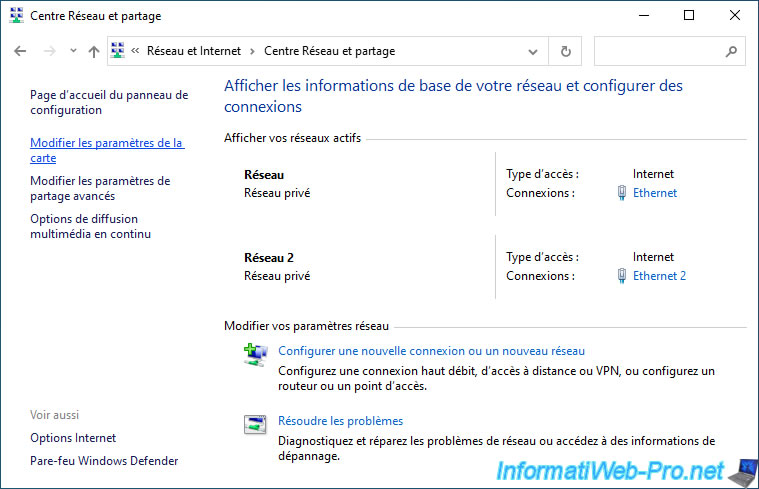
On your host PC, open the control panel and go to : Network and Internet.
Then, go to : Network and Sharing Center.
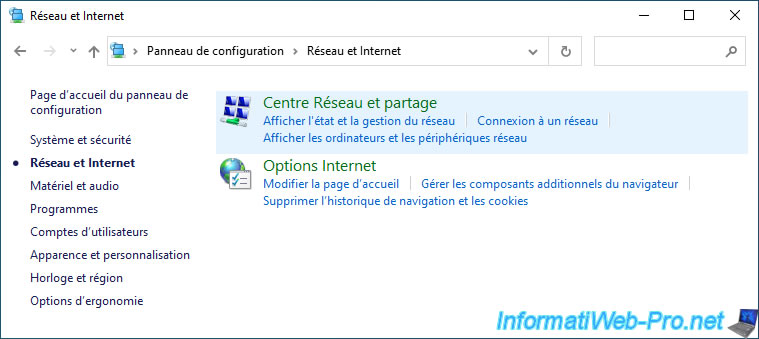
Click on the link : Change adapter settings.
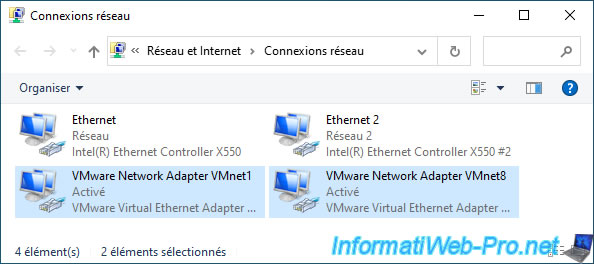
As you can see, on your host PC, there are as many "VMware Network Adapter VMnetX" virtual network adapters as there are virtual networks present in Virtual Network Editor.
The only network that is not affected by these VMware virtual network adapters is the "VMnet0" (Bridged) network.
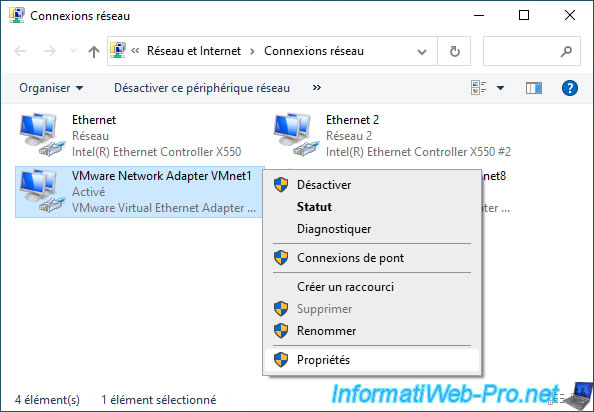
To enable Jumbo Frames support on a VMware Workstation Pro virtual network, right-click "Properties" on the corresponding VMware virtual network adapter.
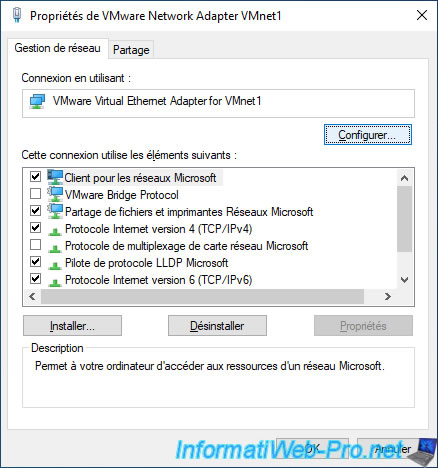
In the "VMware Network Adapter VMnetX Properties" window that appears, click : Configure.
Note : if a small confirmation window appears, click "Yes".
Go to the "Advanced" tab of the window that appears, select the "Jumbo Packet" property and select the "Enabled (9014)" value.
Note : as you can see, the possible values are : 1514 (disabled) and 9014 (enabled).
Remember these values, as you will need them to enable Jumbo frame support in the guest operating system of your virtual machines later.
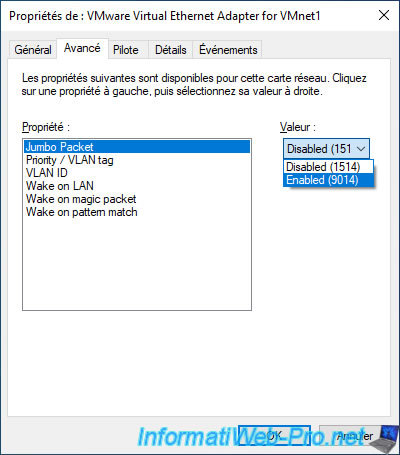
Once this change is made, click OK.
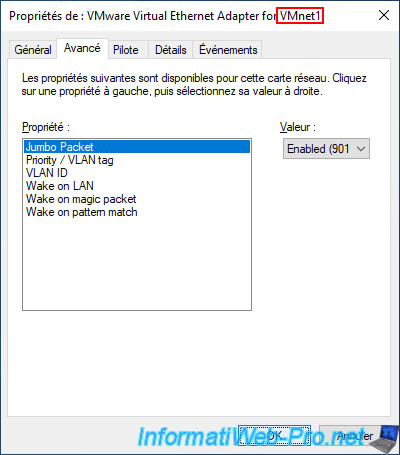
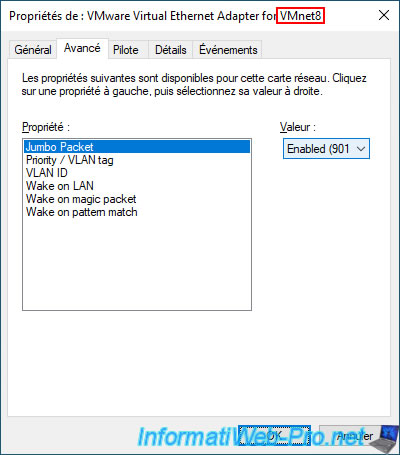
In our case, we also enabled support for Jumbo frames on the other VMware virtual network card (VMnet8).
3. Virtual network card used by default on VMware Workstation Pro
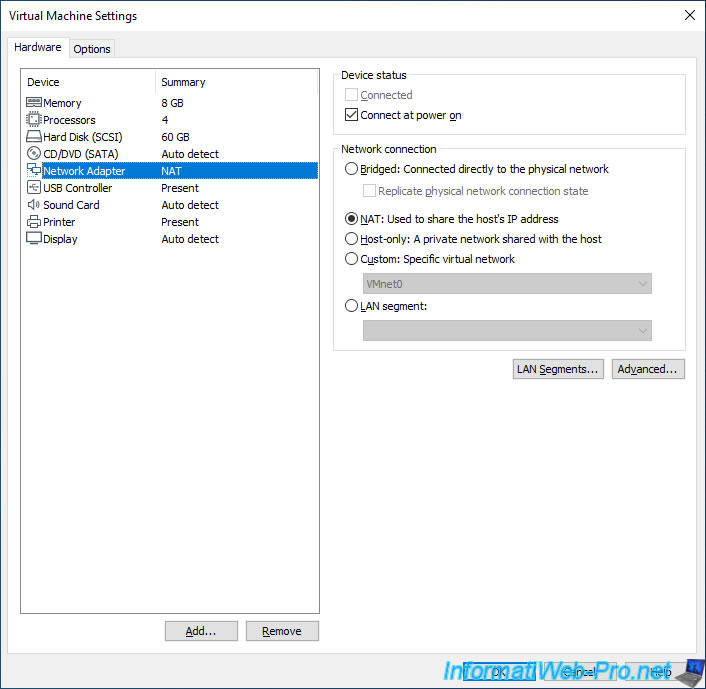
In our case, our 2 virtual machines on Windows 10 v2004 x64 have a virtual network card connected in "NAT" mode (which corresponds to VMnet8).
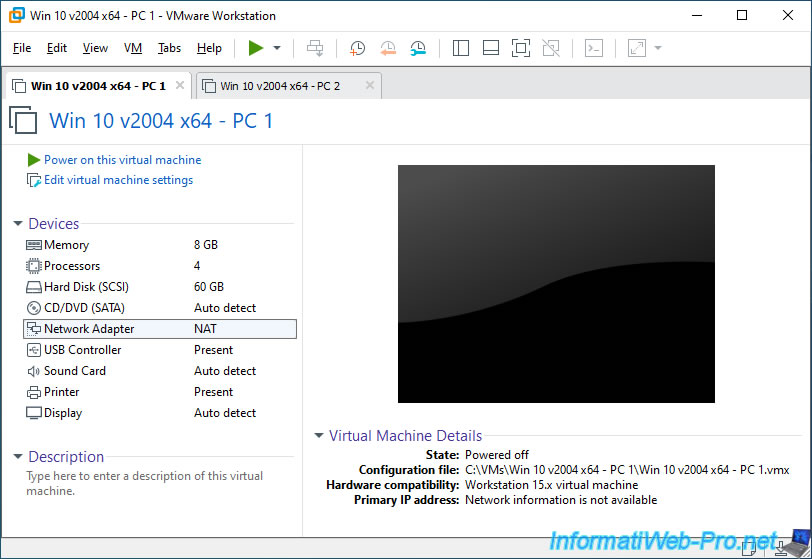
When you try to change the settings of a virtual network adapter in your virtual machine, you can see that you can easily change which network access mode to use.
However, you don't see the virtual network card model that will be used. That said, you will see later that you can easily change the model of the virtual network card by manually modifying the ".vmx" configuration file of your virtual machine.
In the case of Windows 10 x64 as a guest OS, you can see that VMware Workstation Pro emulates an "Intel(R) 82574L Gigabit Network Connection" network adapter.
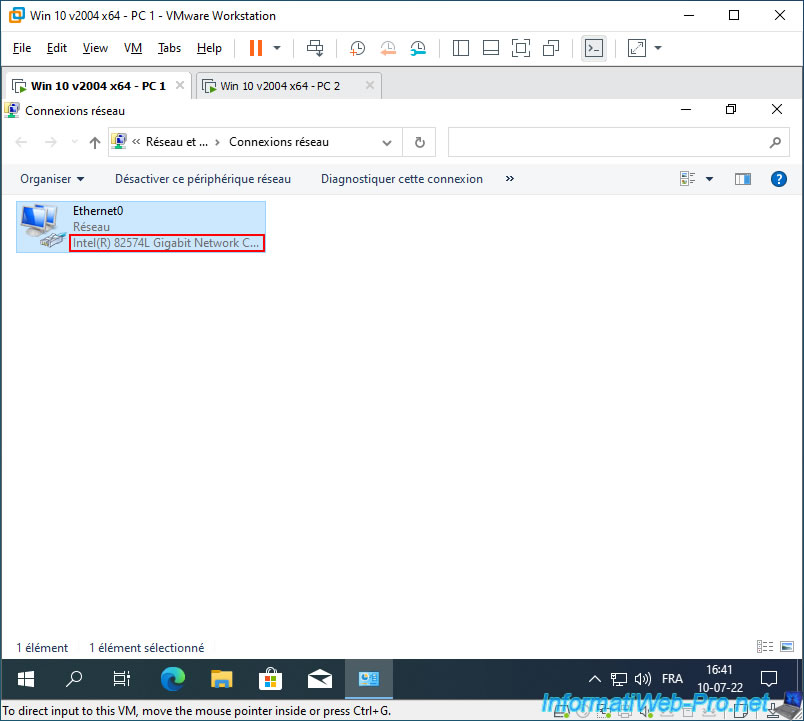
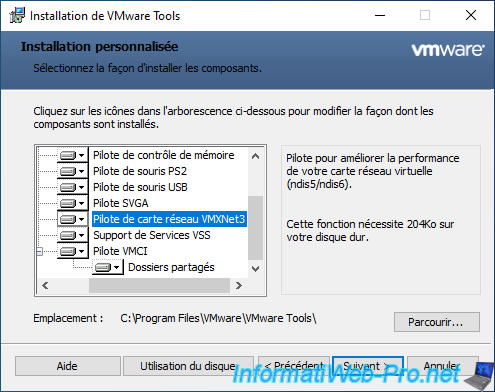
Note : when you install VMware Tools on Windows, the VMXNet3 network adapter driver is also installed.
This means that you can easily use this type of network adapter on Windows if VMware Tools are installed in your virtual machine.
4. Change the type of virtual network card to use for your virtual machine on VMware Workstation Pro
In order for you to be able to send and receive frames with your virtual machines on VMware Workstation Pro, VMware specifies that you must use a "VMXNET 2 (enhanced)" or "VMXNET 3" virtual network adapter.
Indeed, the support of Jumbo frames appeared with the "VMXNET 2 (enhanced)" version of the virtual network cards available on VMware Workstation Pro and the virtual network adapter "VMXNET 3" has the same features as the "VMXNET 2 (enhanced)", as well as other functions.
Source : Enable Jumbo Frame Support on a Virtual Machine - VMware Docs.
To change the type of virtual network adapter your virtual machine should use, shut down that virtual machine and close VMware Workstation Pro.
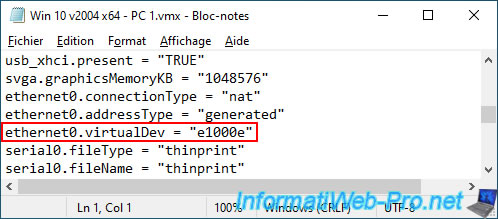
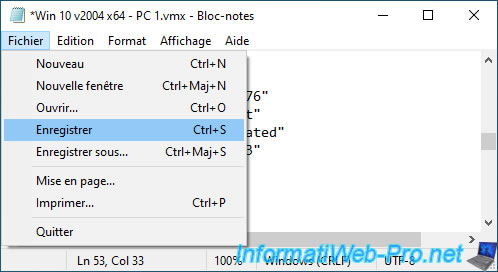
Next, open the configuration file (.vmx) of this virtual machine with notepad.

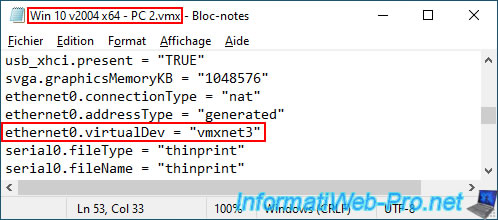
Look for the line "ethernet0.virtualDev" (which corresponds to the 1st virtual network card of your virtual machine).
As you can see, in our case, the type of virtual network adapter used is : e1000e.
Which corresponds to the Intel 82574 Gigabit Ethernet network card you saw earlier.
Source : Network Adapter Basics - VMware Docs.
To use Jumbo Frames with your virtual machine on VMware Workstation, you must use a VMXNET 3 virtual network adapter (as explained previously).
To do this, simply change the value of "ethernet0.virtualDev" to "vmxnet3".
Source : Configure vNIC to use vmxnet3 driver - VMware Communities.

Then, save the changes.
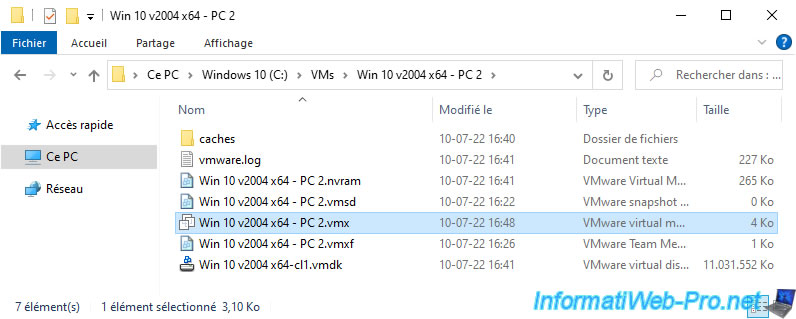
Perform the same modification on the destination virtual machine (the one that will receive your Jumbo frames).
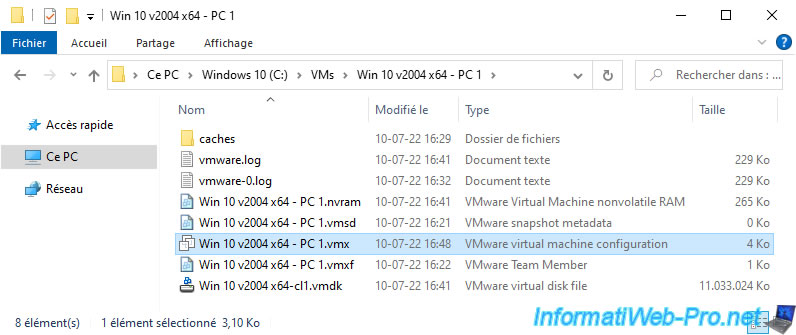
For the modifications made to be taken into account by VMware Workstation Pro, you must double-click on the modified configuration file so that VMware Workstation Pro reads this configuration file again.
Also double-click on the configuration file of the destination virtual machine.
Now, start your virtual machines.

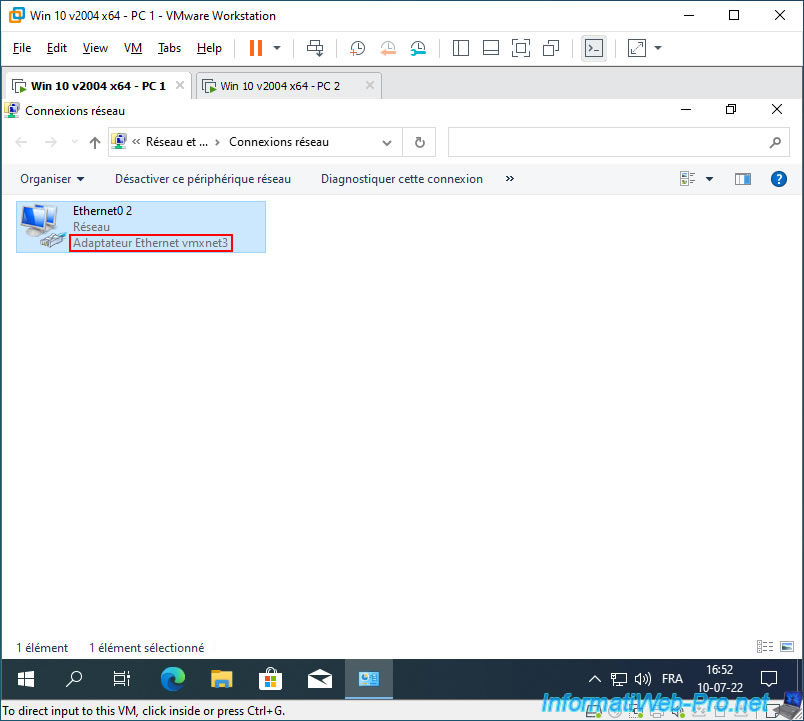
As you can see, your virtual machines are now using a vmxnet3 Ethernet adapter (instead of the Intel network adapter).
Share this tutorial
To see also
-

VMware 3/16/2013
VMware Workstation - Boot a VM on the BIOS / EFI firmware
-

VMware 2/7/2020
VMware Workstation 15 - Installation on Linux
-

VMware 12/24/2021
VMware Workstation 15 - Slice the virtual hard disk of a VM
-

VMware 12/10/2021
VMware Workstation 15.5 - Convert a Virtual PC virtual machine to a VMware VM
You must be logged in to post a comment