- Windows Server
- Clusters
- 07 July 2019 at 11:20 UTC
-

- 1/5
When you want to offer a highly available service, you can use the High Availability wizard of the desired service if it's available or use the Failover Clustering feature available on Windows Server.
- Required configuration
- Configuration used
- Creating iSCSI disks for the cluster
- Connecting cluster servers to the iSCSI server
- Partitioning iSCSI disks
- Cluster creation
- Managing cluster disks
- Cluster network management
- Remote cluster management
- Clusterize a role
- Adding a share on the clustered role
- Cluster test : File server
1. Required configuration
To be able to add Windows Server servers in a cluster , you must first link them to a same Active Directory domain.
Then, you will also need :
- an external storage server : a NAS server or an iSCSI server (for example)
- enable MPIO support (which will be verified when validating your server configuration from the Failover Cluster Manager)
Note that the servers that will be members of the cluster must :
- have compatible hardware (recommended, but not required)
- have the same version, as well as the same service packs and operating system updates
- have identical processors (CPUs) for Hyper-V clusters of virtual machines (same family "AMD / Intel", and the same models / stepping)
- have the same hardware (preferably) or almost identical hardware for compatibility and performance reasons
- have the same network cards and especially the same performance and the same supported features
- have the capacity (resources) to run all services and applications in case where other cluster servers fail
- use the same DNS servers. In this case, the IP address of your Active Directory server or your local DNS server (if the DNS service is installed on another server in your case)
Important :
- the AD DS (Active Directory) role can't be clustered, because its high availability is managed via automatic data replication of your Active Directory infrastructure between the different domain controllers of the same Active Directory domain.
- your servers can be installed in Core mode (minimal installation), but in this case the supported roles can be limited and all servers in the cluster will also have to be in Core mode
2. Configuration used
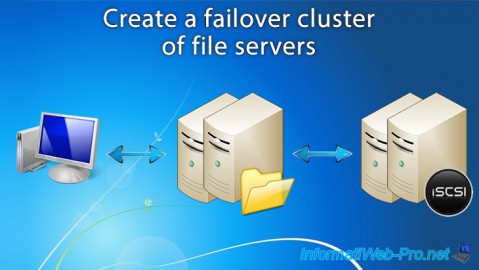
For this tutorial, we will use a client PC under Windows 8 and 4 servers :
- 1 Active Directory server
- 2 servers that will be clustered
- 1 iSCSI server that allows you to provide storage space (in the form of virtual disks) to your cluster, as well as the witness disk you might need
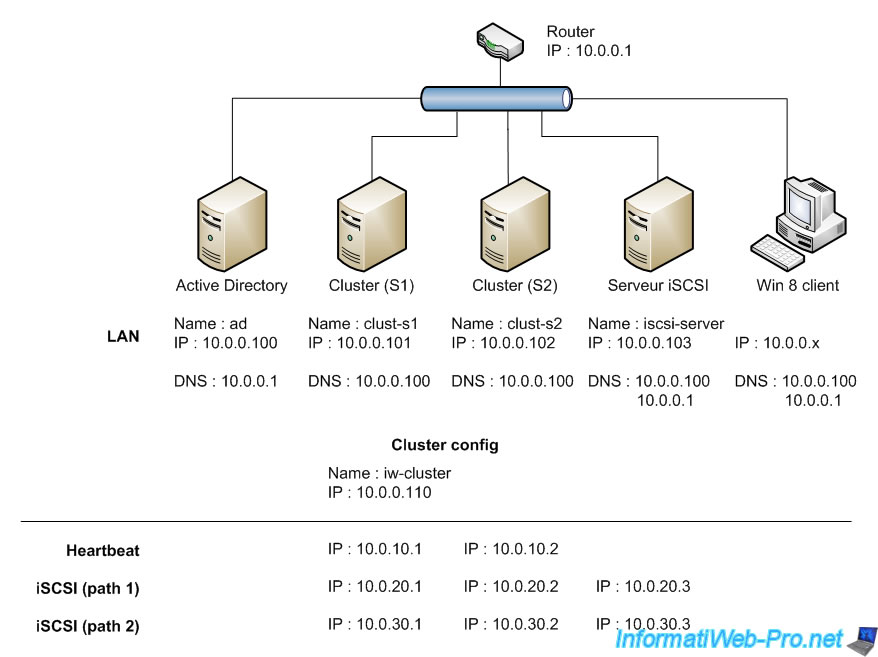
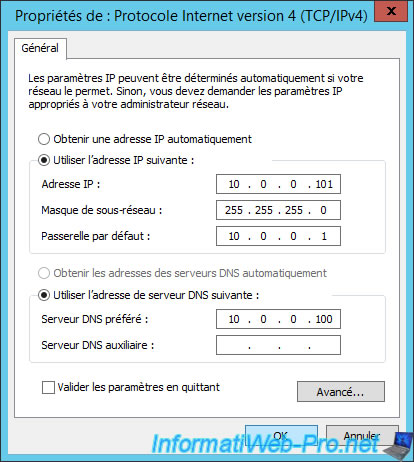
Important : for cluster creation to be successful and for the cluster name to be registered correctly on your local DNS server, it's important that the servers of your future cluster use only your local DNS server.
To do this, specify only the IP address of your local DNS server as the preferred DNS server and leave nothing as an alternate DNS server.
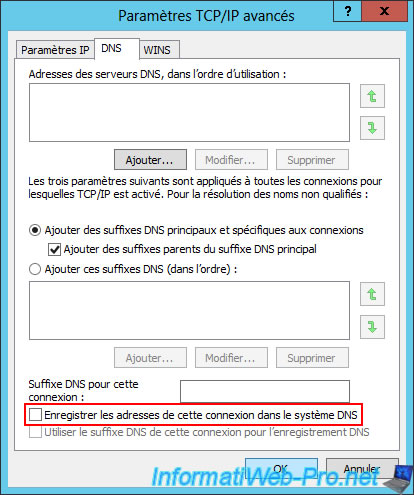
Because your servers will use multiple network adapters, it's important that your server doen't attempt to register in DNS for network adapters that don't have access to your local DNS server.
For this :
- go to the properties of each network card (except the one connected to the LAN)
- select the "Internet Protocol Version 4 (TCP/IPv4)" line and click on "Properties"
- click on : Advanced
- go to the tab : DNS
- uncheck the "Register this connection addresses in DNS" box
3. Creating iSCSI disks for the cluster
For your cluster to work properly, you will need at least 2 iSCSI drives :
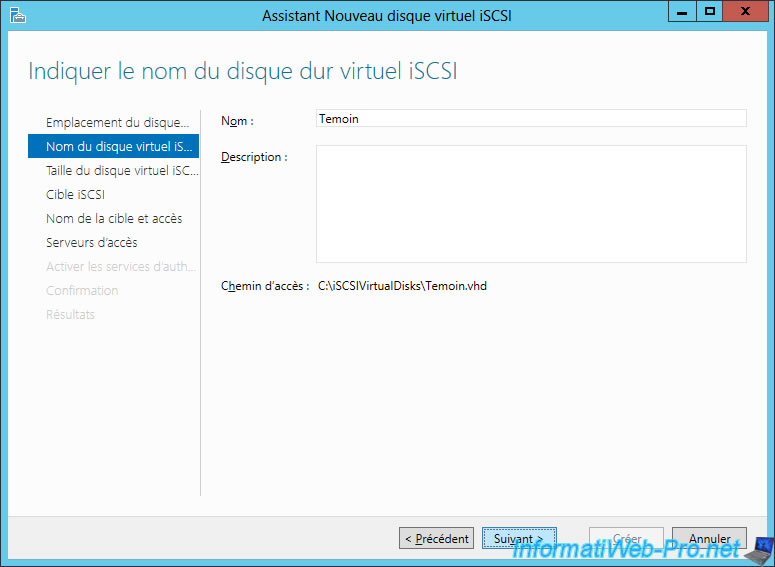
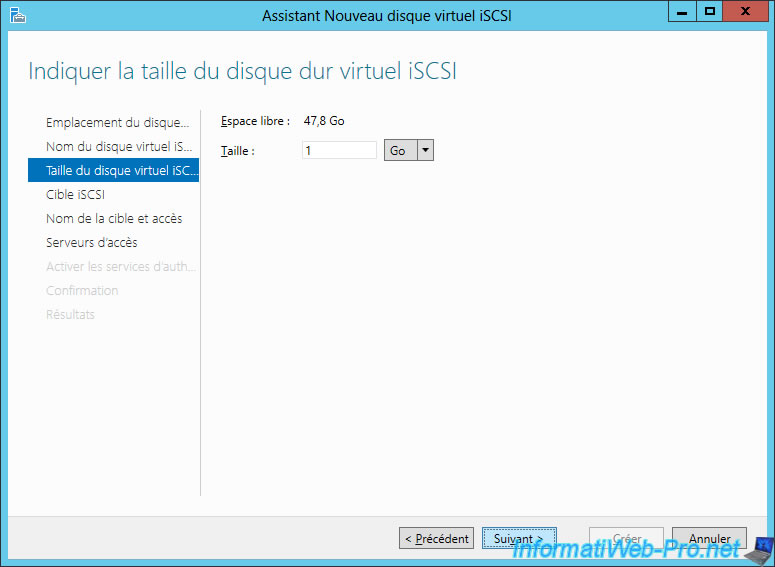
- Witness : a 1 GB iSCSI virtual disk that will be used as a witness disk for the cluster quorum
- Data : an iSCSI virtual disk that you attach to a clustered role so that it can store the necessary data
On your iSCSI server, create a new iSCSI virtual disk.
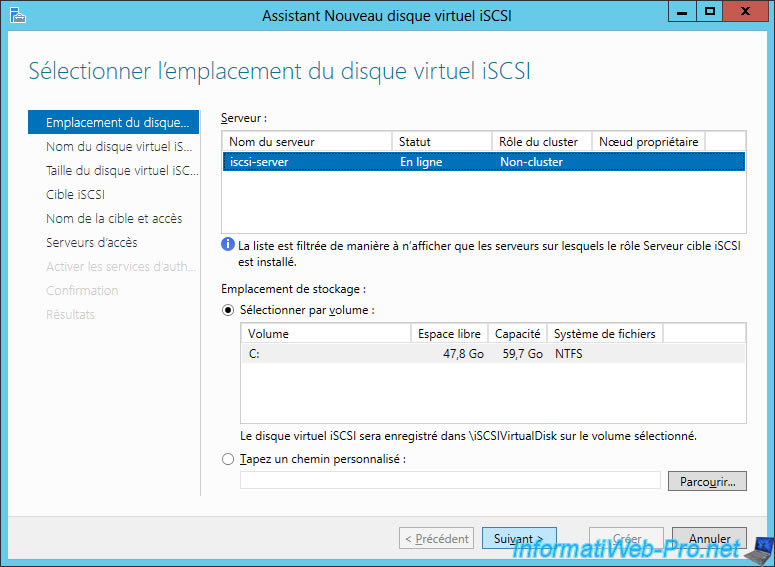
Enter "Witness" for the 1st iSCSI virtual disk.
Note : this will allow the cluster to automatically know that it's the witness disk.
Enter 1 GB as the size.
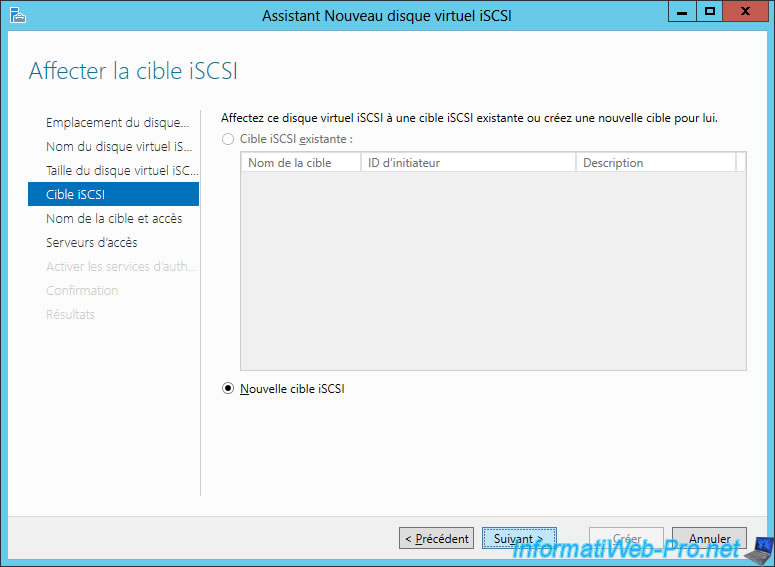
If you have never created iSCSI virtual disks on your iSCSI server, you will need to create a new iSCSI target.
Otherwise, simply select it from the list.
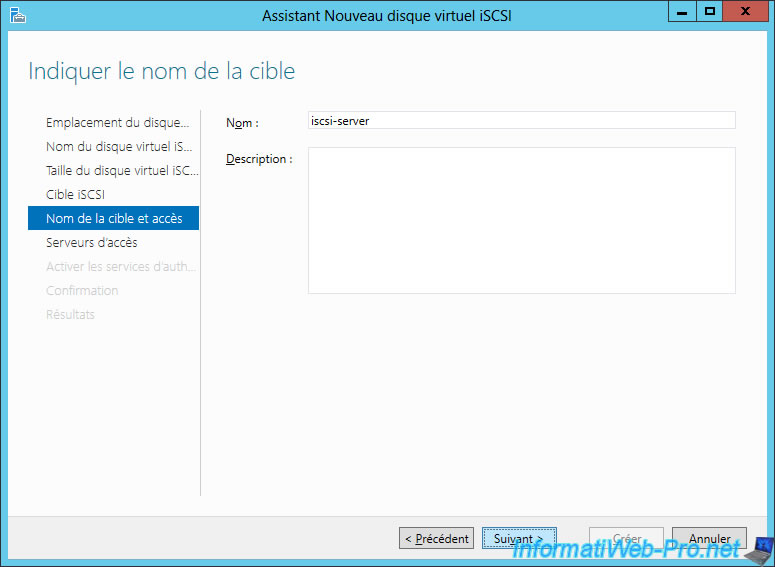
Provide a name for your iSCSI target.
In our case : iscsi-server.
For access servers, you will need to add the IP addresses that servers of your future cluster can use to connect to your iSCSI server.
Click Add.
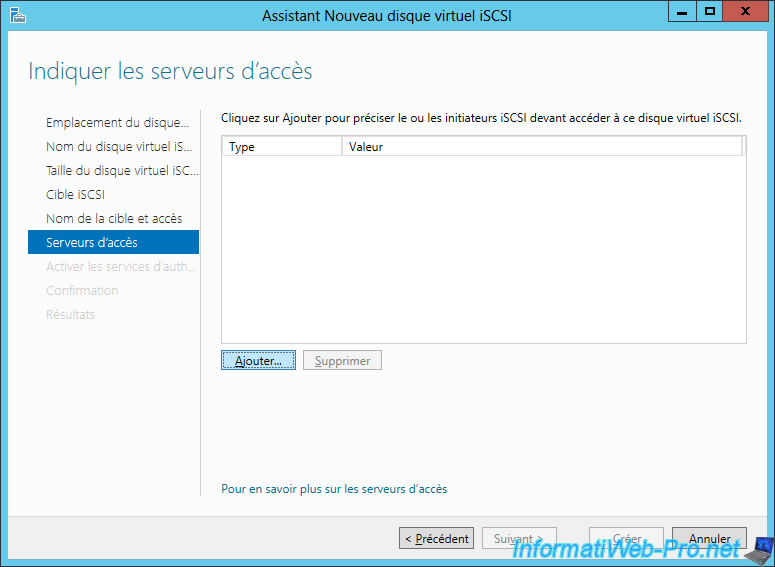
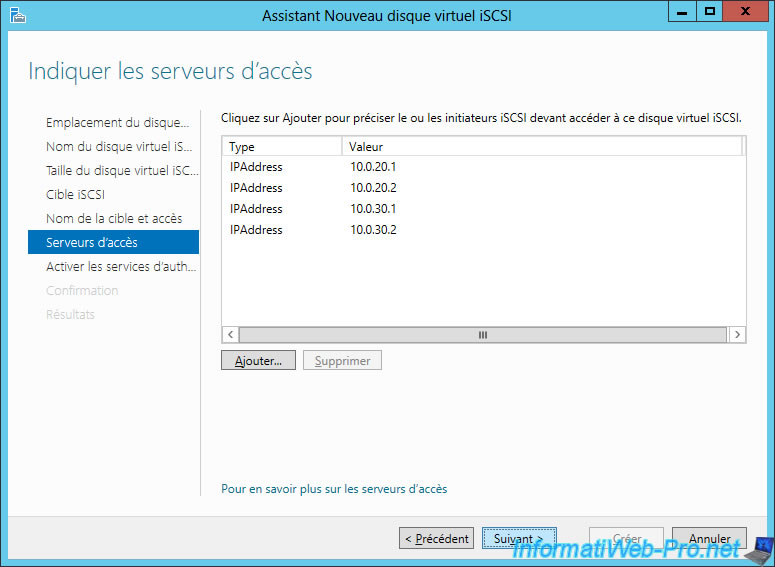
Add the IPs of the servers of your future cluster one by one.
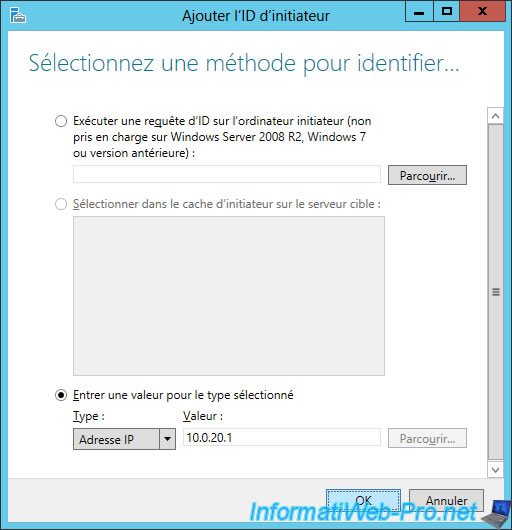
In our case, we will allow theses IP addresses :
- server 1 : 10.0.20.1 and 10.0.30.1
- server 2 : 10.0.20.2 and 10.0.30.2
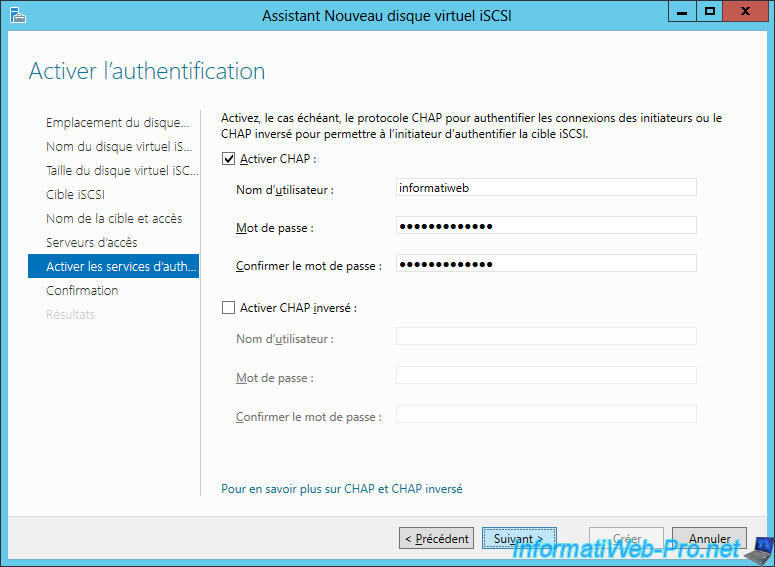
Enable CHAP authentication to secure your iSCSI server (optional).
Confirm the creation of the iSCSI virtual disk.
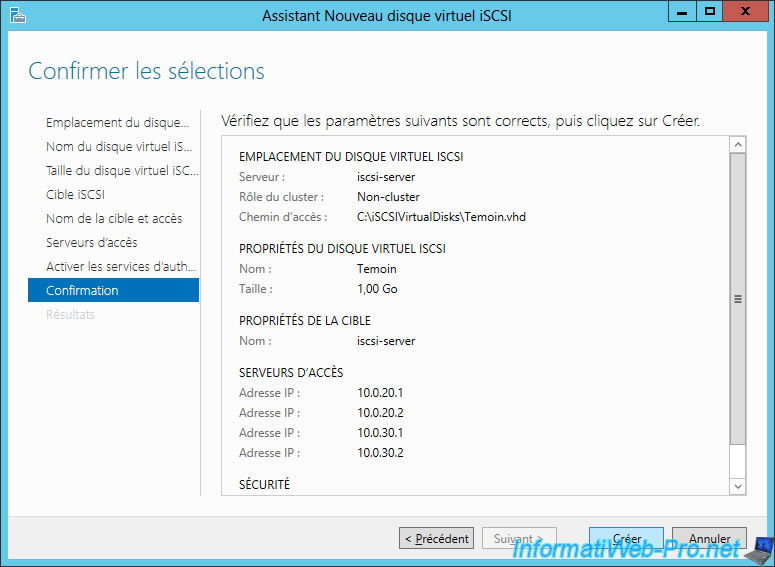
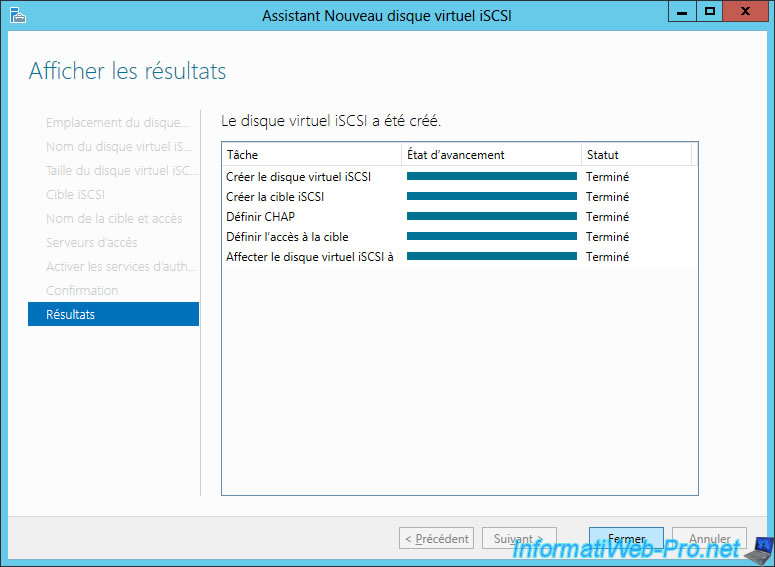
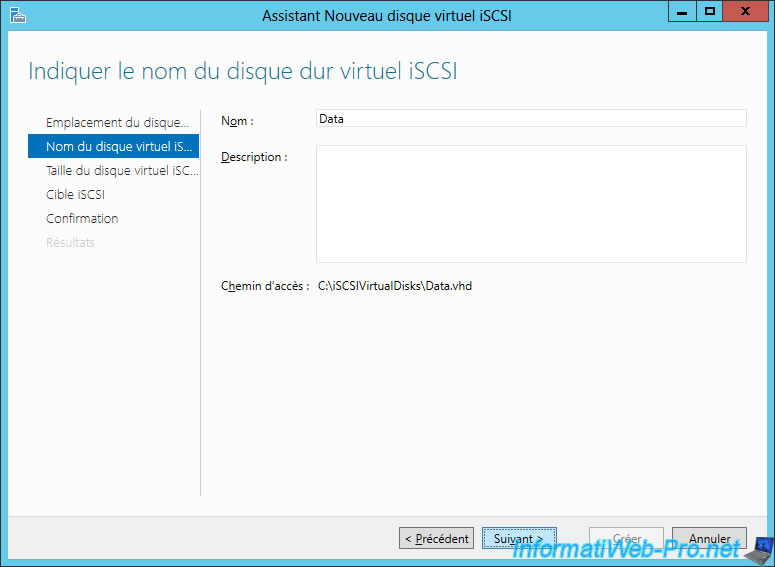
Launch the New iSCSI Virtual Disk Wizard to create one or more iSCSI virtual data disks.
In our case, we will name it : Data.
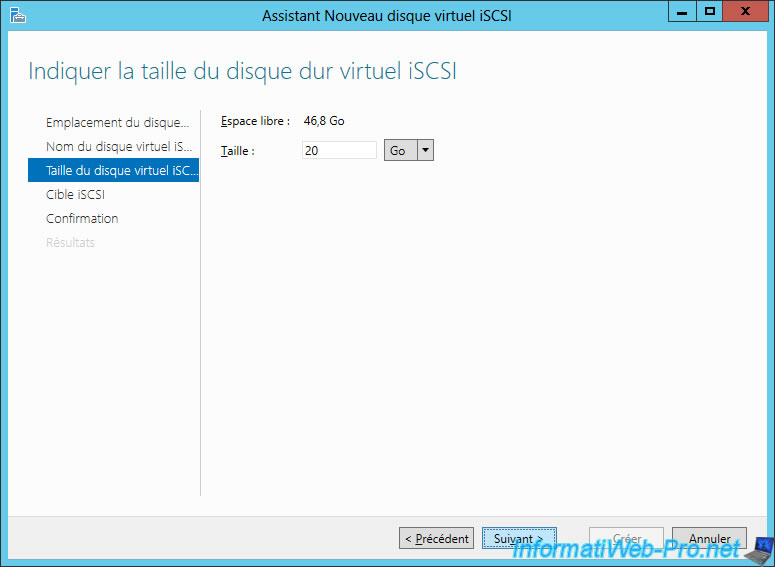
Specify the desired size for this iSCSI virtual disk.
Assign it to the previously created iSCSI target.
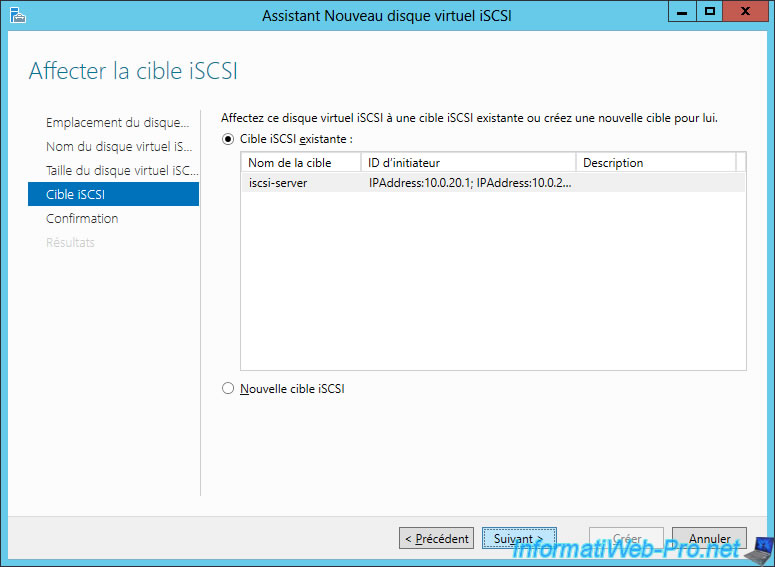
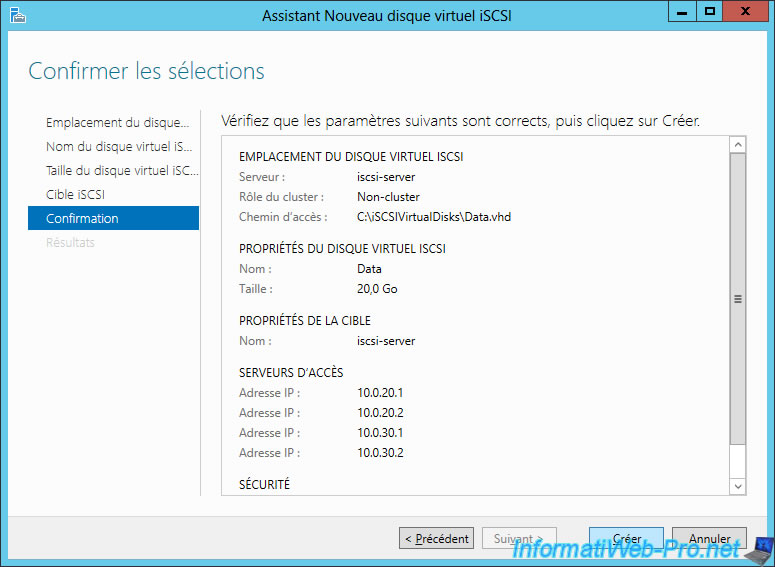
Confirm the creation of this iSCSI virtual disk.
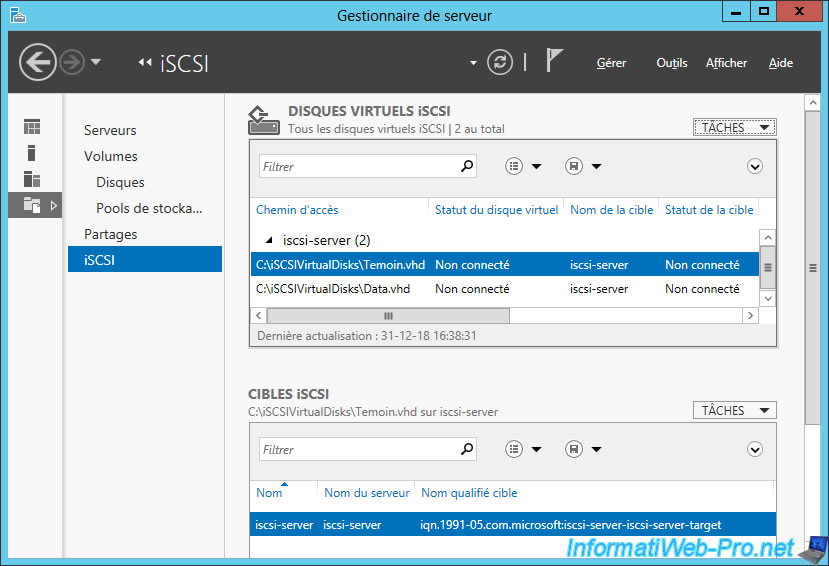
That's what your iSCSI server should look like.
Share this tutorial
To see also
-

Microsoft 11/29/2019
Hyper-V (WS 2012 R2 / WS 2016) - Create a failover cluster
-
Microsoft 12/6/2019
Hyper-V (WS 2012 R2 / WS 2016) - Disaster recovery (DR) with the Hyper-V cluster
-
Windows Server 8/4/2019
WS 2012 / 2012 R2 - How to update a failover cluster
-
Windows Server 7/26/2019
WS 2012 R2 - How the dynamic witness of failover cluster works

You must be logged in to post a comment