Network access modes presentation and create custom virtual networks with VMware Workstation 16 or 15
- VMware
- 03 July 2020 at 18:06 UTC
-

- 2/4

2. NAT (Network Address Translation)
To avoid overloading the physical LAN (with broadcast packets for example) and especially avoid creating conflicts in the local network (of a company, a school, ...), the best solution is to connect your virtual machines using the "NAT" network access mode.
With this network access mode, your virtual machines will be connected to a virtual subnet existing only on the host PC and they will be able to access the Internet through the network connection of the host PC.
This also means that the host PC will be considered as the source computer by computers on the physical network if you try to access them from a virtual machine.
Which is similar to what happens with your physical router.
In short, when you are not an administrator of the network you are connecting to, this network access mode allows you to connect your machines to each other and to the Internet without creating IP address conflicts in the physical network.
The only problem that will be a problem for beginners is when you want to access a service hosted on one of your virtual machines.
Indeed, since your virtual machines will be connected to a subnet present only on your physical PC, you will not be able to access them directly from any physical PC in the network.
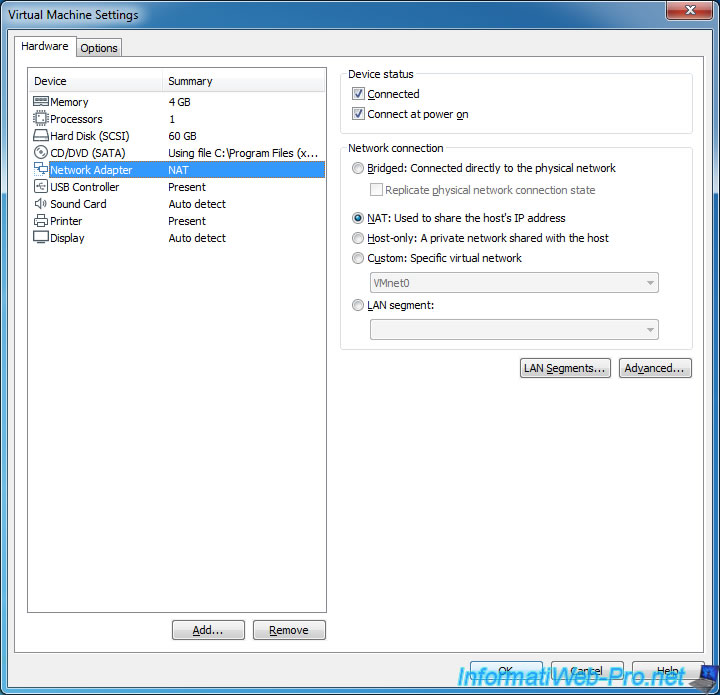
As you can see, with NAT mode, our virtual machine no longer receives an IP address in 10.x.x.x, but in 192.168.70.x.
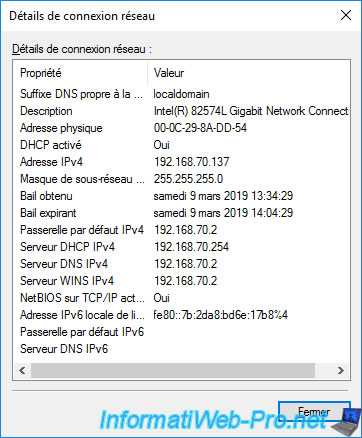
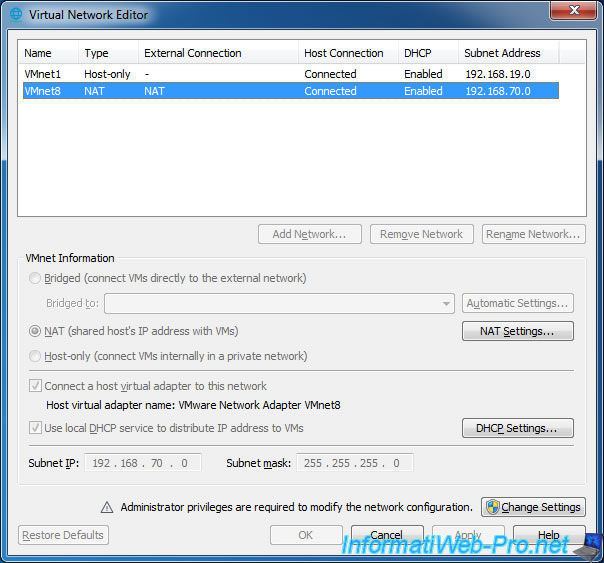
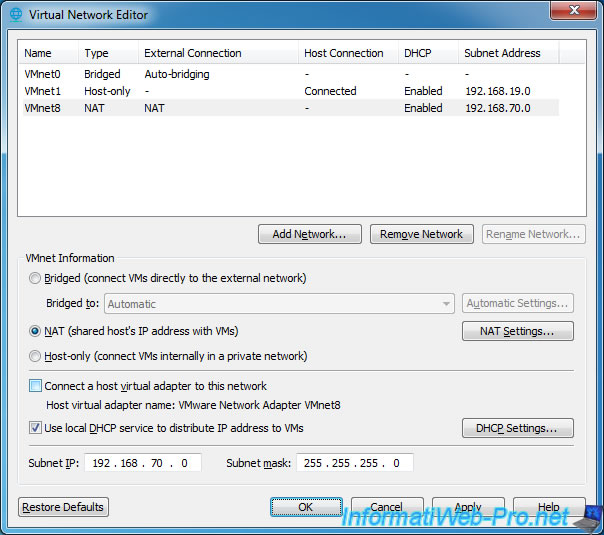
If you are wondering what these network informations corresponds to, simply return to Virtual Network Editor.
As you can see, virtual machines using the default NAT mode in VMware Workstation will be connected to a subnet, whose network ID is 192.168.70.0.
NAT is the system used by any gateway (or router).
This means that if you want to access a service hosted by a virtual machine from a physical PC on the network, you will need to use the port forwarding of the gateway concerned.
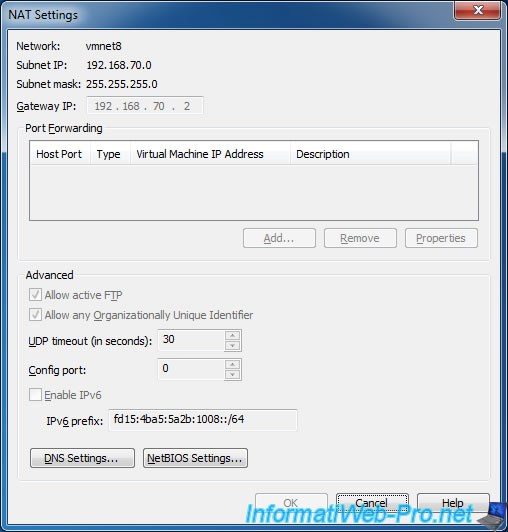
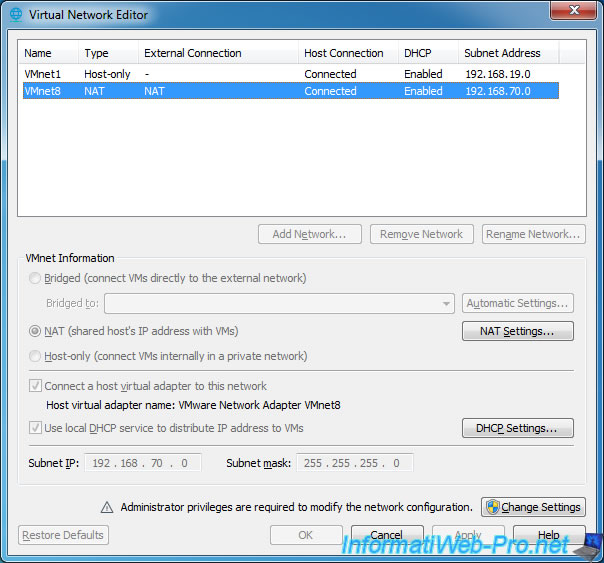
In this case, the "192.168.70.2" gateway used by the virtual machine is defined in Virtual Network Editor and is managed by VMware Workstation.
The redirection of ports (port forwarding) will have to be managed from the "Virtual Network Editor" program.
To do this, click on "Change Settings" to obtain the administrator rights, then select the "VMnet8 / NAT" network and click on NAT Settings.
As you can see, you can change the address of the virtual gateway, as well as redirect ports if you wish.
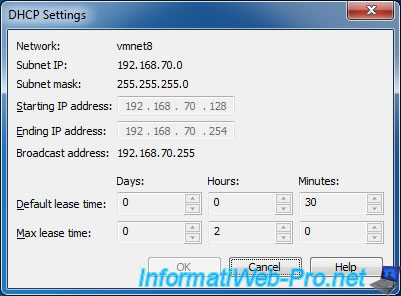
You can also change the settings of the DHCP server distributing the IP addresses on this virtual subnet by clicking the "DHCP Settings" button.
You will also be able to change the validity period of the IP addresses distributed by this one.
Although access to a subnet machine from a PC outside of it is not possible when using physical routers, you will find that it will work by default from the host PC.
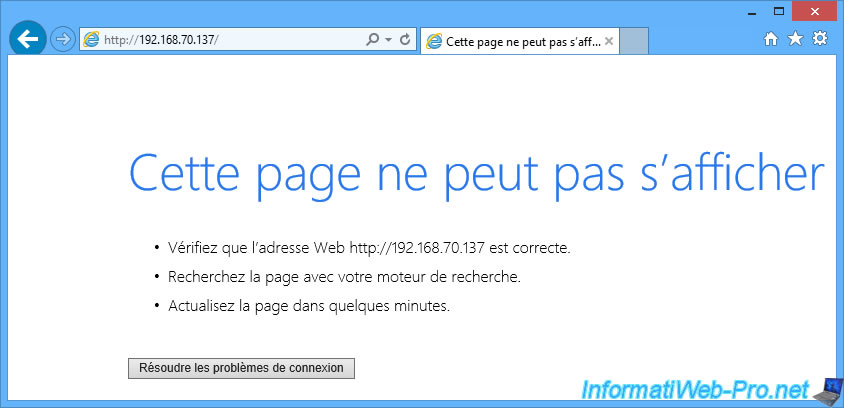
Nevertheless, this will obviously not work from another physical PC of your network.
In fact, if this is possible from the host PC, it's only because VMware Workstation creates a virtual network adapter (named "VMnet Network Adapter VMnet8" on the host PC for this virtual subnet) that connects you virtually to this virtual subnet.
In Virtual Network Editor, you will see that the "Connect a host virtual adapter to this network" option is checked by default and that the virtual network card is in this case : VMware Network Adapter VMnet8.
You also find this network card in the network connections of the host PC.
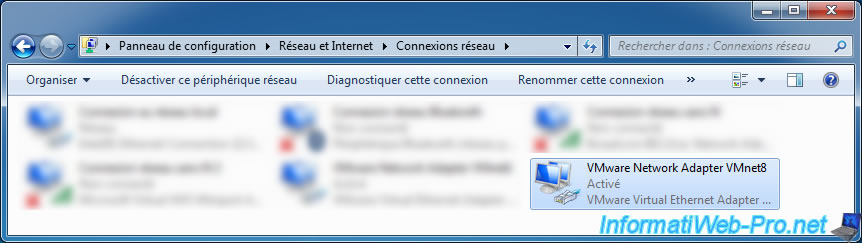
Uncheck this box : Connect a host virtual adapter to this network.
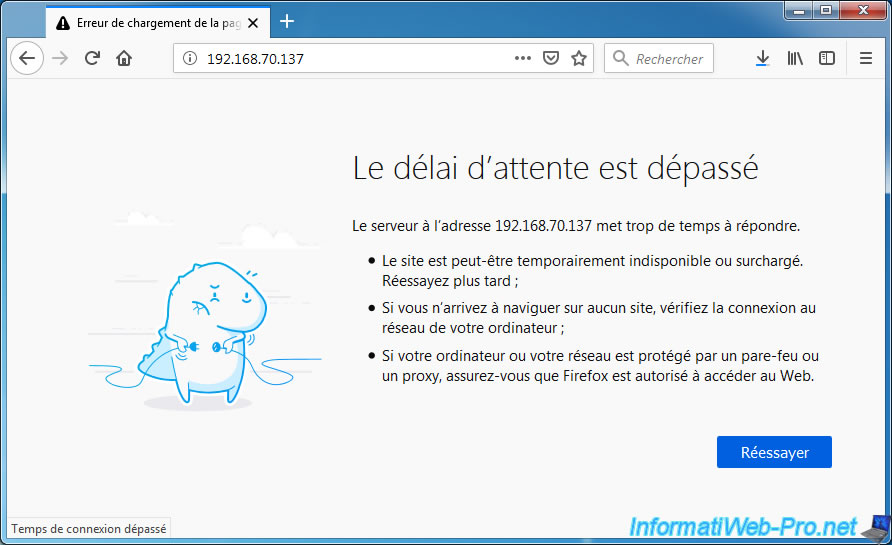
Now, even from the host PC, you will no longer have access to services hosted on virtual machines connected in NAT mode.
Which now reflects the reality.
Nevertheless, the NAT mode has the advantage of still providing access to the Internet in a transparent manner.
3. Host-only
The Host-only mode (which corresponds to VirtualBox's "Host-only Adapter" network access mode) allows you to create a virtual network connecting only the host PC and the virtual machine.
However, it also means that the virtual machine will not have access to the physical network or the Internet.
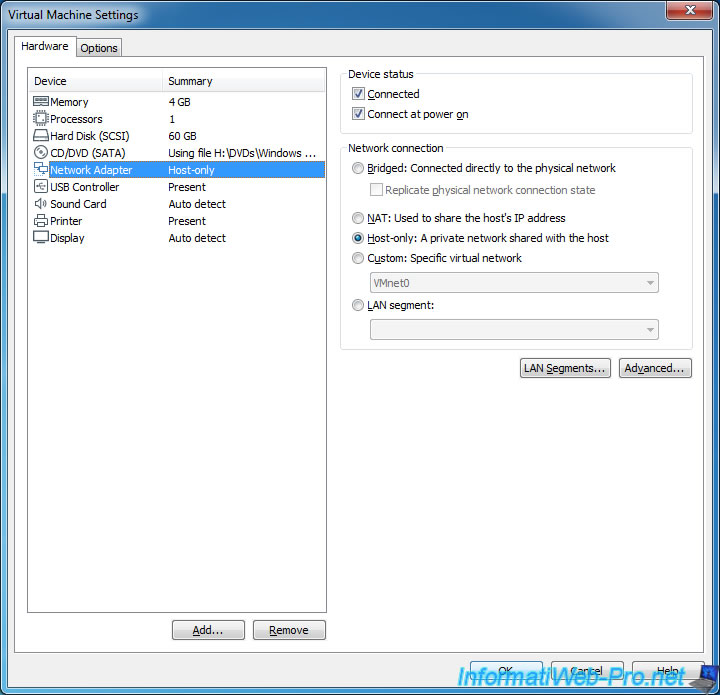
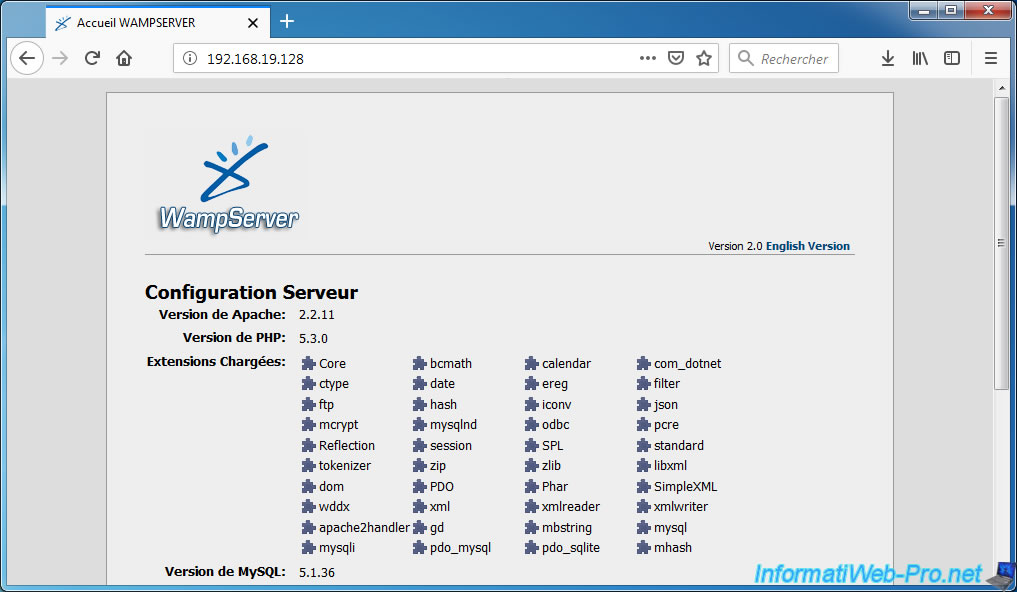
As you can see, if you use the Host-only network access mode, the virtual machine will not have access to the Internet.

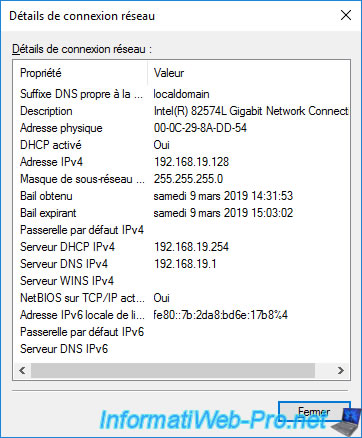
This is very easy to understand if you look at the informations obtained by your virtual machine.
Indeed, as you can see, the virtual machine has not received an IP address for the default gateway (which prevents it from accessing the Internet and the physical network).
The only information needed is only the IP address (and the subnet mask), as well as the IP address of the DHCP server that assigned it an IP address for the virtual machine to communicate with the host PC.
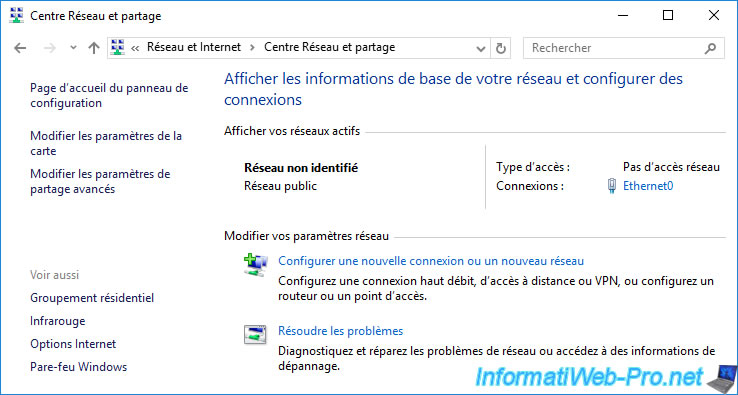
Since there is no default gateway for this type of network, Windows will indicate that it's an unidentified network.
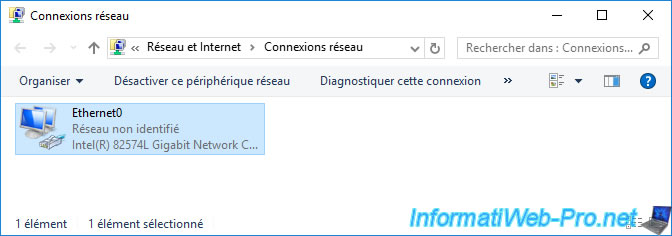
The problem of this unidentified network is that by default, Windows will switch to public network.
This will block access to previously authorized services (if applicable) when the virtual machine was using a private network type.
To quickly fix this problem, open the file explorer and click : Network.
Then, a warning will be displayed at the top : Network discovery is turned off.
Click on it, then click : Turn on network discovery and file sharing.
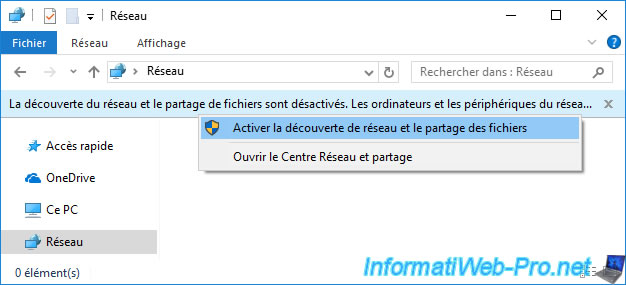
Click : No, make the network that I am connected to a private network.

The other possibility, longer and less suitable, is to update the firewall settings of the virtual machine.
To do this, open Control Panel -> System and Security -> Windows Firewall -> Allow an app or feature through Windows Firewall.
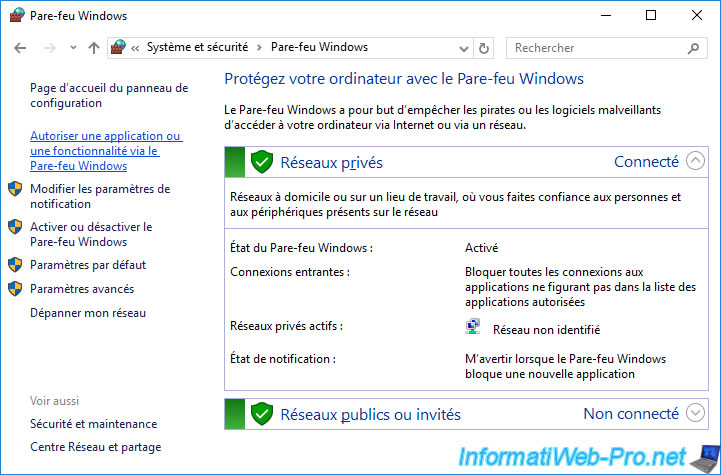
Click : Change settings.
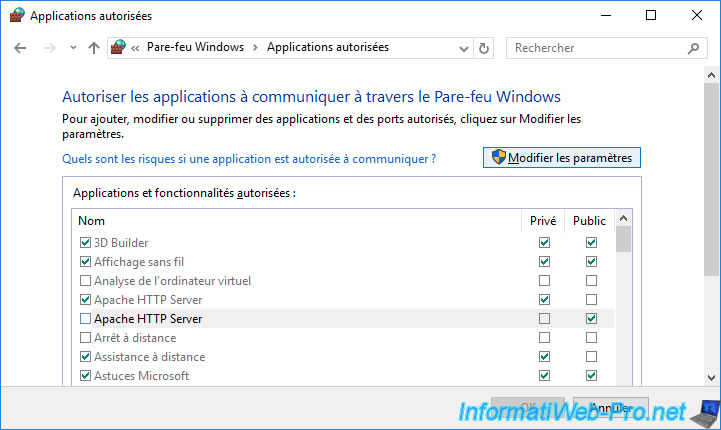
And allow the necessary rules for public networks.
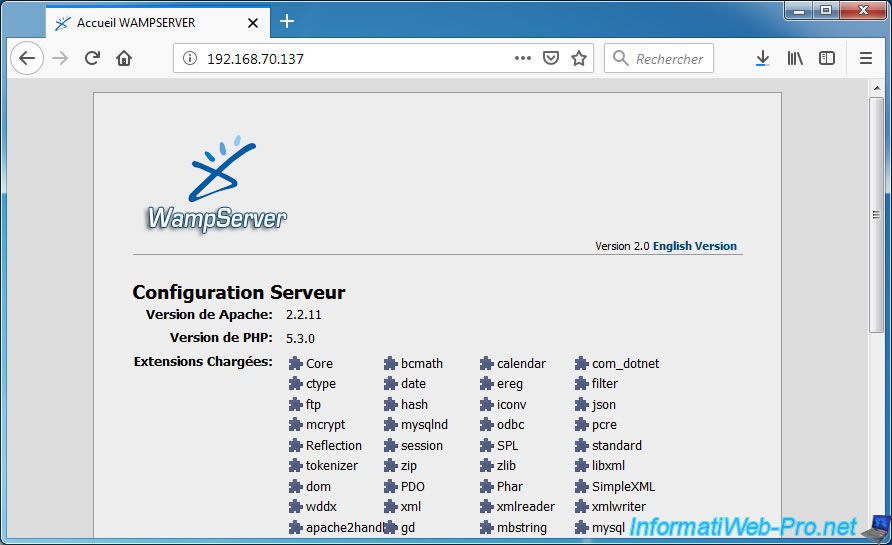
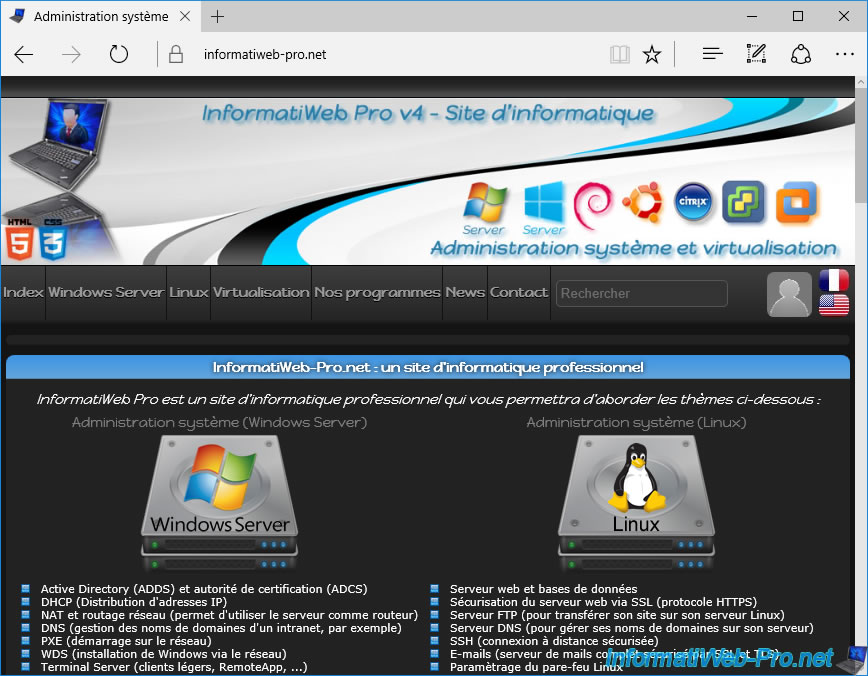
In our case, it's a WAMP server using the Apache web server.
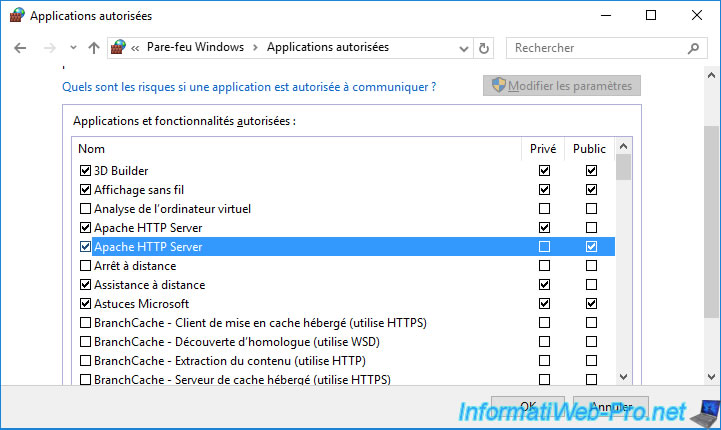
Now, we have access to the web server of the virtual machine from the host PC. And only from this one.
To change the settings of this virtual network, launch the program "Virtual Network Editor" and select the virtual network : VMnet1 / Host-only.
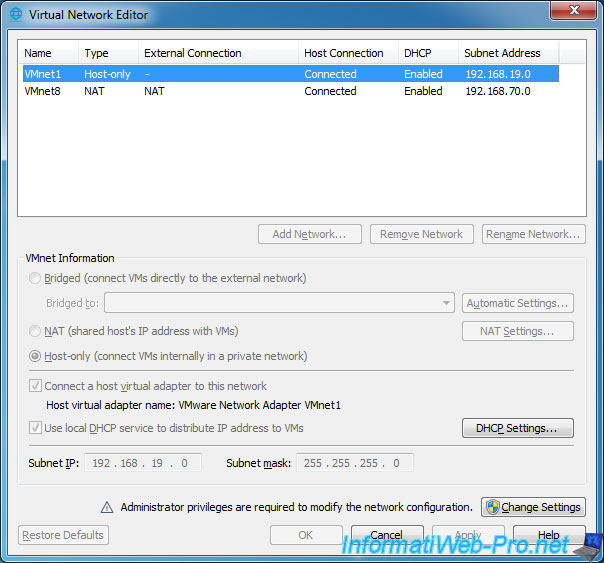
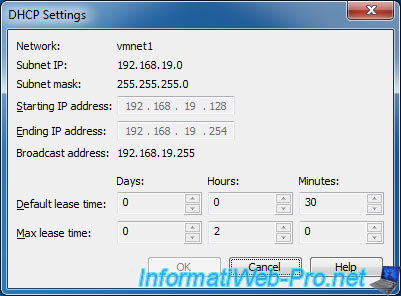
To change the range of IP addresses distributed in this virtual network, click "Change Settings" and then click : DHCP Settings.
Share this tutorial
To see also
-

VMware 3/16/2013
VMware Workstation - Boot a VM on the BIOS / EFI firmware
-

VMware 2/7/2020
VMware Workstation 15 - Installation on Linux
-

VMware 12/24/2021
VMware Workstation 15 - Slice the virtual hard disk of a VM
-

VMware 12/10/2021
VMware Workstation 15.5 - Convert a Virtual PC virtual machine to a VMware VM
No comment