- VMware
- 24 September 2025 at 13:51 UTC
-

- 1/3

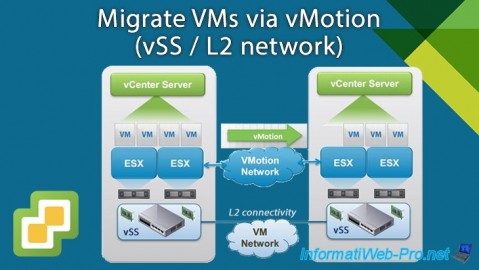
With VMware vSphere vMotion, you can migrate virtual machines from one host to another, from one data center (DC) to another, or even from one vCenter to another.
However, when you want to migrate a virtual machine from one physical site to another, it is important that the subnet used on both sides is the same.
Which requires L2 connectivity between the 2 networks (the source network and the destination network of the VMs).
For this, VMware offers the VMware NSX-T product. But in this tutorial, we will use pfSense (which is easier to understand and which allows you to create a VPN tunnel in L2 mode thanks to OpenVPN).
- Configuration used
- L2 VPN tunnel for virtual machine network
- Add a network card to VMware ESXi hosts for VM networking
- Add a new switch for the VMs L2 network
- Enable vMotion
- Migrate a virtual machine connected to a network with L2 connectivity
1. Configuration used
For this tutorial, we reinstalled the same infrastructure as in our tutorial: VMware vSphere 6.7 - Enhanced Linked Mode (ELM).
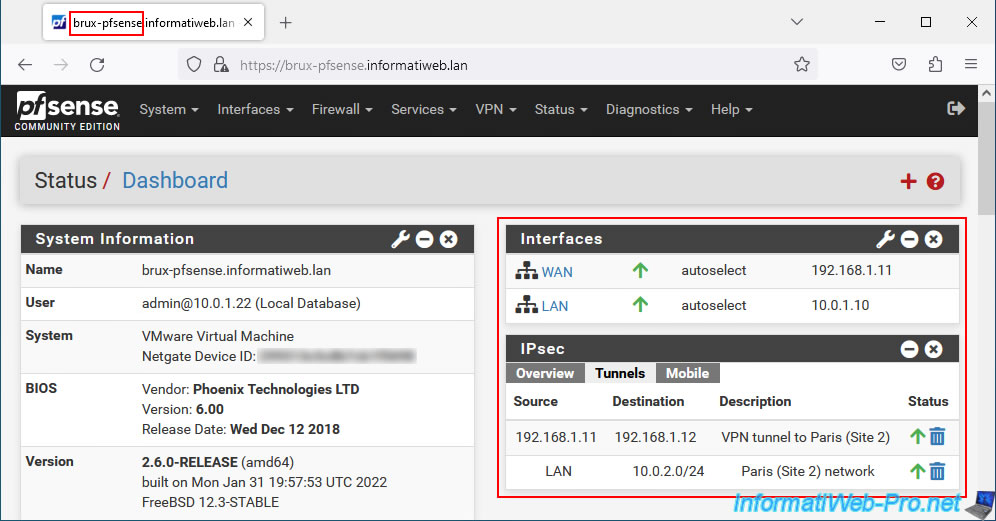
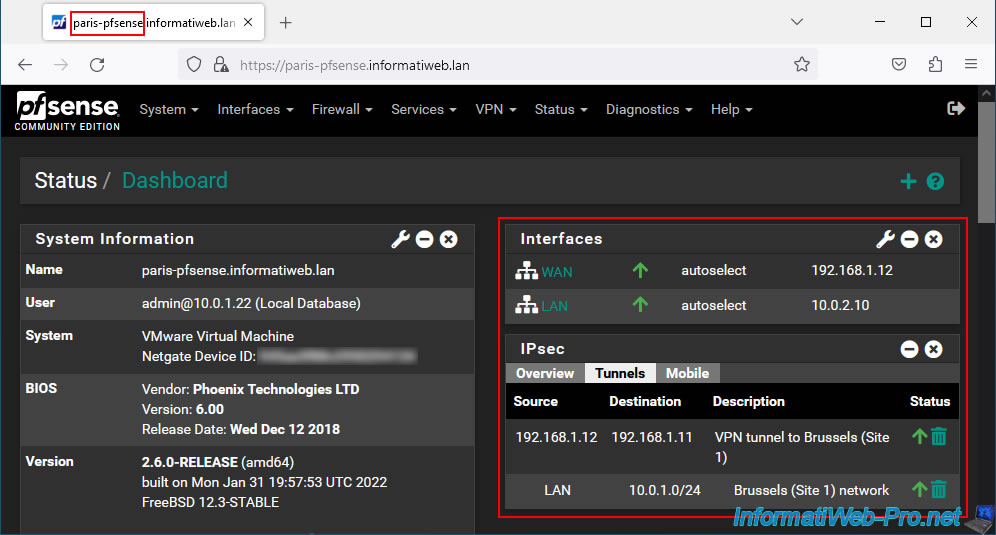
Note that the connection between the Brussels network (in 10.0.1.x) and the Paris network (in 10.0.2.x) is managed using an IPsec VPN tunnel between our 2 pfSense machines (1 in Brussels and the another in Paris).
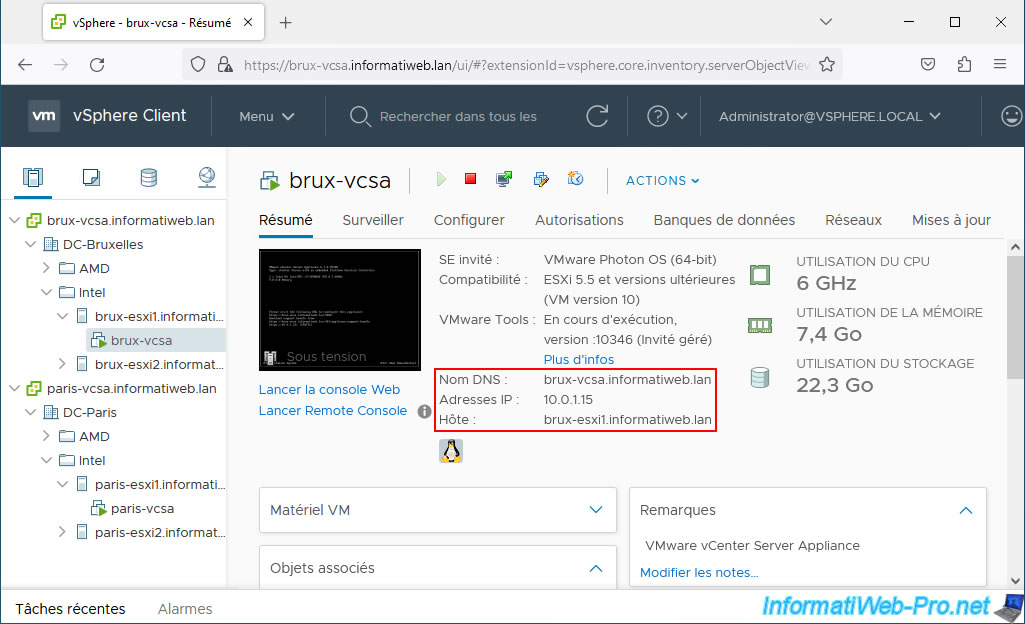
In Brussels, the machine "brux-vcsa" is hosted by our host "brux-esxi1" and has the IP address "10.0.1.15".
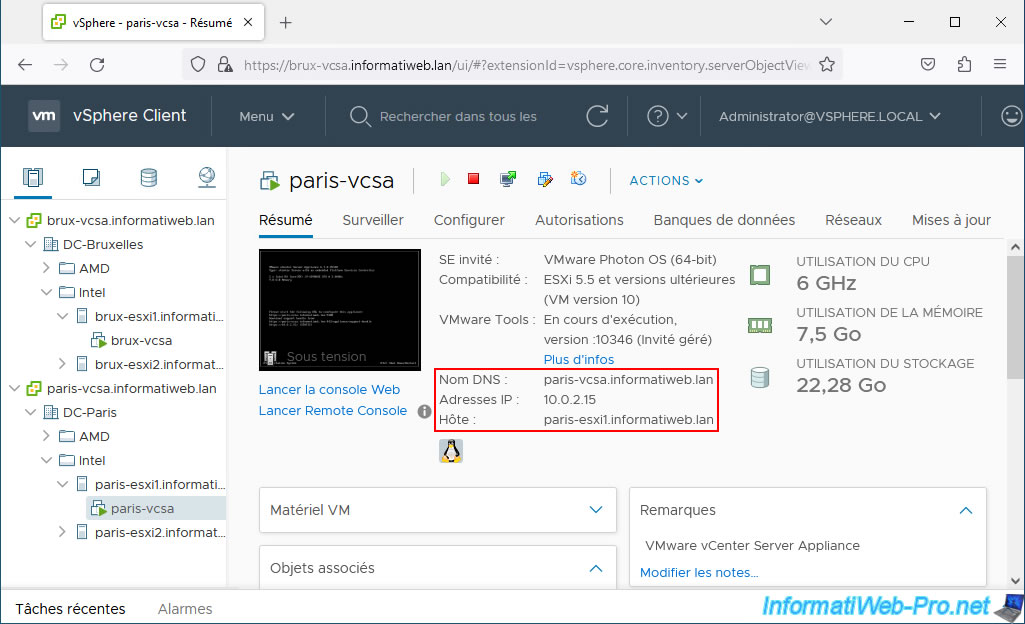
In Paris, the machine "paris-vcsa" is hosted by our host "paris-esxi1" and has the IP address "10.0.2.15".
Important : the 2 vCenters are linked using ELM mode (mentioned previously) and the same SSO domain is therefore used.
As indicated previously, our Brussels site and that of Paris are connected via an IPsec VPN tunnel (therefore L3) created on pfSense.
To create this IPsec VPN tunnel between your 2 pfSense machines, refer to our tutorial: pfSense 2.6 - Create a site-to-site (S2S) VPN tunnel via IPsec.
Note: everything is virtualized for this tutorial, so it is normal for private (local) IP addresses to appear for the WAN interfaces and the IP addresses used for the VPN tunnel.
2. L2 VPN tunnel for virtual machine network
2.1. Add the network cards to your pfSense machines for the L2 VPN tunnel
To connect the networks that will be used by our virtual machines, we will use the same pfSense machine which allows us to create a VPN tunnel in L2 using OpenVPN's "tap" mode.
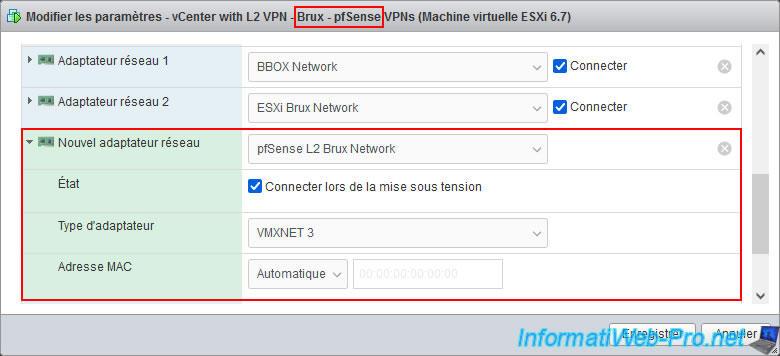
To do this, add a network card to each pfSense machine and connect it to the network which should become one once the L2 VPN tunnel is established.
In our case, we connect our pfSense machine from Brussels to our "pfSense L2 Brux Network".
Note: as explained previously, in our case, everything is virtualized on the same PC.
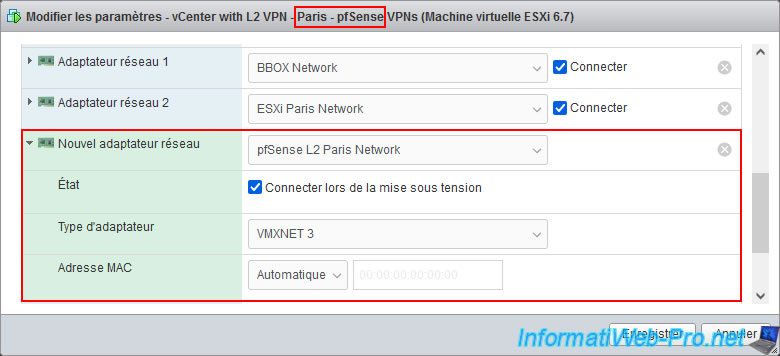
We connect our pfSense Paris machine to our "pfSense L2 Paris Network".
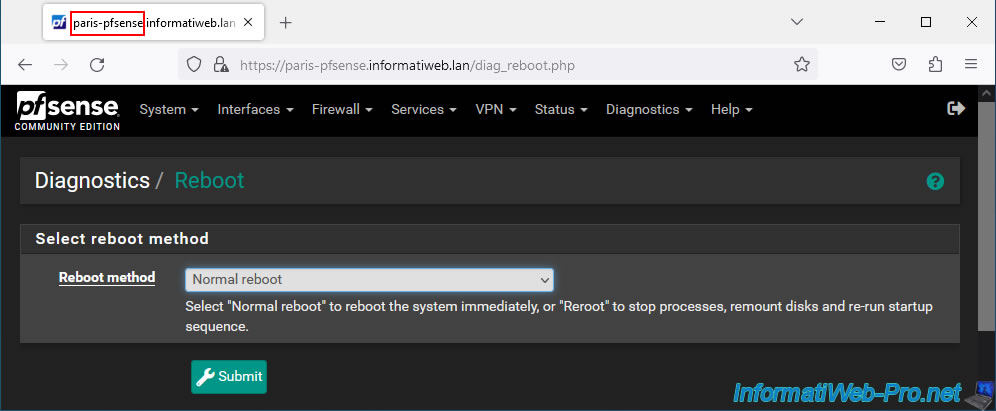
For the new network card to be taken into account by your pfSense machines, you must restart your machines.
To do this, go to "Diagnostics -> Reboot" and click: Submit.
Warning : the connection between your 2 physical sites will be cut during the restart of these machines since it is thanks to this that the IPsec tunnel works.

2.2. Assign and configure interfaces for the L2 VPN tunnel
To get started, on the Brussels site, go to: Interfaces -> Assignments.
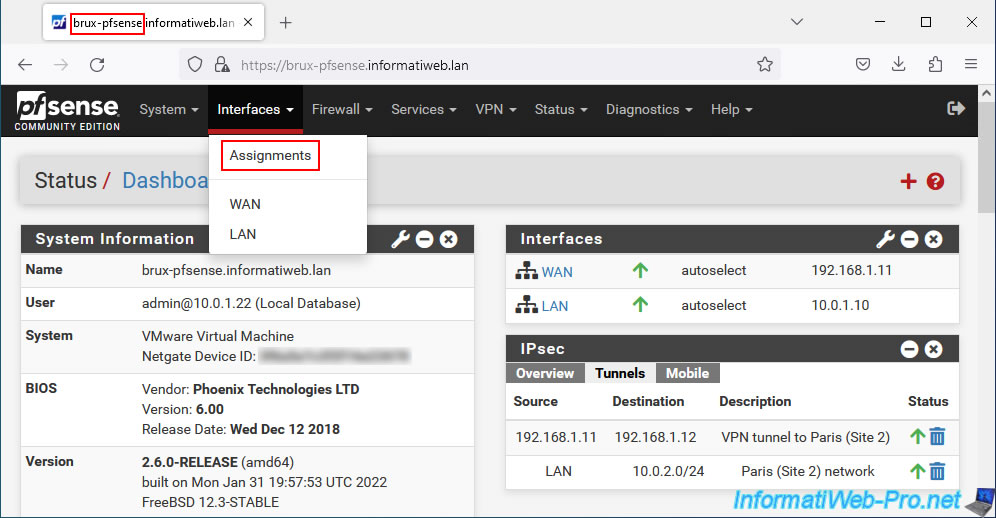
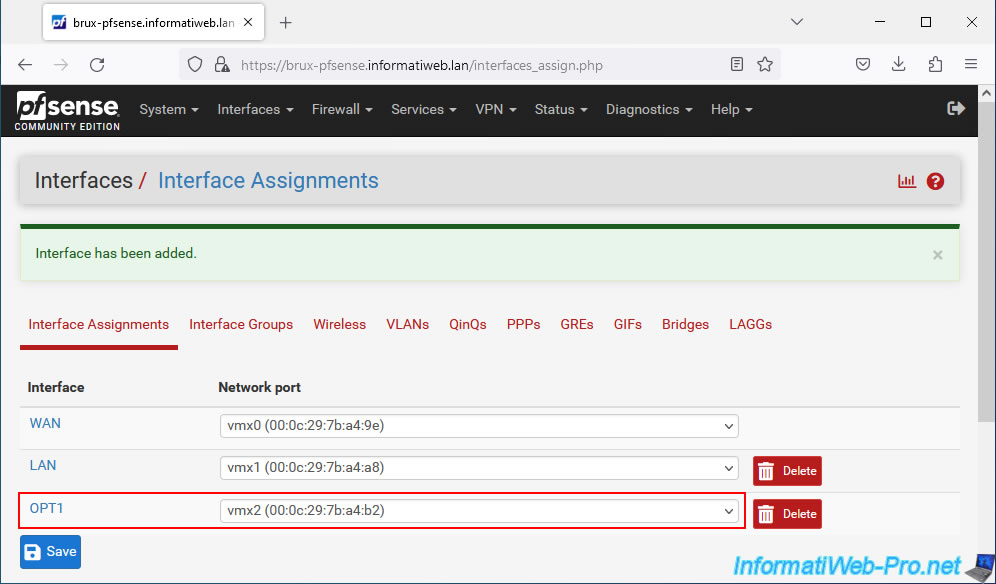
Assign the newly added network card which will appear by default under the name "OPT1".
Click on its name (OPT1) or go to: Interfaces -> Assignments.
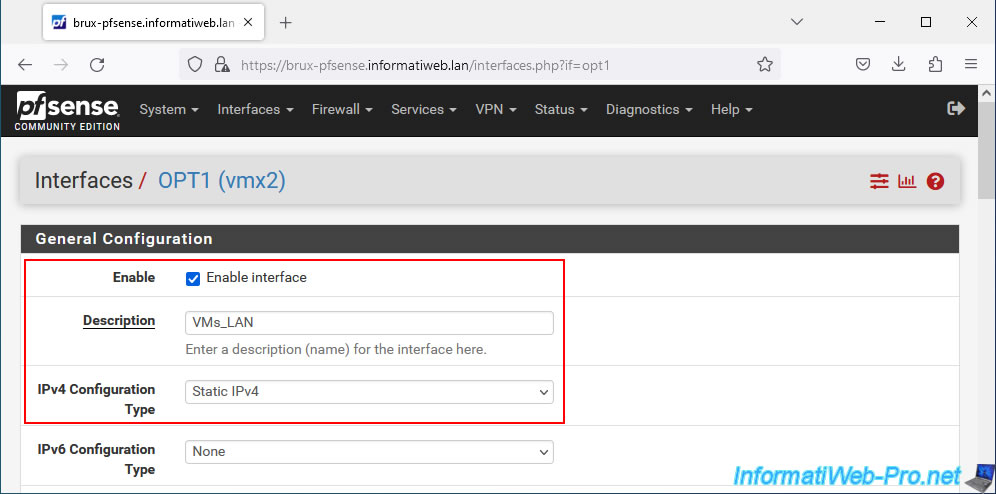
Enable this OPT1 interface by checking the "Enable interface" box, then rename this interface to "VMs_LAN" by changing its description.
Next, select "Static IPv4" for the "IPv4 Configuration Type" setting.
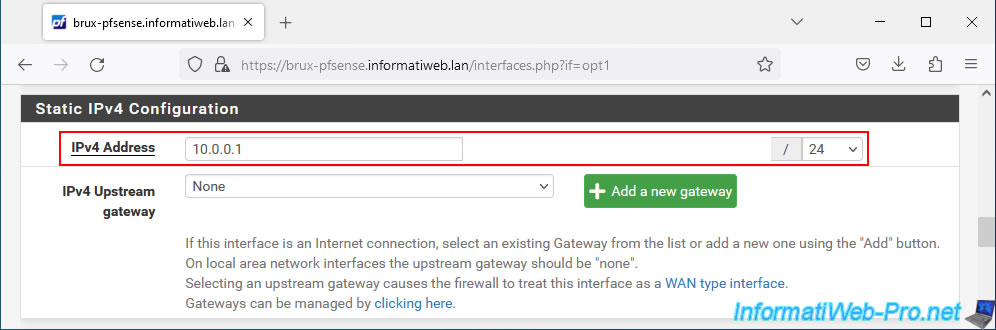
In the "Static IPv4 Configuration" section, provide an IP address that will be used as a gateway by all your virtual machines.
Then, select "/24" for the subnet.
Which means that in our case, the subnet shared by all your virtual machines (thanks to L2 connectivity) will be "10.0.0.x".
Note that this gateway will be used by all your virtual machines. The physical site where they are located does not matter.
In our case, this gateway will be "10.0.0.1".
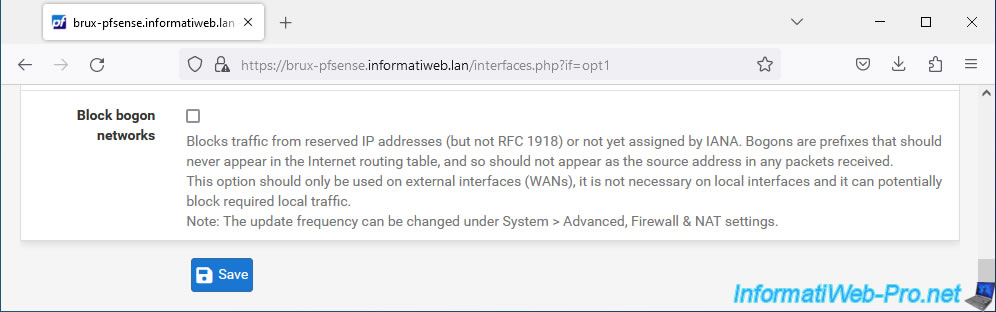
At the bottom of the page, click Save.
At the top of the page, click: Apply Changes.
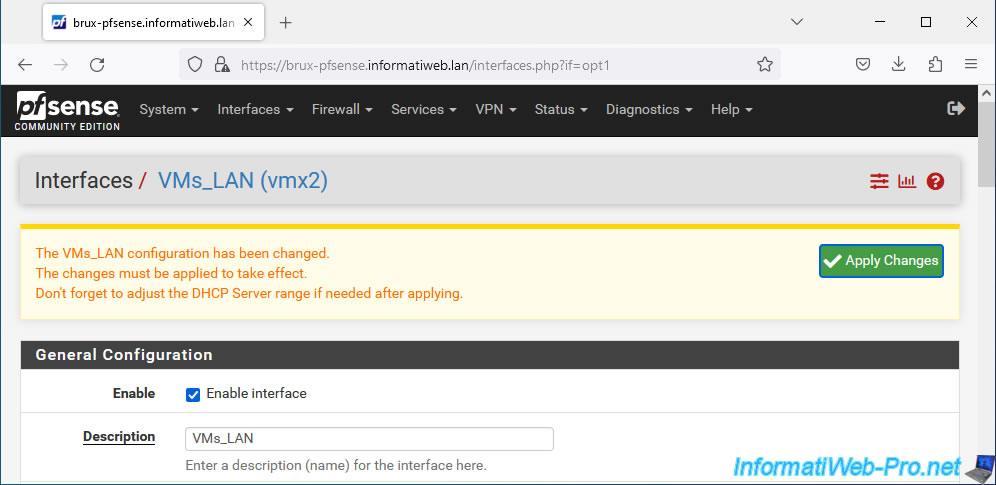
The changes have been saved.

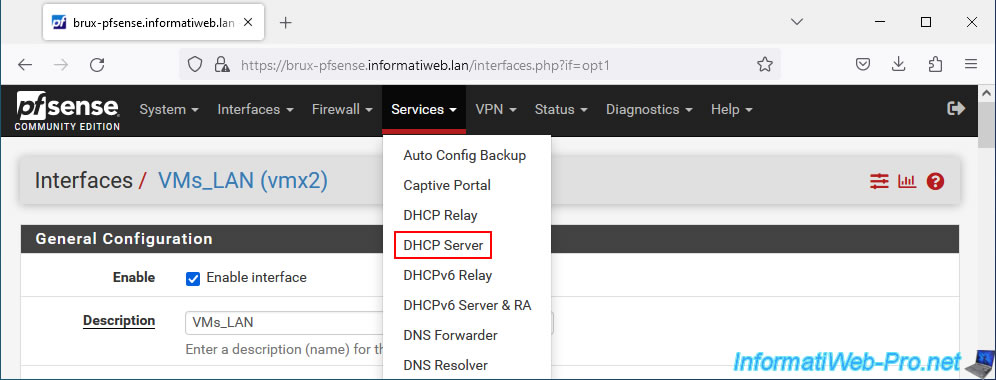
Go to: Services -> DHCP Server.
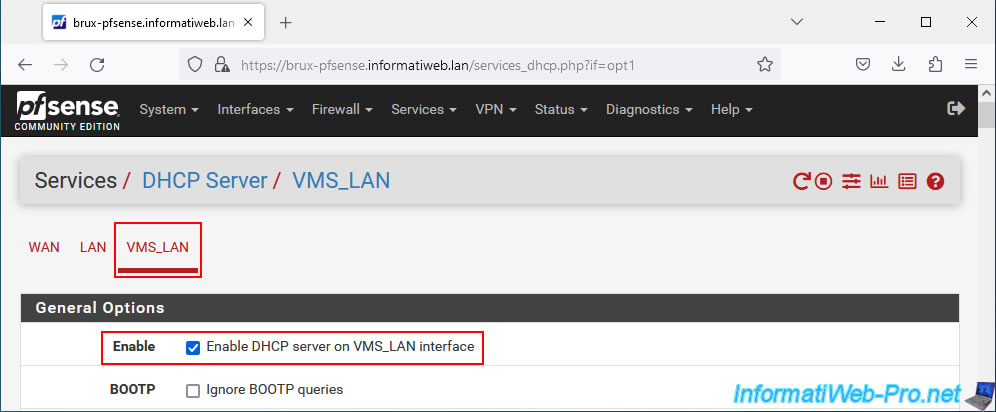
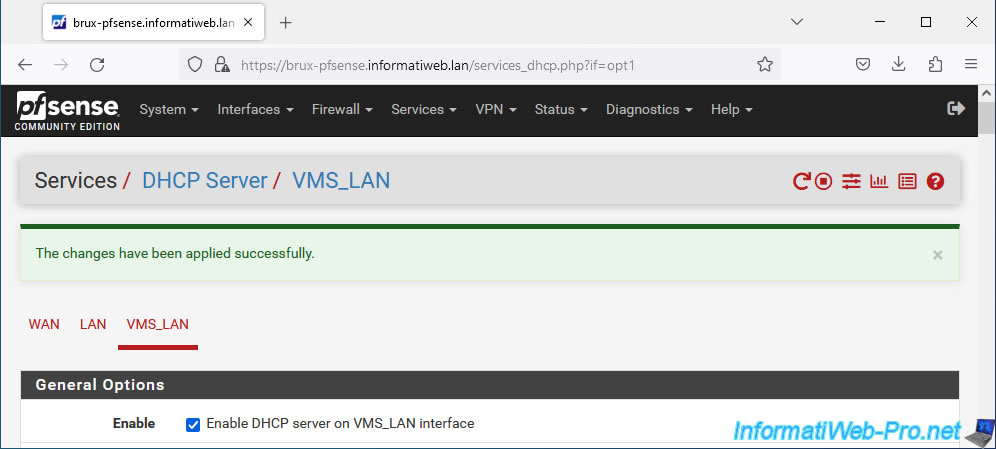
In the "VMS_LAN" tab, check the "Enable DHCP server on VMS_LAN interface" box.
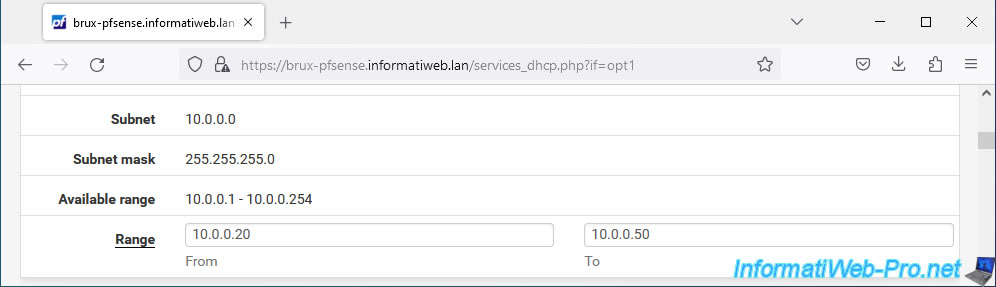
In our case, our Brussels DHCP server will distribute the IP addresses "10.0.0.20" to "10.0.0.50".
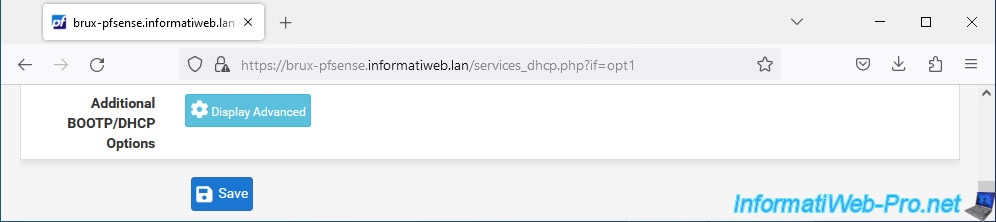
At the bottom of the page, click Save.
The DHCP configuration has been saved.
Do the same operations on the pfSense machine at the remote site (Paris in our case).
Assign the newly added network card as the "OPT1" interface. Then activate it and rename it to "VMs_LAN".

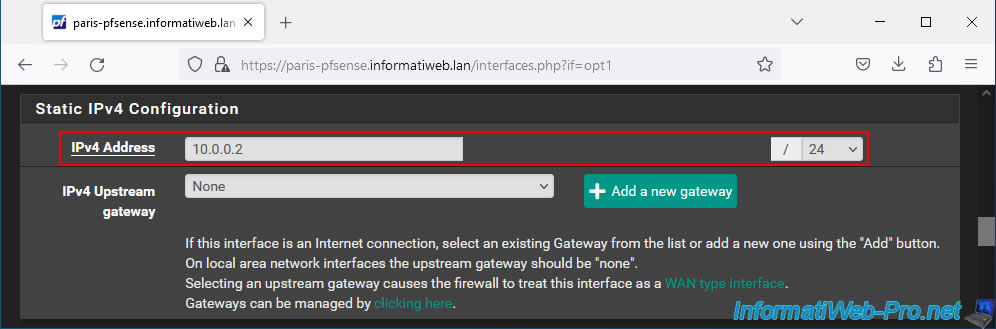
On the Paris site, the IP address for the gateway will be "10.0.0.2". But the subnet mask will be the same (/24).
Which means that the "10.0.0.x" subnet will be the same on the source and destination sites.
Important : the IP address specified here must be different from the one specified at the other physical site, but be in the same subnet.
Thus, there will be no IP address conflict when the L2 tunnel is established between your 2 physical sites and a virtual machine can be migrated from one site to another without losing access to the network.
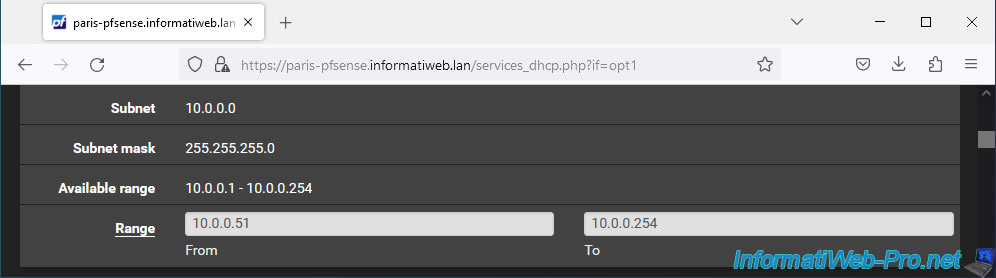
For the remote site's DHCP server range, temporarily leave it enabled, but with a different range to avoid IP address conflicts.
Share this tutorial
To see also
-
VMware 3/5/2025
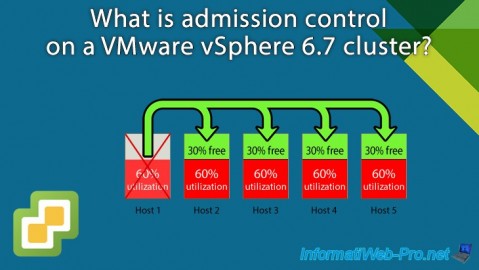
VMware vSphere 6.7 - Cluster admission control
-
VMware 2/14/2025
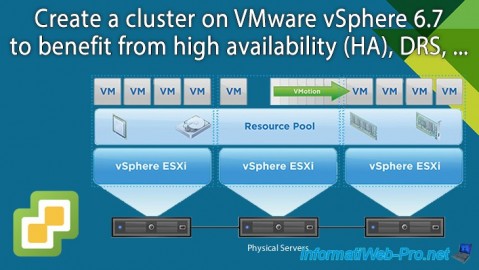
VMware vSphere 6.7 - Create a cluster
-
VMware 2/19/2025
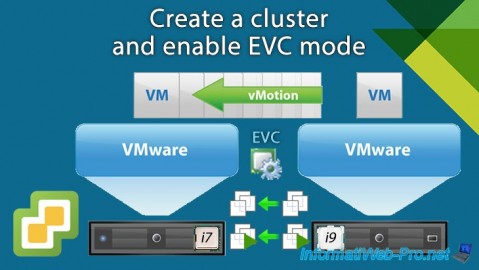
VMware vSphere 6.7 - Create a cluster and enable EVC mode
-
VMware 2/12/2025
VMware vSphere 6.7 - Create a datastores cluster and enable SDRS
You must be logged in to post a comment