Migrate VMs via vMotion between different sites using the same subnet (L2) with vSS on VMware vSphere 6.7
- VMware
- 24 September 2025 at 13:51 UTC
-

- 3/3

3. Add a network card to VMware ESXi hosts for VM networking
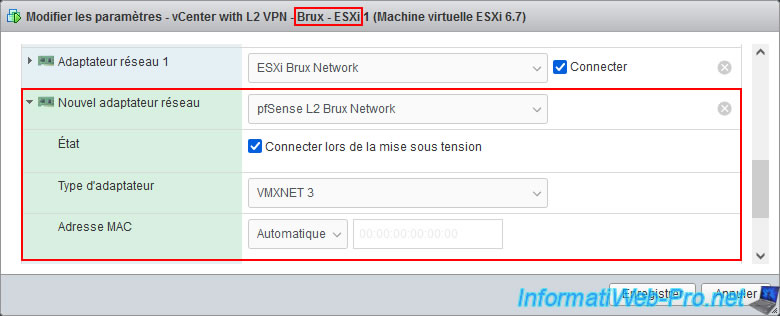
Add at least one network card to your VMware ESXi hosts and connect them to the same networks as the pfSense "VMS_LAN" interfaces.
In our case, the new network card of our hosts in Brussels is connected to our "pfSense L2 Brux Network".
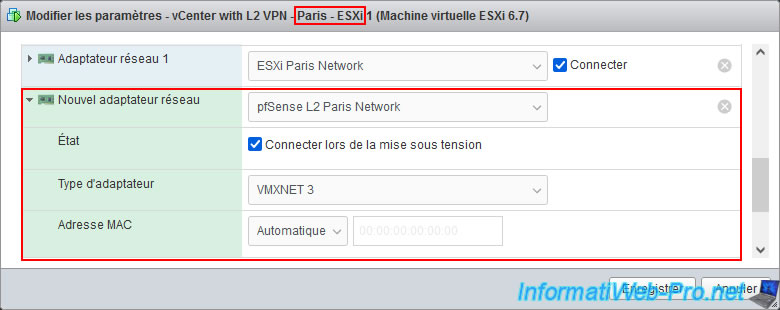
The new network card of our Paris hosts is connected to our "pfSense L2 Paris Network".
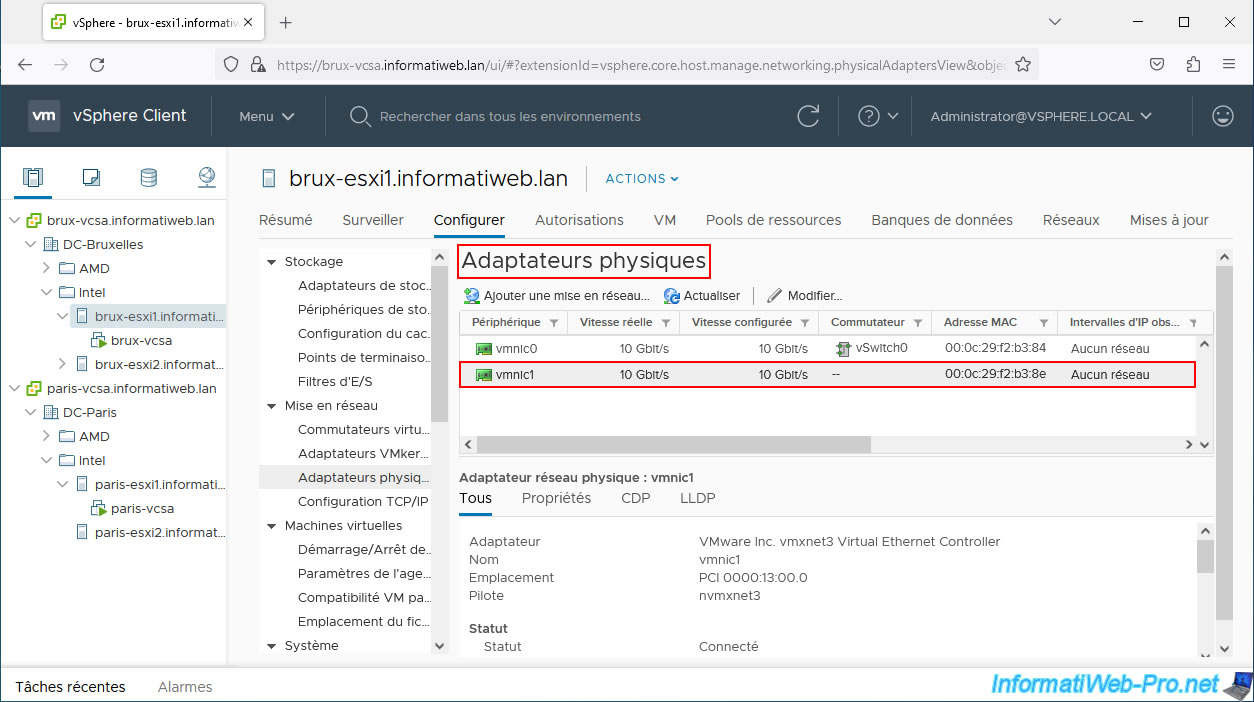
For the new physical adapters (network cards) to appear, a reboot of the hosts will be necessary.
4. Add a new switch for the VMs L2 network
To simplify this tutorial, we used one standard switch (vSS) per host.
However, if you want to follow what VMware says, you should use virtual distributed switches (vDS).
But, you will see this variation in a future tutorial.
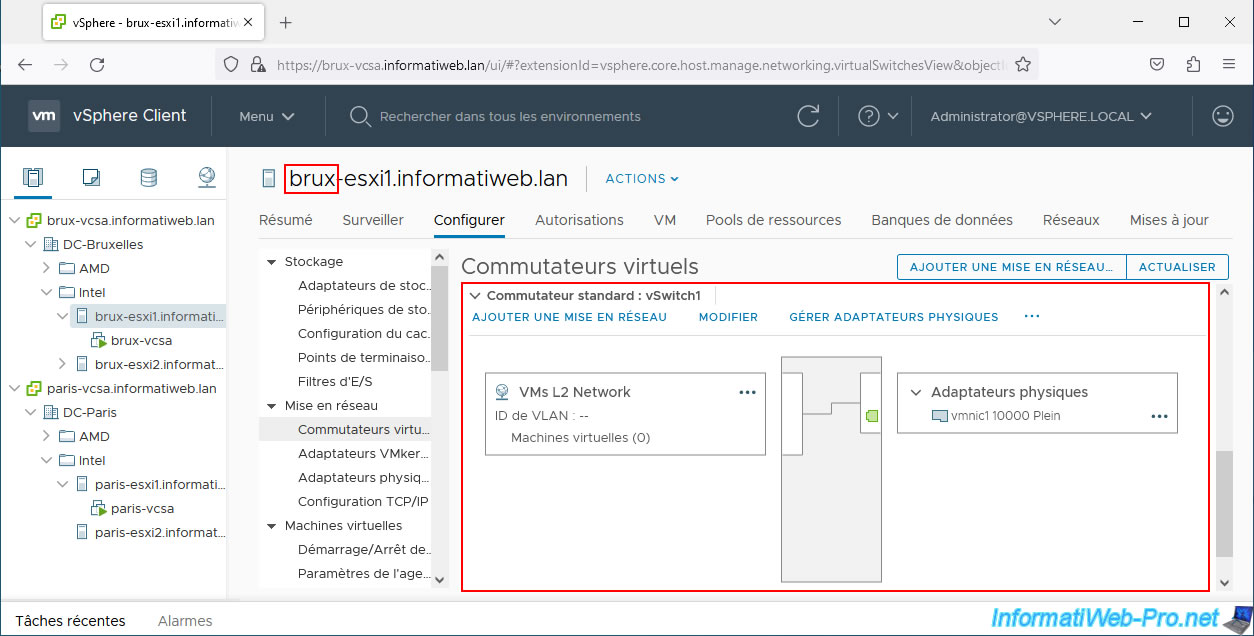
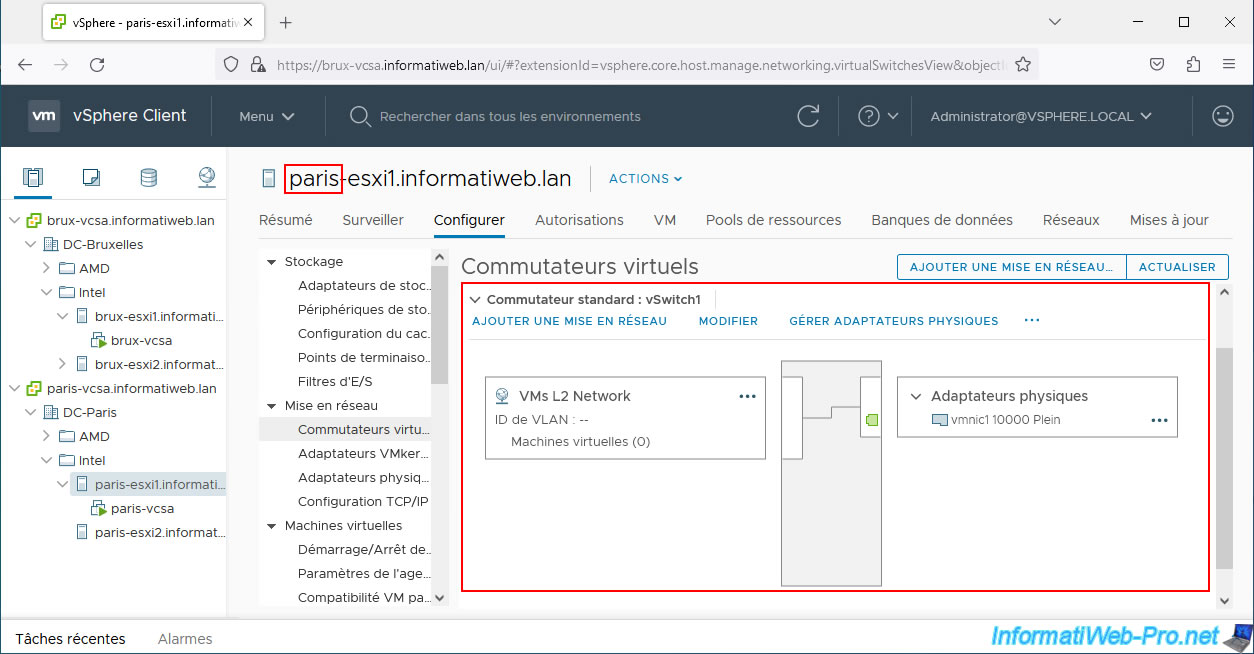
For now, create a standard switch (vSS) per host on which you will create a "VMs L2 Network" port group and to which you will assign the physical adapter you just added to your host.
Same on the remote site (Paris in our case).
5. Enable vMotion
Without going into details, to enable virtual machine migration via vMotion, you must enable the "vMotion" service on a VMkernel port of each VMware ESXi host.
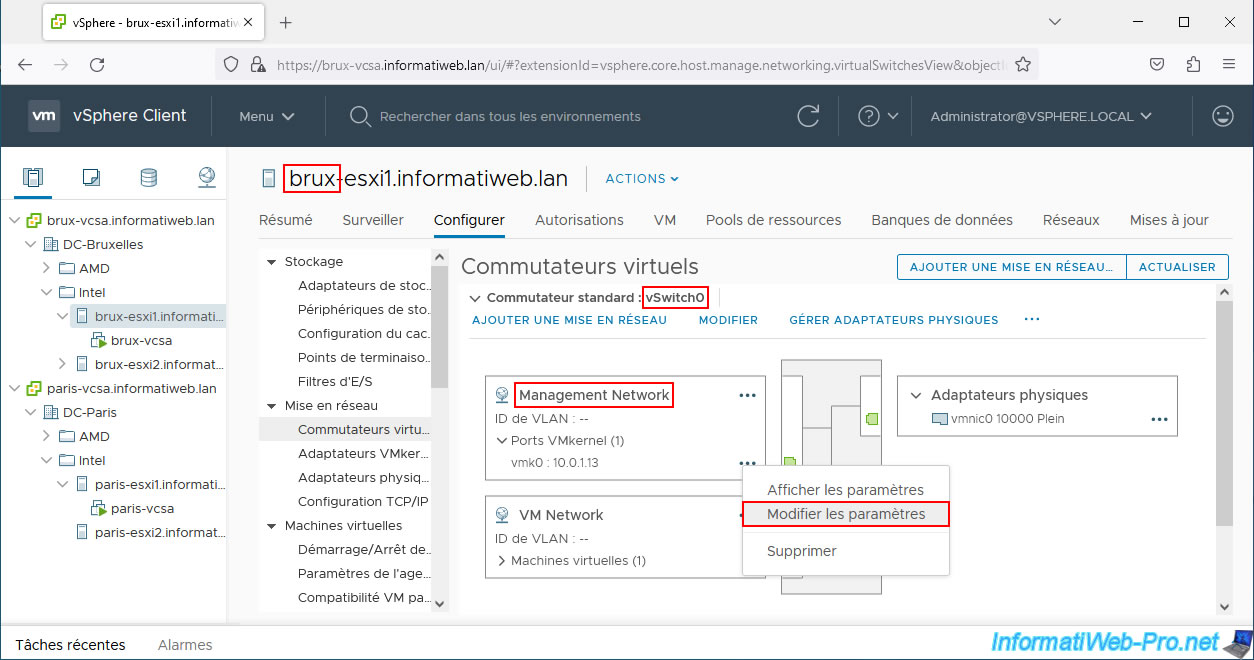
For this tutorial, we will use the VMkernel port "vmk0" created by default on each host and used for their management.
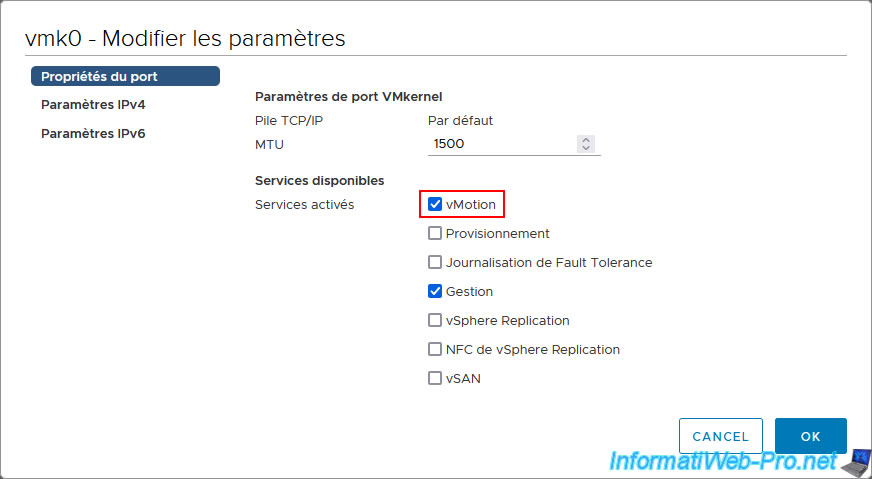
To do this, on each host, edit the settings of the VMkernel port "vmk0" located by default in the "Management Network" port group of vSwitch0.
Check the "vMotion" service and click OK.

Do the same on the hosts of the remote site (Paris).
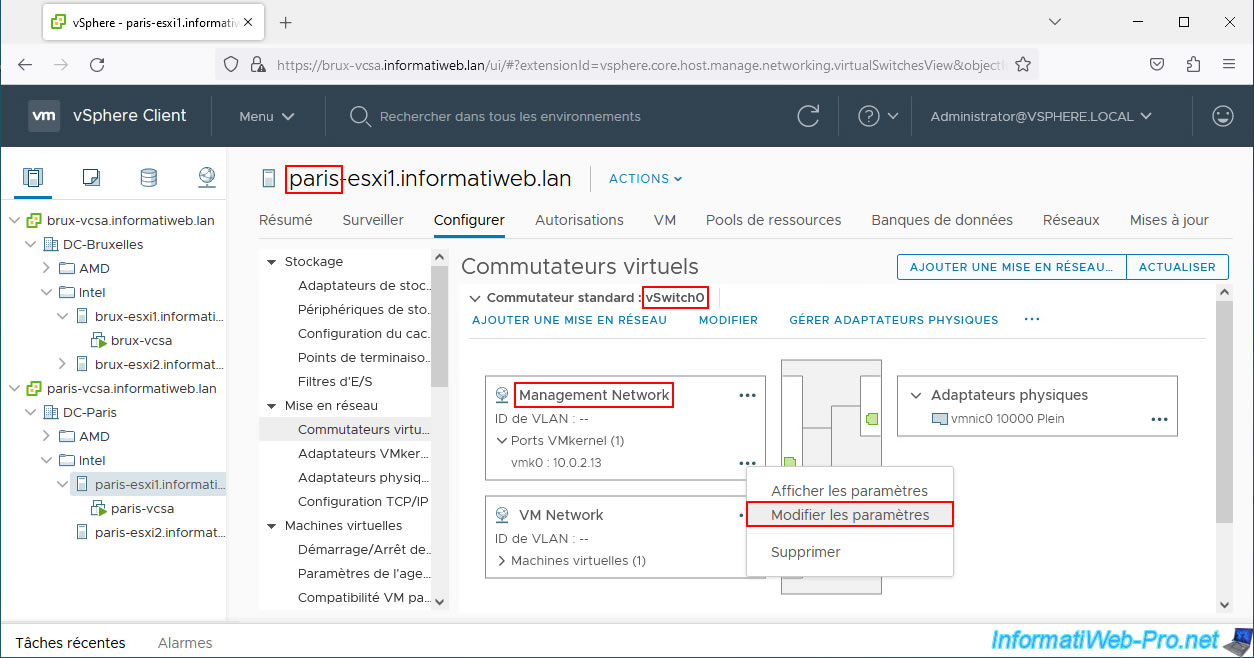
Enable the "vMotion" service again on the VMkernel port.
6. Migrate a virtual machine connected to a network with L2 connectivity
For the test, we created a virtual machine on Windows 10 on our host "brux-esxi1" located on the Brussels site.
We connected this virtual machine to our "VMs L2 Network" port group.
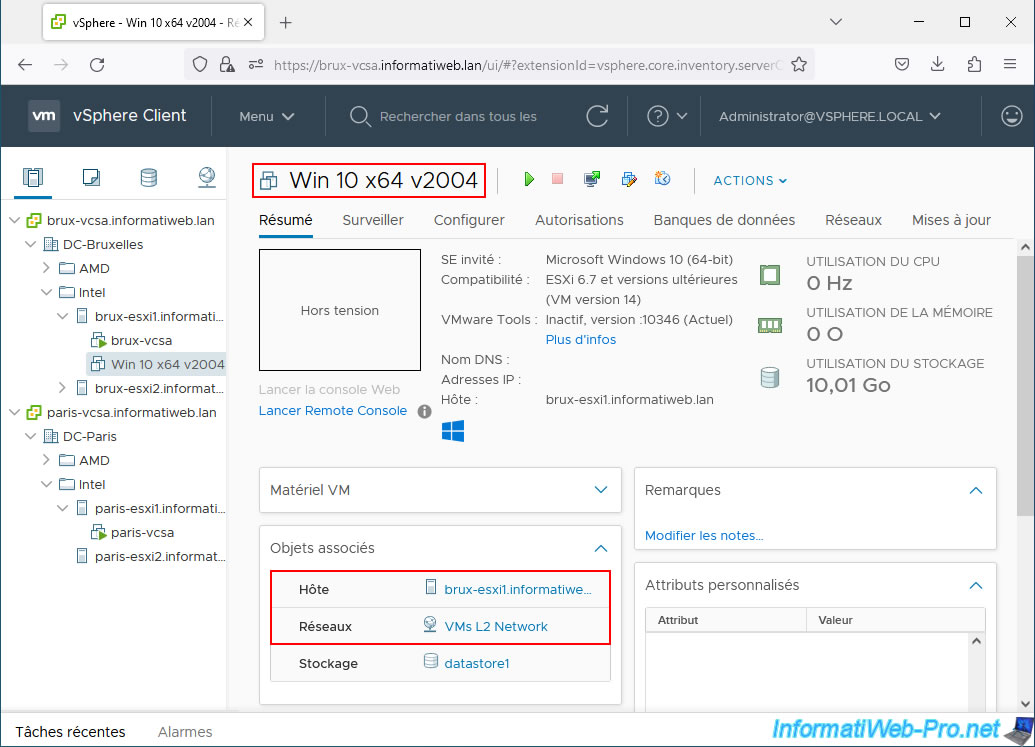
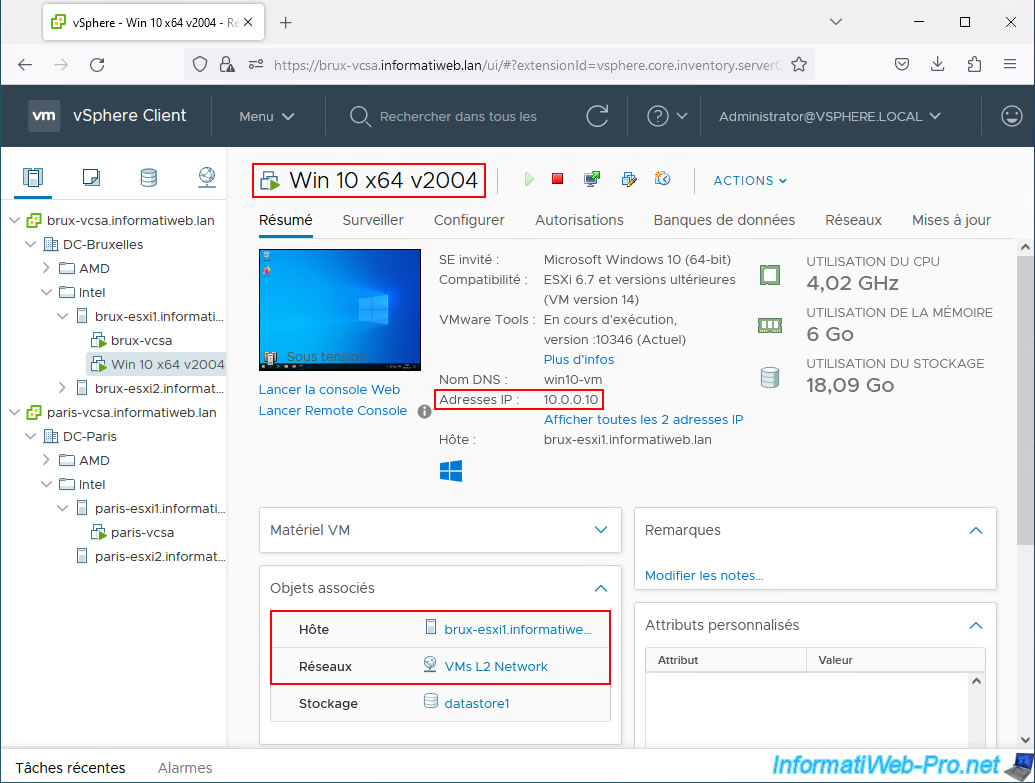
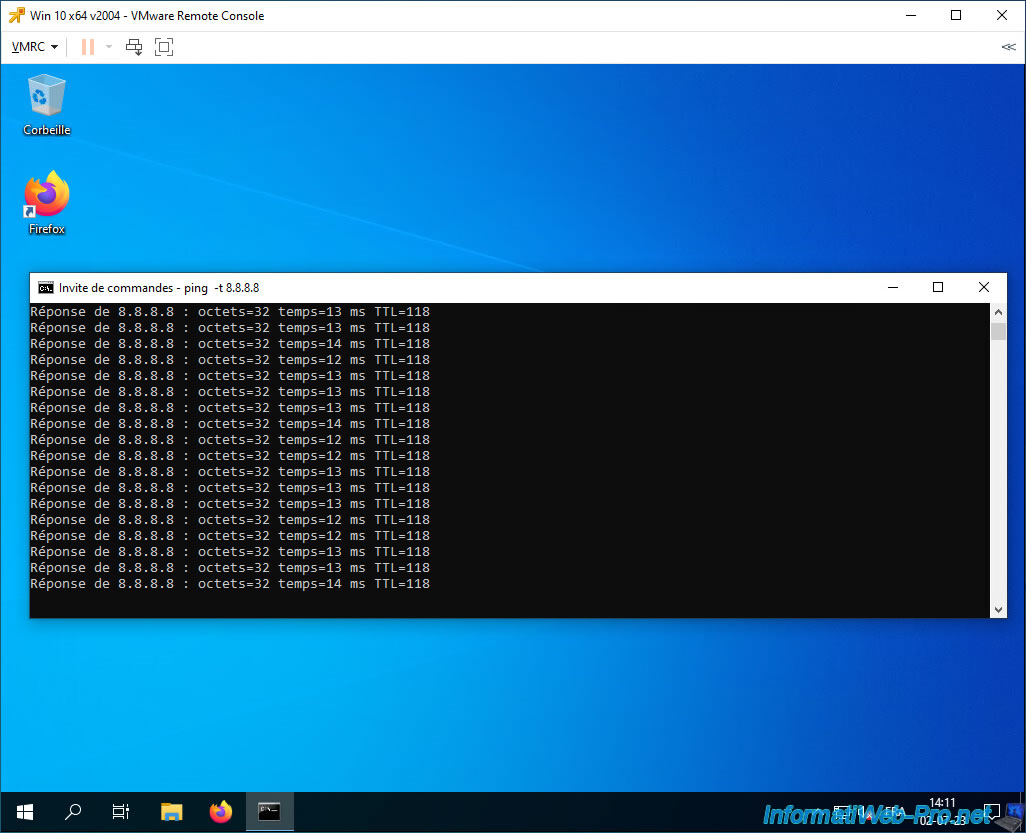
Once the virtual machine is started, you can see that it has the IP address "10.0.0.10" in our case and that it is connected to the virtual network "VMs L2 Network" in Brussels.
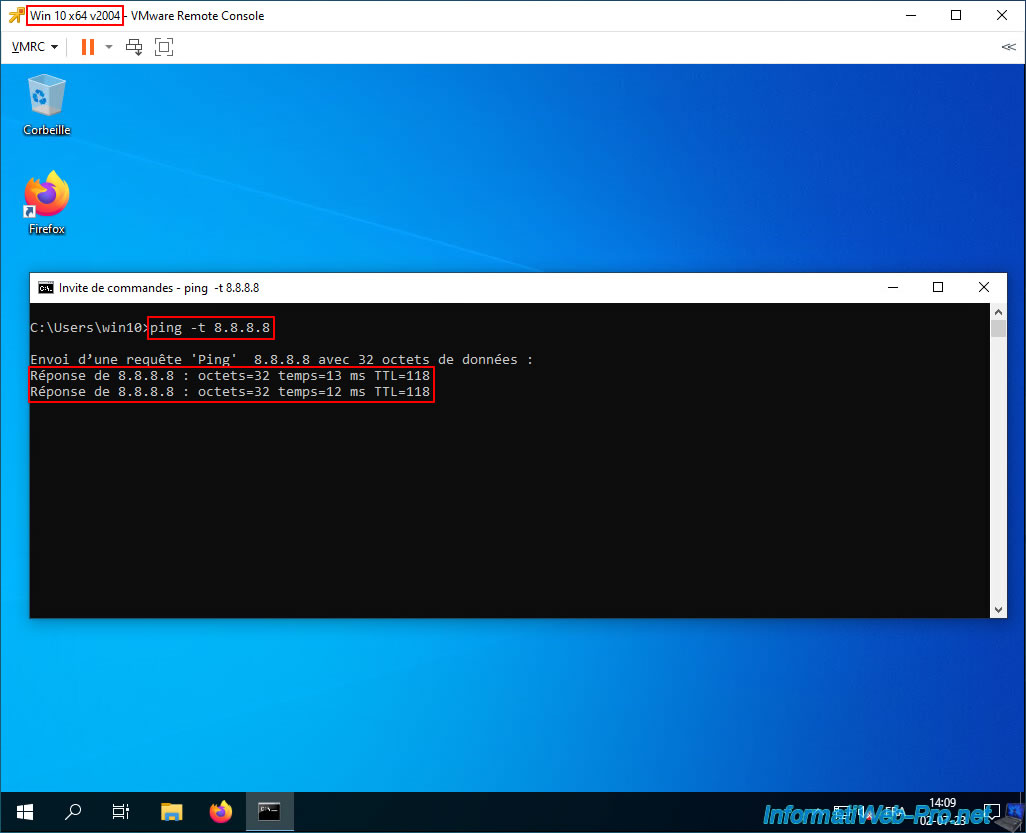
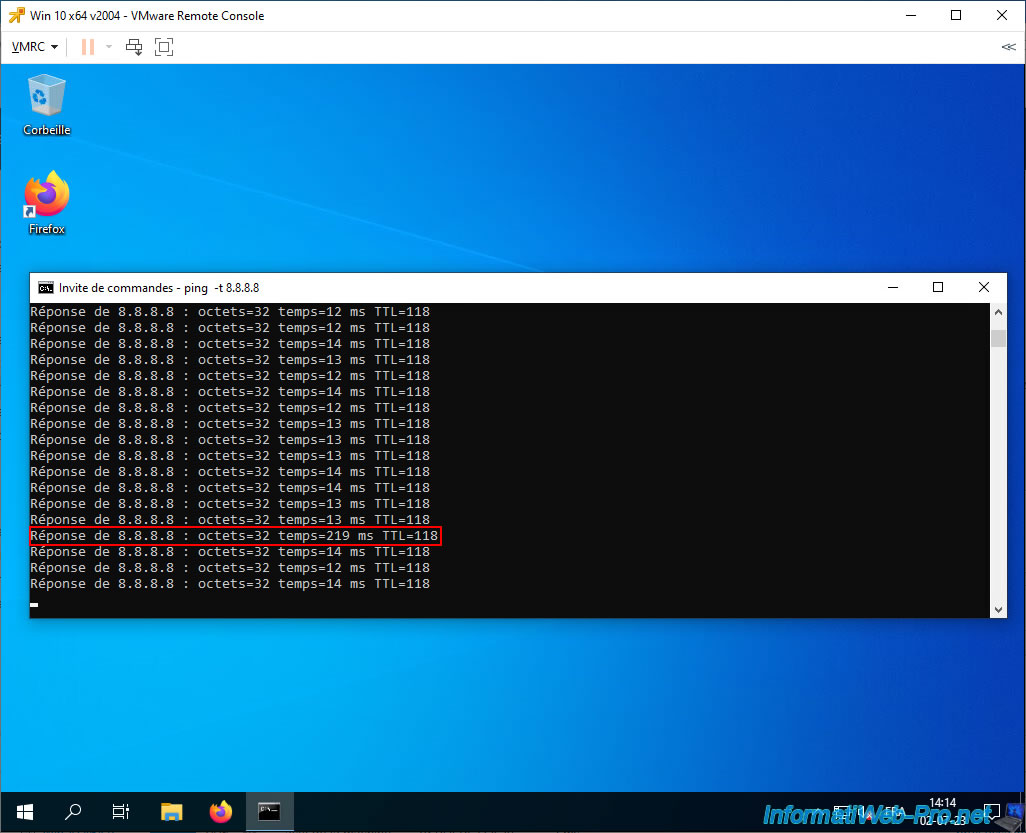
To prove that network access will still be functional during and after migration via vMotion, we initiated an infinite ping ("-t" parameter) to a server available on the Internet.
Batch
ping -t 8.8.8.8
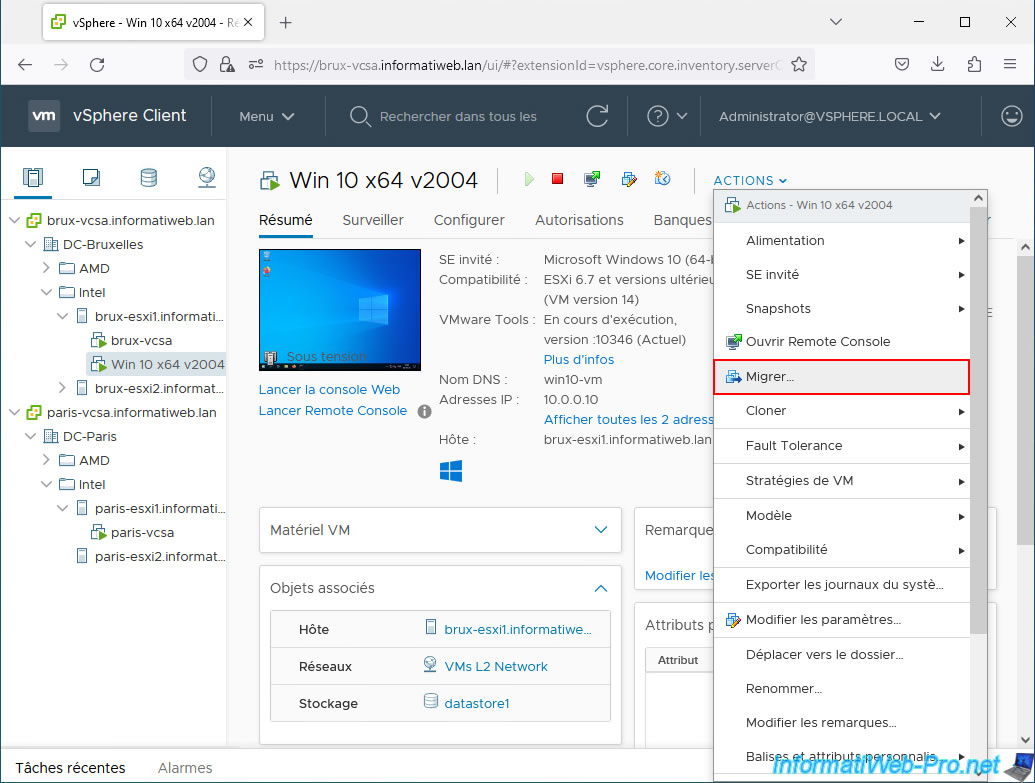
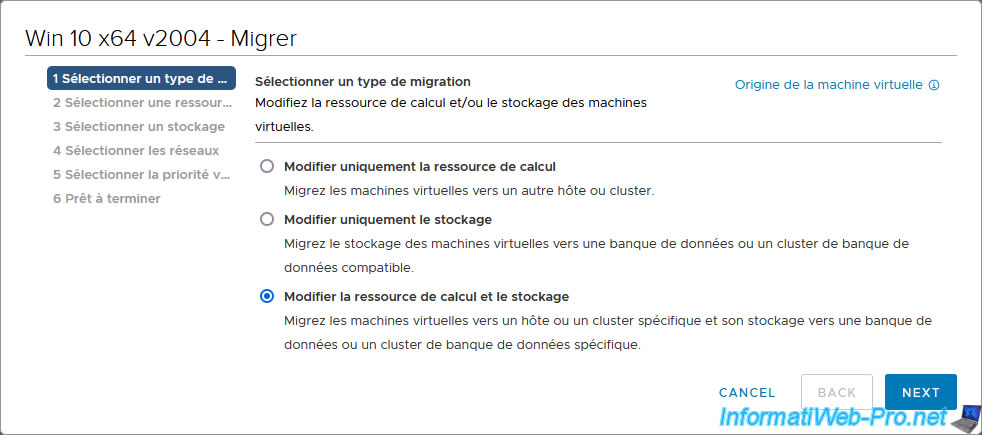
Now, migrate your virtual machine by going to: Actions -> Migrate.
Choose "Change both compute resource and storage" to live migrate the virtual machine by also moving these files to the desired destination host.
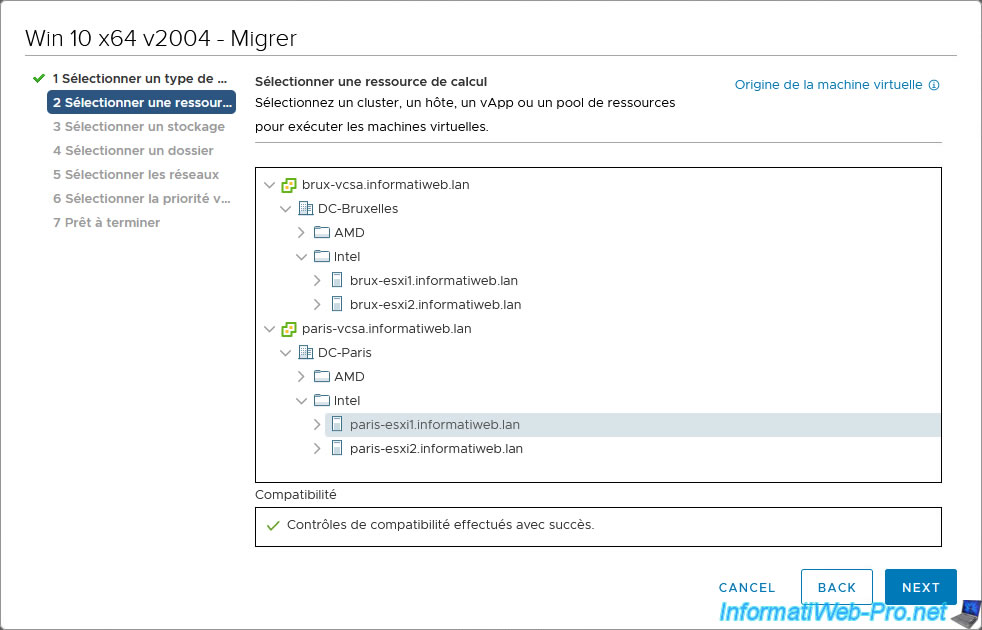
Select a VMware ESXi host located at the remote site and click Next.
In our case: our host "paris-esxi1".
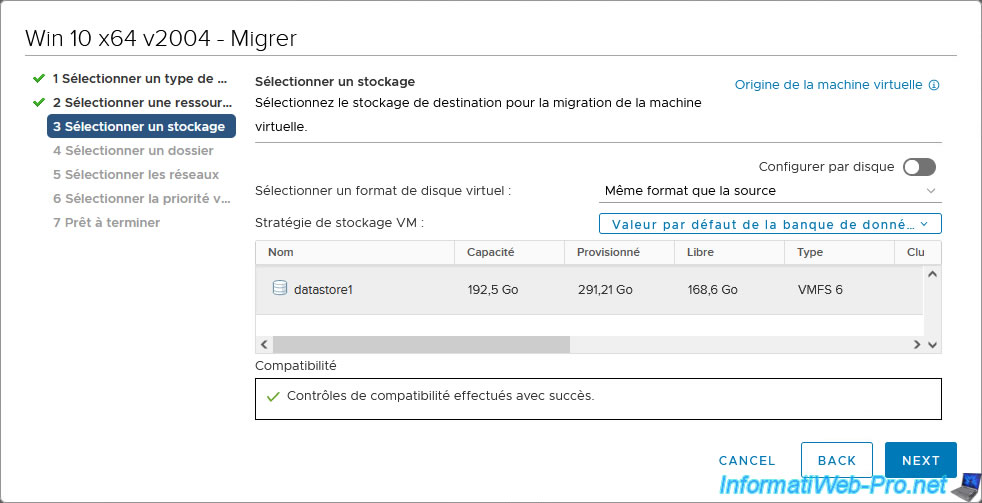
Select the remote host datastore where you want to store this VM.
In our case, the default datastore: datastore1.
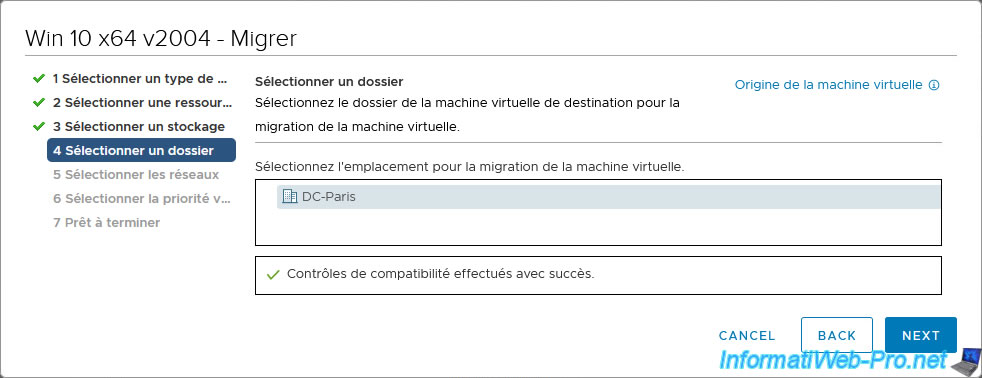
Select the datacenter and/or folder to place this VM after migration.
In our case, the data center: DC-Paris.
Select the destination virtual network and ignore the warning that appears.
Indeed, in our case, these have the same name on the source site and the physical site given that in the background, these form a single network (thanks to the layer 2 (L2) VPN tunnel) .
Plain Text
Since the operation is being conducted across datacenters, this network may not be the same network on the source and destination.
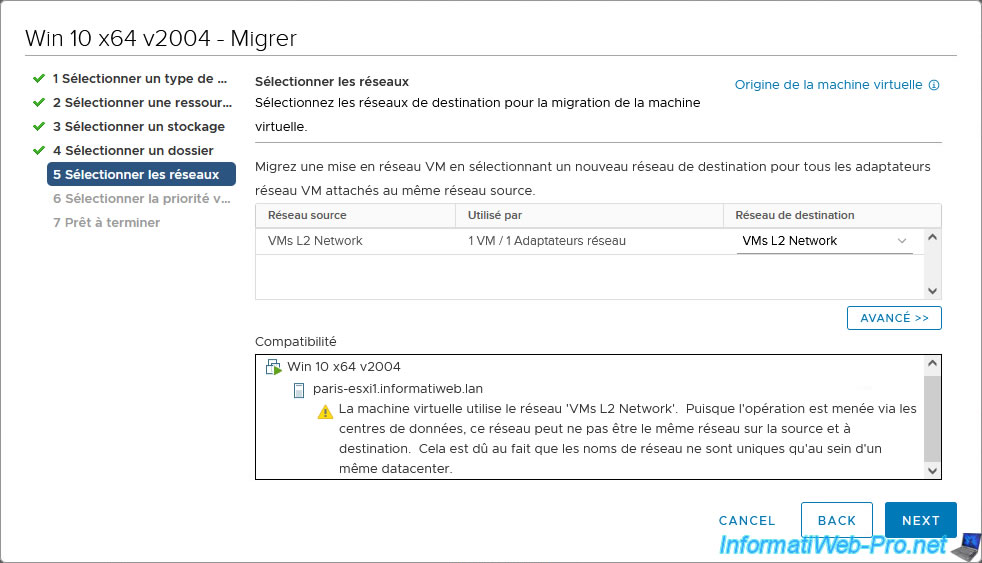
Click Next.

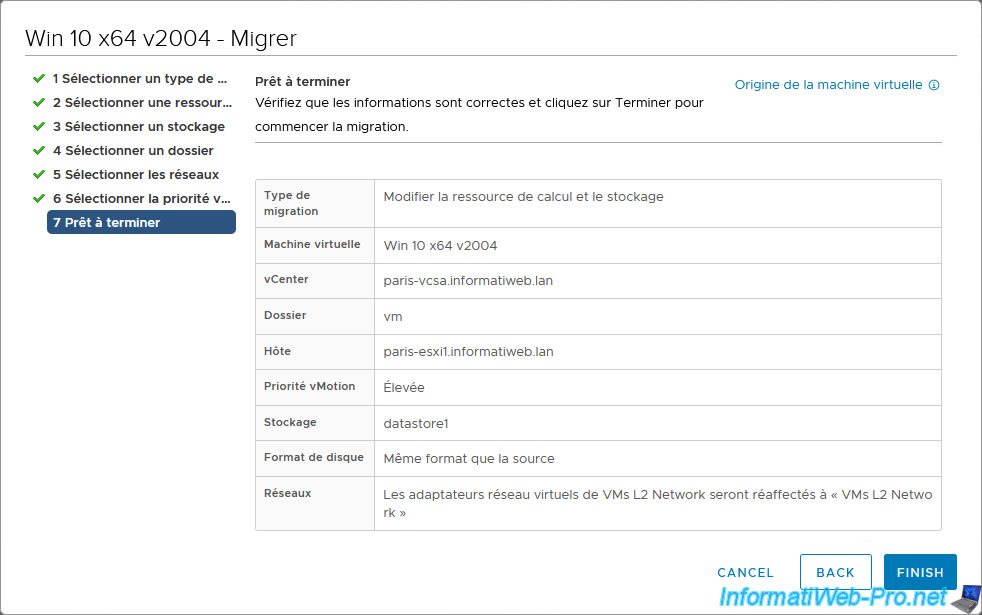
Click Finish.
The migration of your virtual machine begins.
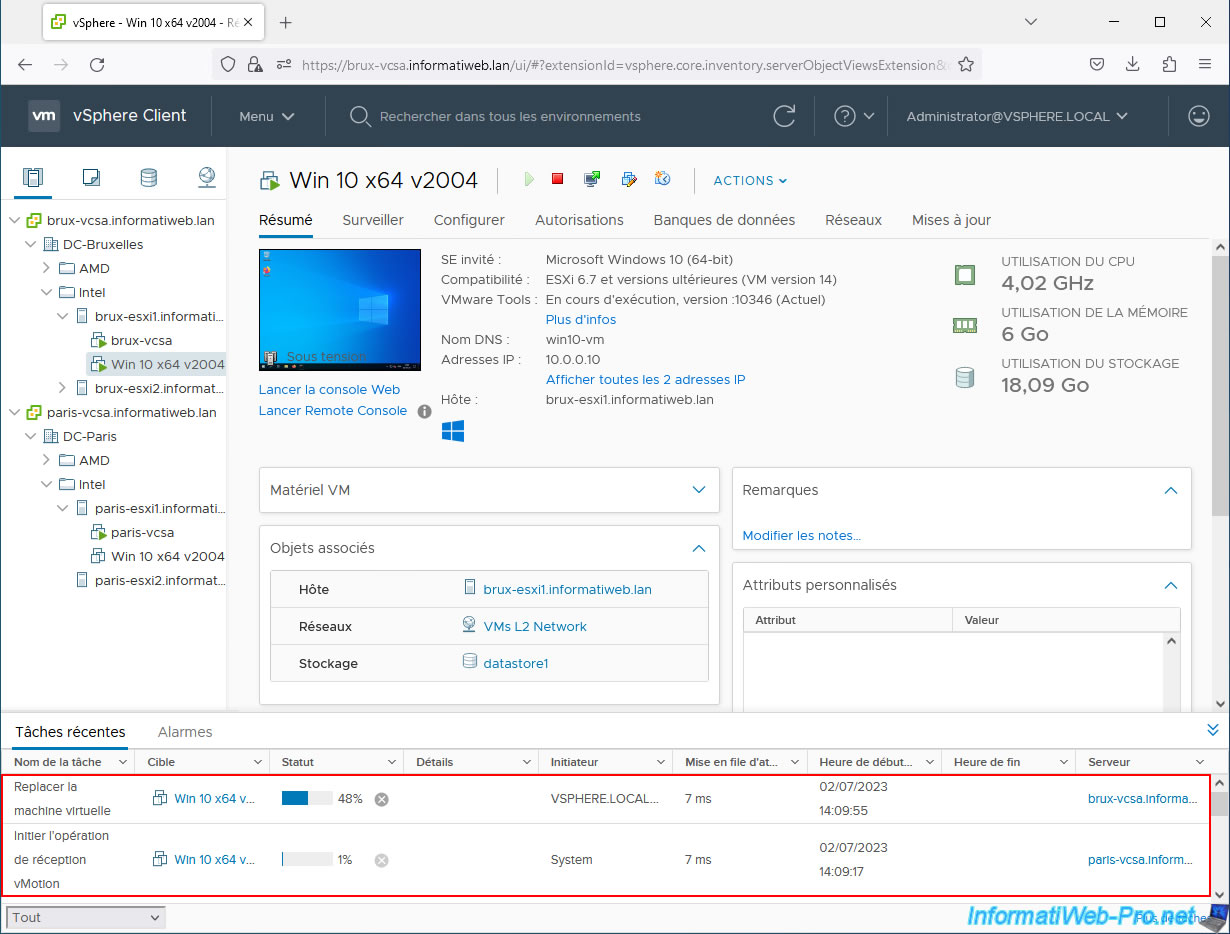
The ping continues to work.
The VM migration continues.
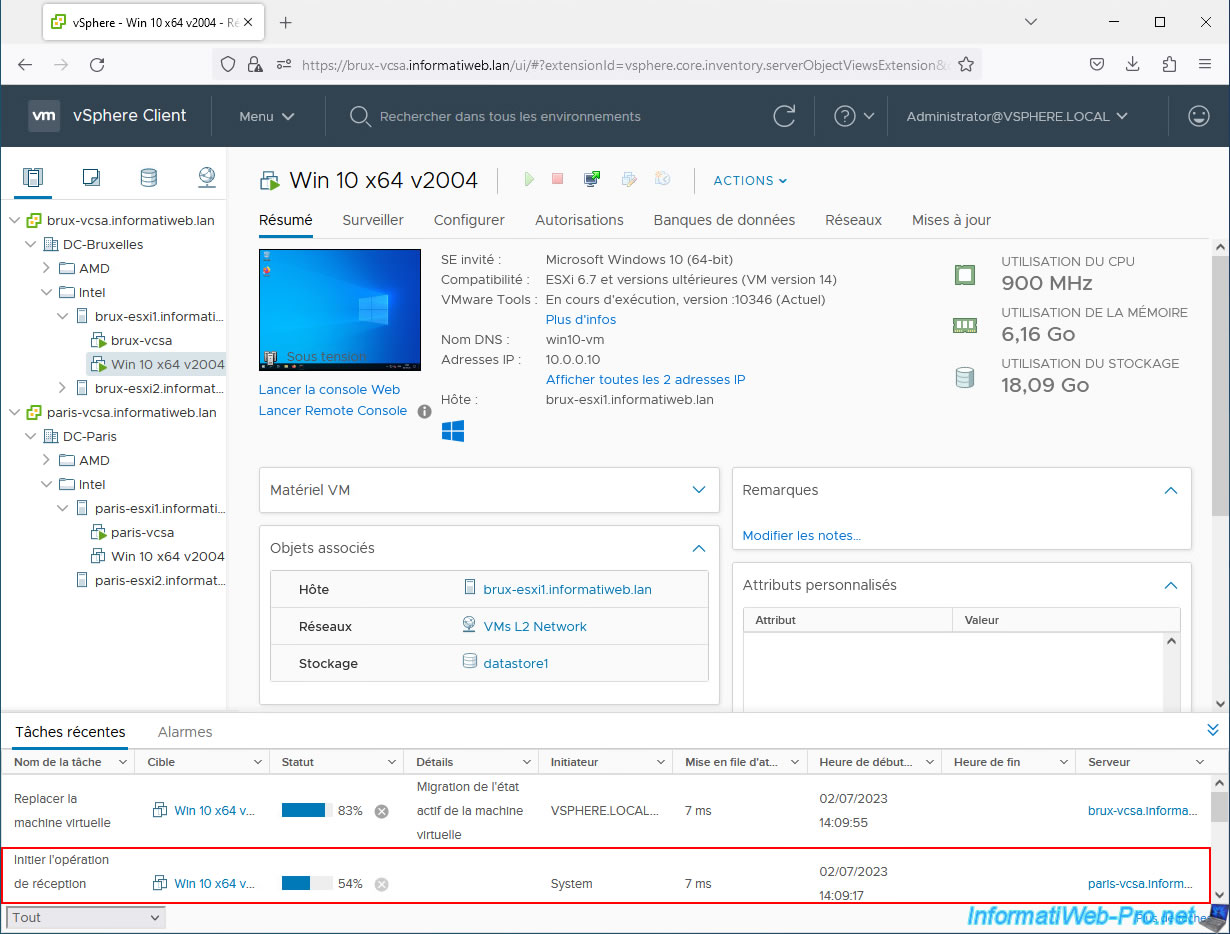
Halfway through the "Initiate receive operation" task, you may notice a very slight latency on a ping.
But network access is still available since ping continues to work properly.

Towards the end of the migration, it is possible that greater latency appears for a brief moment (on a ping). But again, the ping continues to work.
As expected, your "Win 10 x64 v2004" virtual machine which was located in Brussels has been migrated to Paris and still has the same IP address "10.0.0.10".
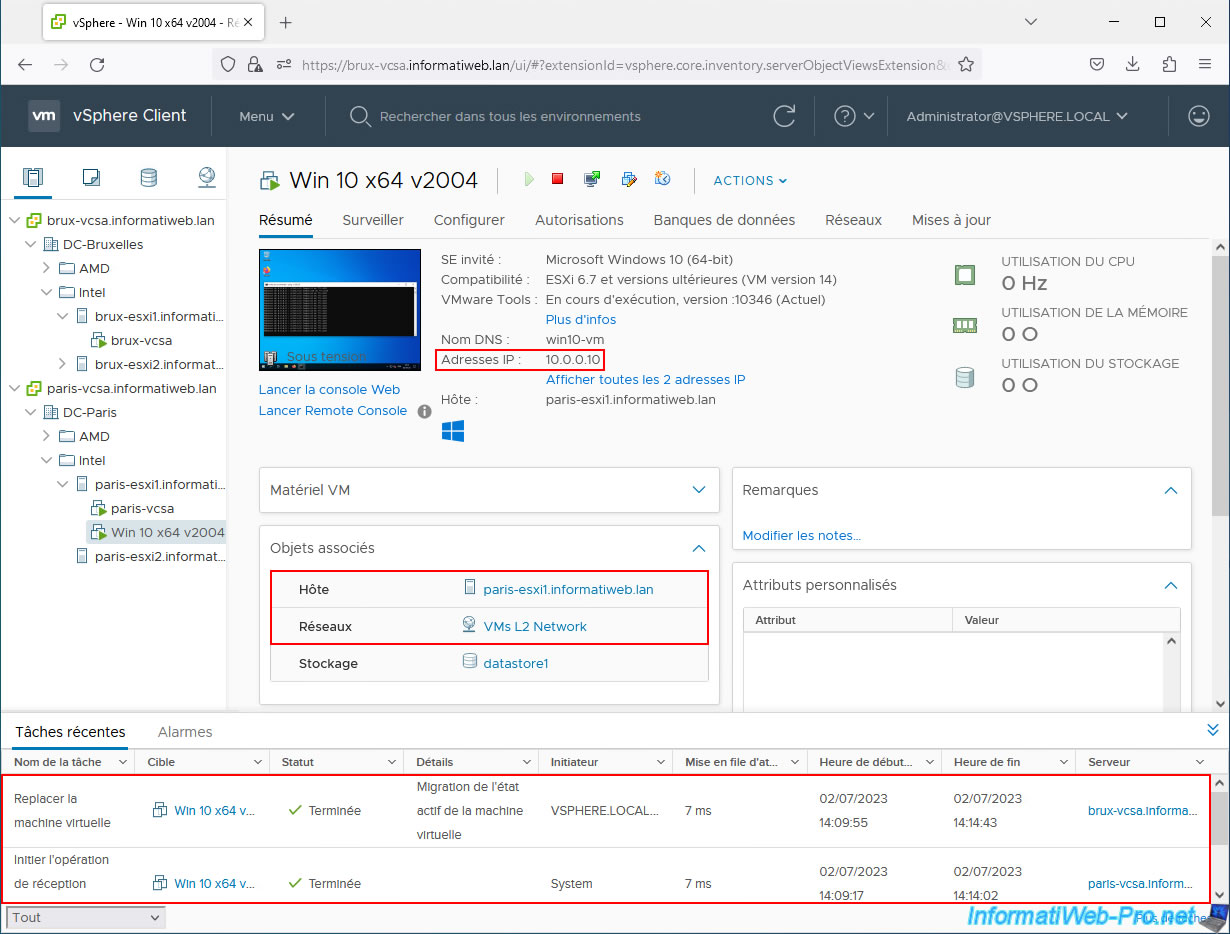
Despite the change of physical site, the virtual machine continues to have access to the network and the Internet without problem.
Besides, you will also notice that no packets were lost.
Note: to stop the ping command and view the statistics of this command, press the "CTRL + C" keys.

Share this tutorial
To see also
-
VMware 3/5/2025
VMware vSphere 6.7 - Cluster admission control
-
VMware 2/14/2025
VMware vSphere 6.7 - Create a cluster
-
VMware 2/19/2025
VMware vSphere 6.7 - Create a cluster and enable EVC mode
-
VMware 2/12/2025
VMware vSphere 6.7 - Create a datastores cluster and enable SDRS
No comment