- VMware
- 01 November 2024 at 20:15 UTC
-

- 1/3

If you are a multinational company with VMware ESXi hypervisors in different countries, you may want to be able to manage these remotely from another country or for example from your company headquarters.
By default, a VMware vCenter Server allows you to manage your VMware ESXi hosts, your virtual machines, your storage (datastores), ...
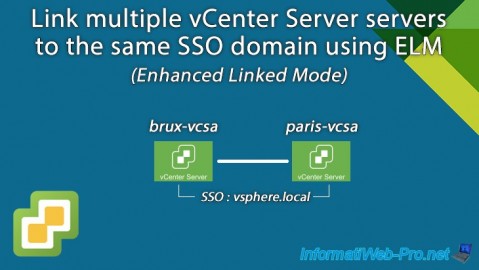
However, you can also link all your VMware vCenter Servers to be able to authenticate on them at once with the same identifiers.
This is possible because you will need to use the same vSphere SSO (Single Sign-On) domain.
Thanks to VMware's "Enhanced Linked Mode" (ELM), you will be able to manage all your VMware infrastructures from a single geographic location or from any of these geographic locations.
- Network configuration
- Configuration of site 1 (Brussels)
- Configuration of site 2 (Paris)
- Invisible remote VMware vCenter Server (VCSA) server (solution)
1. Network configuration
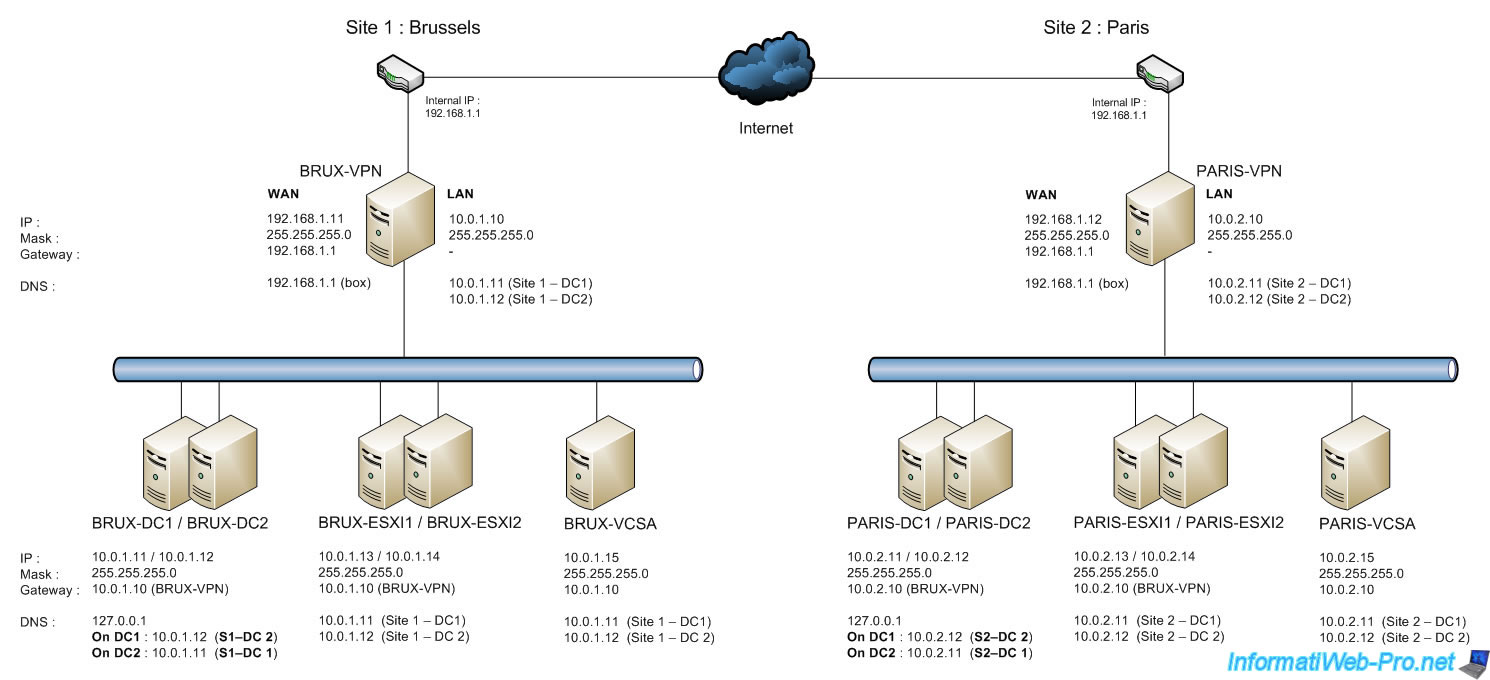
For this tutorial, we simulated the case of a company present in Belgium (in Brussels) and in France (in Paris).
To do this, refer to our tutorial: Configure a multi-site Active Directory infrastructure.
Then, install 2 VMware ESXi hosts per physical site.
In our case :
- brux-esxi1 and brux-esxi2 on site 1 (Brussels)
- paris-esxi1 and paris-esxi2 on site 2 (Paris)
2. Configuration of site 1 (Brussels)
2.1. Create a DNS record for VCSA on site 1 (Brussels)
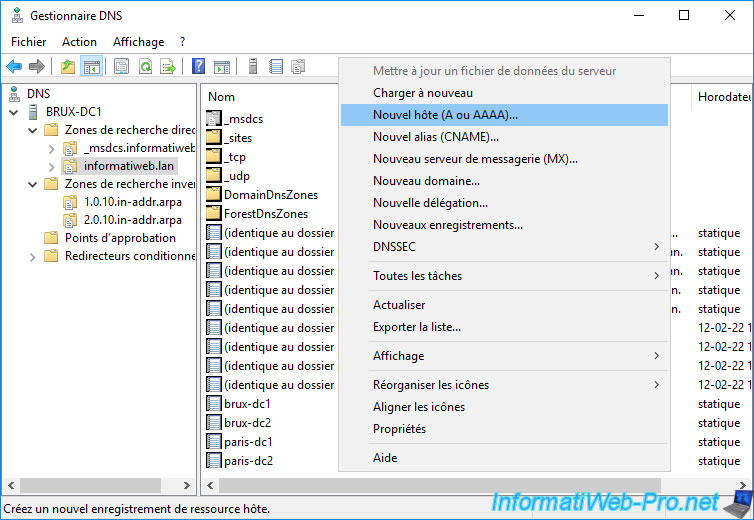
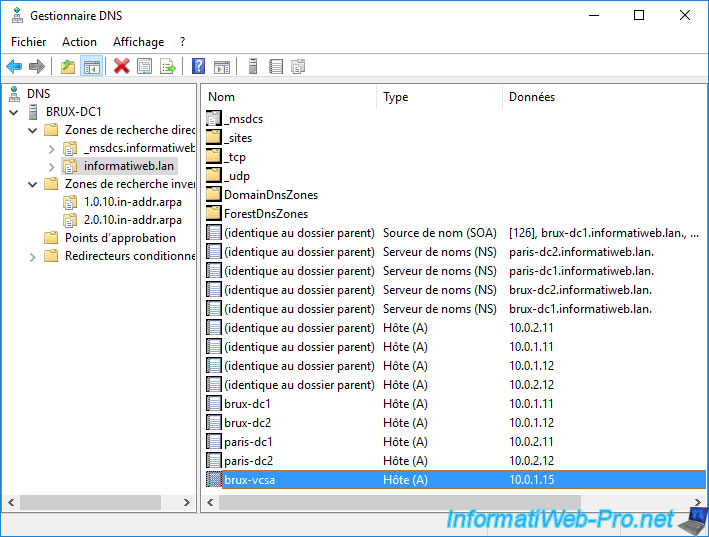
To begin, on the DNS server present on your site 1, open the DNS manager and go to the "Forward Lookup Zone" of your domain (in our case: informatiweb.lan).
Next, right-click “New Host (A or AAAA)” on the right side of the window.
Warning : VMware vCenter Server requires the reverse lookup zone to be present on your DNS server.
If the DNS server was installed automatically during Active Directory Domain Services installation, this reverse lookup zone does not exist by default.
You will therefore need to create it before creating the DNS record cited below. To do this, refer to step "3. Creating the reverse lookup zone on your DNS server" of our tutorial concerning the installation of VMware vCenter Server with an external database (SQL Server).
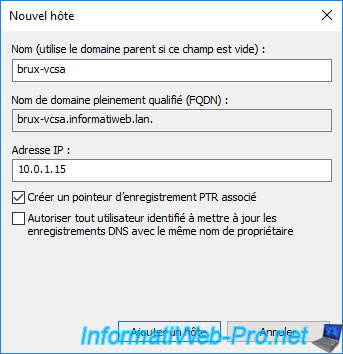
Create a DNS record for the VCSA server of your site 1 (Brussels).
In our case, we will name it: brux-vcsa.
Important : make sure to check the box "Create associated pointer (PTR) record" so that the associated (PTR) pointer is also created for your VCSA server in the reverse lookup zone of your domain.
The "The host record brux-vcsa.informatiweb.lan was successfully created" message appears.
Click OK.
The DNS record for your VCSA server of site 1 has been created.
2.2. Deploy vCenter Server Appliance (VCSA) on site 1 (Brussels)
To deploy the 1st vCenter Server Appliance (VCSA) in your infrastructure, nothing changes compared to a standard VCSA deployment.
For detailed information about vCenter Server Appliance (VCSA) deployment, refer to our tutorial: VMware vSphere 6.7 - Deploy VCSA (vCenter Server Appliance).
To get started, insert the VMware VCSA installation DVD (VMware-VCSA-all-6.7.0-17028579.iso), then launch the "vcsa-ui-installer\win32\installer.exe" file located there .
At the top right, choose your language if you wan, then click: Install.
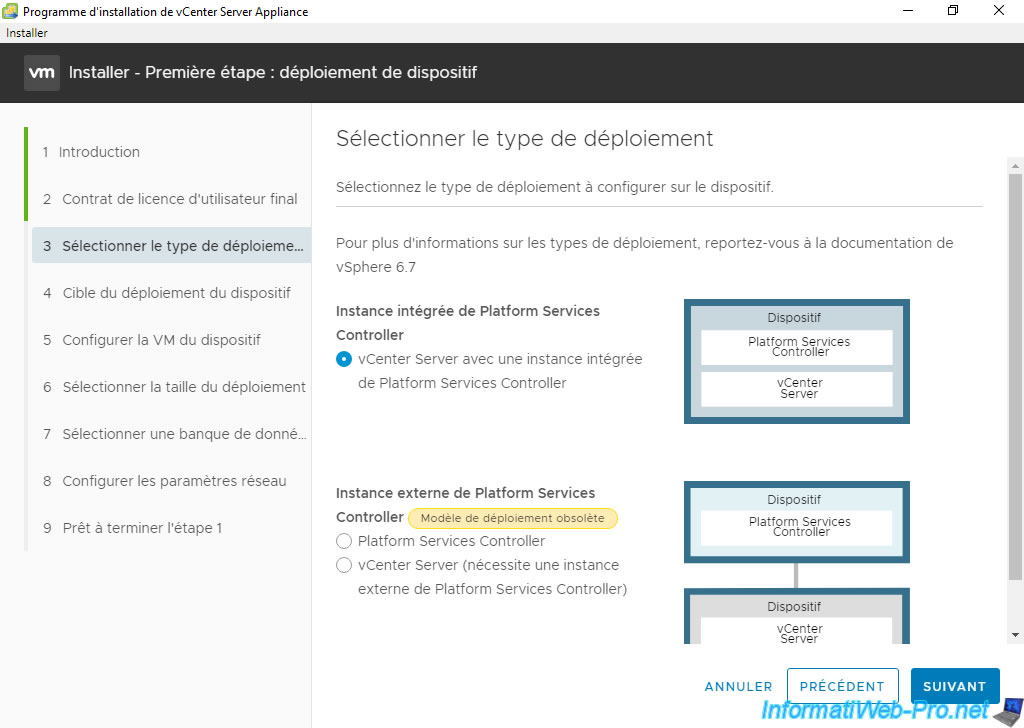
In the "Select deployment type" step, select "vCenter Server with an embedded Platform Services Controller" and click Next.
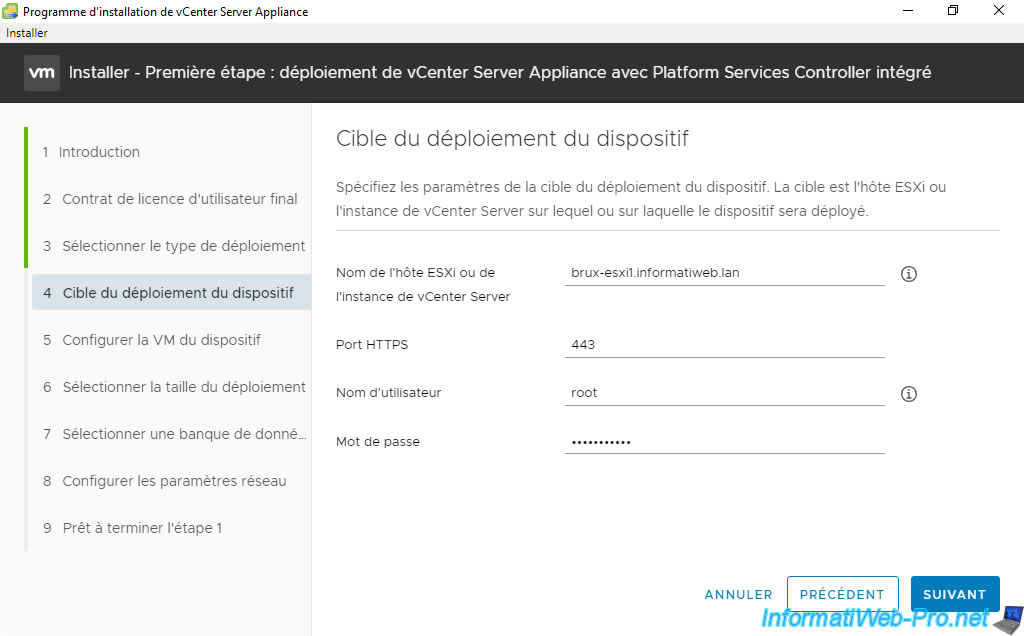
In the next step (Appliance deployment target), choose the VMware ESXi host where you want to deploy the VCSA virtual machine.
In this case, indicate a VMware ESXi host located on the same physical site (site 1) where this VCSA server will be hosted.
For credentials, indicate for example those of the root account of your VMware ESXi host.
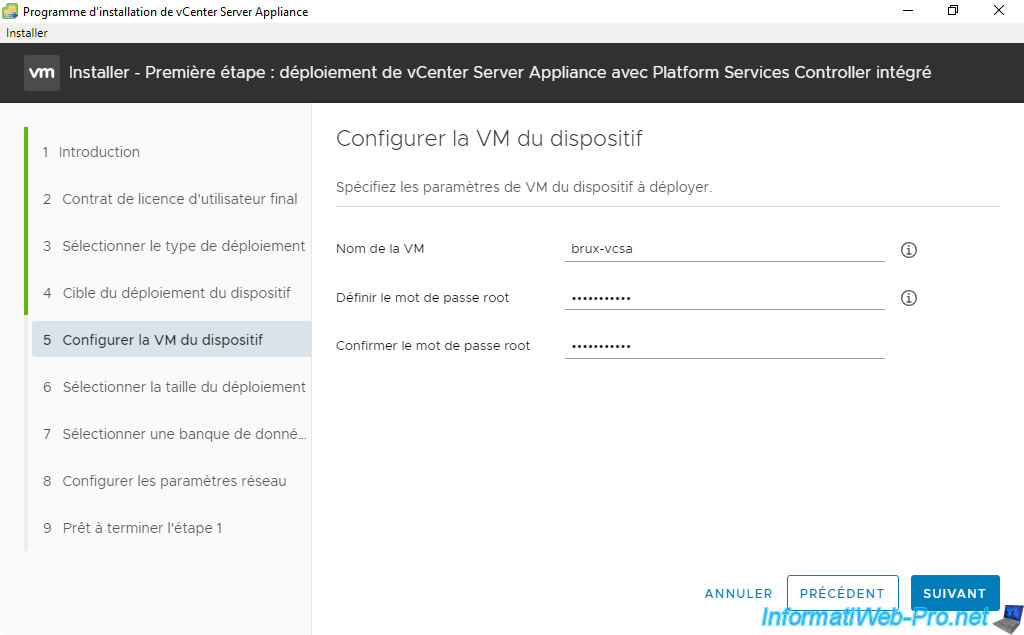
Provide a name for your VCSA virtual machine, as well as a password for its "root" account.
In our case, on site 1 (Brussels), we named it "brux-vcsa".
Note: this is the name under which the VM will appear in the inventory of your VMware vCenter Server (VCSA) and your VMware ESXi host.
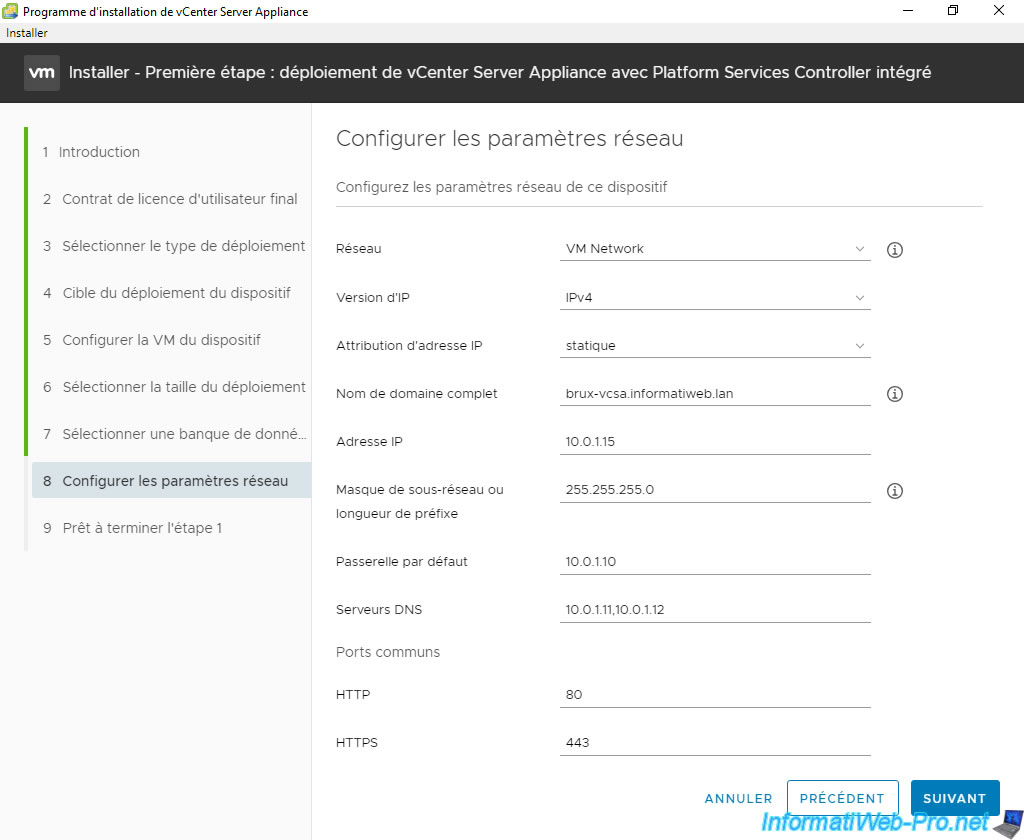
For network settings, specify:
- Network: the virtual network (port group) to which you want to connect your VCSA virtual machine.
- IP version: IPv4.
- IP assignment: static.
- FQDN: the domain name of the VMware vCenter Server Appliance (VCSA) server.
This domain name must match the DNS record previously created on your DNS server.
In our case, on site 1 (Brussels), this domain name is: brux-vcsa.informatiweb.lan. - IP address: the IP address to assign to this virtual machine.
In our case, on site 1 (Brussels), the network ID is "10.0.1.0" and the IP address assigned to our VCSA virtual machine will be: 10.0.1.15 - Subnet mask or prefix length: subnet mask used on your company's network at site 1 (Brussels).
In our case: 255.255.255.0. - Default gateway: the IP address of the router on your site 1.
In our case, on site 1 (Brussels), the LAN IP address of our router: 10.0.1.10. - DNS servers: the IP address of the local DNS server(s) present on your network.
Preferably, the IP address of your local domain controllers (DNS service) (of site 1 in this case) separated by commas if there are several.
In our case, our domain controllers on site 1 (Brussels) have the IP addresses: 10.0.1.11 and 10.0.1.12. - Common ports (HTTP / HTTPS): leave the default values (80 / 443).
Once your 1st VMware vCenter Server Appliance (VCSA) server has been deployed, you will need to configure it.
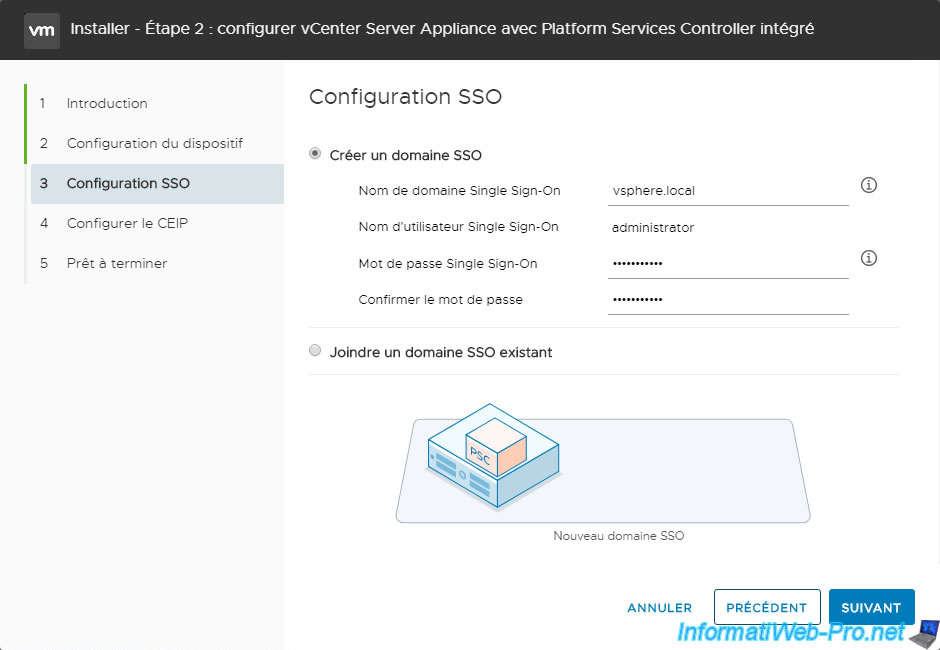
On your 1st VMware vCenter Server Appliance (VCSA) server, select "Create a new SSO domain" and specify:
- Single Sign-On domain name: the vSphere SSO domain name that you want to use on this VMware vCenter Server (VCSA) server, as well as those that you will later bind to this SSO domain.
Warning: this value has nothing to do with your local domain (or Active Directory domain) and must therefore be different from it to avoid conflicts.
By default, the SSO domain name on VMware vCenter Server is: vsphere.local. - Single Sign-On user name: administrator.
- Single Sign-On password: the password you want to set for this administrator account (default: administrator@vsphere.local).
Then, click on: Next.
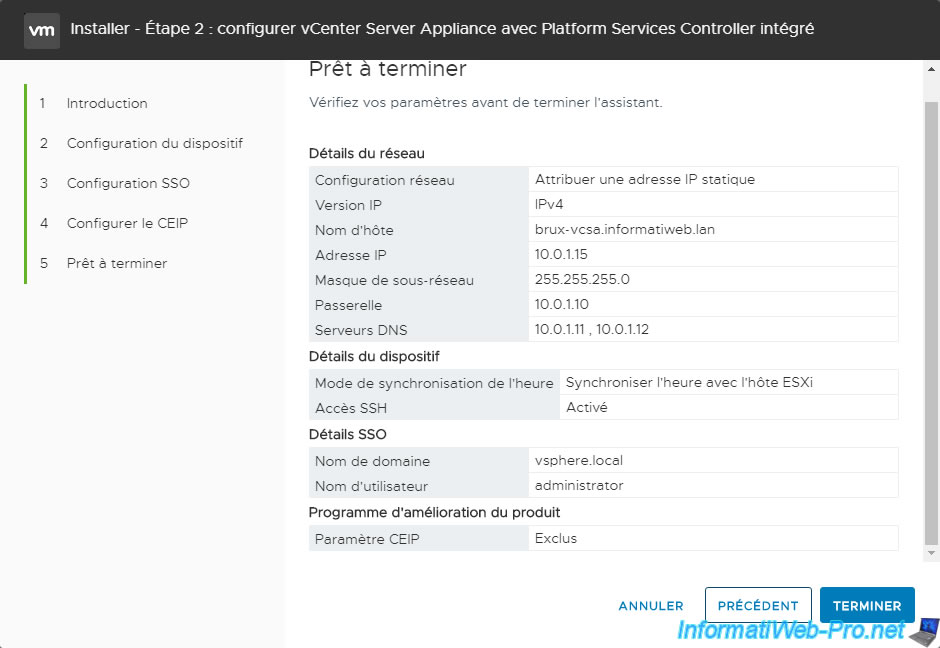
A summary of your VMware vCenter Server (VCSA) deployment configuration appears.
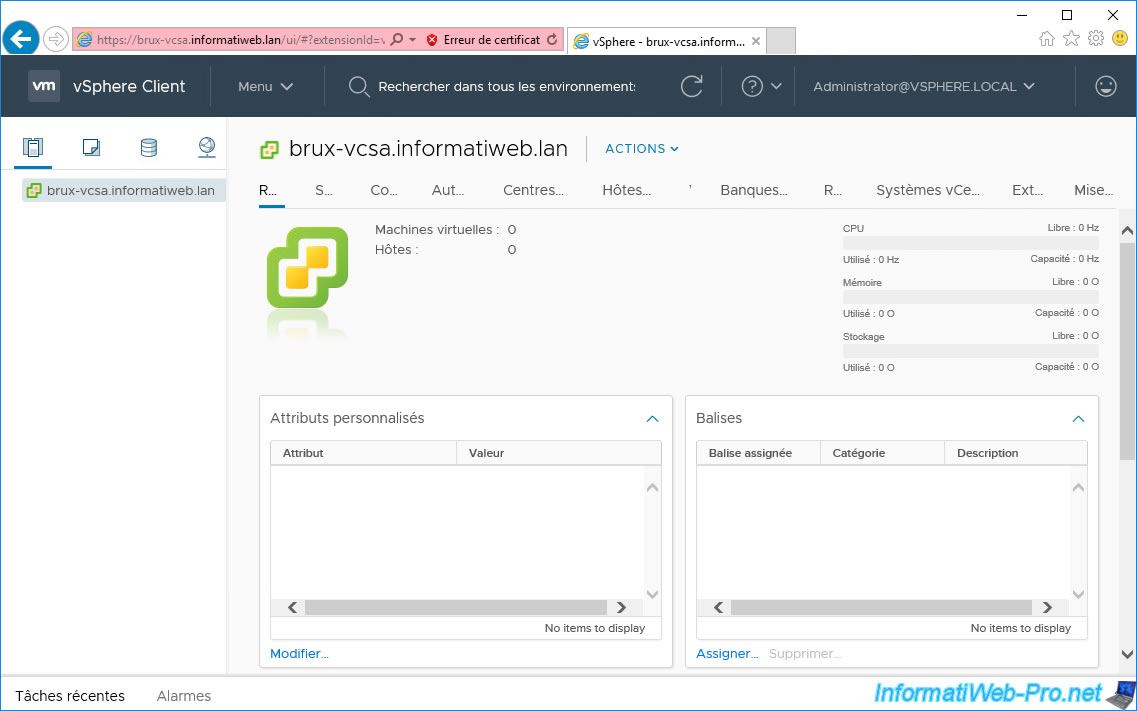
Once the configuration of the VCSA device is complete, its "VMware vSphere Client" will appear.
As expected, his inventory is empty at the moment.
Add the VMware ESXi host located on site 1 (Brussels) and as expected you will have access to it.
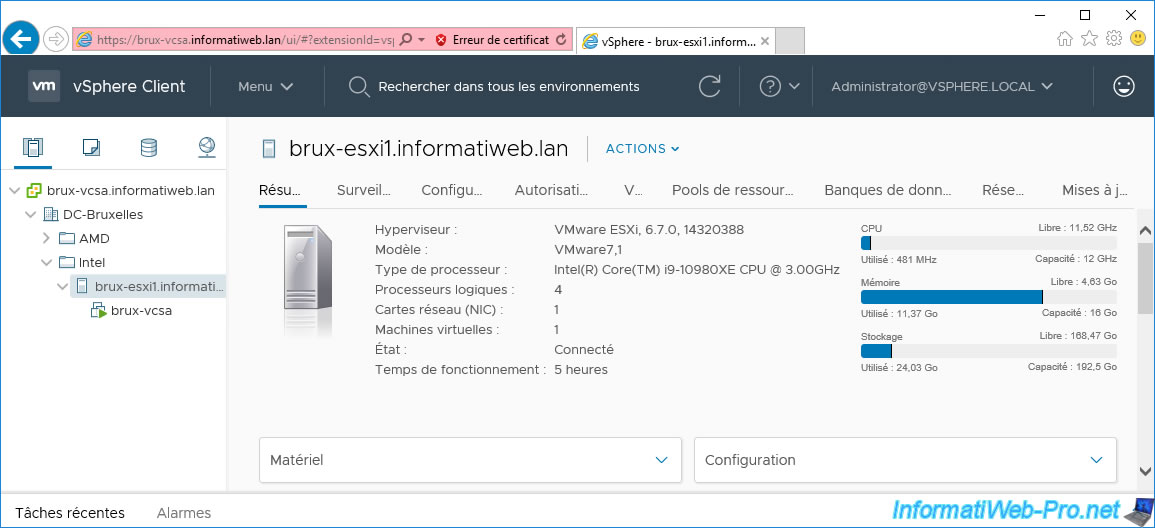
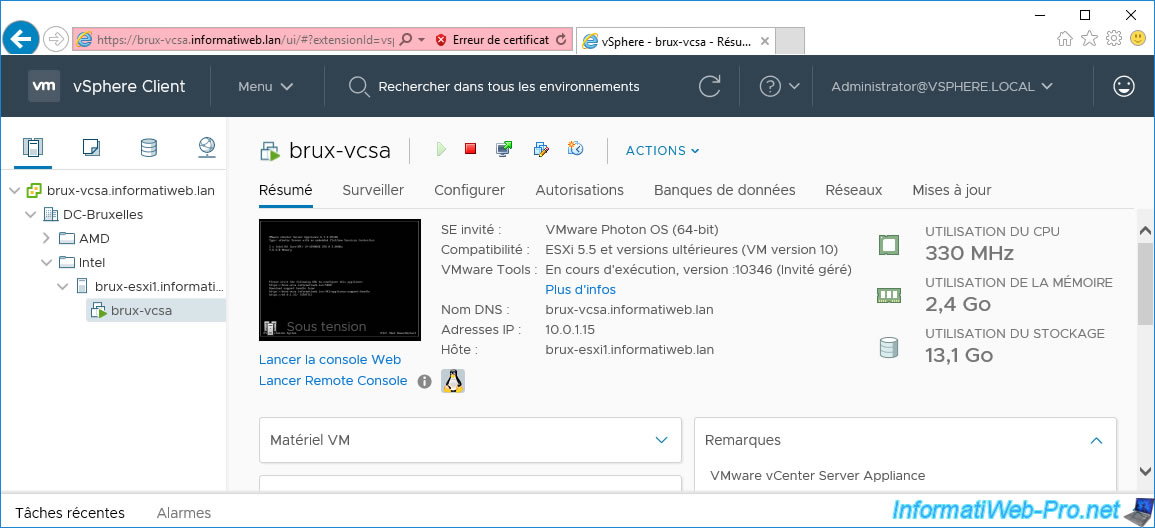
You will obviously also have access to its virtual machines.
Share this tutorial
To see also
-
VMware 3/13/2024
VMware ESXi 6.7 - Synchronize the clock of ESXi hosts from a time server (NTP)
-
VMware 3/8/2024
VMware ESXi 6.7 - Synchronize the clock of VCSA from a time server (NTP)
-
VMware 7/31/2024
VMware vSphere 6.7 - Add an Active Directory identity source
-
VMware 5/22/2024
VMware vSphere 6.7 - Change default console
You must be logged in to post a comment