- VMware
- VMware ESXi
- 16 August 2017 at 18:27 UTC
-

- 1/2

VMware ESXi 6.5 is a hypervisor (virtualization server) created by VMware that allows you to run virtual machines with their own operating systems.
Unlike version 5 of ESXi where you had to manage your ESXi server with a Windows client.
Version 6 is manageable from a simple web browser, and securing the server with a valid SSL certificate (from a trusted CA) has been greatly simplified.
Important : VMware ESXi requires that processor virtualization be enabled in the BIOS.
If you want to test VMware ESXi in a VMware Workstation virtual machine, refer to our "Virtualize VMware ESXi 6.5.0 with VMware Workstation 16, 11 or 10" tutorial.
Slightly more recent tutorials are available on our website :
- Download and installation
- Configuring the network and the server name
- Registering the server with the web client
- Changing the server domain name
- Securing the ESXi server with a valid SSL certificate
1. Download and installation
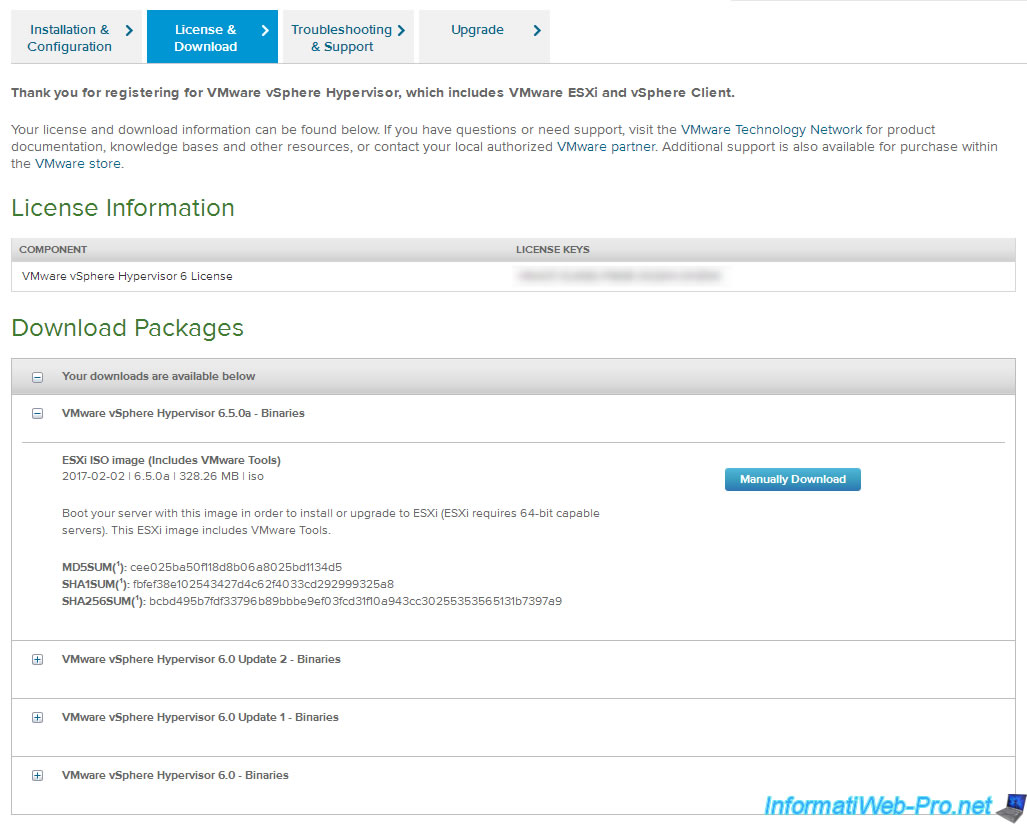
VMware ESXi 6.5 is available as a 60-day trial version as well as a full version.
Next, you will need to obtain a paid VMware vSphere license to continue using it.
To download VMware ESXi, you need to create an account on vmware.com.
To begin, choose the "ESXi ISO image" download.
Then, burn this iso file and start your computer on the burned CD.
Warning : the free version of VMware ESXi no longer exists since February 2024 following acquisition by Broadcom.
The serial number is therefore no longer displayed when you try to download VMware ESXi.
However, the 60-day trial version is still available.
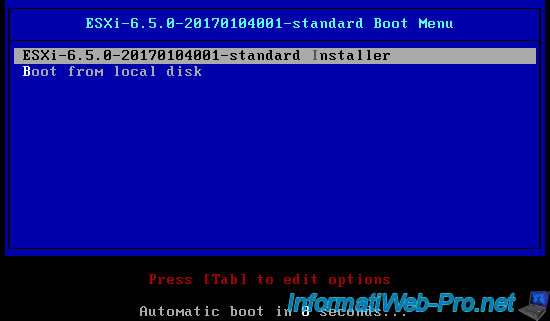
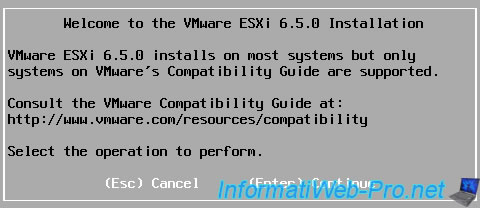
At startup you will see an "ESXi 6.5.0 standard Boot Menu" menu.
Press Enter.
The installer starts.
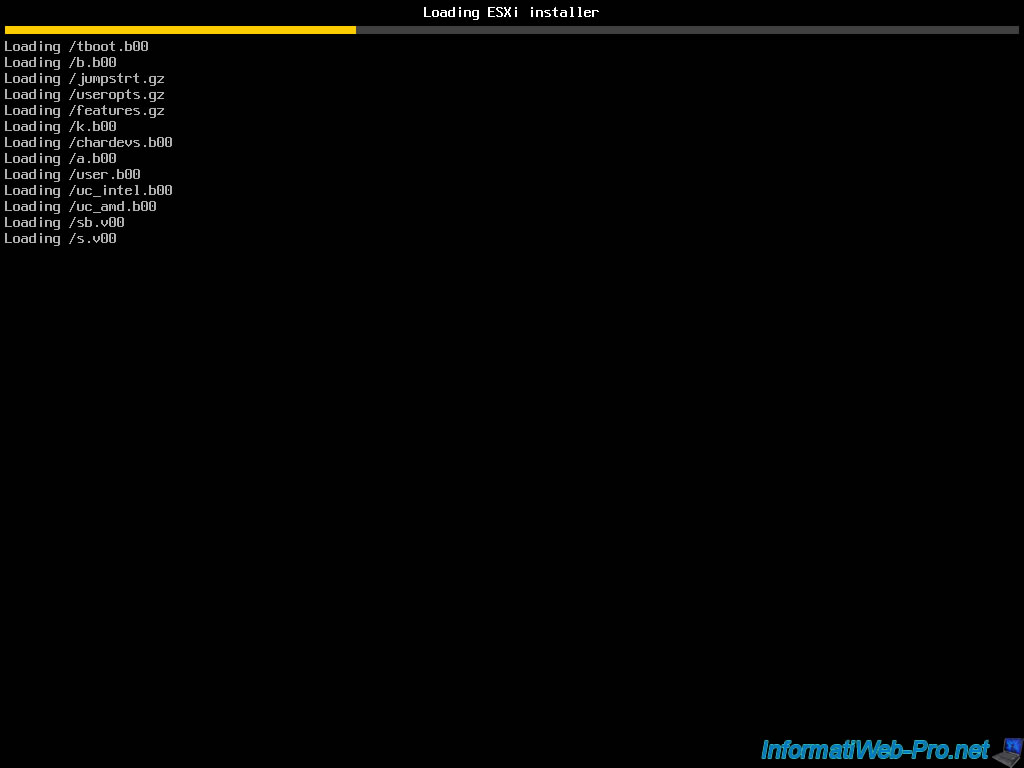

The installation of an ESXi 6.5.0 server is apparently identical to that of the ESXi 5 server.
To learn about hardware that is compatible with VMware ESXi 6.5.0, see the VMware by Broadcom Compatibility Guide on the Broadcom site.
Press Enter.
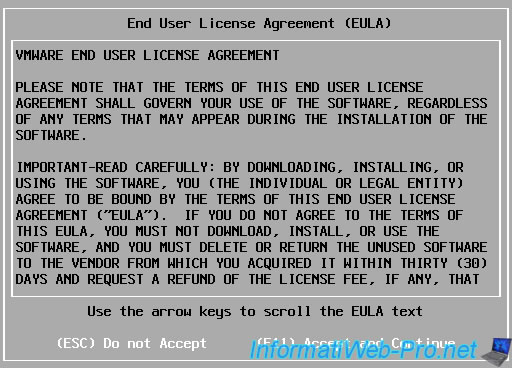
Accept the license agreement by pressing F11.
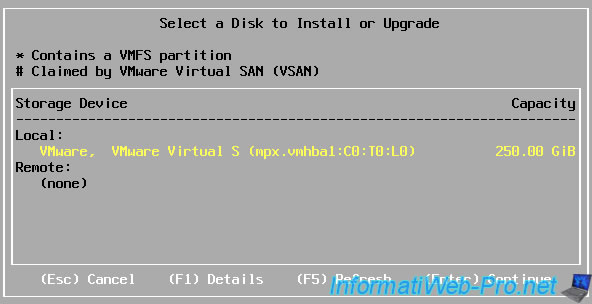
VMware ESXi will detect your hard drives.

Select the hard disk on which you want to install VMware ESXi.
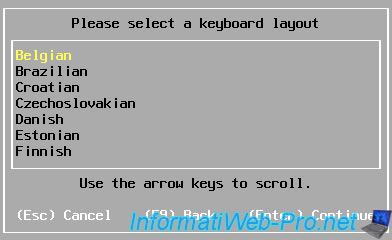
Select the language of your keyboard.
Specify a password for the ESXi server's root account.

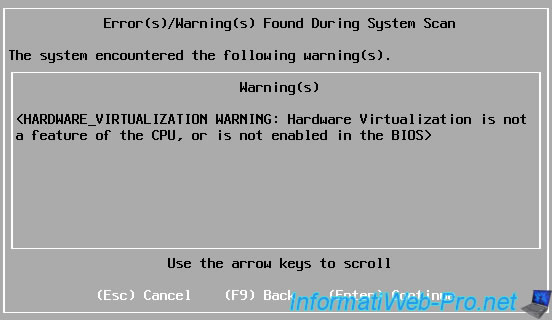
VMware ESXi will retrieve additional system information about your computer, including verifying that processor virtualization is enabled in your BIOS.

If the processor virtualization is NOT enabled, VMware ESXi will display this warning : Hardware Virtualization is not a feature of the CPU, or is not enabled in the BIOS.
If needed, see our tutorial : Enable virtualization (Intel VT-x / AMD-V)
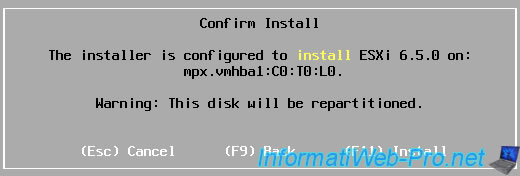
To confirm the installation of VMware ESXi on the desired hard disk, press F11.
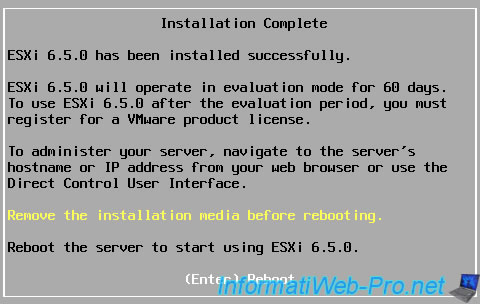
Installation starts.

When the installation is complete, remove the CD from the CD/DVD drive and press Enter to restart the computer.
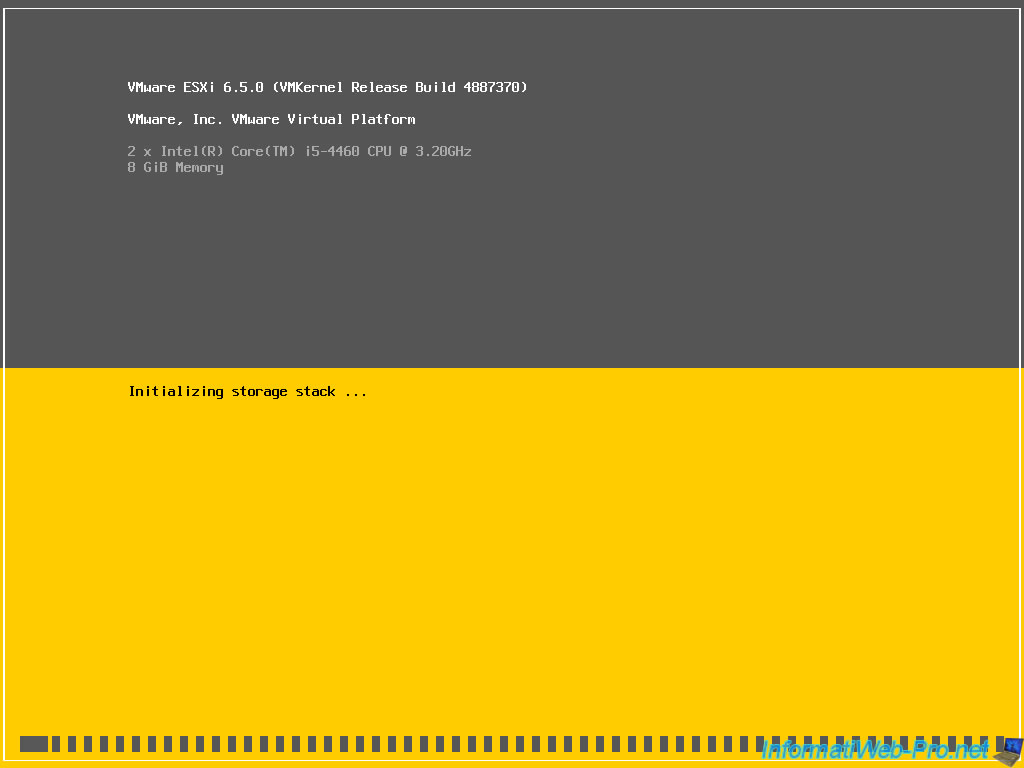
The machine restarts.
Note : this may take a few seconds.

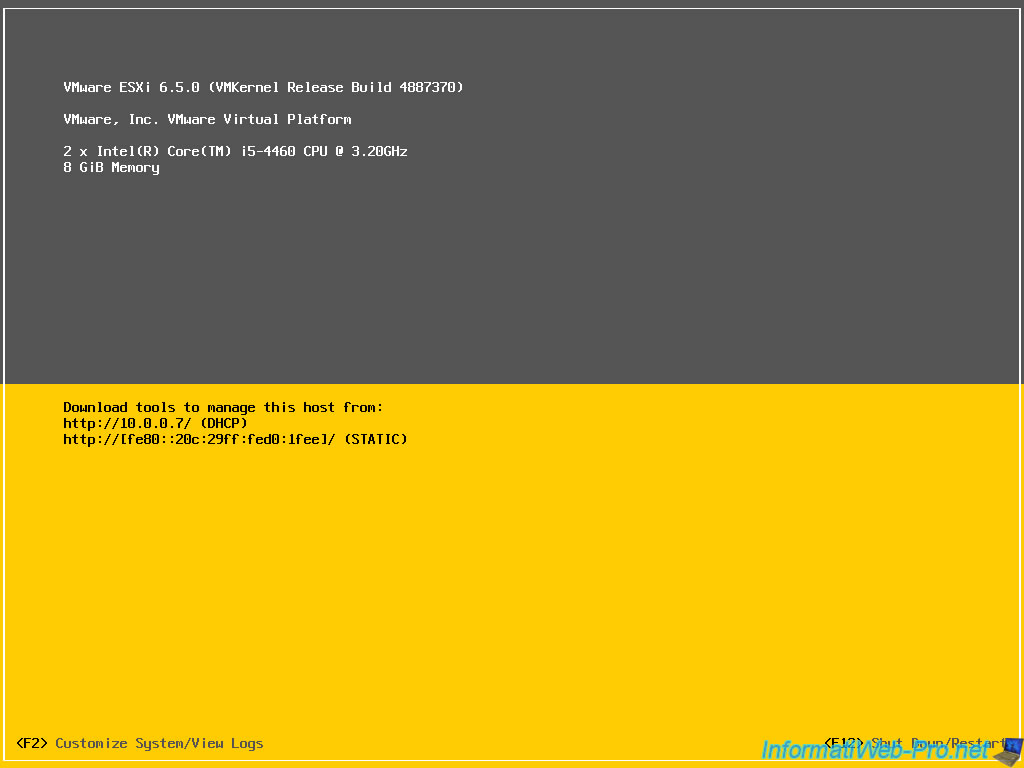
On reboot, VMware ESXi will start up.

2. Configuring the network and the server name
By default, VMware ESXi automatically receives an IPv4 address from the DHCP server on your network.
However, any server must always have a static IP address.
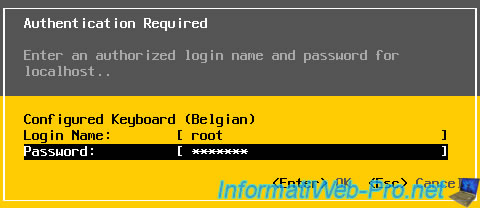
To configure the network settings for the VMware ESXi server, press F2 (Customize System/View Logs).
Log in with the root account.
By selecting the "Configure Management Network" section, you will see that your server has :
- localhost as name
- an IPv4 address assigned by your DHCP server (in our case, the address of the DHCP server corresponds to the IP address of our router)
- an IPv6 address
Press Enter to change these settings.

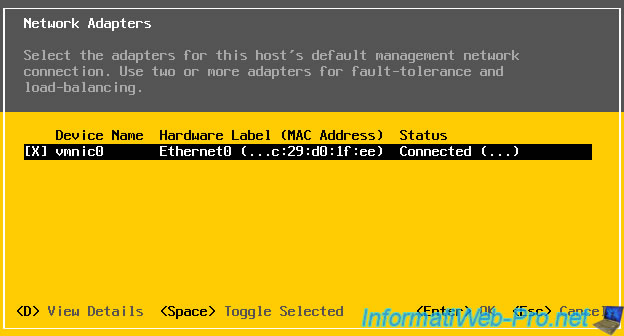
If your server has more than one network adapter, you can select from which network adapter you want to manage your server.
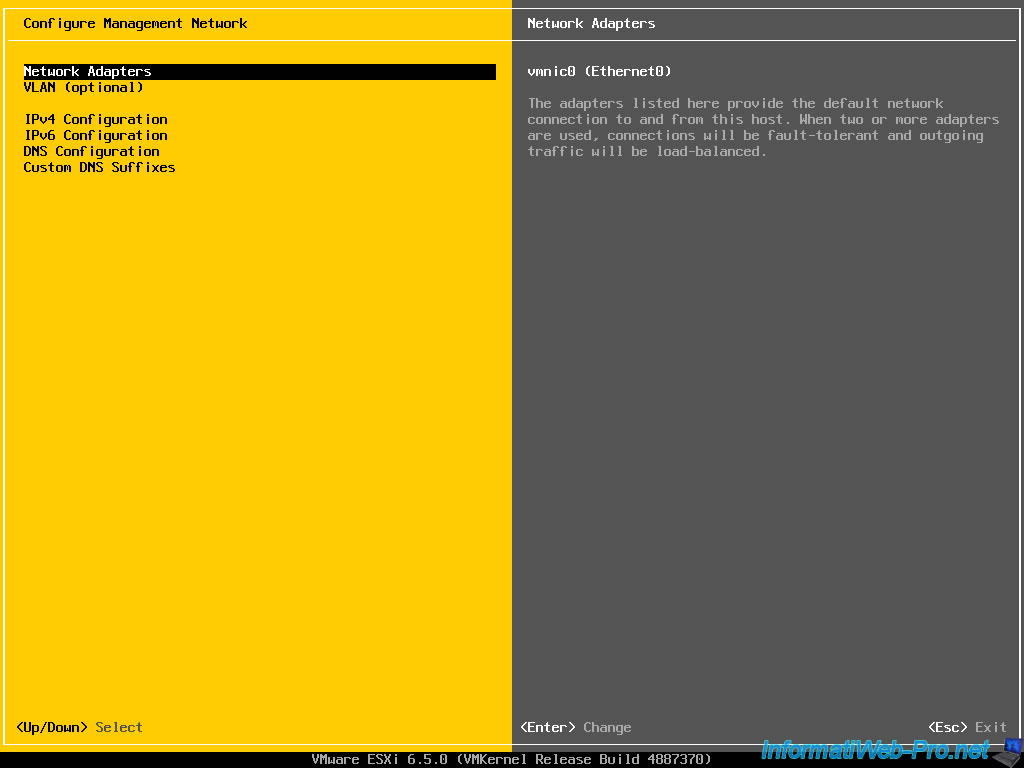
In our case, our ESXi server has a single network adapter.
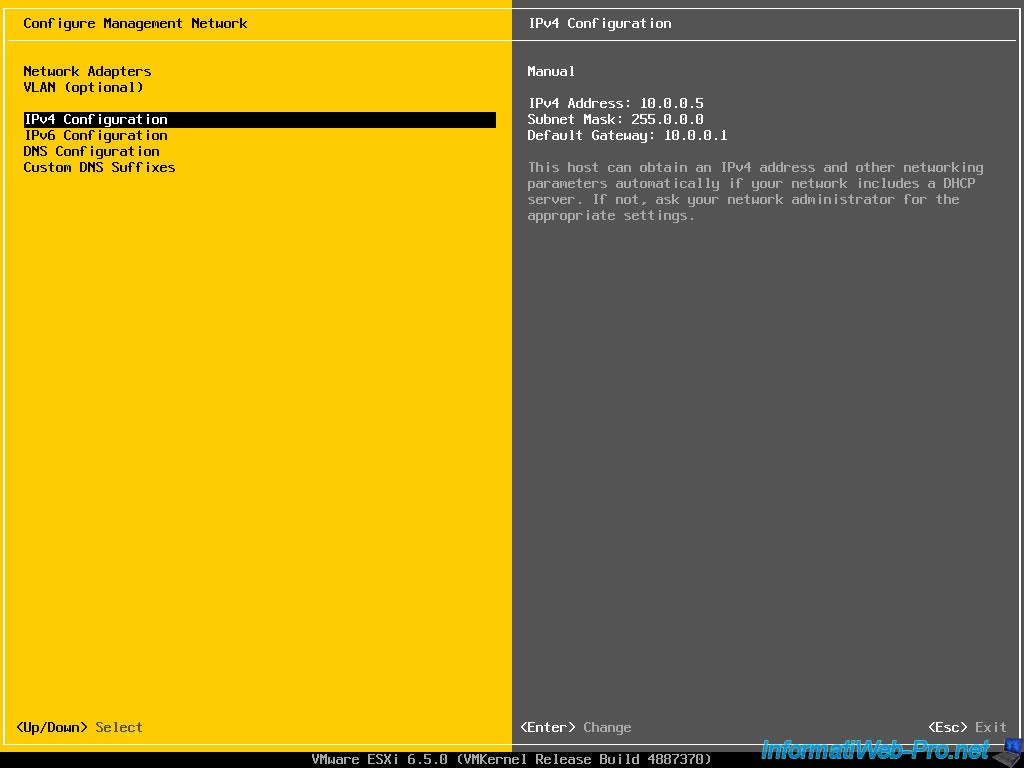
Then, go to IPv4 Configuration to set a static IP address for your ESXi server.

By default, the ESXi server is configured to automatically obtain an IP address from a DHCP server.
To set an IP address on your ESXi server, choose the "Set static IPv4 address and network configuration" option.
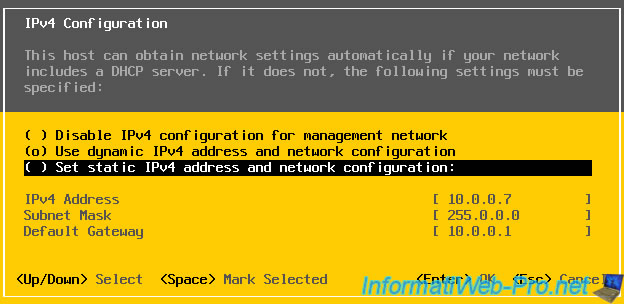
Then, specify :
- an IP address for your ESXi server
- the subnet mask which corresponds to the specified IP address
- the IP address of your gateway (router or box).
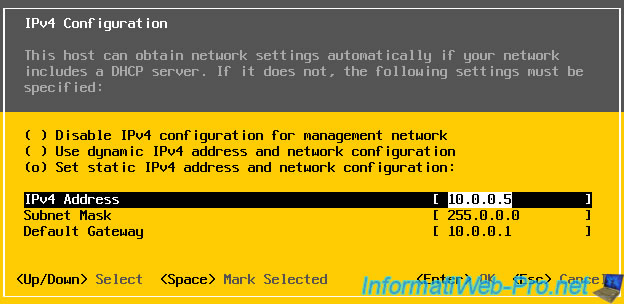
Now, our ESXi server has a static IPv4 address.
To be able to secure your ESXi server with a valid certificate, it's strongly recommended that you set an unique name on your network.
The name of your server will have to be indicated as "common name" in the SSL certificate so that it's valid for your server.
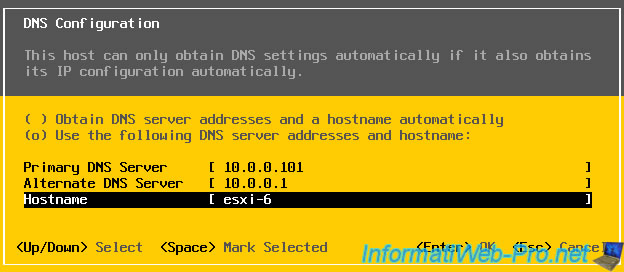
To change the name of your server, go to : DNS Configuration.
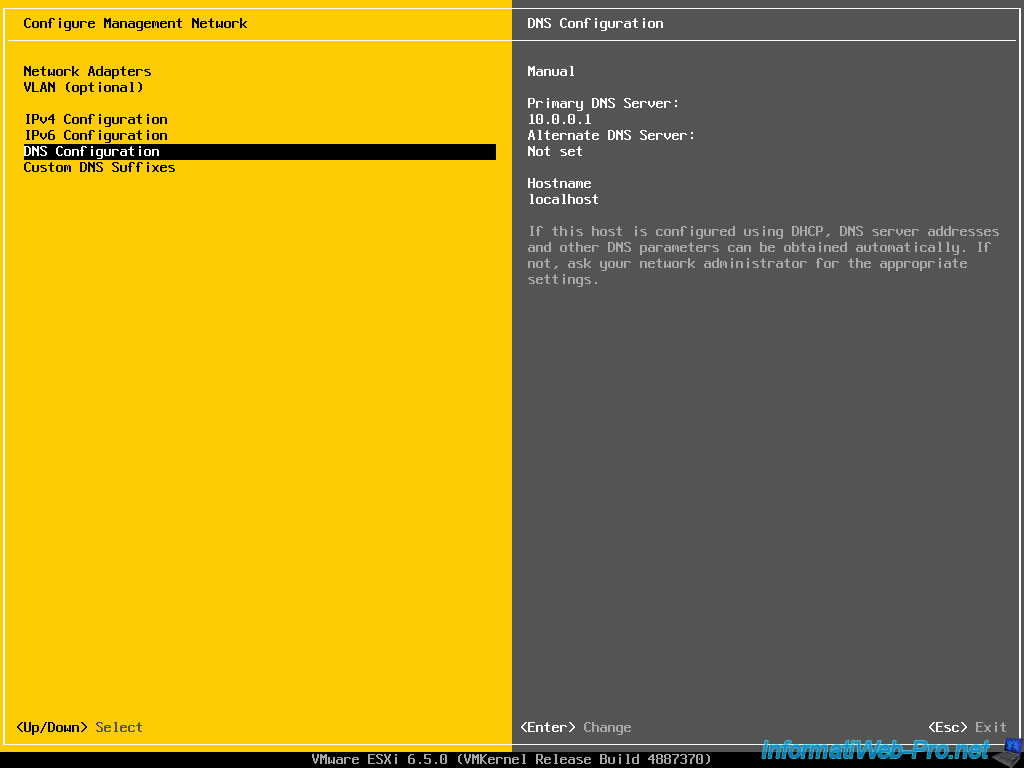
Select "Use the following DNS server addresses and hostname" and specify :
- the address of your Active Directory server or local DNS server, if you have one.
- the IP address of your gateway (router) as an alternate DNS server.
- an unique name for your ESXi server. Don't add the "my-domain.local" suffix here, even if you have a local domain.
Press Enter
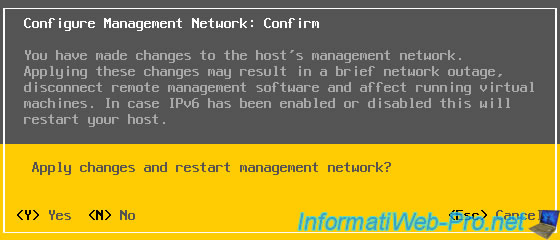
Then, exit the ESXi settings by pressing Escape repeatedly.
ESXi will prompt you to restart the network management service because you have changed the network settings of your ESXi server.
Press Y.
Now, our server has an unique name and a static IPv4 address.
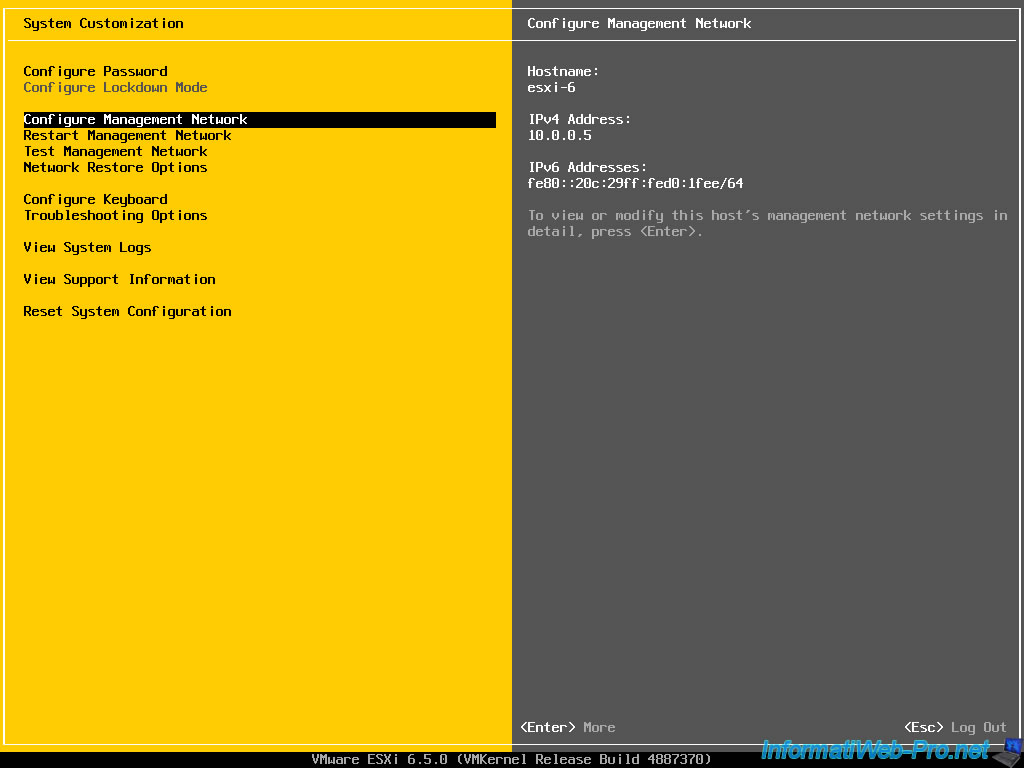
On the VMware ESXi home screen, you will see that your ESXi server has a static IP address and a new name.

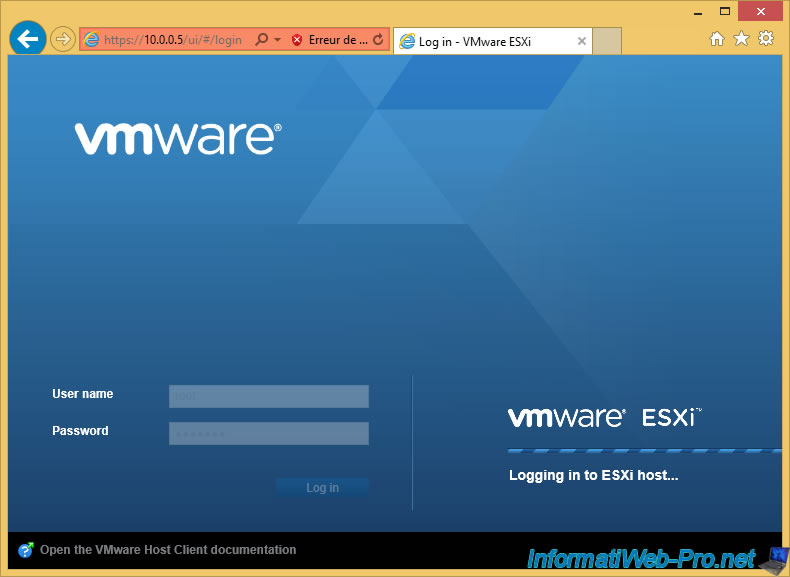
3. Registering the server with the web client
Since version 6 of VMware ESXi, you can manage your server from a web client accessible from any modern web browser.
At this time, your web browser will display a warning about the server's SSL certificate, which is self-signed by default and is therefore not reliable.

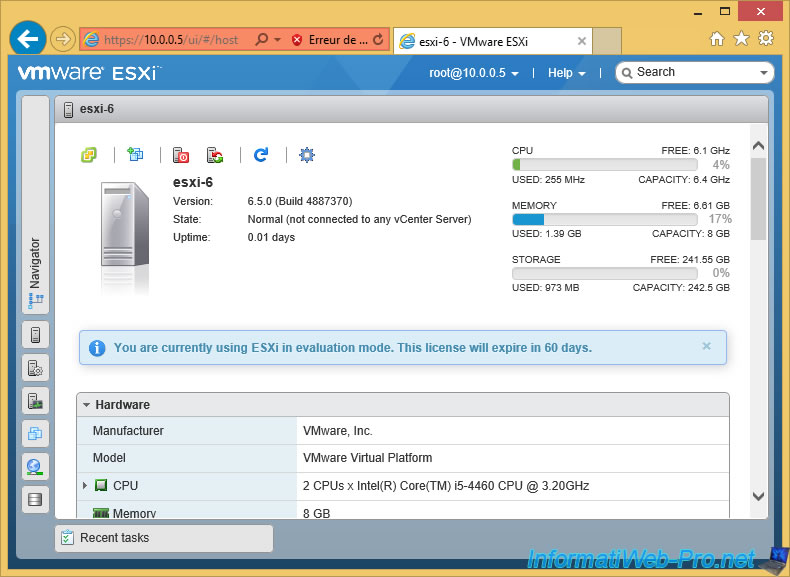
The web client connects to the ESXi server.
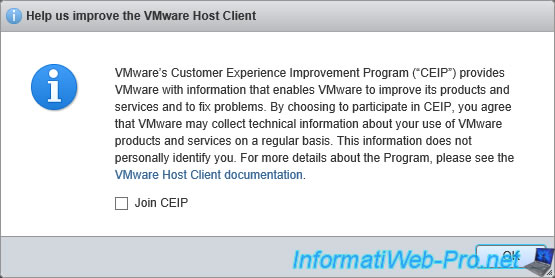
Accept or not to join the VMware's Customer Experience Impovement Program (CEIP).
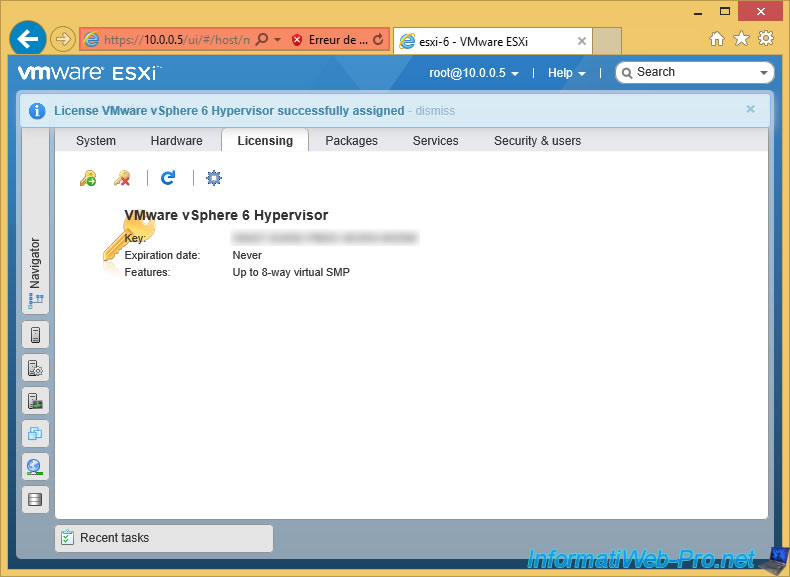
As you can see, by default, the VMware ESXi server is installed in a 60-day trial version.
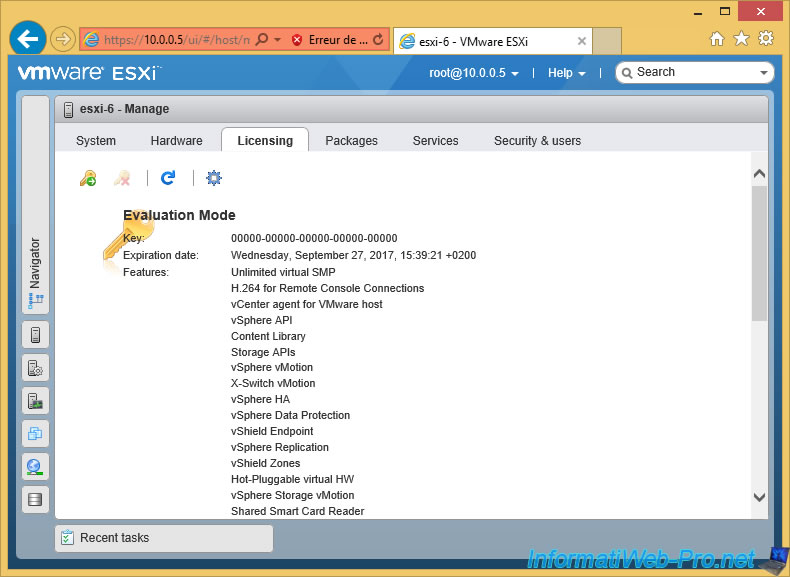
To register your ESXi server with your serial number obtained on vmware.com (if you have one), go to the settings (via the menu on the left) and then in the "Licensing" section.
Enter your serial number, then click on "Check License", then "Assign License".
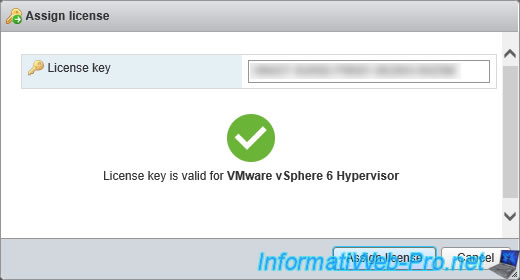
Now, your ESXi server is registered.
Important : perpetual (permanent) licenses are no longer sold since the acquisition of VMware by Broadcom.
Although those you already have (if this is your case) remain valid.
For more information regarding the new VMware vSphere licenses, refer to our article: VMware ESXi 6.7 - What is VMware vSphere ?
Share this tutorial
To see also
-
VMware 11/11/2012
VMware ESXi 5 - Configuration and use
-
VMware 10/19/2022
VMware ESXi 6.7 - DirectPath I/O (PCI passthrough)
-
VMware 10/22/2025
VMware ESXi 7.0 - Install ESXi 7 with reduced ESX-OSData partition
-
VMware 9/2/2022
VMware ESXi 7.0 / 6.7 - Manually transfer a VM to another VMware ESXi host
You must be logged in to post a comment