Configure and secure the VMware ESXi 6.5 server with a valid SSL certificate
- VMware
- VMware ESXi
- 16 August 2017 at 18:27 UTC
-

- 2/2
4. Changing the server domain name
Since we have an Active Directory and therefore a local domain name on our network, we will also add our domain name in the network settings of our ESXi server.
For this :
- go to the "TCP/IP stacks" section.
- select the "Default TCP/IP stack" line.
- click on the pencil icon.
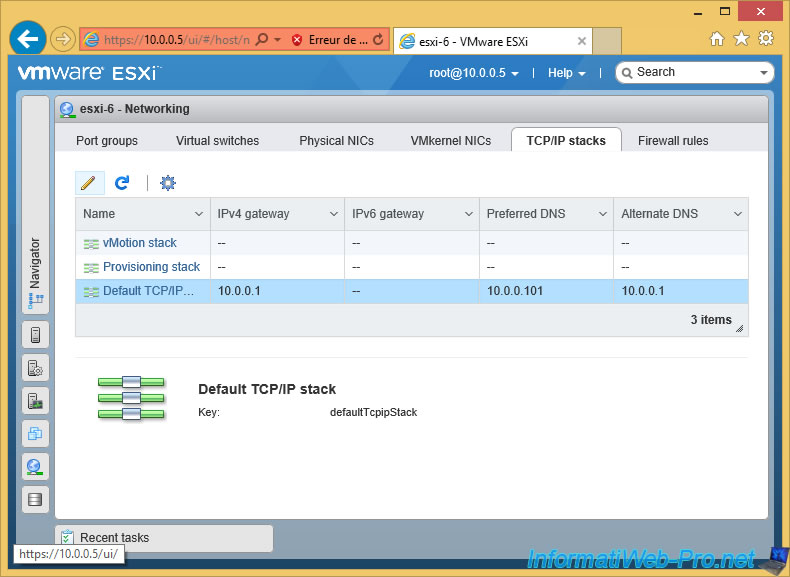
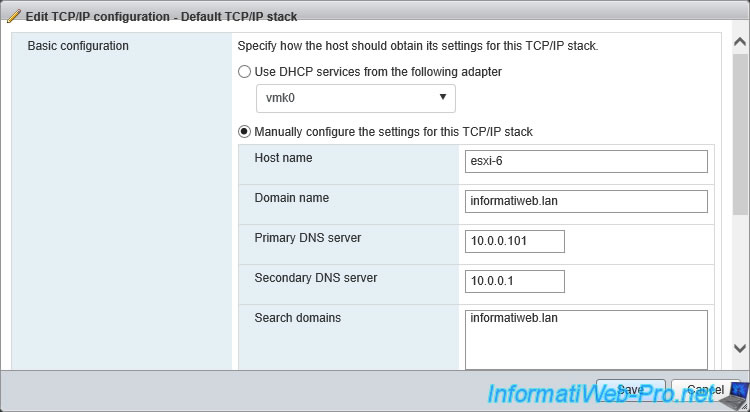
Some informations are already configured, as we configured it from the ESXi console.
Nevertheless, we will add our domain name in the "Domain name" and "Search domains" boxes.
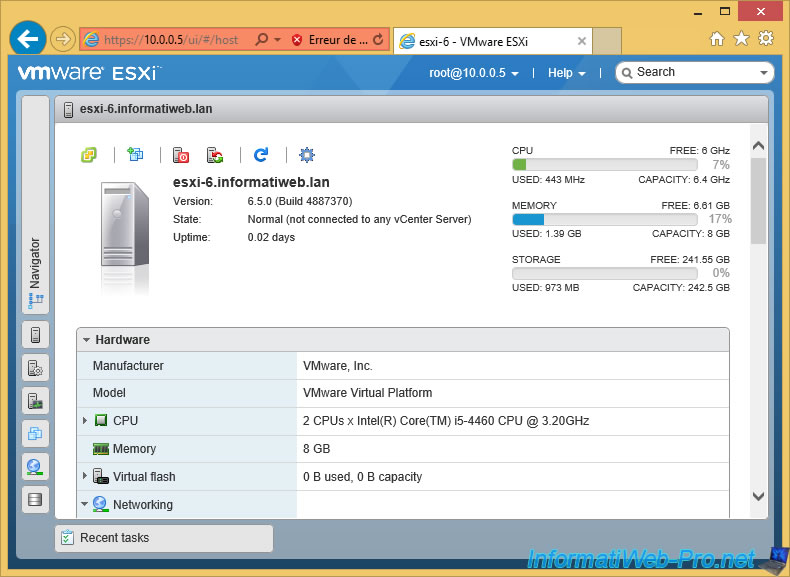
Now our server is called : esxi-6.informatiweb.lan
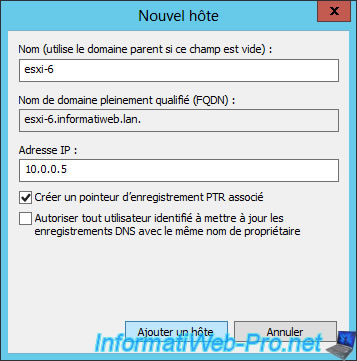
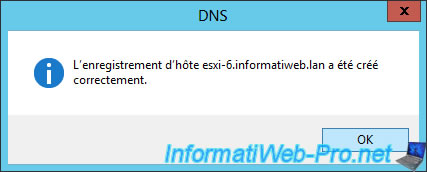
To be able to access your ESXi server from its domain name, you must obviously add a record in your local DNS server so that the "esxi-6.informatiweb.lan" domain name points to the IP address of your ESXi server .
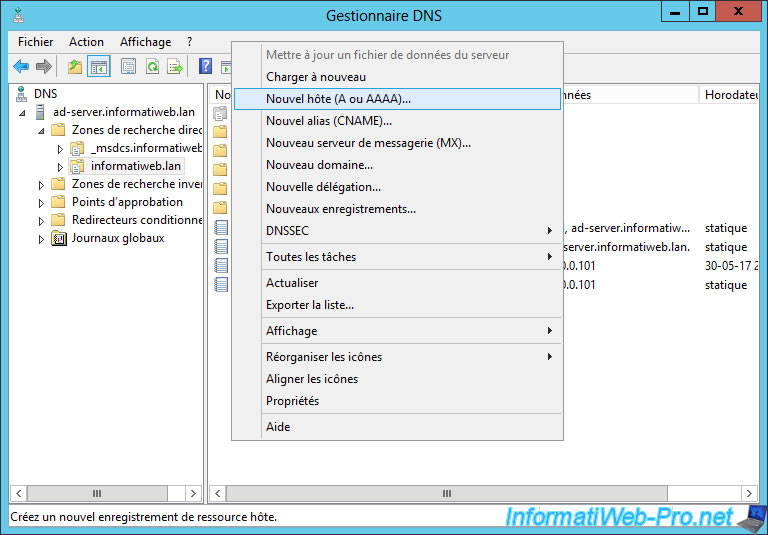
In our case, our server has :
- this domain : esxi-6.informatiweb.lan
- this IP address : 10.0.0.5
Note : the PTR record allows you to create the reverse record (IP to domain name) in the reverse lookup area of your DNS server.
5. Securing the ESXi server with a valid SSL certificate
To secure your ESXi server with a SSL certificate, you only need to generate the certificate request from the web client and submit this certificate request (CSR) to a trusted CA.
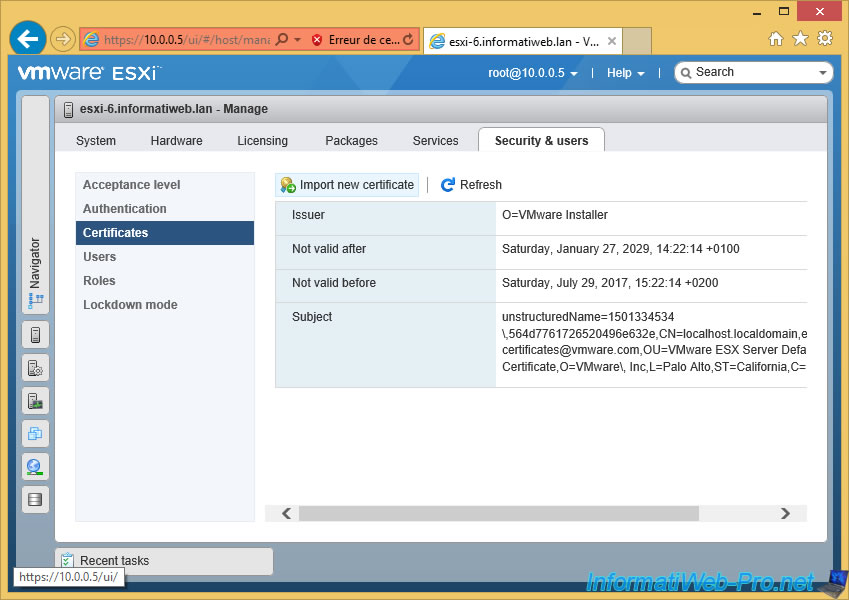
To create the certificate request, simply go to "Security & Users -> Certificates" and click on "Import new certificate".
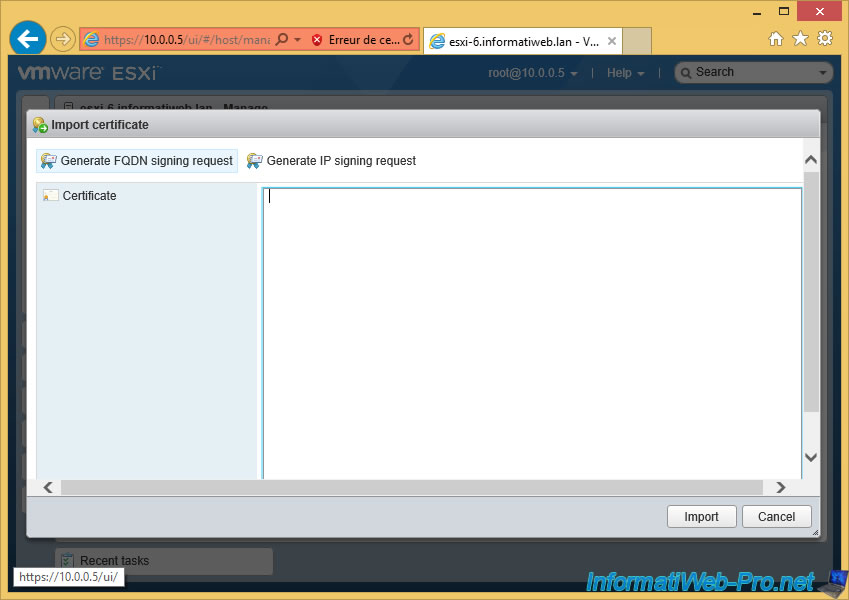
Click on "Generate FQDN signing request".
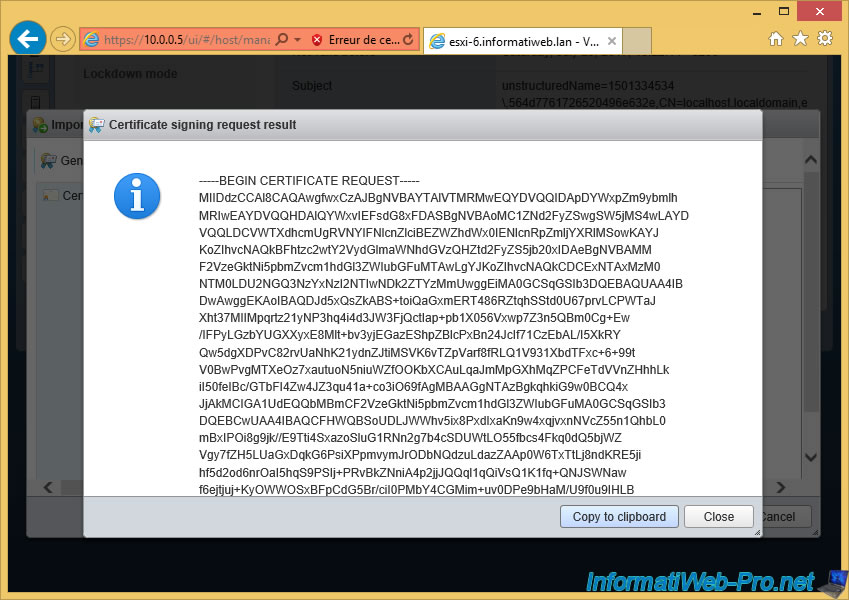
Your ESXi server has created the Certificate Request (CSR).
Note that this one has been encoded in base 64.
Click "Copy to clipboard".
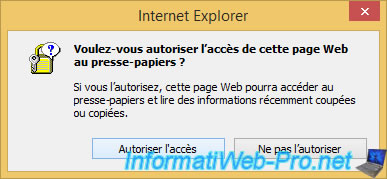
If this confirmation appears, click "Allow access".
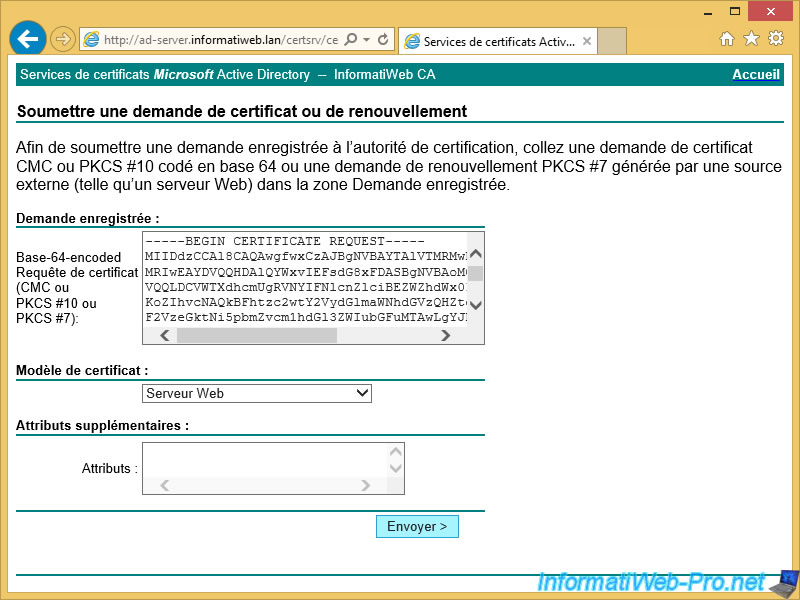
Then, go to the site of the desired certification authority and paste this certificate request.
Note : if you have a certification authority on Windows Server in your network, you will also need to select the "Web Server" certificate template before clicking Send.
Then, download the certificate that is generated by the CA that you are using.
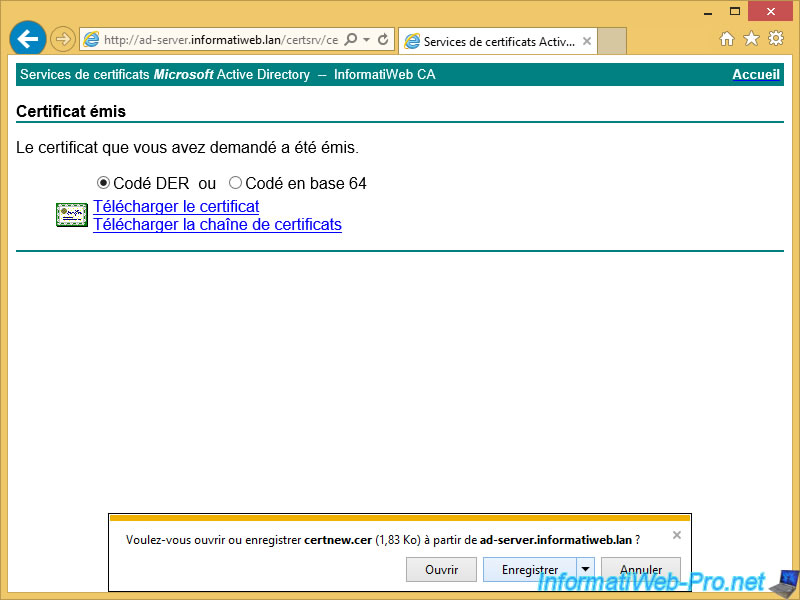
Because we have used a certification authority created under Windows Server, our certificate is in CER format.
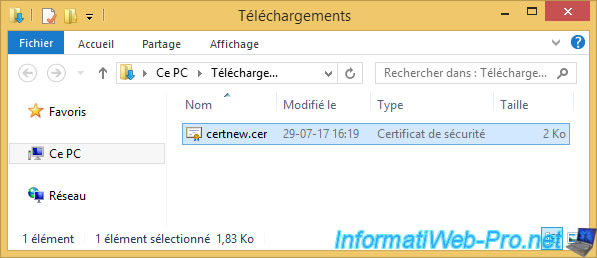
To be able to use it with your ESXi server (which is based on the Linux distribution : Red Hat), you will need to convert it to PEM format (Linux format).
To do this, download OpenSSL for Windows, then unzip the downloaded file and copy the contents of the "bin" folder to : C:\OpenSSL (which you must create beforehand)
Then, open a command prompt (cmd) and type this :
Batch
cd c:\OpenSSL
openssl x509 -inform der -in C:\Users\InformatiUser\Downloads\certnew.cer -out C:\Users\InformatiUser\Downloads\certnew.pem
Note : "C:\Users\InformatiUser\Downloads" corresponds to the "Downloads" folder of our "InformatiUser" user where the certificate is in CER format.
Once converted, you will have 2 certificates :
- the one in Windows format in ".cer".
- the one in Linux format in ".pem".
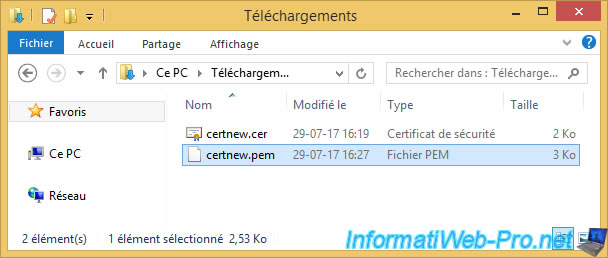
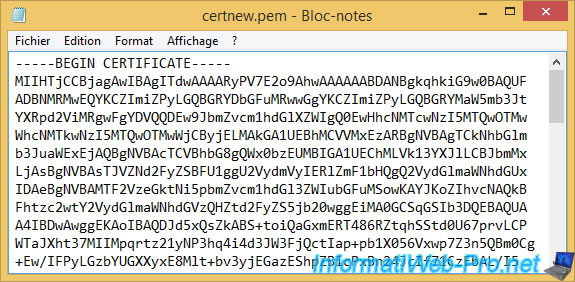
To import the certificate on your ESXi server, you will need to open the PEM certificate with notepad.
Inside, you will find a text with these two lines "-----BEGIN CERTIFICATE-----" and "-----END CERTIFICATE-----".
Copy the entire text into the ESXi web client and click "Import".
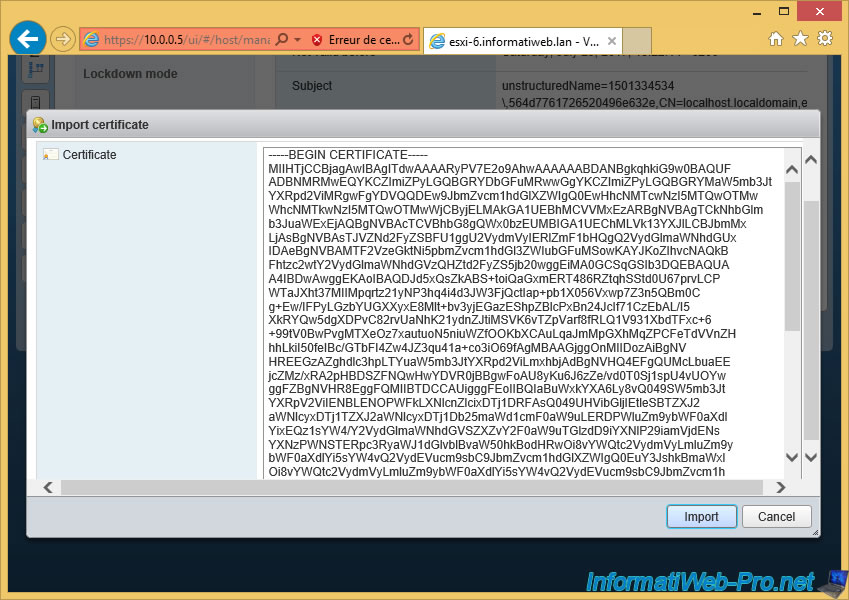
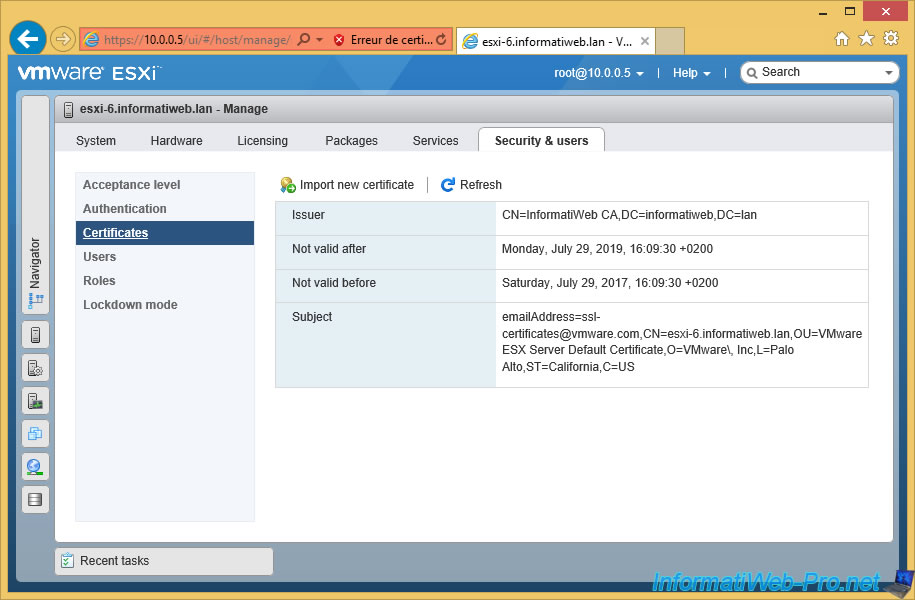
Now, VMware ESXi recognizes your new certificate and displays some information :
- the name of the certificate authority that signed the certificate : InformatiWeb CA
- the domain name : informatiweb.lan (DC=informatiweb,DC=lan)
- its validity date (beginning and end)
- the common name (CN) of the certificate : esxi-6.informatiweb.lan. This means that the certificate is valid only for this domain name : esxi-6.informatiweb.lan.
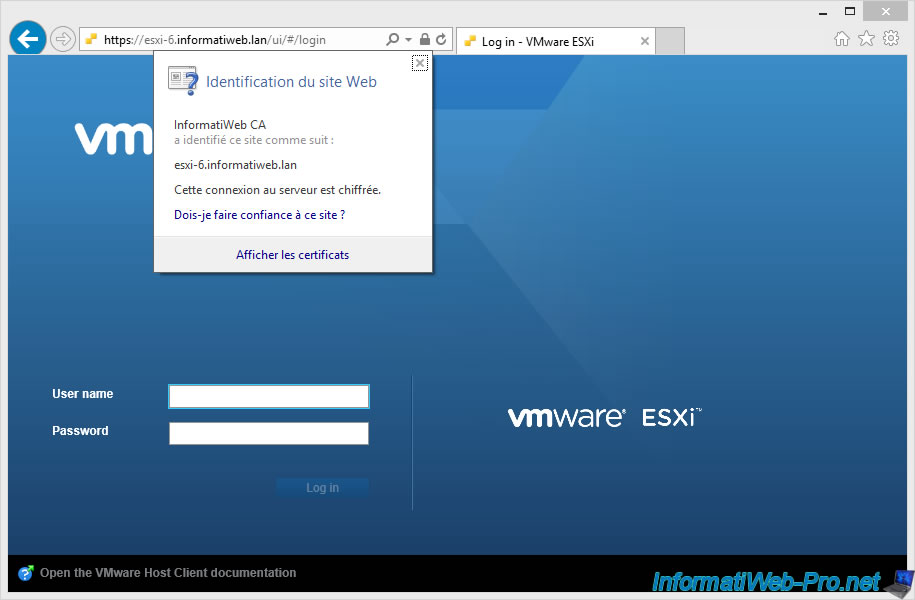
To make your web browser no longer display a warning about the certificate, reconnect to your server using the domain name of the ESXi server.
In our case : https://esxi-6.informatiweb.lan/
As you can see, the certificate was signed by our certification authority.
If your web browser considers that your certificate has not been signed by a trusted CA, verify that the CA used is one of the trusted CAs in Windows.
If necessary, import the authority certificate on the client PC manually or through group policies (requires an Active Directory).
Important : if you are using Mozilla Firefox as your web browser, make sure you have imported your CA's certificate into its certificate store.
Indeed, this web browser uses a certificate store different from that of your computer.
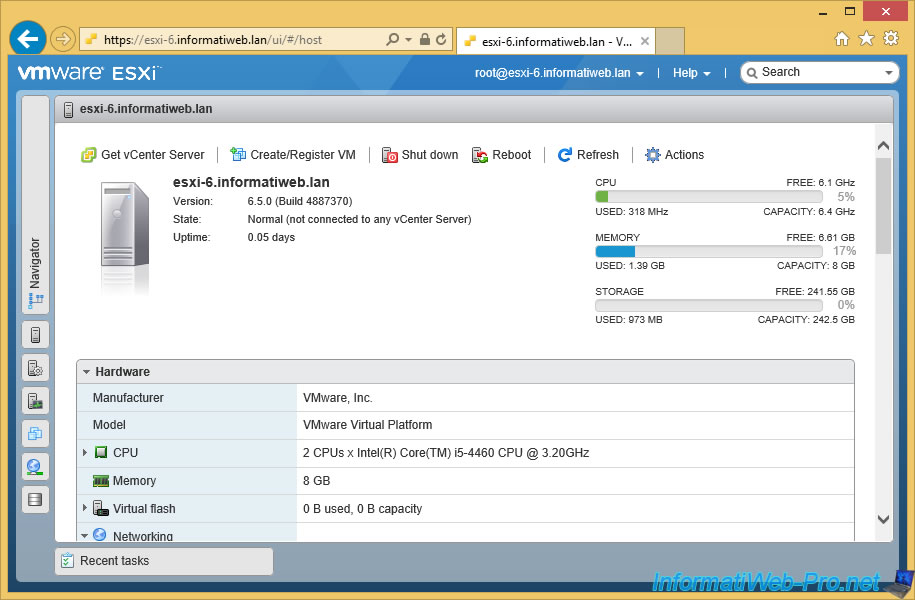
Now, your VMware ESXi 6.5.0 server is installed, configured and secured with a valid SSL certificate.
Share this tutorial
To see also
-
VMware 3/31/2023
VMware ESXi 6.7 - How CPU management works
-
VMware 12/2/2022
VMware ESXi 6.7 - Install and use the VMRC console on Linux
-
VMware 9/23/2022
VMware ESXi 6.7 - Make virtual machines unique
-
VMware 6/15/2022
VMware ESXi 7.0 / 6.7 - Enable SSH protocol

No comment