- VMware
- 07 August 2020 at 08:56 UTC
-

- 1/2


VMware Workstation is a professional virtualization solution that can even allow you to virtualize your VMware ESXi virtualization server.
Which is rather practical if you want to learn how to use it.
Warning : this is not to use in production, but only for educational purposes or for a lab.
Note: tutorial also tested with VMware ESXi 6.7.0u3 on VMware Workstation Pro 17.5.1.
The procedure remains the same.
- Required configuration
- Virtualize VMware ESXi with VMware Workstation 10.x, 11.x, 16.x or 17.5.1
- Creating a virtual machine on the VMware ESXi server
1. Required configuration
The virtualized VMware ESXi virtualization server can only be fluid if :
- your physical PC is sufficiently powerful
- it has enough RAM to run ESXi + virtual machines that you create on it
- you are using version 10.0, 11.0, 16.0 or 17.5.1 of VMware Workstation
Indeed, after testing the different versions of VMware Workstation, only these 3 versions of VMware Workstation allow to use a Windows 7 x64 virtual machine in a fluid way even though VMware ESXi 6.5.0 itself is virtualized.
Note that using virtual machine selectable hardware backwards (Workstation 10.x or 11.x) will not change anything (even with VMware Workstation 15.0).
Until recently, it was no longer possible to use a virtual machine in a smooth fashion when running in a virtualized VMware ESXi server and using VMware Workstation from version 12 to 15 included.
However, since VMware Workstation 16 Pro, this is once again possible.
2. Virtualize VMware ESXi with VMware Workstation 10.x, 11.x, 16.x or 17.5.1
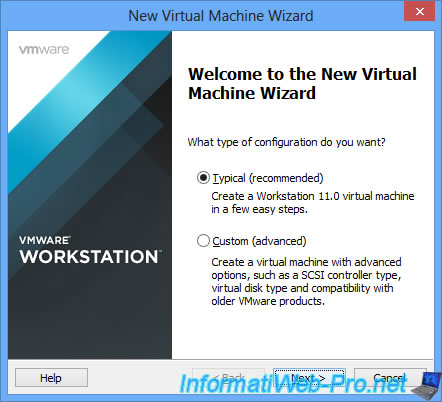
Launch the virtual machine creation wizard and choose : Typical (recommended).
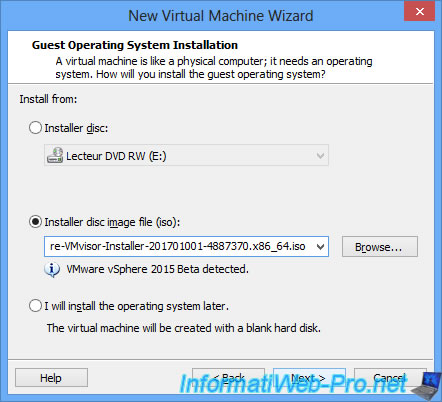
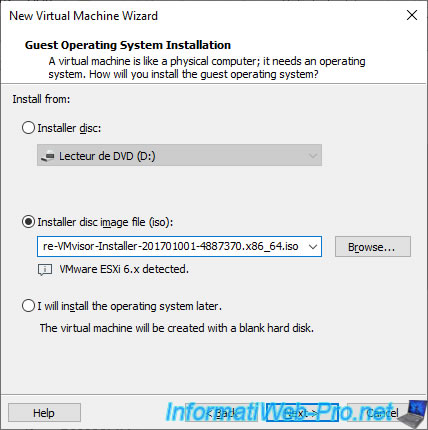
As you can see :
- with version 11 of VMware Workstation, VMware ESXi will be detected as : VMware vSphere 2015 Beta
- with version 16 or 17.5.1 of VMware Workstation, VMware ESXi will be detected as : VMware ESXi 6.x
This will already adjust the virtual machine settings for VMware ESXi to work properly.
But, if you are using VMware Workstation version 10, you will have to choose "I will install the operating system later" and select :
- Guest operating system : VMware ESX
- Version : VMware ESXi 5
Click Next.
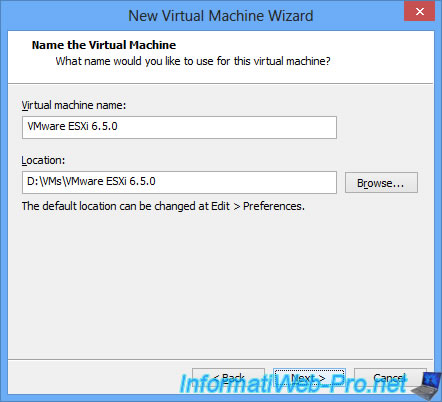
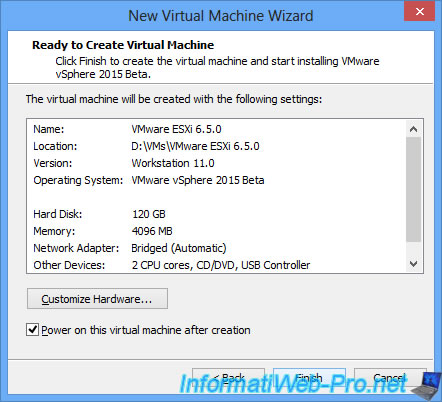
Enter a name for this virtual machine.
For example : VMware ESXi 6.5.0.
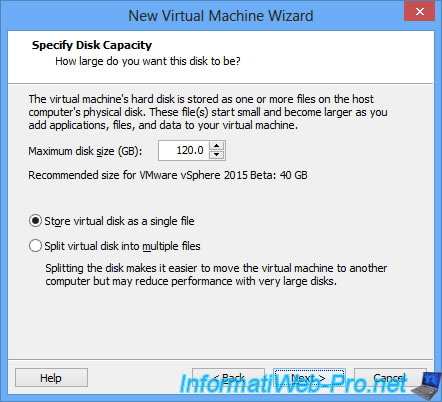
Increase the size of the hard disk to be able to store the desired virtual machines.
Then, select the "Store virtual disk as a single file" option that will give you better performance than when the virtual hard disk is split into multiple files.
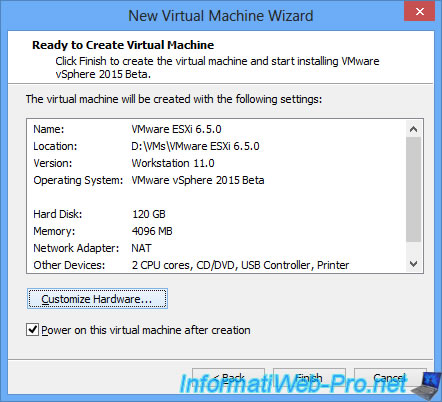
At the end of the wizard, click : Customize Hardware.
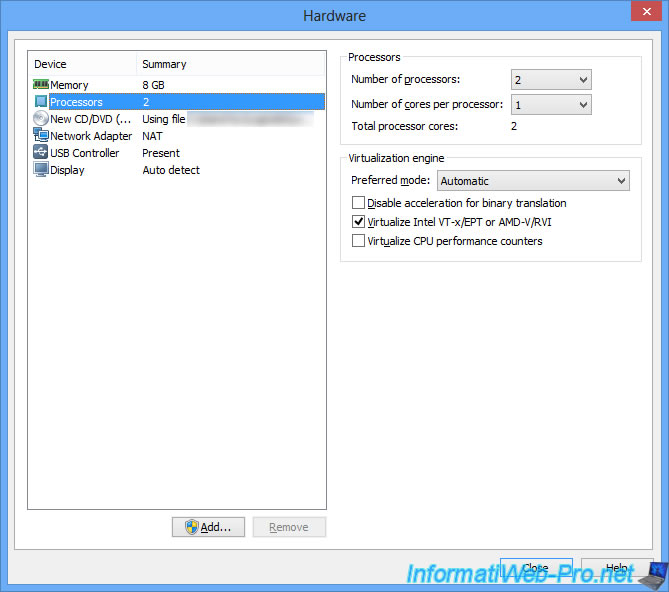
Increase the amount of RAM allocated to this ESXi server to run 1 or 2 virtual machines on it.
Note however that the performance of a virtualization server (VMware ESXi in this case) virtualized will necessarily be worse than a virtualization server installed directly on a PC or a physical server.
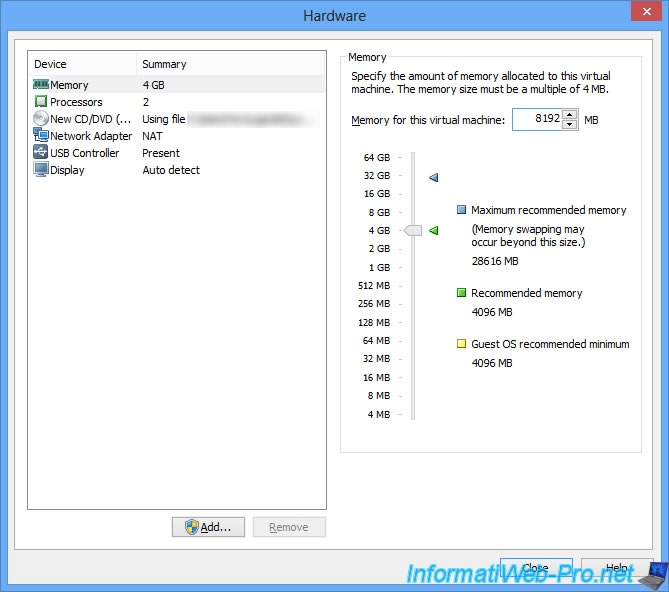
For the processor, check that you have 2 CPUs allocated to this virtual machine and that the option "Virtualize Intel VT-x/EPT or AMD-V/RVI" option is checked.
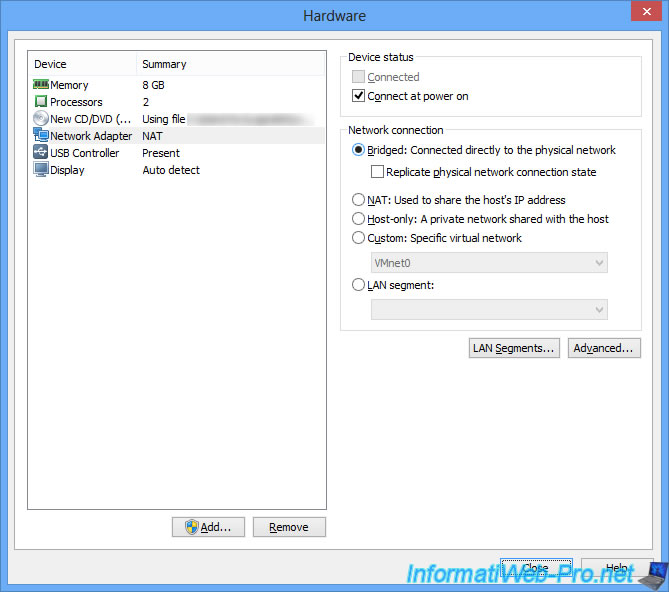
For the network access mode, select "Bridged" so that the ESXi server is on the same network as your physical PC and thus be able to remotely manage it more easily.
Then, click on Close.
Click Finish.
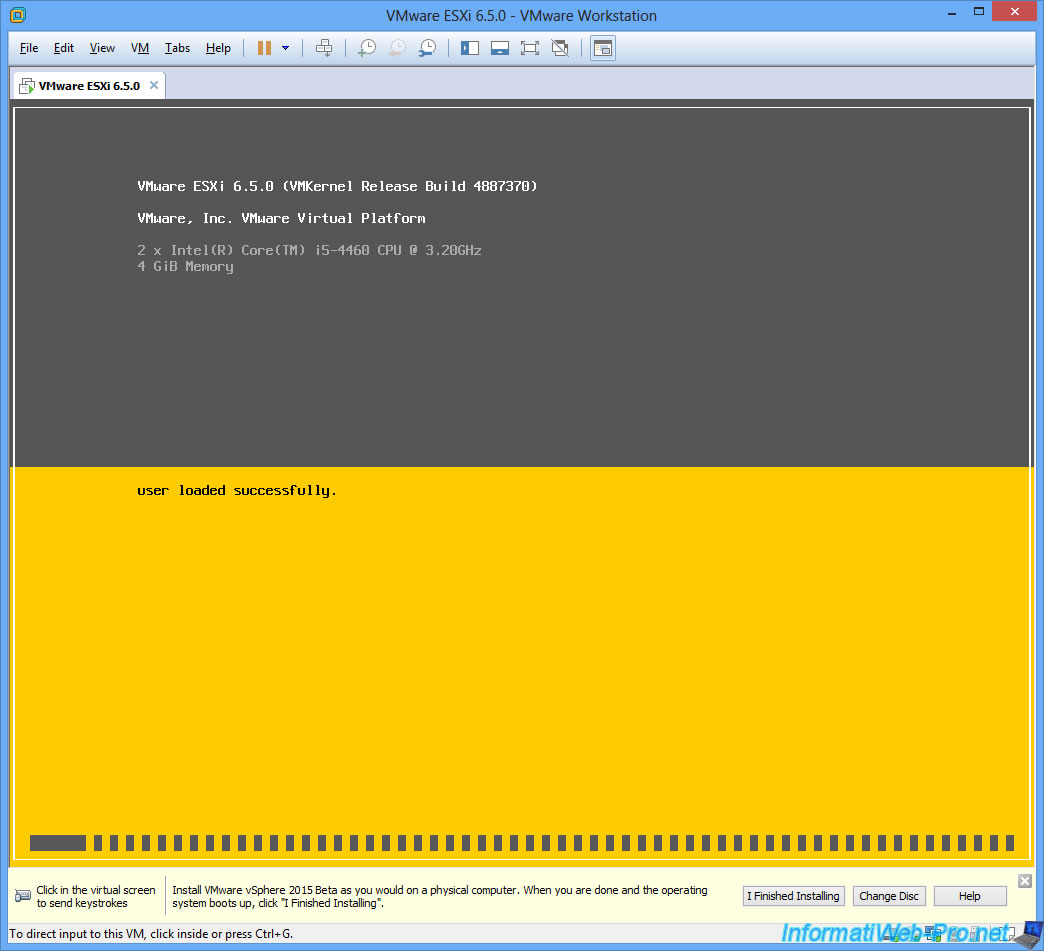
The boot menu of the VMware ESXi 6.5.0 installation CD appears, press Enter to start the installation.
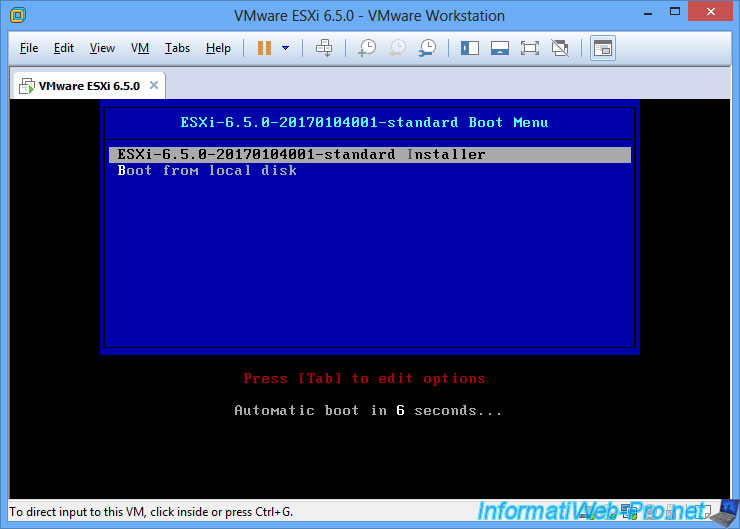
The VMware ESXi screen appears.
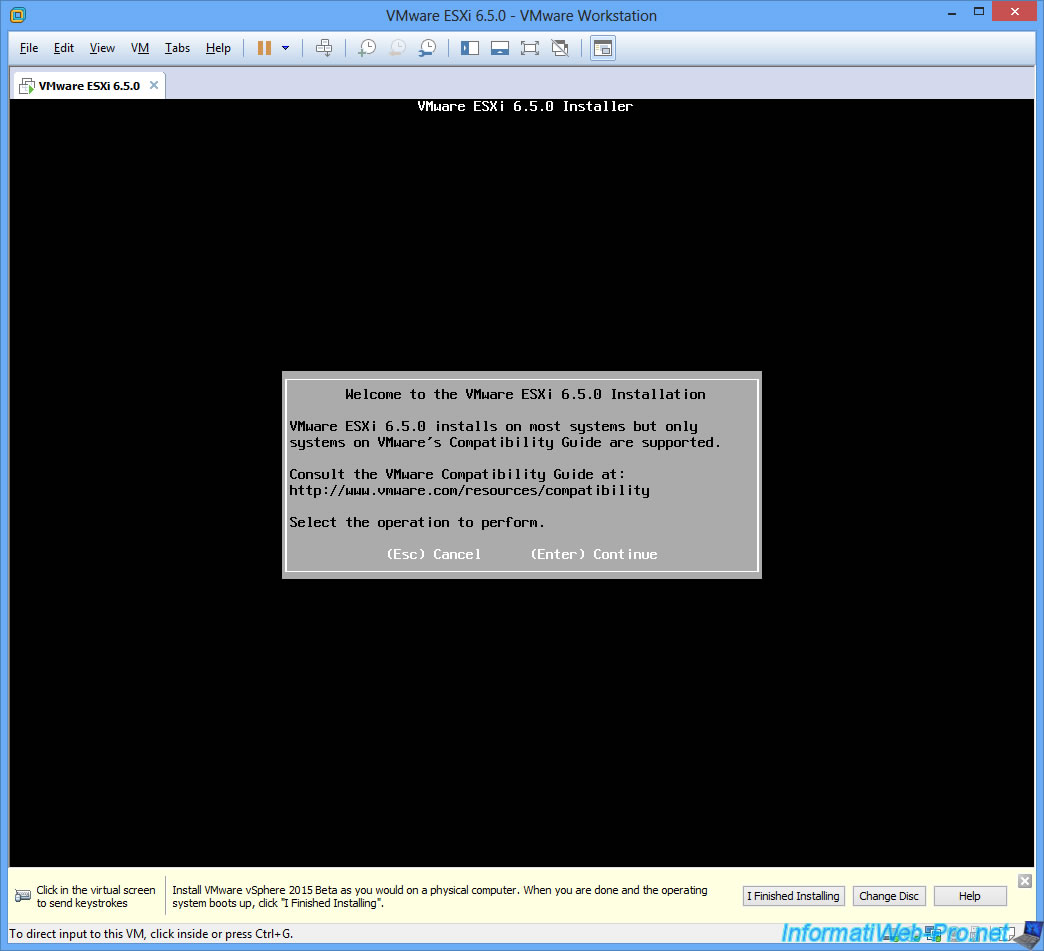
Then, the VMware ESXi 6.5.0 Installer will be displayed.
Press Enter.
For more information on installing VMware ESXi 6.5.0, refer to our tutorial : VMware ESXi 6.5 - Installation, configuration and secure the server with a valid SSL certificate
Once the installation was complete, we gave it a static IP address : 10.0.0.5.

Share this tutorial
To see also
-
VMware 2/24/2016
VMware Workstation - Remotely access to a VM over VNC
-

VMware 3/25/2013
VMware Workstation / Player - Install Windows 95
-
VMware 1/31/2020
VMware Workstation 10 - Import Windows XP Mode of Microsoft
-
VMware 1/31/2020
VMware Workstation 11 / 10 - Virtualize Windows XP to make it fluid
You must be logged in to post a comment