- Firewall
- pfSense
- 05 September 2025 at 19:07 UTC
-

- 1/4


With OpenVPN, you can access your company network from any Internet-connected computer using an OpenVPN client that can be pre-configured from the pfSense machine.
Note: in this tutorial, OpenVPN will be configured in "remote access" mode. Which corresponds to the case explained above.
Additionally, OpenVPN will be secured with a TLS key and SSL certificates (internal to pfSense), as the use of a shared key is deprecated and will no longer be possible in future versions of pfSense.
- Allow private networks on the pfSense WAN interface
- Configure OpenVPN in "remote access" mode via the wizard
- Check firewall rules
- Change OpenVPN server mode
- Revoke a certificate (optional)
- Add a user account on pfSense with a certificate (for OpenVPN)
- Install and use the OpenVPN Client Export package
- Test access to the company network via the VPN tunnel
- Check OpenVPN tunnel status
- View logs for OpenVPN
- Add the OpenVPN widget to the pfSense dashboard (optional)
1. Allow private networks on the pfSense WAN interface
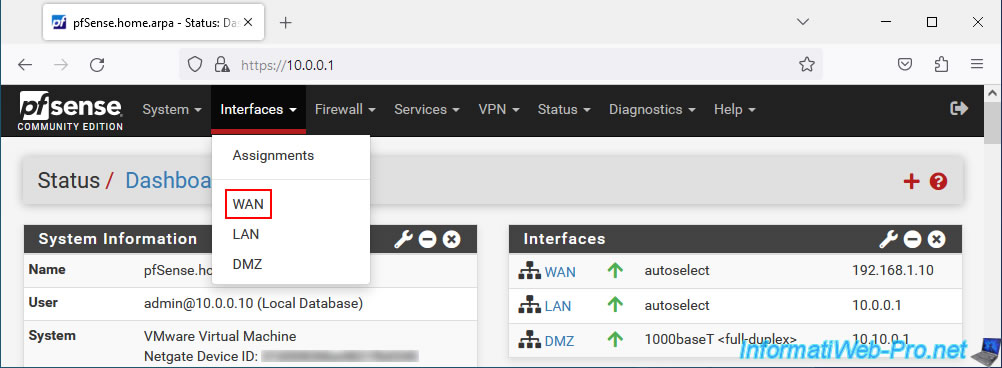
If you have assigned a private (local) IP address to the pfSense WAN interface, you will need to modify its WAN interface configuration.
To do this, go to: Interfaces -> WAN.
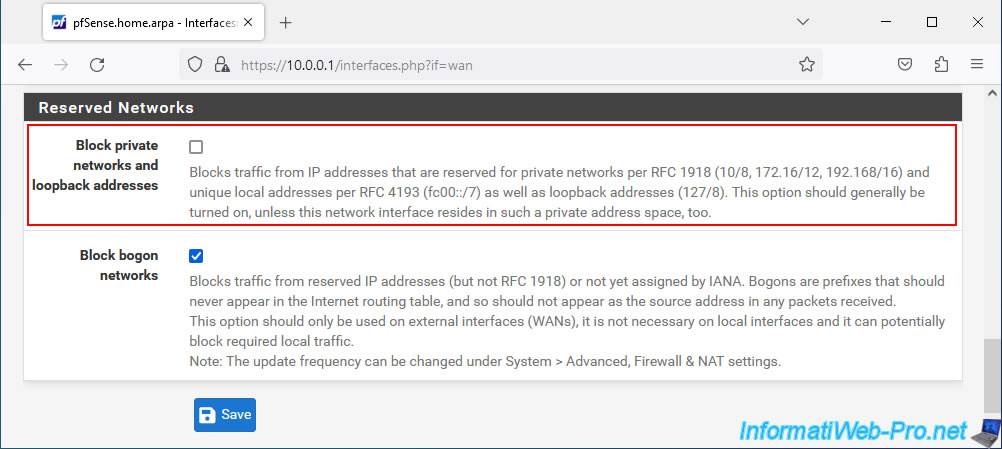
At the bottom of the page, uncheck the "Block private networks and loopback addresses" box to allow network traffic coming from private (local) IP addresses on the pfSense WAN interface.
Otherwise, your OpenVPN server will not be accessible from the outside (WAN interface).
Then, click Save.
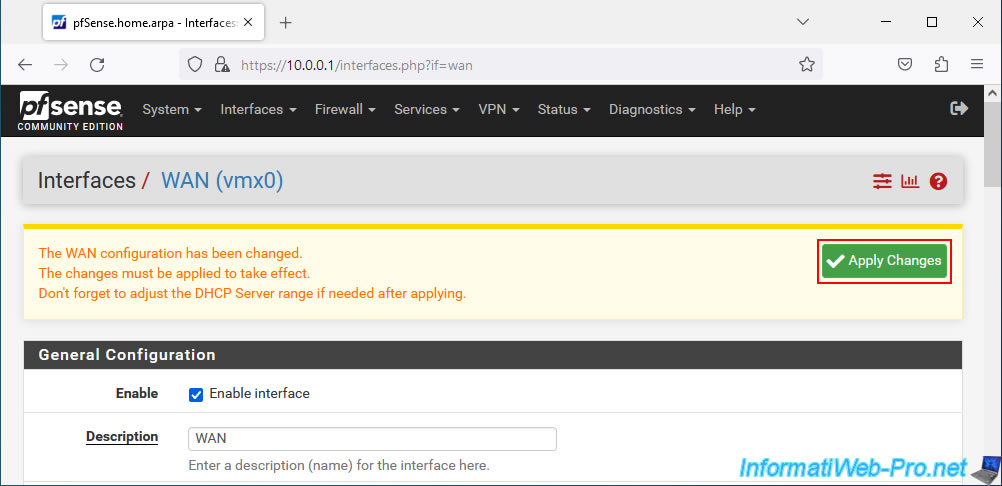
Then, at the top of the page, click: Apply Changes.
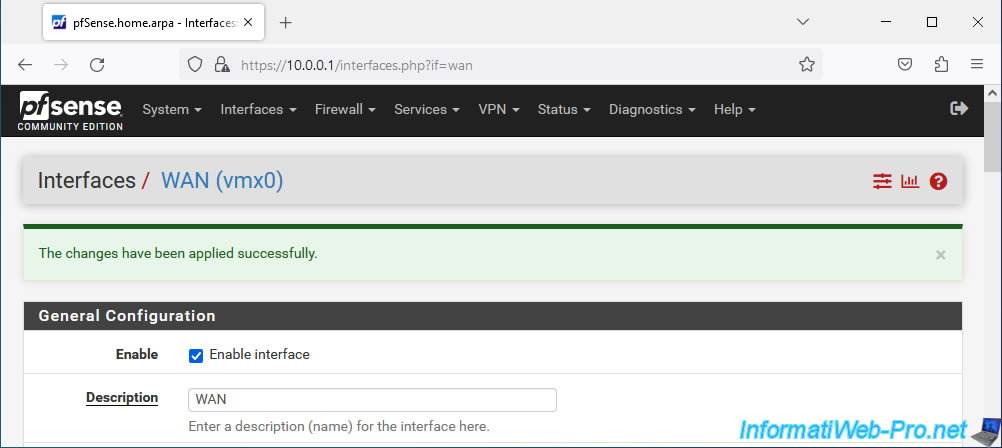
The configuration has been updated.
2. Configure OpenVPN in "remote access" mode via the wizard
To configure OpenVPN in "remote access" mode, go to: VPN -> OpenVPN.

On the "VPN / OpenVPN / Servers" page that appears, click on: Wizards.
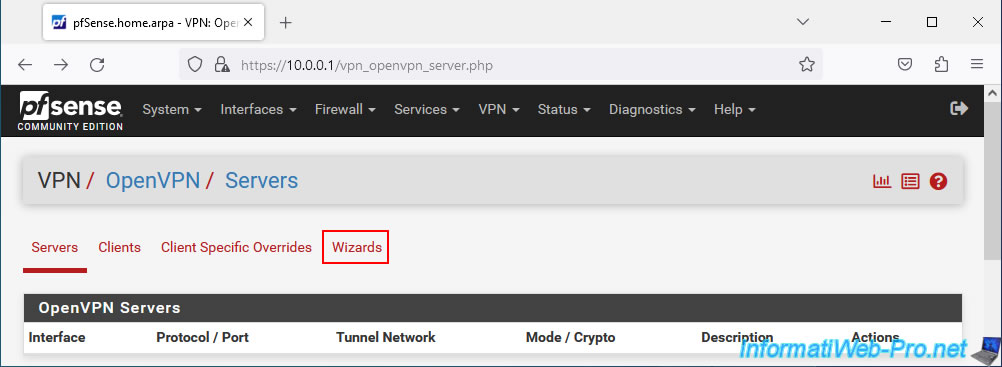
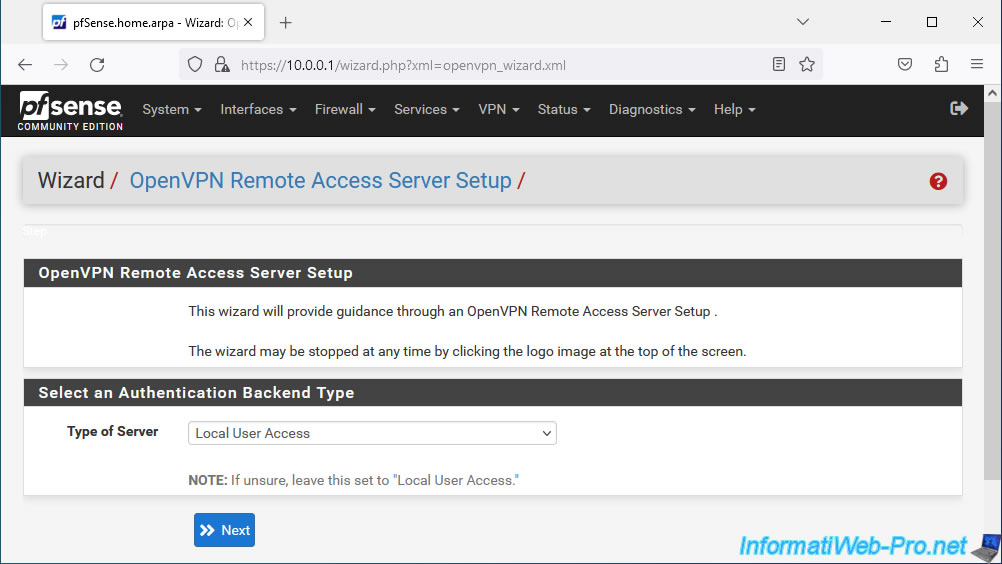
The "OpenVPN Remote Access Server Setup" wizard appears.
By default, the OpenVPN server will use the pfSense local user database as you can see by the "Type of Server: Local User Access" option.
Leave the "Local User Access" option selected and click Next.
Note: other possible choices are "LDAP" (for user authentication via Active Directory) or "RADIUS" (for authentication via a RADIUS server).
When you want to secure OpenVPN with SSL/TLS, you need:
- of an internal certification authority (CA).
- a "server" type SSL certificate for the OpenVPN server.
- a "user" type SSL certificate per OpenVPN client.
- a TLS key which will be identical on the OpenVPN server and on all OpenVPN clients which must be able to connect to it.
Using this wizard, you will be able to configure these prerequisites step by step.
To begin, the wizard will ask you to select a pfSense internal Certificate Authority (CA) if there is one.
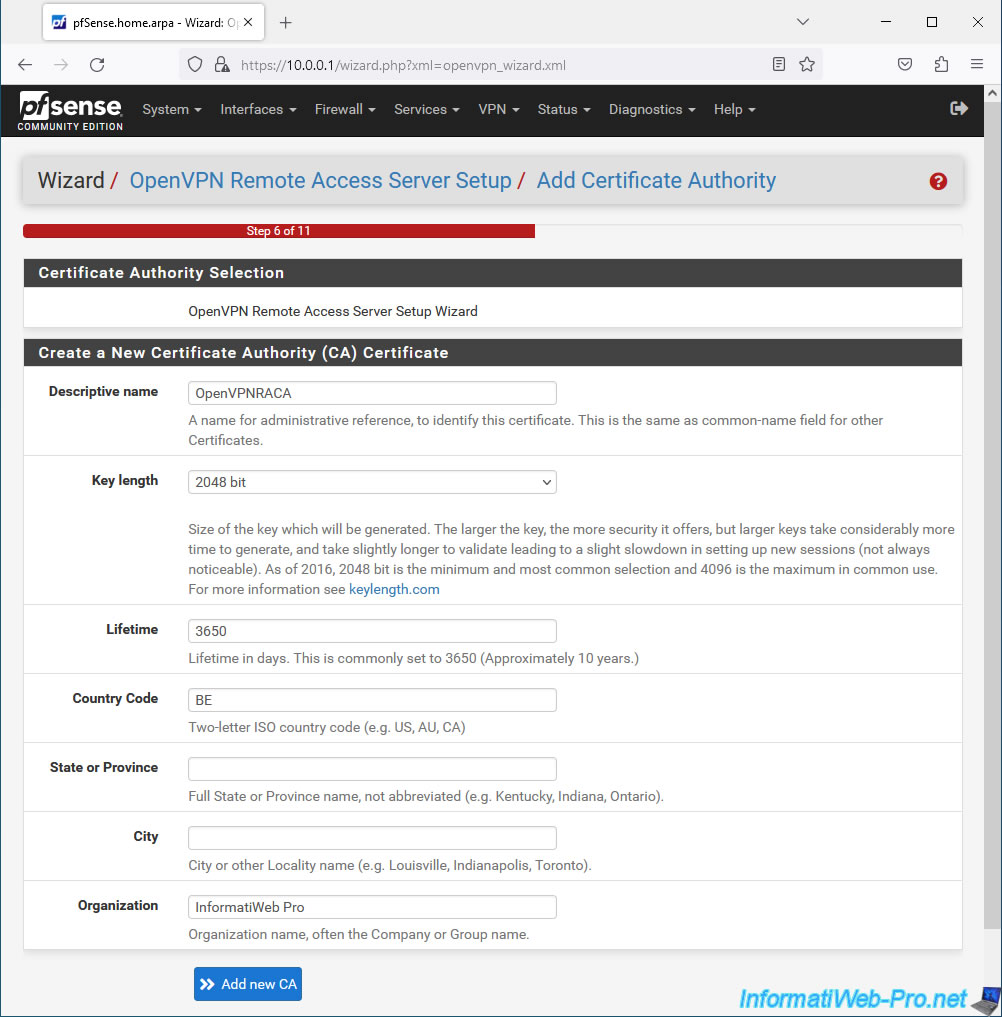
Otherwise, you will need to create a new internal certificate authority (CA) certificate using the "Create a New Certificate Authority (CA) Certificate" section:
- Descriptive name: the name you want to give to your internal certification authority (CA).
Preferably, a name without spaces or special characters, as this will be used as the Common Name in the certificate of this CA.
In our case: OpenVPNRACA. Which means: OpenVPN Remote Access Certificate Authority. - Key length: leave the size selected by default.
The larger the key size selected, the more secure it is. But the more system resources will be used.
Which can slow down the VPN connection depending on server and client performance. - Lifetime: the lifespan of the certificate of this internal certification authority (CA).
Note that when this CA certificate expires, the certificates emanating from it become invalid.
It is therefore recommended to indicate a longer lifespan for the CA or not forget to renew this certificate so that your certificates do not become invalid.
Default: 3650 days = 10 years. - Country Code: country code (optional). For example: BE, FR, ...
- State or Province: the state or province where this certification authority is located (optional).
- City: city where this CA is located (optional).
- Organization: your company name (optional).
Click on: Add new CA.
For more information on how a certification authority works, refer to our article : WS 2016 - AD CS - What is a CA and install an enterprise CA.
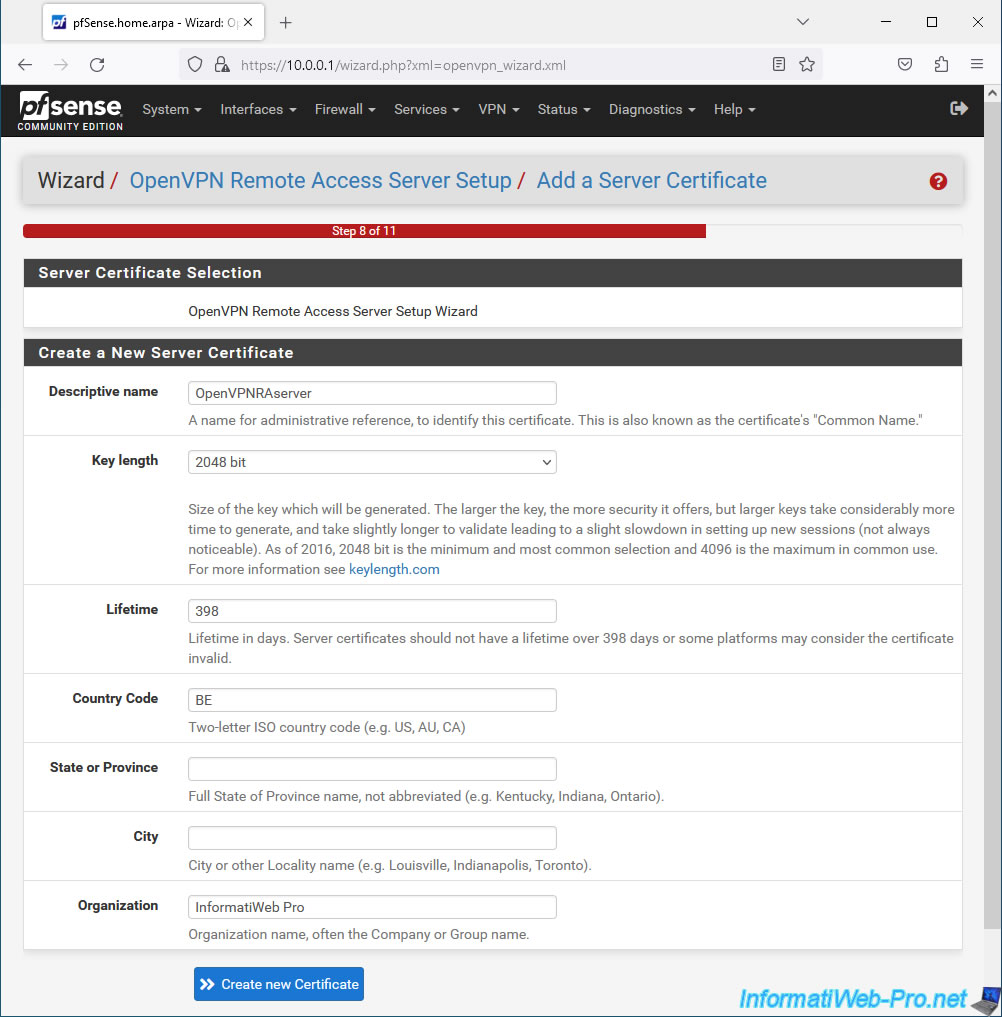
Next, you will be able to configure a certificate for your OpenVPN server.
The options offered are the same, but there are some differences in the values:
- Descriptive name: indicate the name of your future OpenVPN server.
As before, provide a name with only letters and/or numbers, as this name will be used as the common name (CN) in the SSL certificate that your OpenVPN server will use.
In our case: OpenVPNRAserver. - Key length: specify the same key size as for the CA.
- Lifetime: leave the default value "398" which corresponds to approximately 1 year and 1 month.
Indeed, for compatibility reasons, it is preferable to indicate a maximum lifespan of 398 days for the certificate that the OpenVPN server will use. - the other information is the same as the previous step and is again optional.
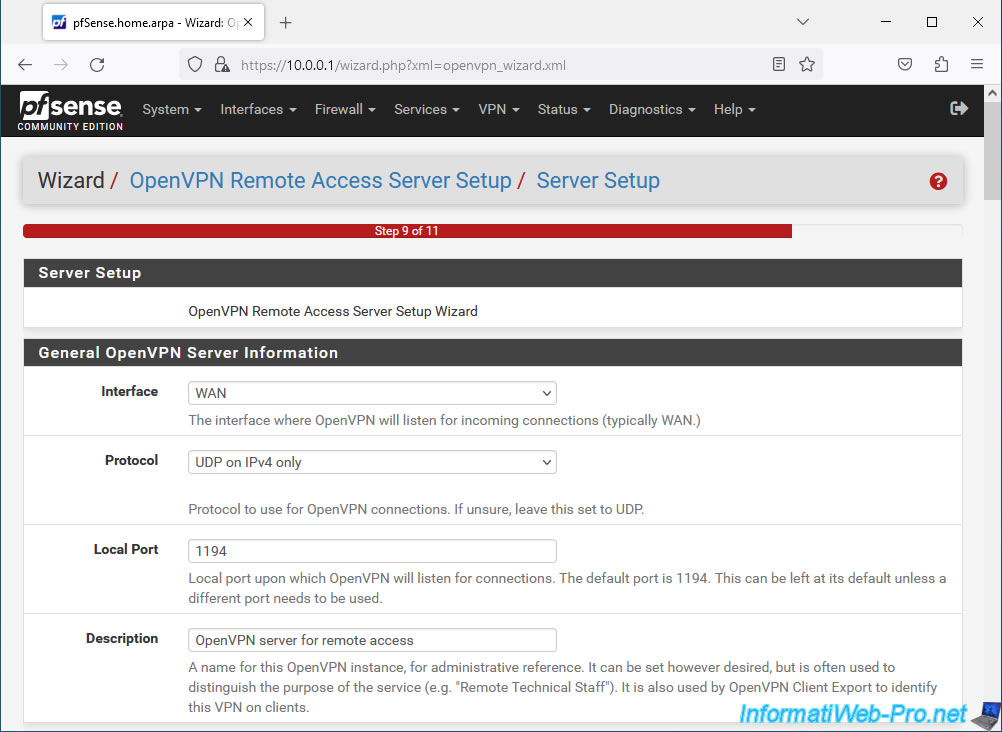
Now that the CA certificate and the "server" type certificate are created, the wizard allows you to configure your OpenVPN server using the "General OpenVPN Server Information" step:
- Interface: WAN. The OpenVPN server will be externally accessible as it will allow clients outside the company to access company resources from outside.
- Protocol: UDP on IPv4 only. OpenVPN uses UDP protocol on port 1194 and we only use IPv4 in our case;
- Local Port: 1194. The OpenVPN server listens on UDP port 1194 by default.
- Description: provide a description for reference.
In our case: OpenVPN server for remote access.
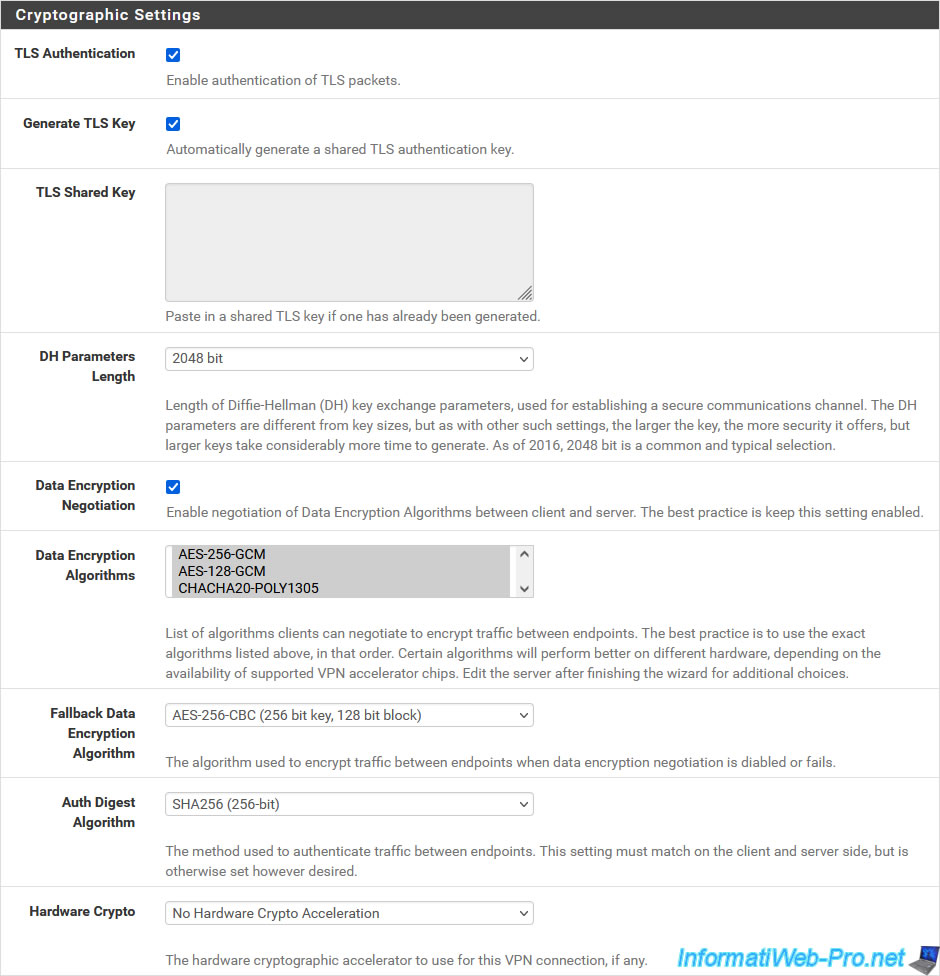
In the "Cryptographic Settings" section:
- TLS Authentication: leave the "Enable authentication of TLS packets" box checked to enable authentication using the TLS key. Which is recommended.
- Generate TLS Key: leave the "Automatically generate a shared TLS authentication key" box checked so that pfSense automatically generates a TLS key for your OpenVPN server.
Then, you will just have to go to the configuration of your OpenVPN server to find it if you want to manually configure an OpenVPN client later. - TLS Shared Key: this field is disabled, because pfSense will automatically generate this TLS key using the "Generate TLS Key" box checked above.
For other security settings, these are available for compatibility reasons.
But, by default, the most secure values (keeping the good "security / performance" ratio) are selected by default. So leave these values at default unless you actually need to change them.
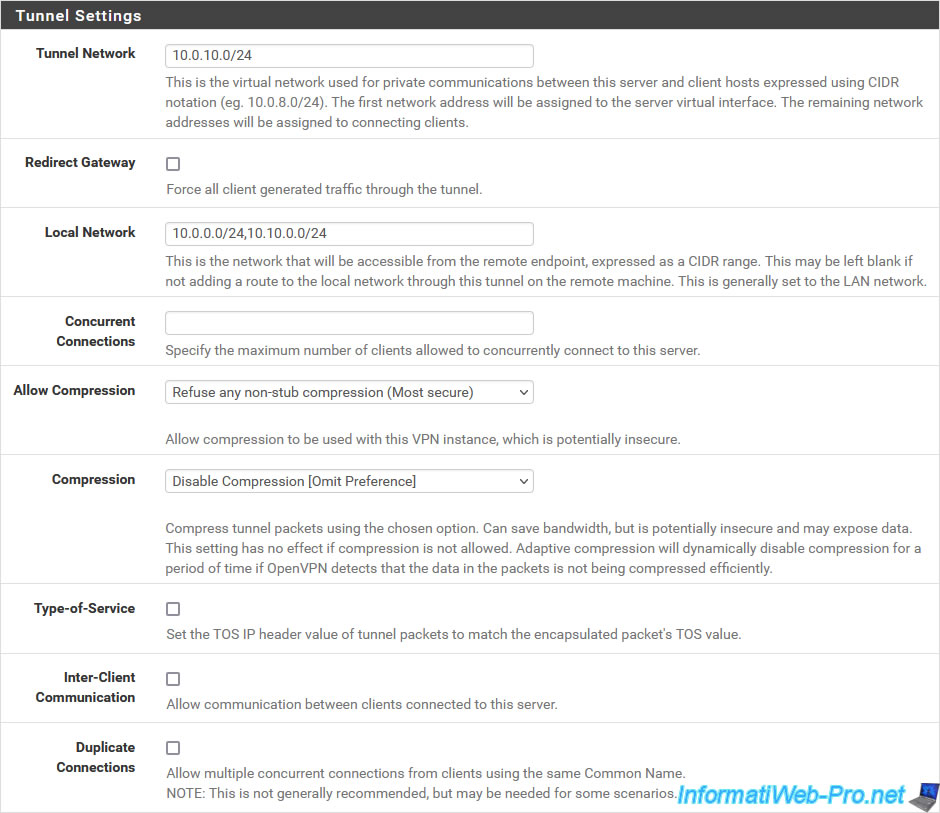
In the "Tunnel Settings" section, you can configure:
- Tunnel Network: indicate a subnet which will be used only by OpenVPN to assign a virtual IP address to the OpenVPN server (the 1st IP address available on this subnet) and a virtual IP address per OpenVPN client which will connect to it.
- Redirect Gateway: leave this "Force all client generated traffic through the tunnel" box unchecked so that the OpenVPN tunnel is only used for access to corporate resources.
In other words, if a user tries to access the Internet, network traffic will be sent directly to their own Box instead of going through the VPN tunnel. This allows the VPN tunnel to be used only when necessary. - Local Network: indicate the subnet(s) used in your company that your users will be able to access via the OpenVPN tunnel.
Typically, you will specify the network ID of your company's LAN network.
If you have several networks (eg: LAN, DMZ, etc.), then separate them with a comma.
In our case, we have a LAN network and a DMZ, so we indicate: 10.0.0.0/24,10.10.0.0/24. - Concurrent Connections: allows you to limit the number of OpenVPN clients connected simultaneously to your OpenVPN server.
- Allow Compression: for security reasons, it is recommended to disable compression.
- Type-of-Service: useful when you want to prioritize certain types of network traffic for QoS.
But it is not the case here. - Inter-Client Communication: uncheck this box to prevent connected OpenVPN clients from being able to communicate with each other.
- Duplicate Connections: uncheck this box to prohibit multiple connections from the same client.
Note that clients are identified by their "user" type certificate and that each client therefore has a different certificate.
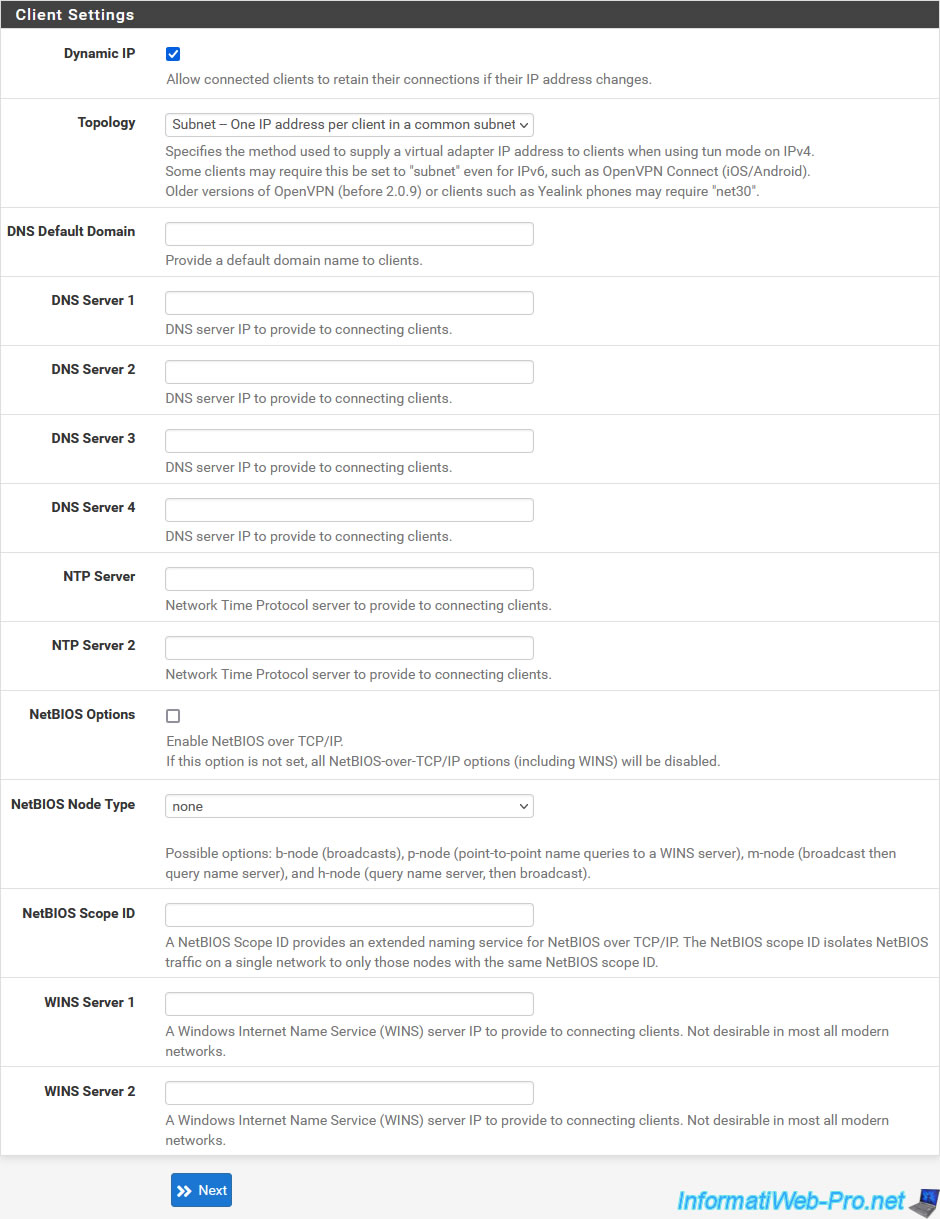
In the "Client Settings" section, you can configure these parameters:
- Dynamic IP: allows you to maintain the connection of clients connected with a dynamic Internet IP address (which changes regularly and randomly).
- Topology: method of assigning IP addresses that the OpenVPN server should use.
Generally, you will use the "Subnet" option. But some clients, such as OpenVPN clients before version 2.0.9 or Yealink phones may require "net30" mode.- Subnet - One IP address per client in a common subnet: each client will receive an IP address that will be part of the same subnet (previously indicated in the "Tunnel Network" box in the previous section).
- net30 - Isolated /30 network per client: each client will be part of a different subnet.
Note that a "/30" subnet allows only 2 IP addresses to be assigned per subnet.
- DNS Default Domain: In the case of an Active Directory (AD) infrastructure or if you have an internal DNS server in your company, enter this local domain name here.
This way, your computer will know that this local domain exists on your company's network and it will be able to access a server more easily by specifying a NETBIOS name (instead of the fully qualified domain name: [machine name].[computer name] local domain or AD domain]. - DNS Server 1, ...: again, in the case of an AD or a local DNS server, this will allow your clients to automatically resolve local domain names using your company's local DNS server.
In the case of an Active Directory, the DNS server is on the same server as the AD domain controller. - NTP Server: allows you to synchronize a computer's clock from a time server (NTP).
This helps avoid authentication problems (notably via Kerberos), as well as certificate expiration problems (because of a clock that is incorrectly set).
In the case of AD infrastructure, you can specify the IP address of your domain controller.
If you have more than one, then specify the IP address of the one acting as the PDC emulator.
Click Next.
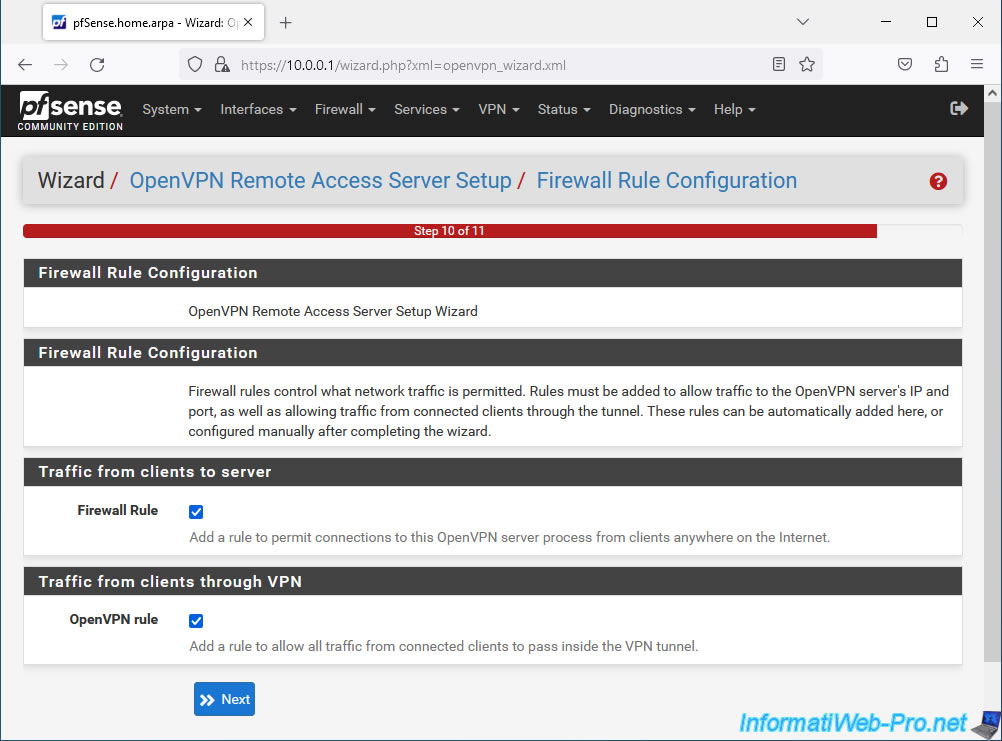
Finally, for OpenVPN to work correctly, the pfSense firewall must be configured correctly:
- Traffic from clients to server: check the box "Add a rule to permit connections to this OpenVPN server..." so that your clients can connect to your server from the Internet.
So on the pfSense WAN interface. - Traffic from clients through VPN: check the box "Add a rule to allow all traffic from connected clients..." so that network traffic can pass through the VPN tunnel.
Then, click Next.
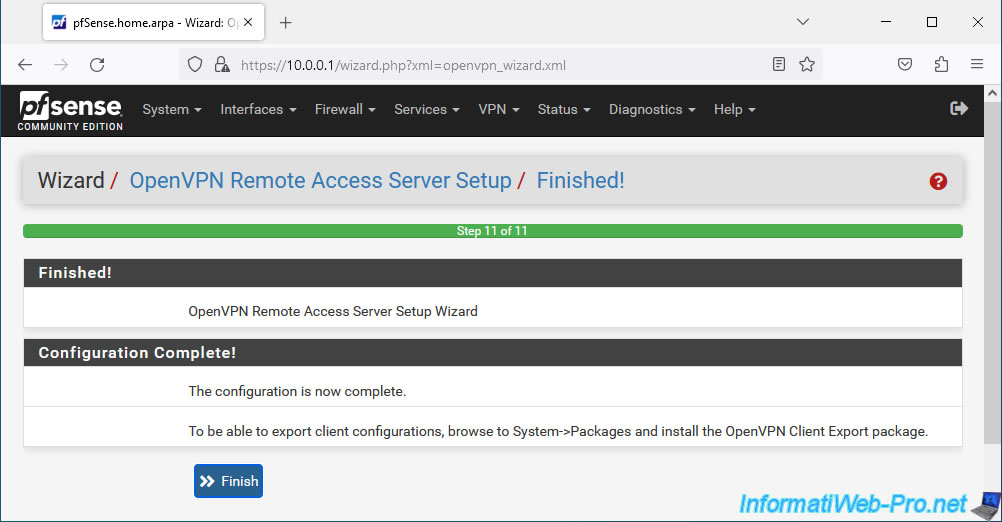
Click Finish.
Note: as you can see, pfSense tells you that you can easily export the configuration for OpenVPN clients using the "OpenVPN Client Export" package.
However, you will see this a little later in this tutorial.
Source : OpenVPN Remote Access Configuration Example | pfSense Documentation.
In "VPN -> OpenVPN", you will see that an OpenVPN server "OpenVPN server for remote access" has been configured in "Remote Access (SSL/TLS + User Auth)" mode.
This means that OpenVPN clients will only be able to connect to the company network via this OpenVPN server if they have an account on your pfSense machine, as well as an associated personal SSL certificate.

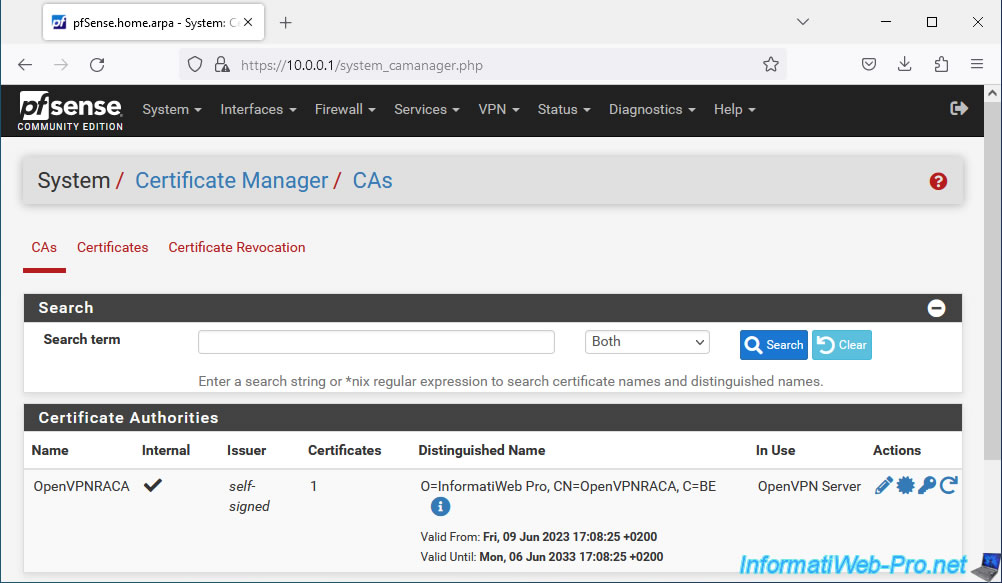
In "System -> Cert. Manager" you will see that an internal Certificate Authority (CA) has been created.
In our case: OpenVPNRACA.
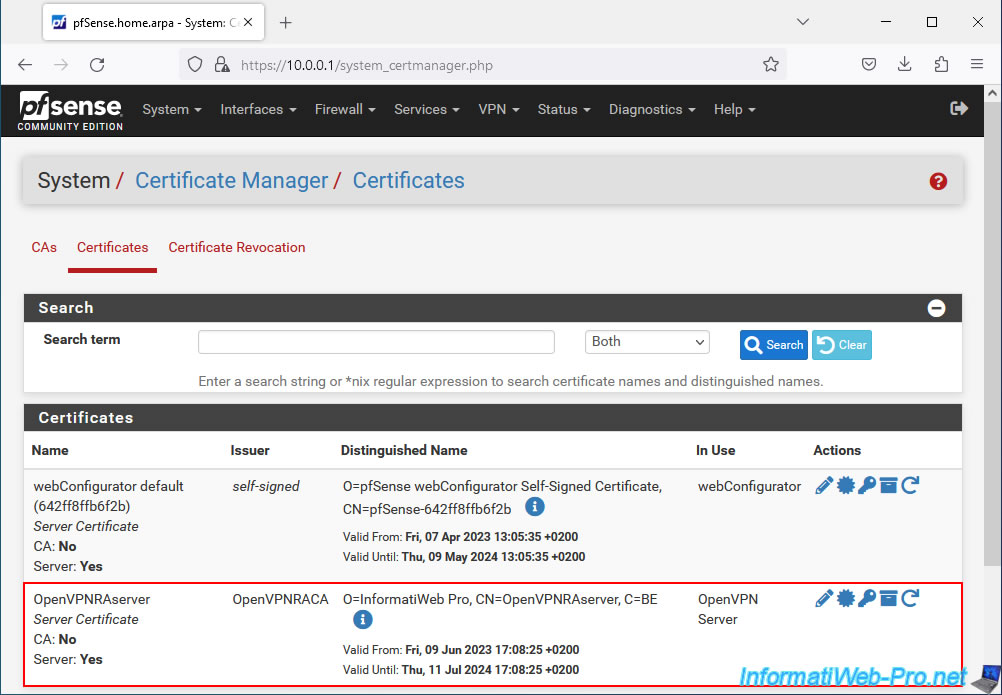
In the "Certificates" tab, you will see that an SSL certificate has been created for your OpenVPN server.
Share this tutorial
To see also
-
Firewall 9/12/2025
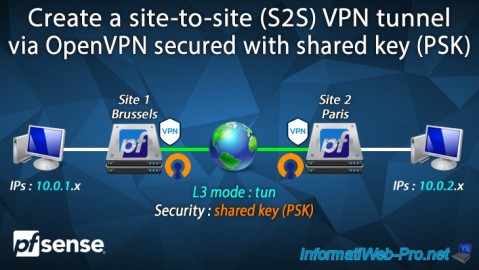
pfSense 2.6 - Create a site-to-site (S2S) VPN tunnel via OpenVPN secured with shared key (PSK)
-
Firewall 6/13/2025
pfSense 2.6 - Schedule a rule in the firewall
-
Firewall 7/9/2025
pfSense 2.6 - Secure the web interface in HTTPS
-

Firewall 7/23/2025
pfSense 2.6 - Synchronize the clock from a time server (NTP)
You must be logged in to post a comment