- Firewall
- pfSense
- 06 June 2025 at 12:34 UTC
-


If you want to access the pfSense administration interface, services hosted at your home or business from the Internet, you can point a domain name (or subdomain) to the WAN IP address (external) of your company.
However, in case your ISP (Internet Service Provider) provides you Internet access with a dynamic IP address (which is the case by default), then you will need to use a dynamic domain name (DDNS).
1. How DDNS (dynamic DNS) works
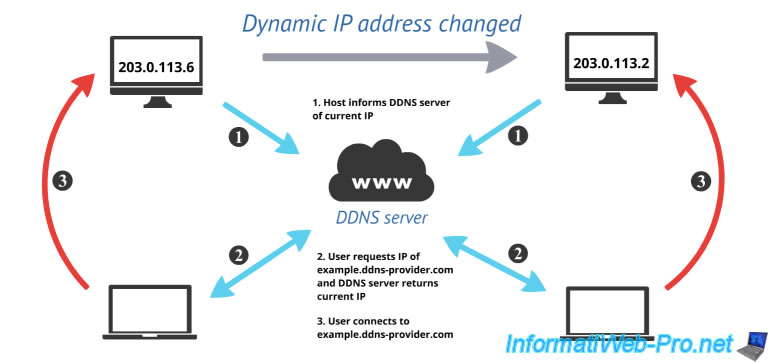
To ensure that the desired domain name always points to your company's WAN (external) IP address, you will need to use a DDNS service (dynamic DNS).
With this type of service, you will create a domain name that can be updated frequently (via an official tool from the provider or via pre-installed scripts/plugins) so that it always points to the WAN IP address current status of your company.
If you are familiar with DNS configuration, you know that a TTL (Time to Live) value is defined on each DNS zone, or even on each DNS record.
This value simply indicates the maximum time that third-party DNS servers can retain information.
At No-IP, this TTL is 60 seconds while other DNS servers providing standard domain names use a much higher TTL (according to No-IP: 60 minutes).
This very short delay makes it possible to recover the correct IP address in 99% of cases. At worst, your domain name will point to a bad IP for a maximum of 60 seconds.
Note: most of the time, websites are hosted on servers with fixed IP addresses. In this case, using a much higher TTL will avoid overloading the bandwidth of the authoritative DNS server for the domain and will speed up DNS queries for users. Users will therefore be able to contact the ISP's DNS server (which is physically closer to them) to obtain the IP address corresponding to a domain.
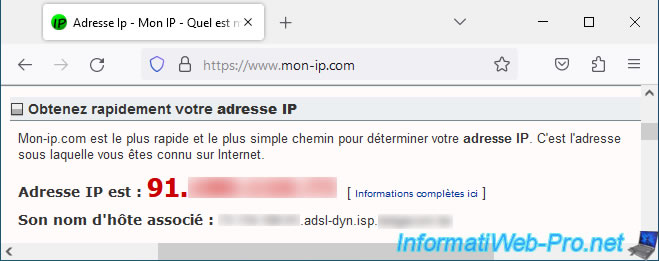
To find out your IP address, go for example to the site "mon-ip.com".
As you can see, in our case the associated hostname (set by our ISP) clearly indicates that we have a dynamic IP address.
Note: if you return to this page in several days, or even several weeks (depending on the ISP), you may notice that your IP address will have changed.
Hence the interest in DDNS services for individuals or businesses that have a dynamic IP address.
Note that using a static IP address is possible, but requires payment from your ISP.
2. Create an account on No-IP
Among the DDNS domain name providers, there is "No-IP" which has been around for a long time and still provides DDNS domain names for free.
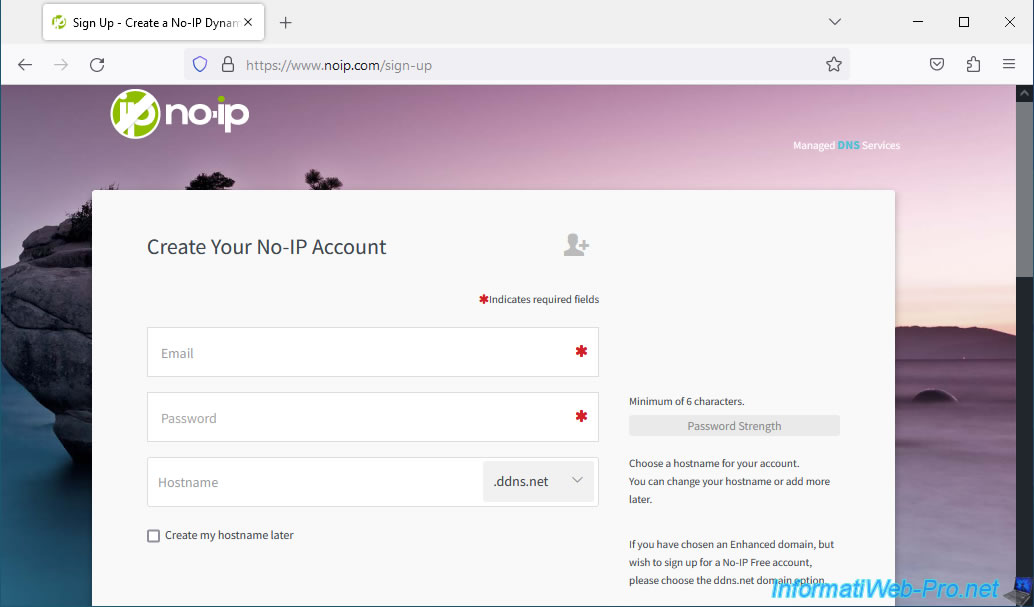
To do this, simply register with an email address and password.
Next, provide the hostname you want to create.
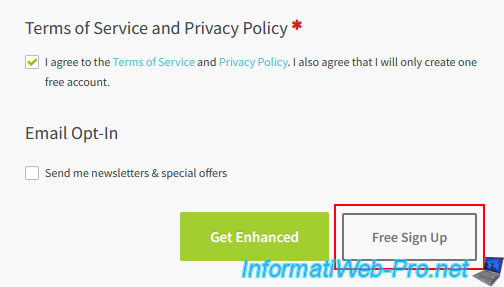
Important : as shown on the right of the form, to create a free No-IP account, you must select the domain name "ddns.net" from the list.
As you can see, as a free member, you can only choose one No-IP domain (so: ddns.net) and you can only create one DDNS domain.

At the bottom of the page, click on: Free Sign Up.
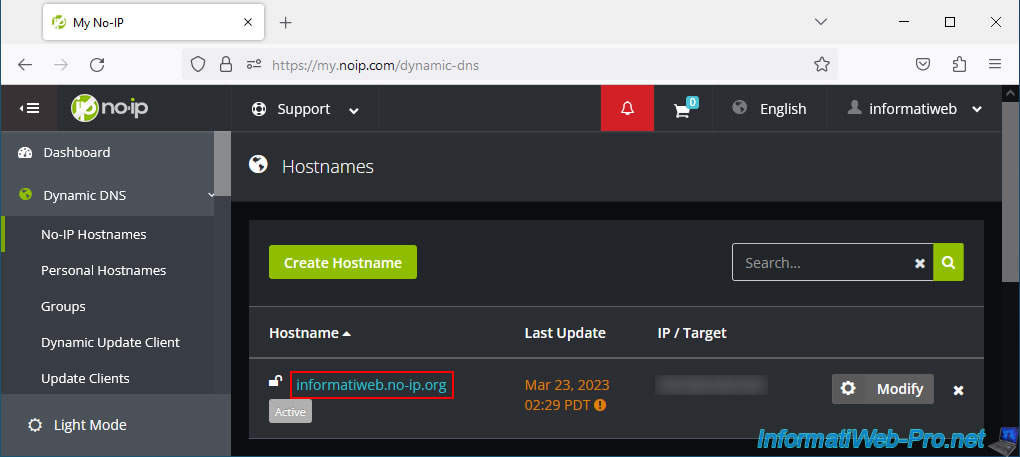
Once registered, you will find your DDNS domain in the section: Dynamic DNS -> No-IP Hostnames.
Note that in our case, we have been registered with No-IP for a very long time. Hence the fact that we have a domain name ".no-ip.org" (even if you can no longer choose it at present).
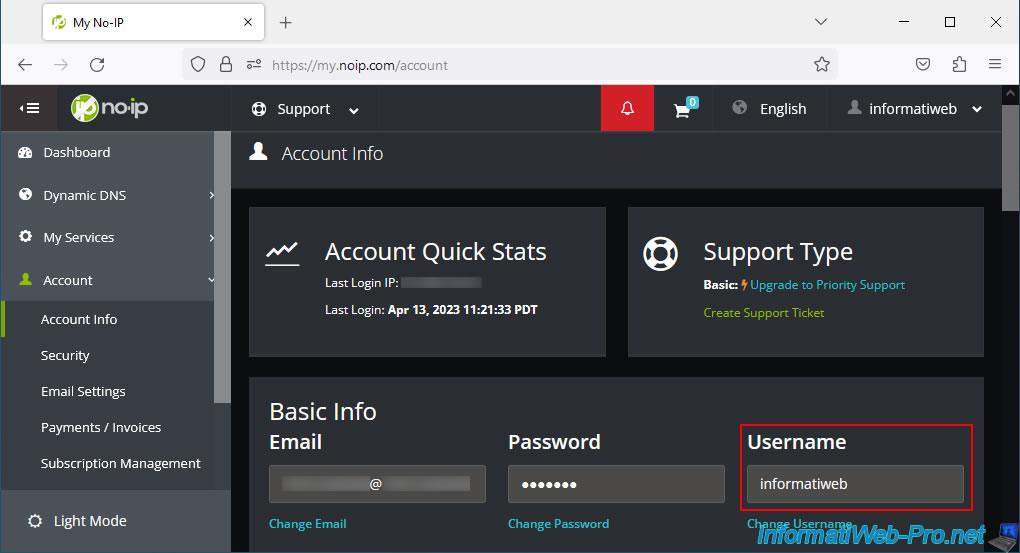
Before you can configure the pfSense DDNS client, make sure to configure a username for your No-IP account in "Account -> Account info", as you will need it a little later.
3. Configure a DDNS client
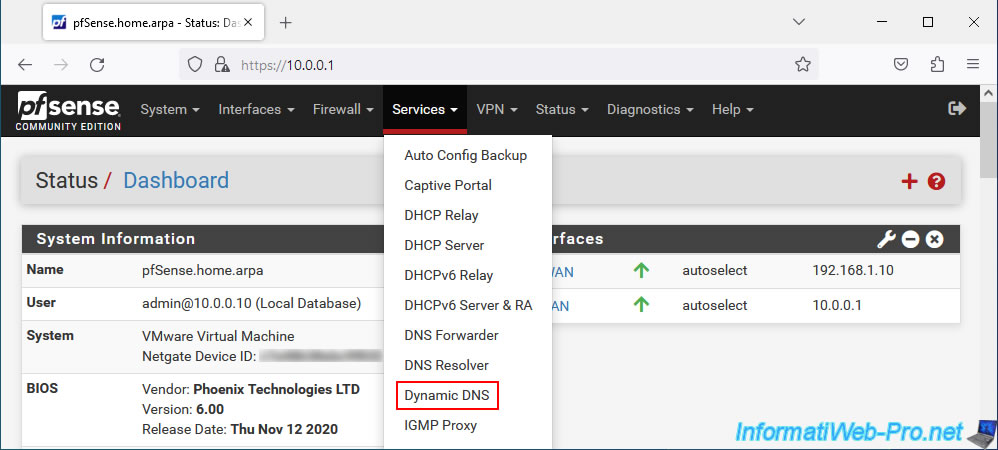
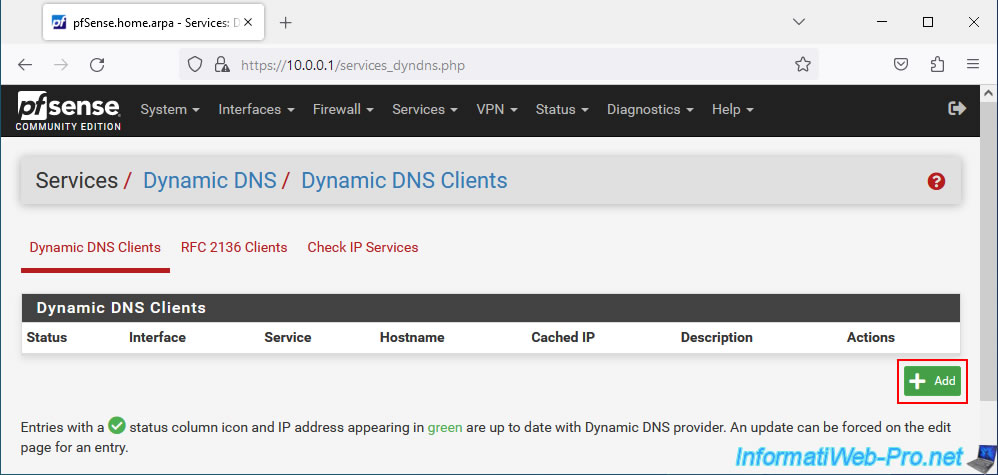
To configure a DNS client on pfSense, go to: Services -> Dynamic DNS.
As you can see, you can create dynamic DNS clients, as well as RFC 2136 clients.
- the "Dynamic DNS Clients" section concerns DDNS providers (such as "No-IP", for example).
- the "RFC 2136 Clients" section concerns updating a dynamic domain that you would create on a "BIND" DNS server (on Linux) or a DNS server on Windows Server.
In our case, go to the "Dynamic DNS Clients" section and click "Add".
Sources :
- Dynamic DNS | pfSense Documentation
- Configuring RFC 2136 Dynamic DNS updates | pfSense Documentation
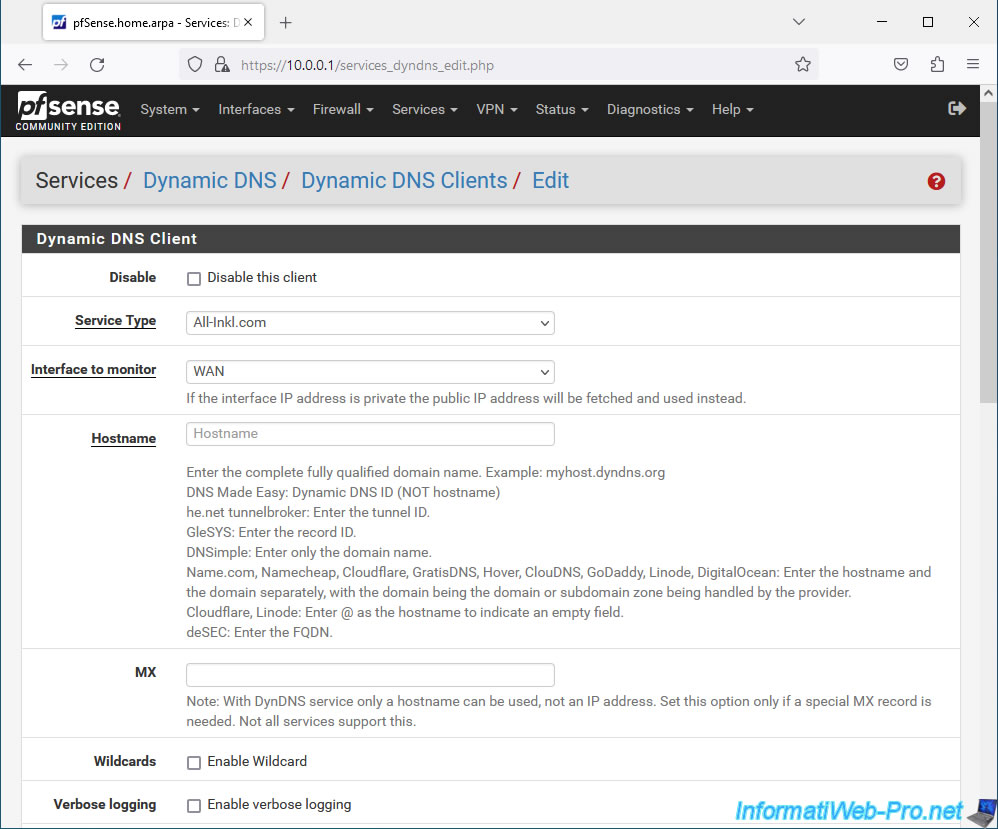
On the page that appears with a "Dynamic DNS Client" section, you will be able to configure the following settings for each dynamic DNS client:
- Disable: allows you to disable this dynamic DNS client.
By default, this is enabled. - Service Type: allows you to select a supported DDNS provider (such as: No-IP, Cloudflare, ...).
- Interface to monitor: the interface to monitor to obtain your WAN IP address (dynamically provided by your ISP).
If a private (local) IP address is assigned to your WAN interface, then pfSense will contact a remote service to obtain your actual WAN IP address and assign it to your DDNS domain name. - Hostname: the DDNS domain name to be updated regularly with your WAN IP address (dynamically provided by your ISP).
Ex: my-domain.ddns-provider.com. - MX: optional, as it is only useful for mail servers and is probably not supported for free members of DDNS providers.
- Wildcards: resolves all subdomains of the specified domain with the same IP address as the DDNS domain name specified in the "Hostname" box. To do this, check the "Enable Wildcard" box.
Ex: *.my-domain.ddns-provider.com (a.my-domain.ddns-provider.com, b.my-domain.ddns-provider.com, ...) will be resolved to the same IP address of the DDNS domain specified. - Verbose logging: check the "Enable verbose logging" box to enable recording detailed information for this DDNS client in pfSense logs.
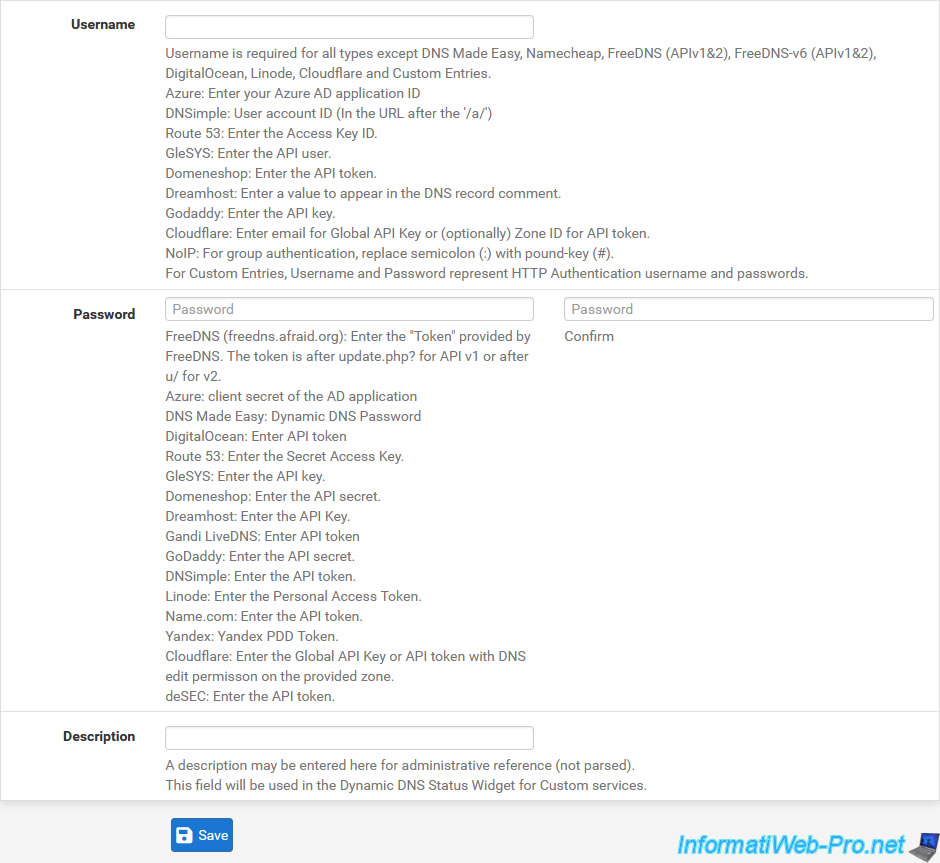
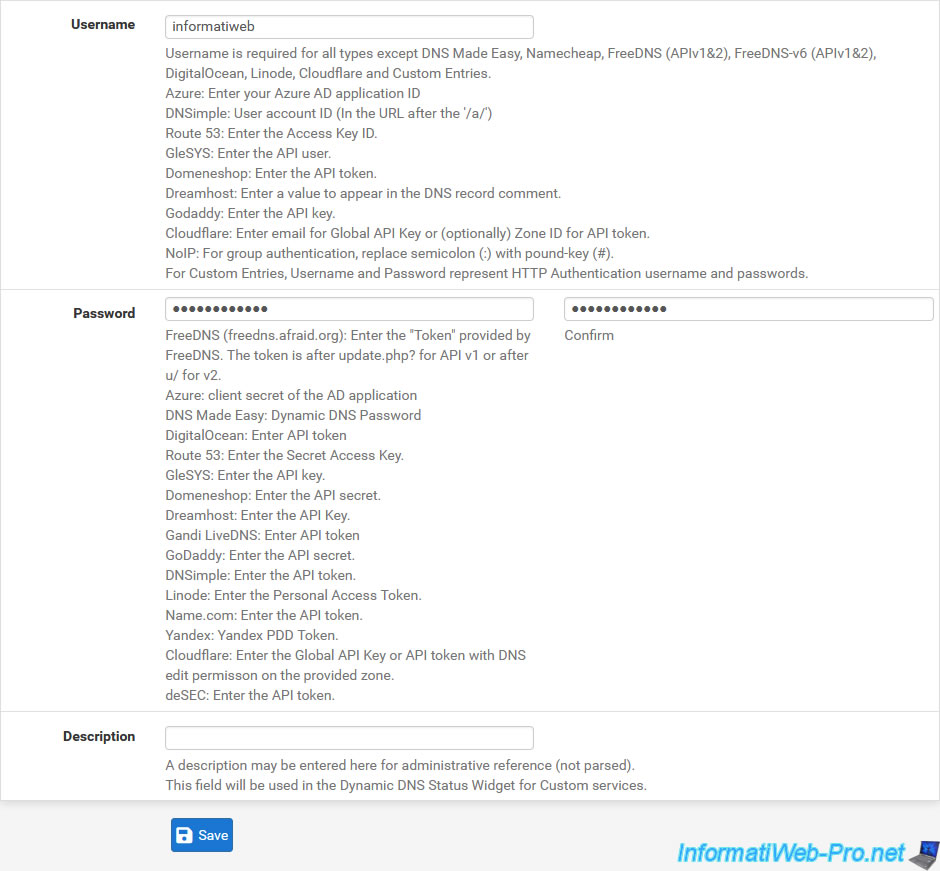
Which can be useful if there is a problem with your DDNS client. - Username: your account username for the desired DDNS service.
- Password: his password.
- Description: a purely indicative description which will only appear on pfSense.
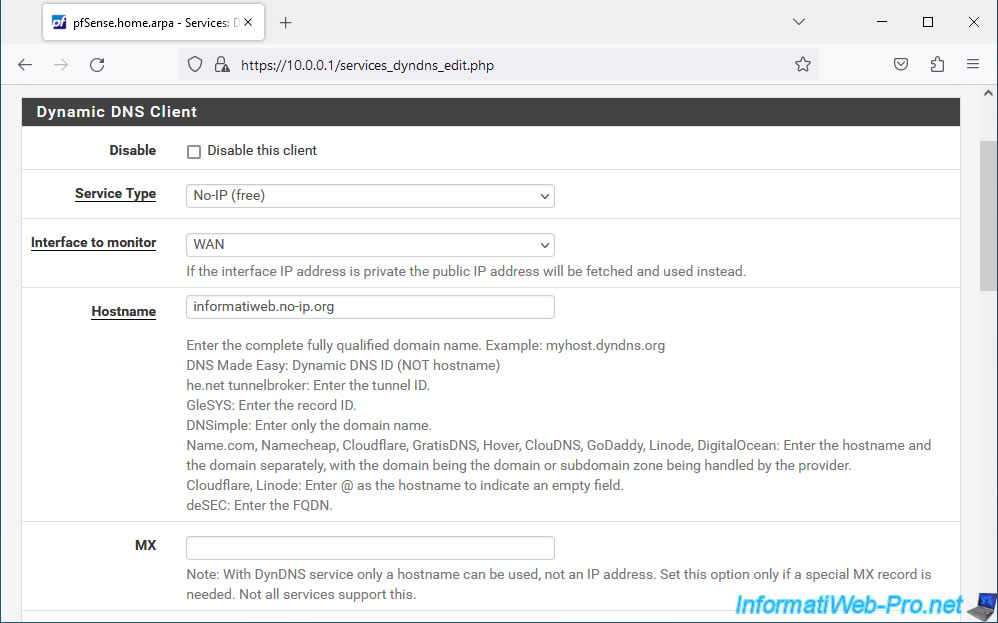
In our case, we created a DDNS domain name "informatiweb.no-ip.org" at No-IP with a free account (as you saw previously).
In this case, configure your DDNS client settings like this:
- Service Type: No-IP (free).
- Interface to monitor: WAN.
- Hostname: your DDNS domain name created at No-IP.
In our case: informatiweb.no-ip.org. - Username: your username at No-IP.
In our case: informatiweb. - Password: your password.
Then, click Save and wait a bit. This can take up to 1 minute according to our test.
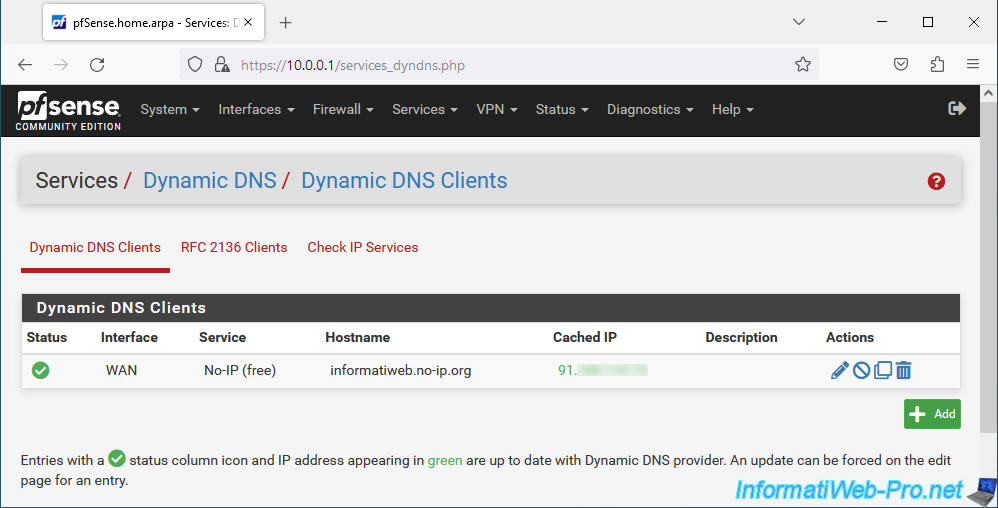
Once the DDNS client is created, you will see it appear in the "Dynamic DNS Clients" list and your WAN IP address will appear in the "Cached IP" column.
To verify that the DDNS domain name has been updated with your WAN IP address, use the Windows "nslookup" command specifying your DDNS domain name as a parameter:
Batch
nslookup informatiweb.no-ip.org
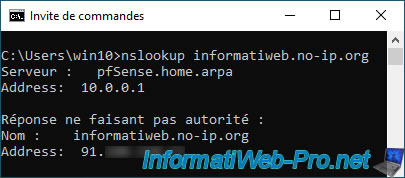
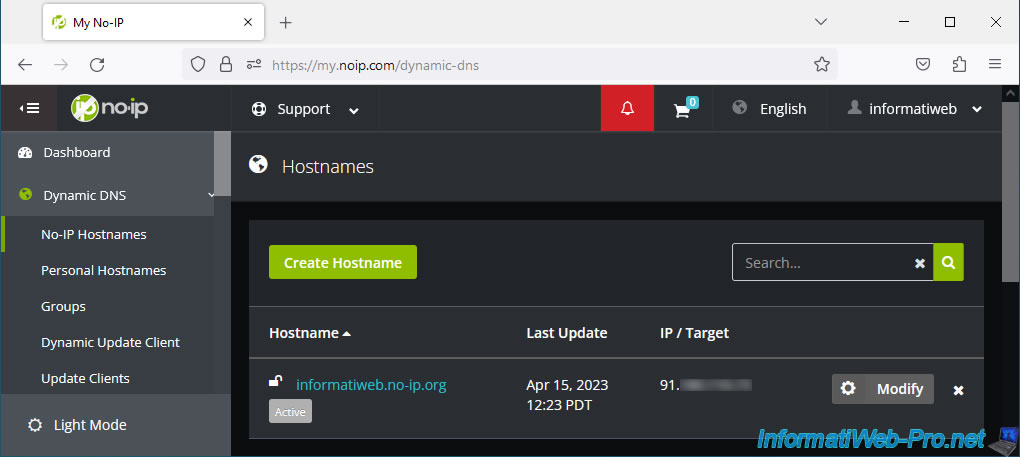
In your No-IP account, go to "Dynamic DNS -> No-IP Hostnames" and you will see your WAN IP address appear in the "IP / Target" column.
Note that when a private IP address is assigned to the pfSense WAN interface, pfSense is forced to use an external service to know your WAN IP address.
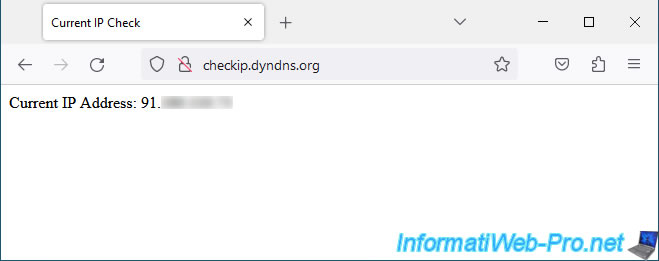
To find out which external service is used (and adapt the configuration of your firewall if necessary), go to the "Check IP Services" tab.
As you can see, by default pfSense uses the "checkip.dyndns.org" site.

The advantage being that this site only displays your WAN IP address. This makes it easier to retrieve via a script and avoids downloading a page that is too heavy each time you check.
Share this tutorial
To see also
-

Firewall 8/8/2025
pfSense 2.6 - Configure a LACP link (LAGG)
-
Firewall 9/10/2025
pfSense 2.6 - Create a VPN server (remote access) via OpenVPN (L2 mode)
-

Firewall 5/28/2025
pfSense 2.6 - Create and use VLANs
-
Firewall 8/29/2025
pfSense 2.6 - Implement Multi-WAN (Dual-WAN)
You must be logged in to post a comment