- Firewall
- pfSense
- 25 July 2025 at 08:22 UTC
-


To simplify the management and maintenance of firewall rules, port forwarding rules, and many other pfSense settings, you can create aliases rather than specifying IP addresses, ports, ... hard-coded in different locations of the pfSense configuration.
- Managing aliases on pfSense
- Create an alias for an IP address or hostname
- Create an alias for a port
- Use aliases when creating a rule in the firewall
1. Managing aliases on pfSense
To manage and create aliases on pfSense, go to: Firewall -> Aliases.
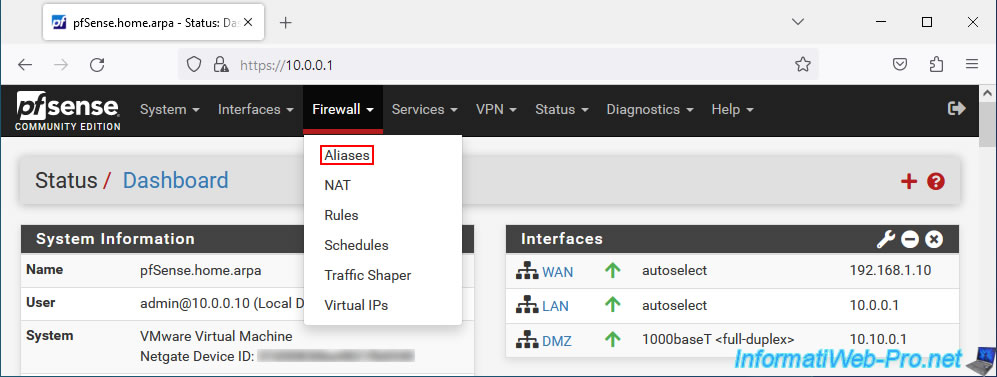
As you can see, on pfSense, you can create aliases for IP addresses (or hostnames), ports, as well as URLs.
2. Create an alias for an IP address or hostname
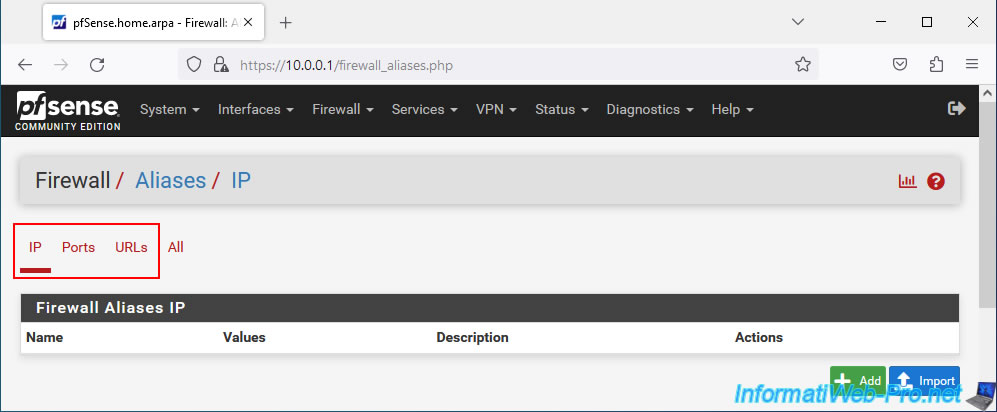
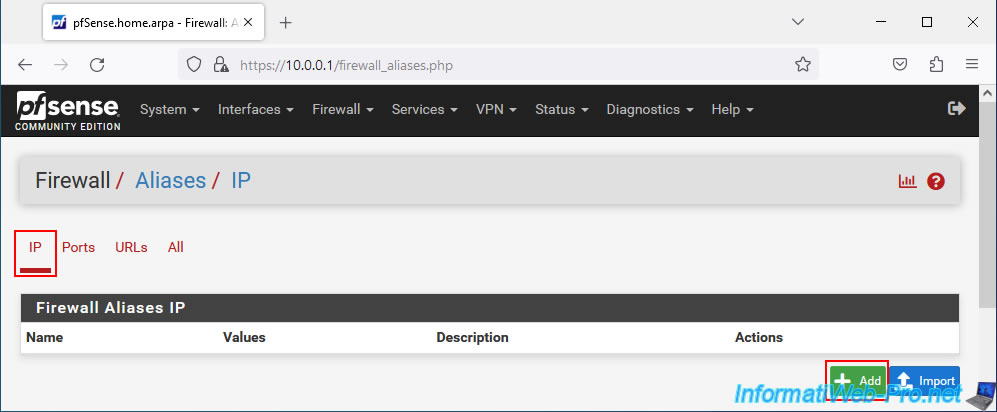
To create an alias for an IP address or host name, go to the "IP" tab and click: Add.
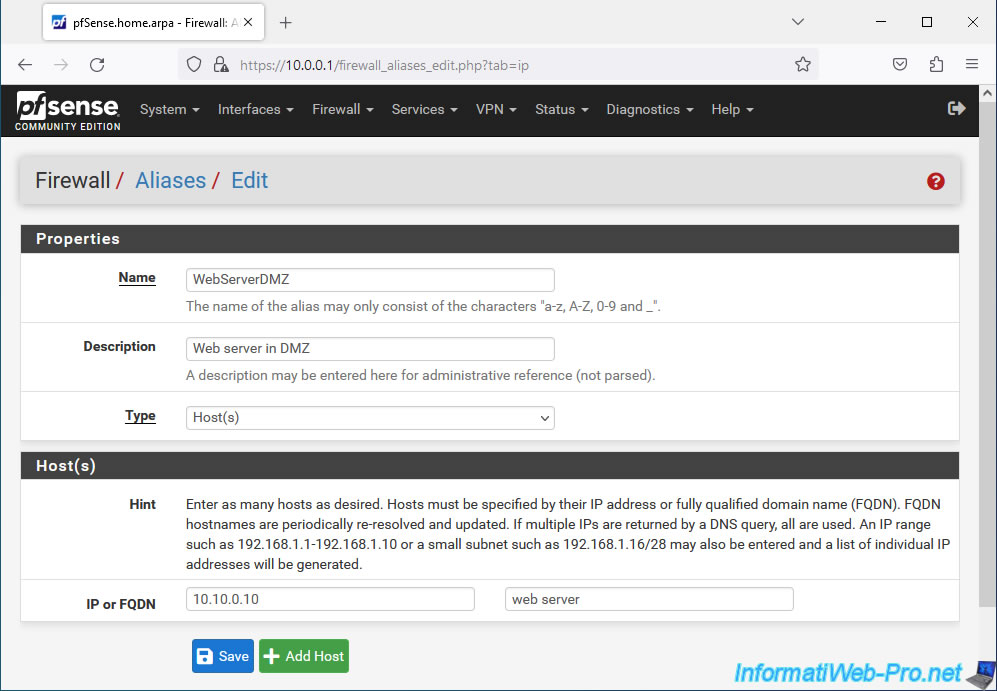
On the "Firewall / Aliases / Edit" page that appears, specify:
- Name: the name under which this alias will be offered on the different pfSense configuration pages.
This name can only consist of letters, numbers and underscores (_).
In our case: WebServerDMZ. - Description: provide a descriptive description for this alias.
In our case: Web server in DMZ. - Type: Host(s). allows you to create an alias for an IP address or host name.
- Host(s) - IP or FQDN: the IP address or host name that this alias should correspond to.
In the case of a host name, this will be resolved every 5 minutes (by default) by the firewall. Which is handy when using dynamic DNS names.
In our case, our local web server has the IP address "10.10.0.10". - Host(s) - Description: a description of this host.
In our case: web server. - Add Host: allows you to add several hosts instead of just one for the same alias.
Then, click "Save" to save this new alias.
Note: you can also create other types of aliases by selecting one of these options for the "Type" setting:
- Host(s): alias for one or more IP addresses or one or more host names.
- Network(s): alias for one or more networks by specifying an IP address and subnet mask (in CIDR format).
- Port(s): alias for a port number (see next step in this tutorial).
- URL (IPs): alias for a list of IP addresses that will be downloaded from a URL. Max 3000 IP addresses.
- URL (Ports): alias for a list of ports. Same principle as the previous option.
- URL Table (IPs): alias for a list of IP addresses that will be downloaded from a URL and stored in a file.
The advantage of this option compared to the "URLs (IPs)" option is that you can download up to 30,000 IP addresses (or more).
You will be able to specify the frequency in days at which this list will be re-downloaded by pfSense. - URL Table (Ports): similar to the previous option, but for a large list of ports.
Source : Aliases | pfSense Documentation.
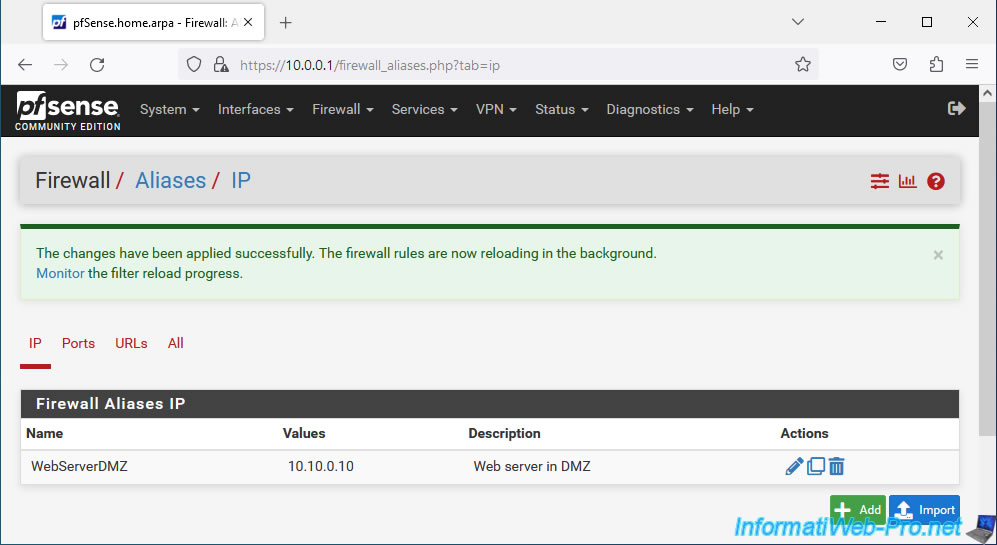
Click "Apply Changes" for pfSense to use this new alias.
Plain Text
The alias list has been changed.
The changes must be applied for them to take effect.
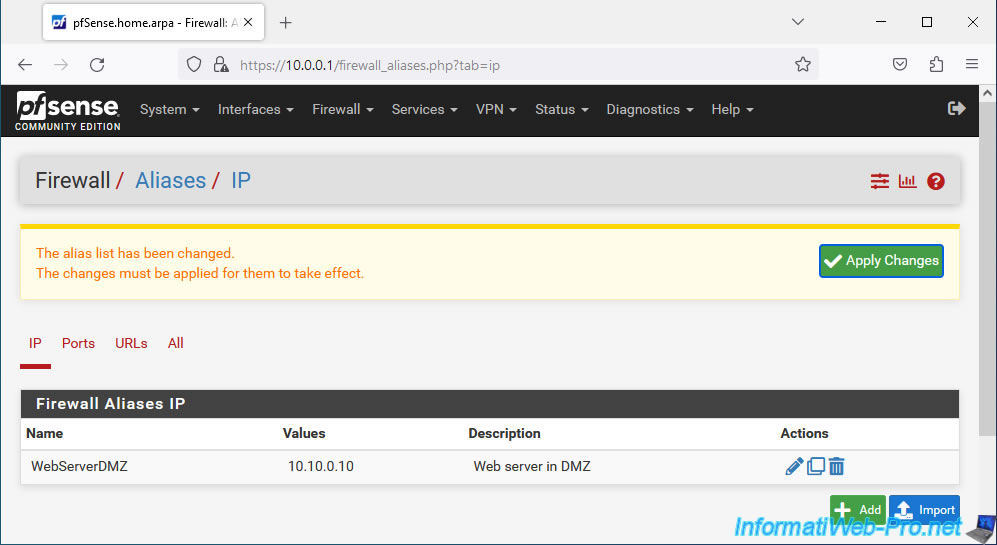
The new "IP" type alias appears.
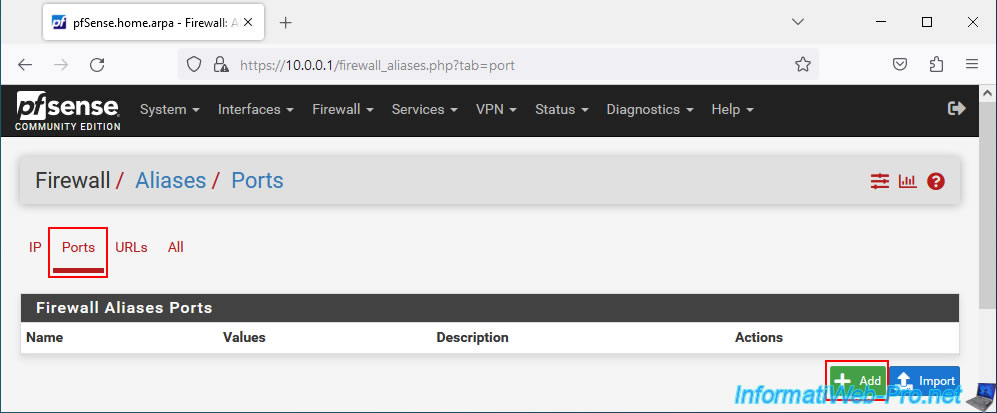
3. Create an alias for a port
To create an alias for a port, go to the "Ports" tab and click: Add.
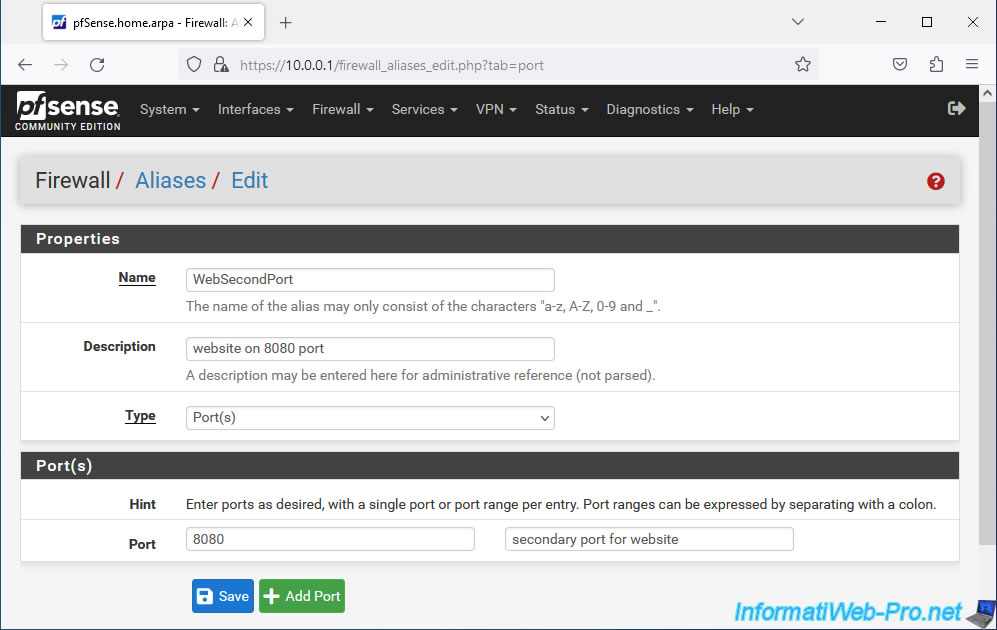
To create an alias for a port, for example, an unusual port number, specify:
- Name: a name for this port alias.
In our case: WebSecondPort. - Description: a description for this port alias.
In our case: website on 8080 port. - Type: Port(s). Allows you to create an alias that will be suggested when you need to specify a port when creating a rule in the firewall or for NAT port forwarding, for example.
- Port(s) - Port: the port number that will correspond to this port alias.
In our case: 8080. Assuming that our web server listens on ports 80 and 8080 to offer 2 websites (via different ports). - Port(s) - Description: a description for this port number.
In our case: secondary port for website. - Add Port: allows you to add an additional port for this same alias.
Then, click Save.
Click: Apply Changes.
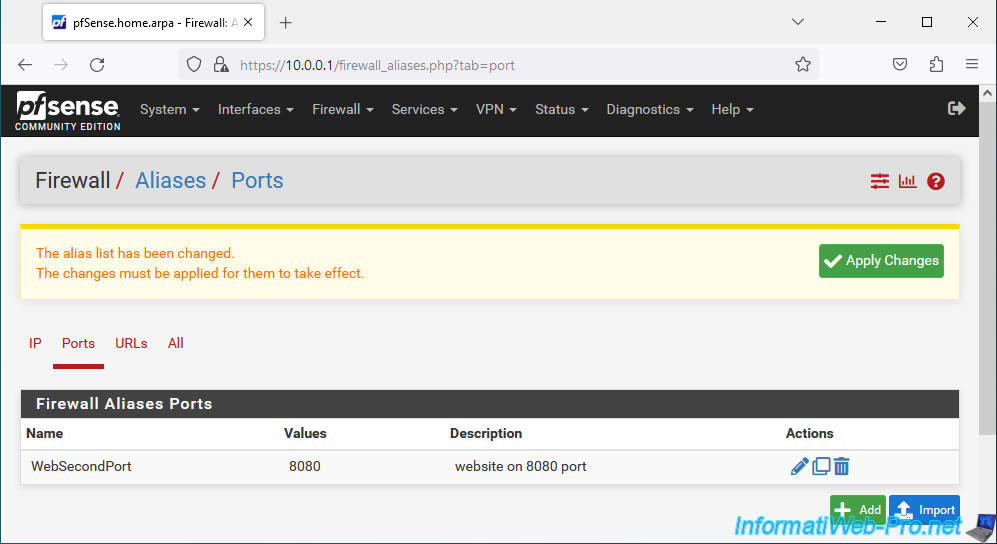
The new port alias appears.

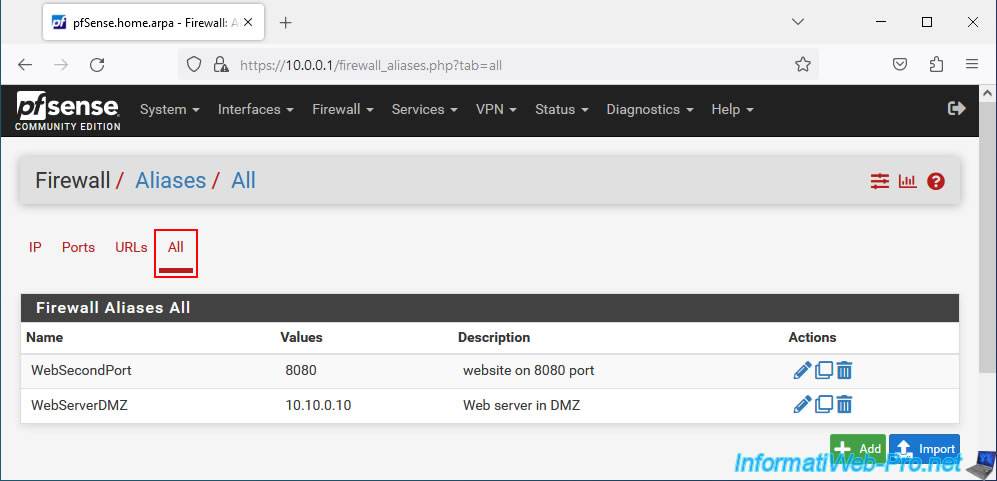
If you want to see all port aliases (regardless of the type of alias created), go to the "All" tab.
4. Use aliases when creating a rule in the firewall
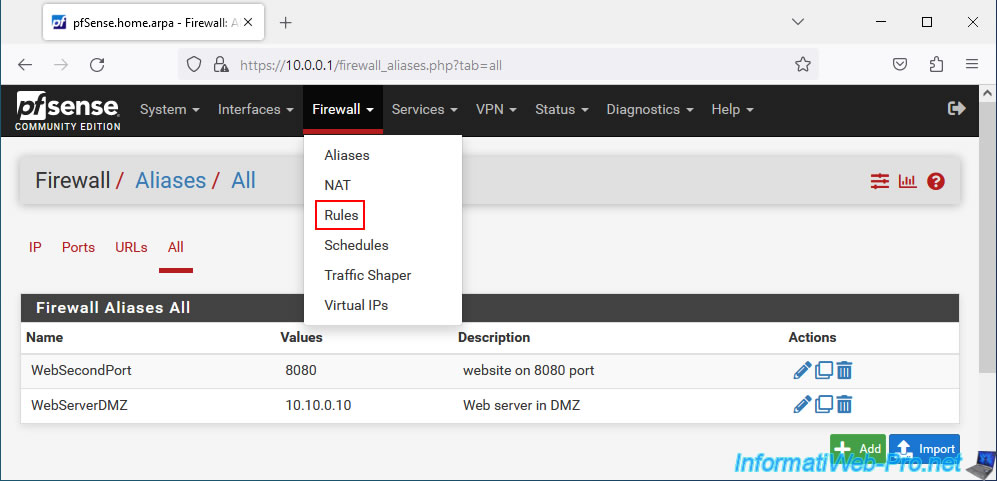
For the example, we will create a rule in the pfSense firewall using the aliases created previously.
To do this, go to: Firewall -> Rules.
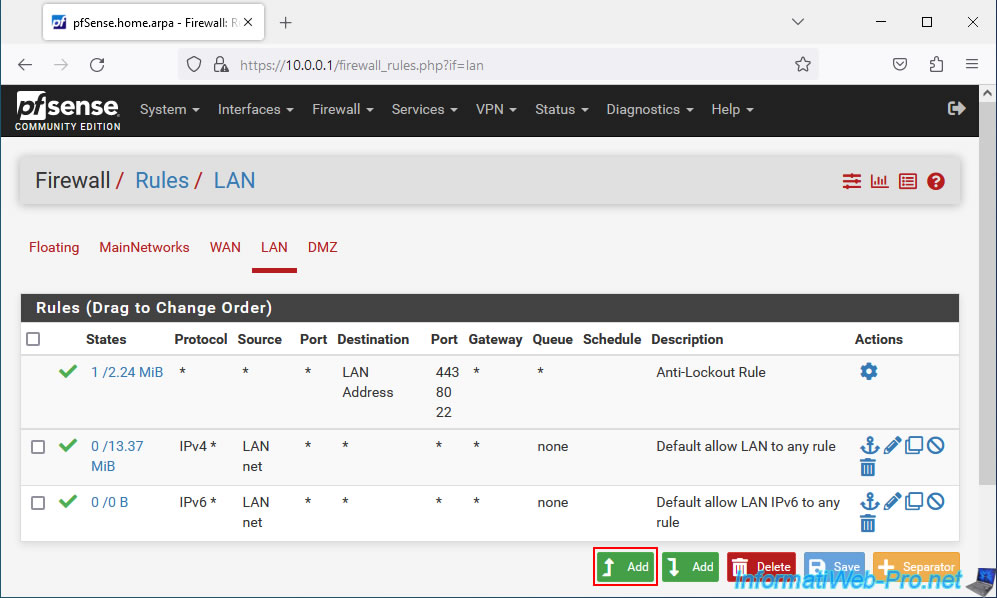
Go to the "LAN" tab and click: Add.
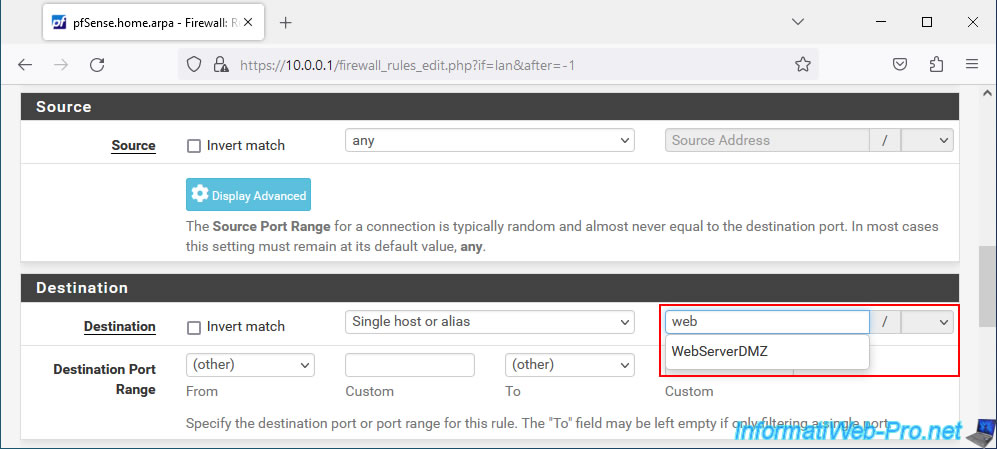
For the destination, select "Single host or alias" and start typing the name of an IP alias.
In our case, we type "web" and we see that pfSense offers us our alias "WebServerDMZ" as a destination.
Note: this alias corresponds to the local IP address "10.10.0.10" of our web server.
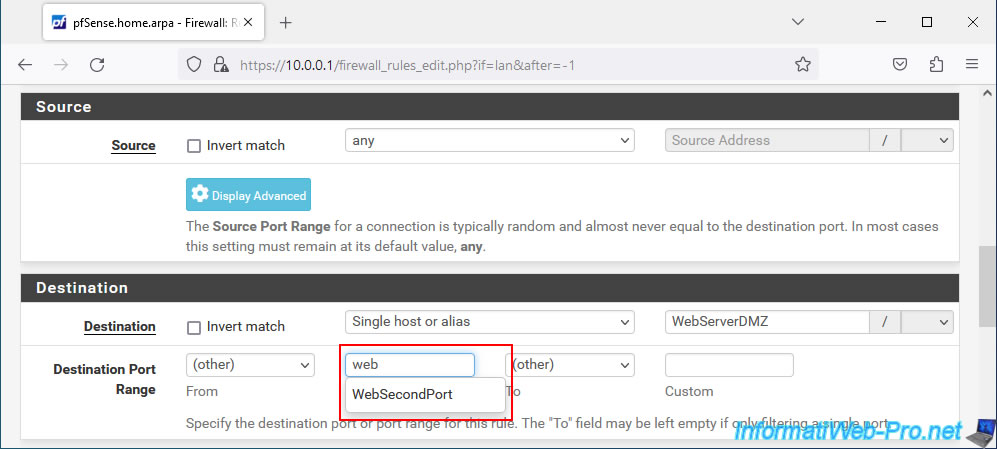
For the destination port, start typing the name of a port alias.
In our case, we type "web" and we see that pfSense offers us our alias "WebSecondPort" as the destination port.
Note: this alias corresponds to the port "8080" on which our web server would also listen.
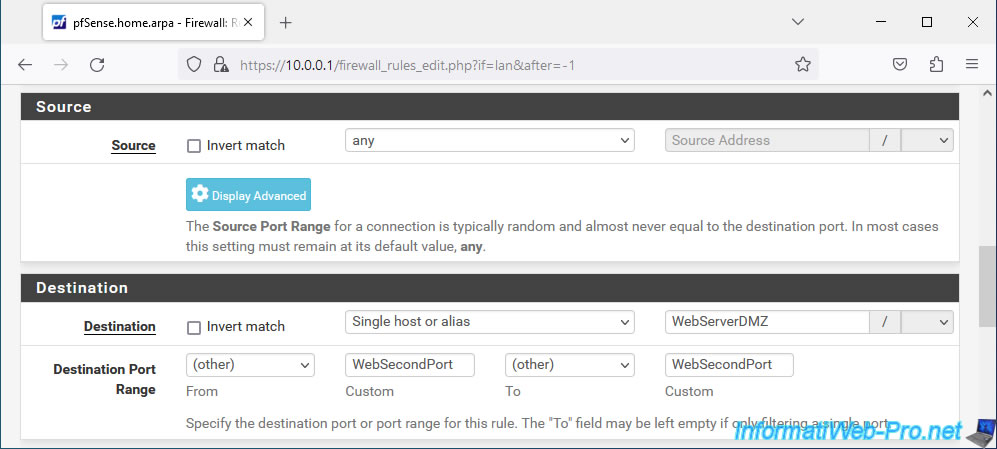
Which gives in our case:
- Destination : WebServerDMZ.
- Destination Port Range : WebSecondPort for "From" and "To".
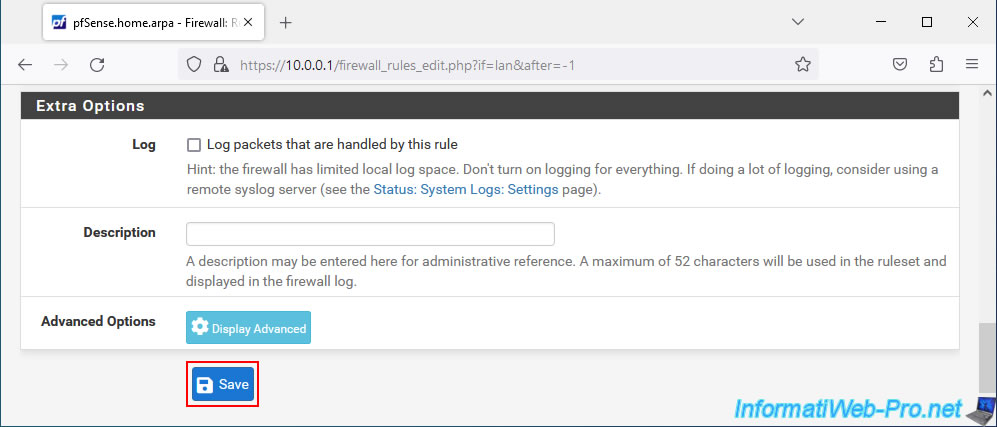
Click "Save" to save this rule.
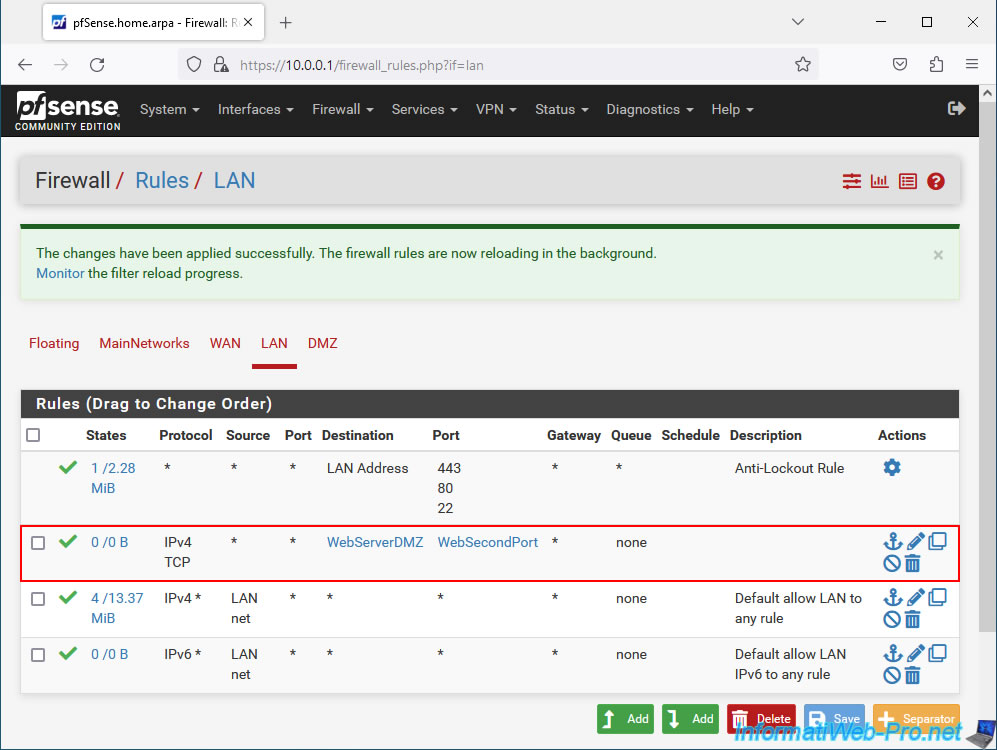
Click "Apply Changes".
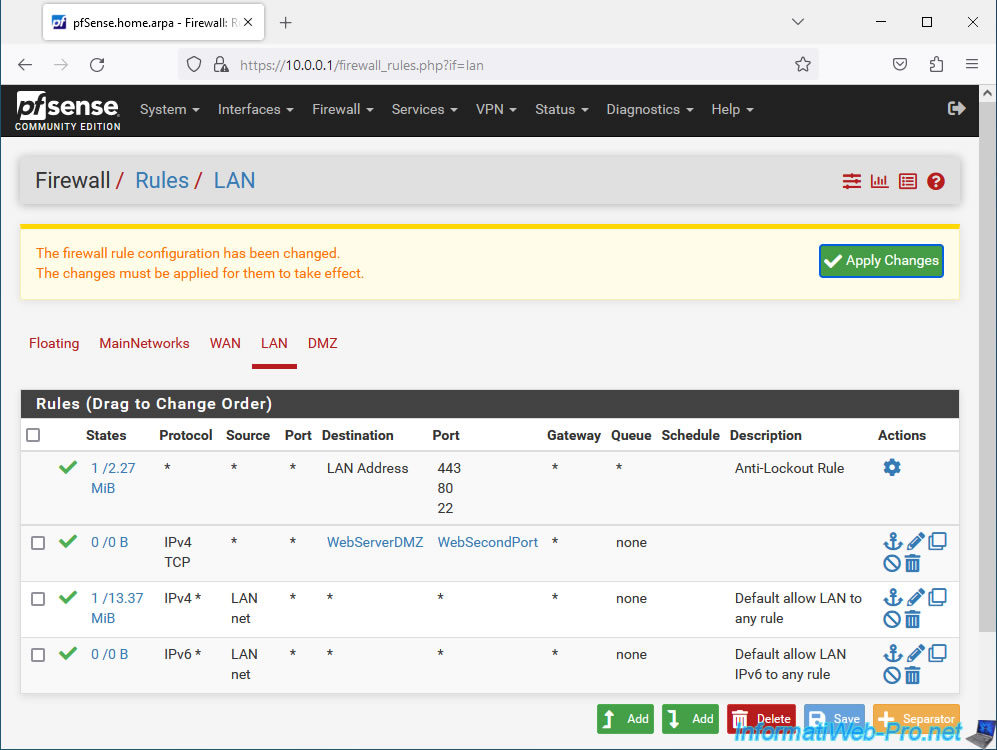
The rule appears with the name of the aliases selected when creating the rule.
Which means that modifying one of these aliases will dynamically impact the behavior of this rule in the pfSense firewall.
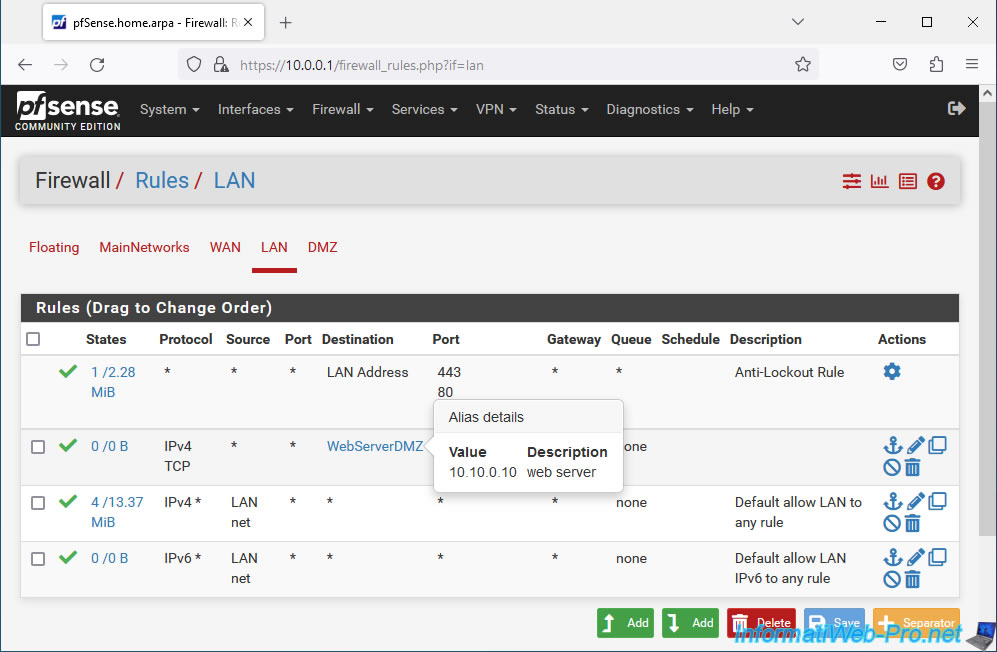
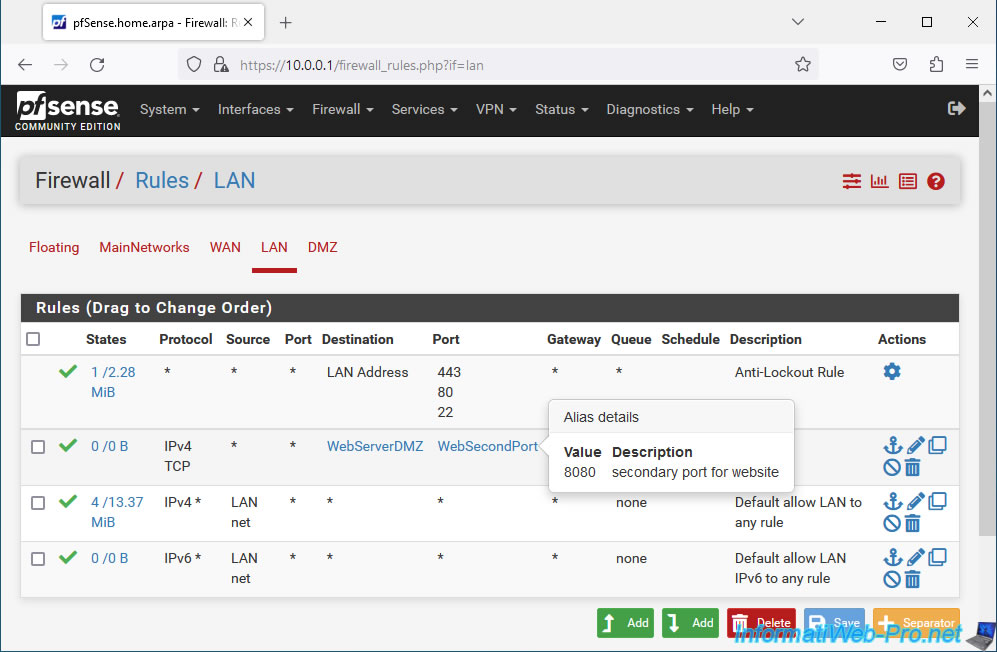
If you hover over the name of an alias, you will be able to see its value, as well as its description.
In addition, you can easily modify these aliases by clicking on their names.
Share this tutorial
To see also
-
Firewall 8/24/2025
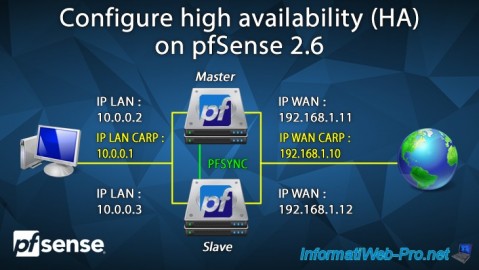
pfSense 2.6 - Configure high availability (HA)
-
Firewall 9/12/2025
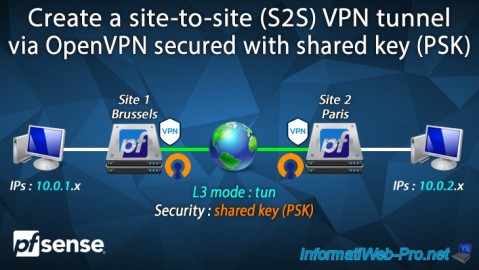
pfSense 2.6 - Create a site-to-site (S2S) VPN tunnel via OpenVPN secured with shared key (PSK)
-

Firewall 9/19/2025
pfSense 2.6 - Create a site-to-site (S2S) VPN tunnel via OpenVPN secured with SSL/TLS (L2 mode)
-
Firewall 8/16/2025
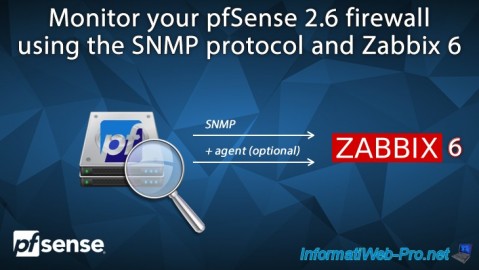
pfSense 2.6 - Monitoring via SNMP and Zabbix 6
You must be logged in to post a comment