- Firewall
- pfSense
- 17 May 2025 at 07:45 UTC
-

- 1/2

By default, you can manage your pfSense machine from its graphical interface or from its console (accessible locally on the PC or server where pfSense is installed).
However, you can also enable the SSH protocol to be able to manage pfSense from the command line (see using the pfSense console via SSH).
- Enable SSH on pfSense
- Connect via SSH to pfSense
- Allow login via SSH only with a key pair
- Password-protected console
1. Enable SSH on pfSense
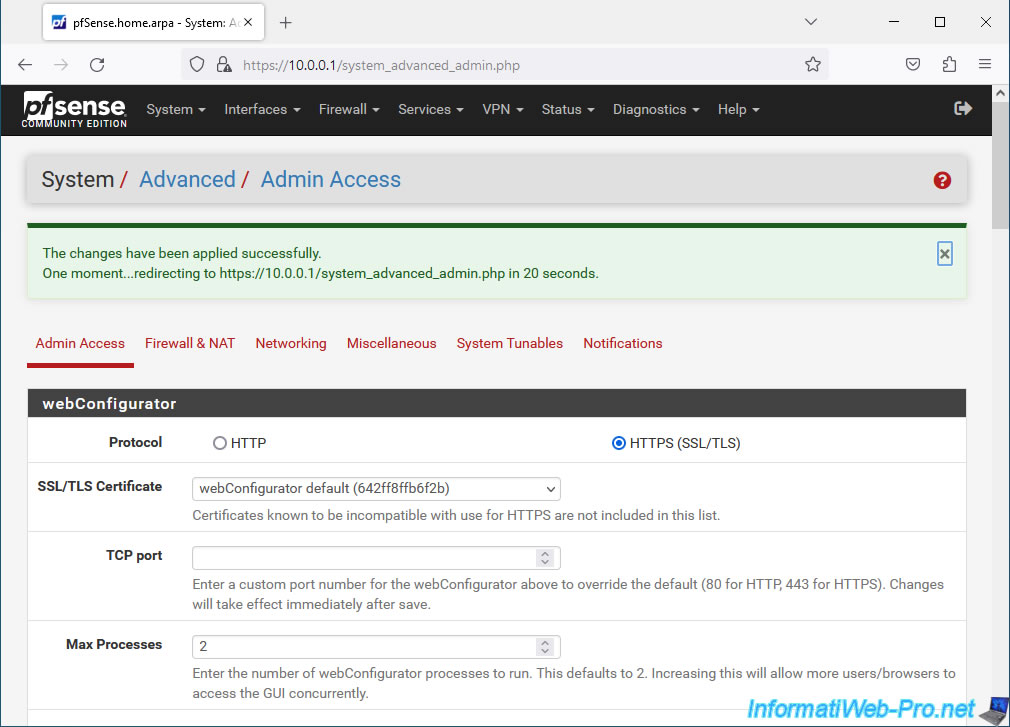
To enable the SSH protocol on pfSense, go to: System -> Advanced.
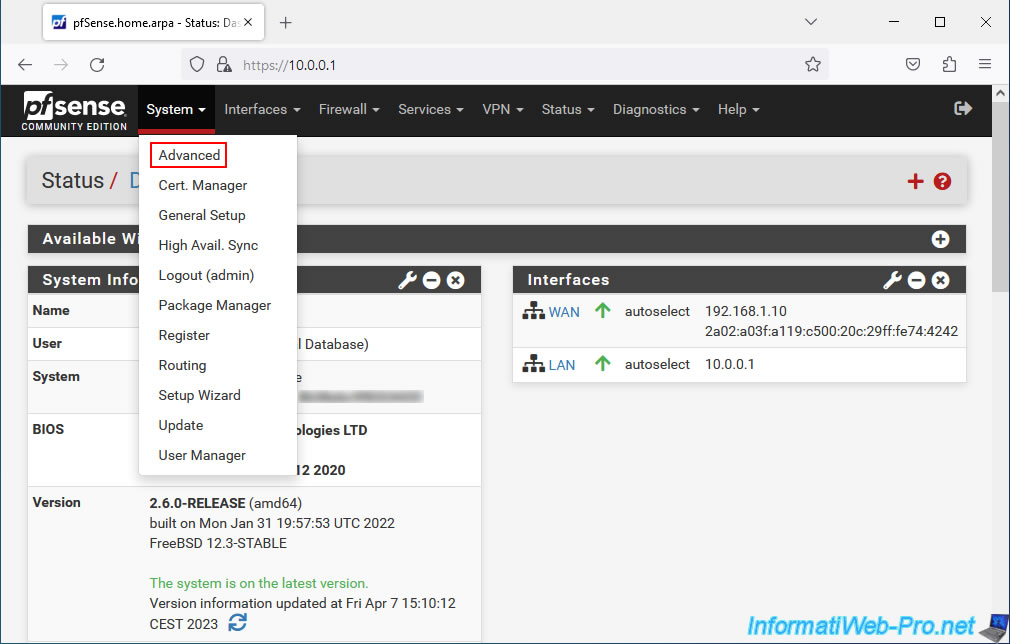
The "Admin Access" page appears.
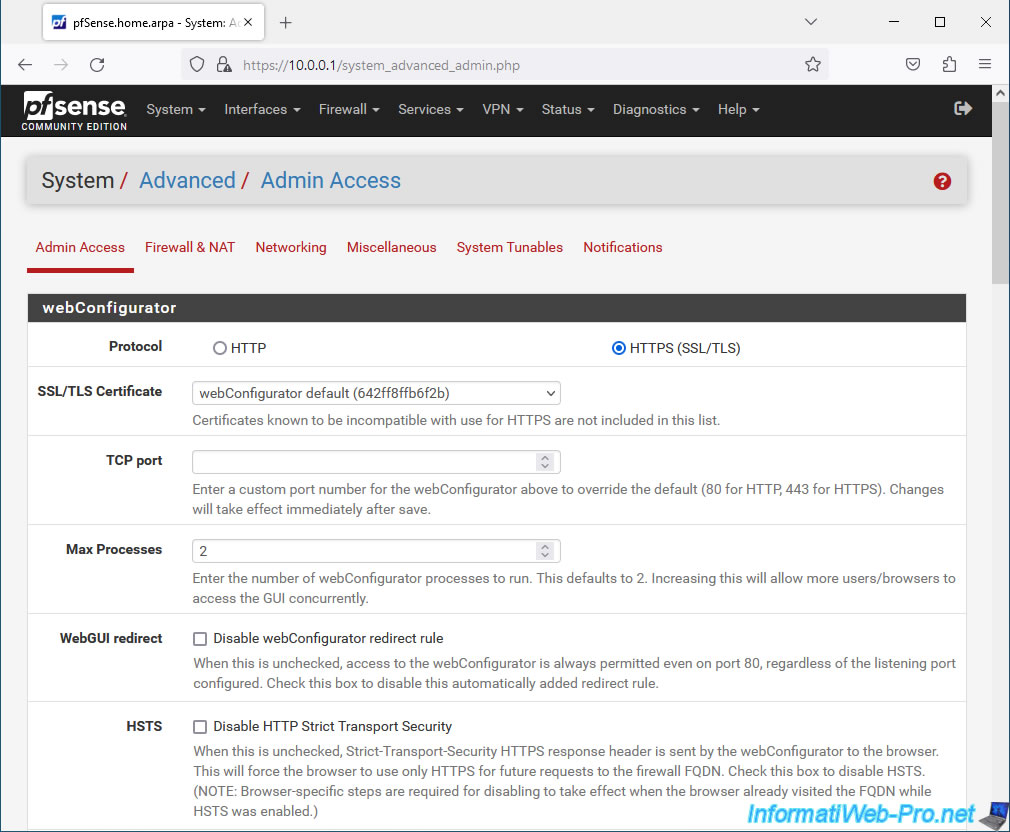
On this page, you will find a "Secure Shell" section (which therefore concerns SSH).
Check the "Enable Secure Shel" box to enable SSH on pfSense.
For connecting via SSH, you will find these settings:
- Secure Shell Server: allows you to enable the pfSense SSH server by checking the "Enable Secure Shell" box.
- SSHd Key Only:
- Password or Public Key: allows users to log in with their password or with a key pair (public key / private key).
This is the default choice. - Public Key Only: allows users to log in only via a key pair (public key / private key).
- Require Both Password and Public Key: requires users to log in with the correct password and an authorized key.
- Password or Public Key: allows users to log in with their password or with a key pair (public key / private key).
- Allow Agent Forwarding: checking the "Enables ssh-agent forwarding support" box allows you to run an agent on pfSense which will serve as an intermediary between your PC and the remote SSH server (other than this pfSense machine) to which you wish to connect. This way, the remote SSH server will only see the pfSense machine, even though you will control the responses and commands sent via your SSH client.
Warning: this may constitute a security vulnerability and is therefore disabled by default. - SSH port: by default, the port used by SSH is 22. But changing it can prevent brute-force attacks on the default port. Although a port scanner can also be used by an attacker to find the new port number used in your case for SSH.

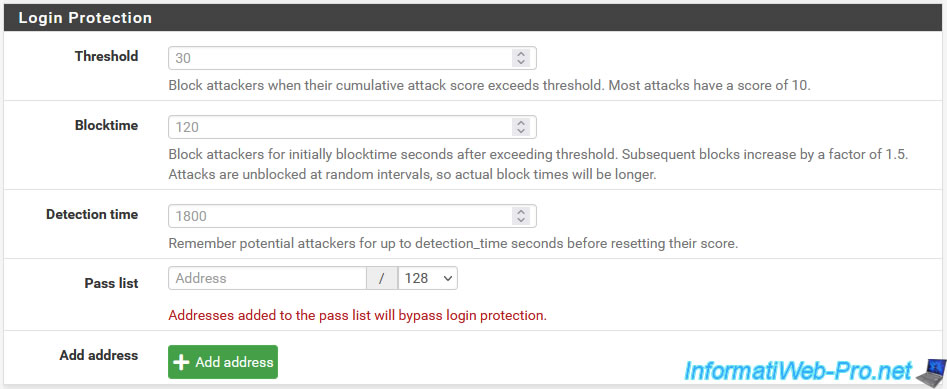
Below, you will find a "Login Protection" section which allows you to block brute-force attacks for connecting to the pfSense web interface, but also via SSH.
- Treshold: score above which attacks will be blocked.
Typically, attacks have a score of 10. The default value used by pfSense for blocking attacks is 30. - Blocktime: when an attacker exceeds this score, the attacker is initially blocked for the specified number of seconds (default: 120 seconds).
Then, the blocking duration is multiplied by 1.5 for each blocking.
Note that the block duration is random for security reasons, but always greater than the specified duration. - Detection time: the time during which an attacker's last attack will be memorized by sshguard (which manages blocking attackers via SSH during attacks).
- Pass list: allows you to authorize the IP address of machines or monitoring servers (for example) which can bypass this protection.
Indeed, monitoring servers can often connect to the pfSense SSH port without authenticating there. Which may seem suspicious to pfSense. - Add address: allows you to add IP addresses to the whitelist above.
At the bottom of the page, you will find an option "Password protect the console menu" allowing you to protect access to the pfSense console with a password.
In other words, the pfSense console accessible in particular from the PC or the server where pfSense will require that you connect as admin or as "root".
Note that the password for the "root" account is always the same as the current password for the "admin" account.
Click Save to save the new configuration.
Source : Admin Access Tab | pfSense Documentation.

At the top of the page, this message will appear.
Plain Text
The changes have been applied successfully.
One moment...redirecting to https://10.0.0.1/system_advanced_admin.php in 20 seconds.
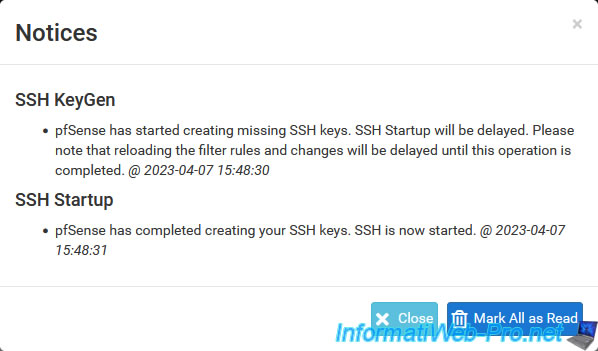
Then you will notice that a bell has appeared at the top right.
Click on it.
![]()
As you can see, these notifications are due to the creation of SSH keys.
- SSH KeyGen: creation of missing SSH keys.
- SSH Startup: the SSH keys have been created and the SSH server is started.
2. Connect via SSH to pfSense
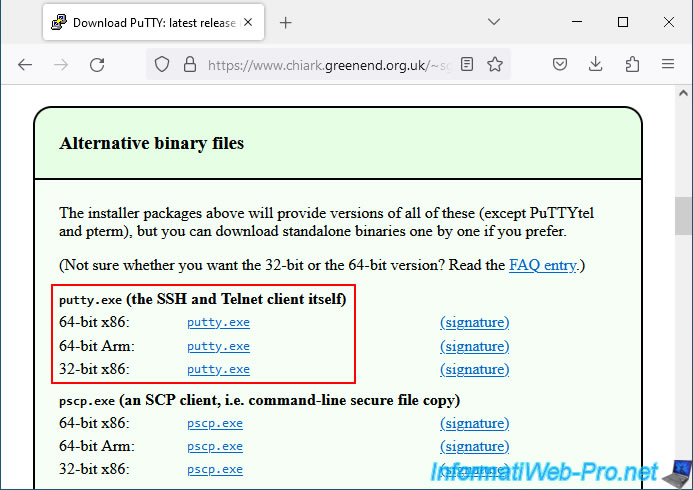
To connect via SSH to pfSense on Windows, use the SSH client "PuTTY" (for example).
To do this, on the Putty website, choose the "putty.exe" file.
Note: "64-bit x86" for the x64 version or "32-bit x86" for the x86 version.
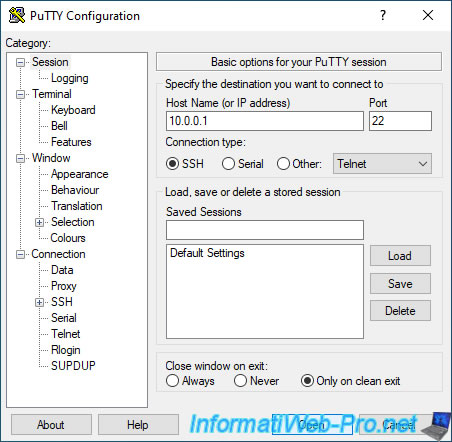
In the "PuTTY Configuration" window that appears, simply provide the IP address of pfSense and click "Open".
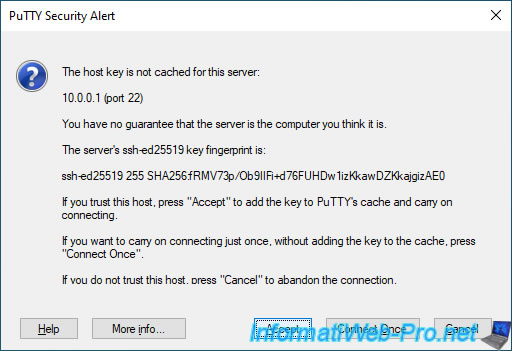
The first time you connect to pfSense via SSH, you will see its SSH fingerprint appear.
Click Accept.
Important : it's normal for this window to appear the first time you connect via SSH to pfSense.
On the other hand, if this window reappears the next time from the same PC, it is probably because you are connecting to a pirate server (or because pfSense has been reinstalled).
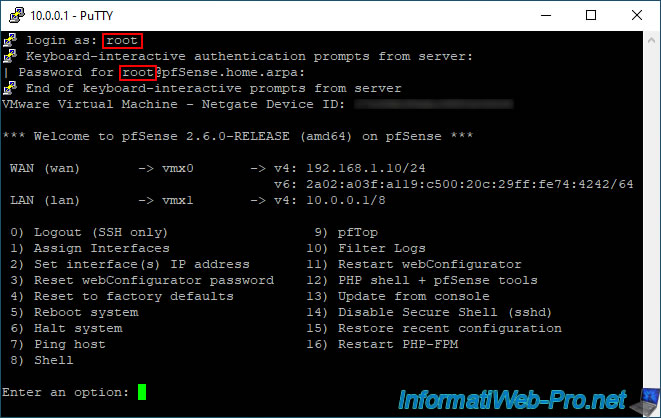
Authenticate as "root" or "admin".
By default, the pfSense console will automatically appear when connecting with one of these 2 accounts.
Note that the password for these 2 accounts is identical.
If you change the password of the pfSense "admin" account, the new password of the "root" account will also be changed.

Share this tutorial
To see also
-

Firewall 9/5/2025
pfSense 2.6 - Create a VPN server (remote access) via OpenVPN (L3 mode)
-
Firewall 6/6/2025
pfSense 2.6 - DDNS (dynamic DNS)
-

Firewall 5/15/2025
pfSense 2.6 - Installation on VMware ESXi
-
Firewall 6/13/2025
pfSense 2.6 - Schedule a rule in the firewall
You must be logged in to post a comment