Create a VPN server (remote access) via OpenVPN (in L3 mode) secured via SSL/TLS on pfSense 2.6
- Firewall
- pfSense
- 05 September 2025 at 19:07 UTC
-

- 2/4

3. Check firewall rules
If you checked the 2 boxes at the end of the OpenVPN wizard, the rules must have been created in the firewall.
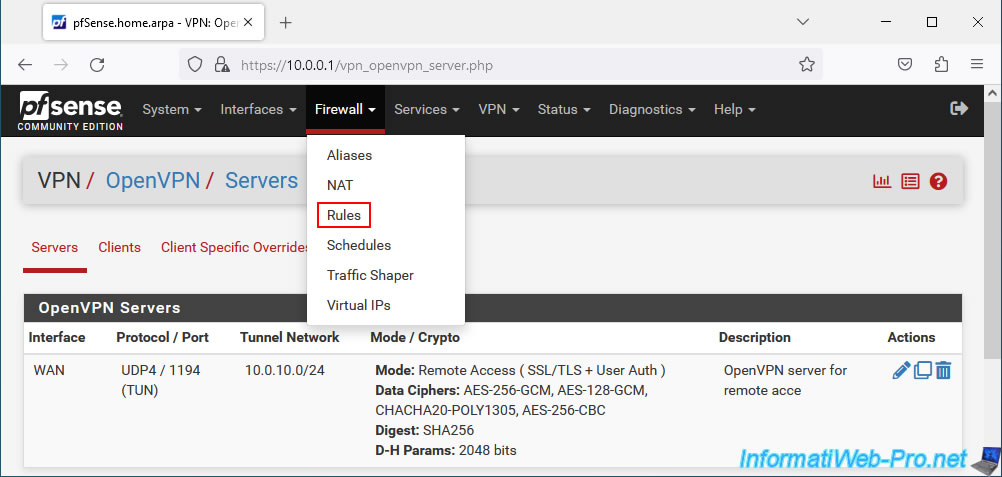
However, to check that these have been created, go to: Firewall -> Rules.
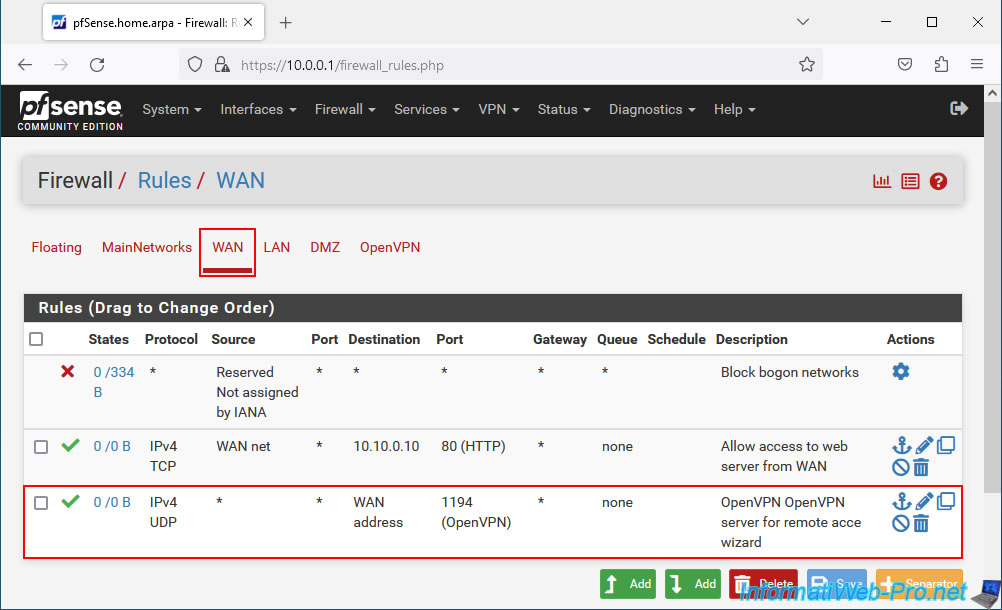
In the "WAN" tab, you will see that an "OpenVPN OpenVPN server for remote access wizard" rule has been created to allow IPv4 network traffic to UDP port 1194 (OpenVPN) of the pfSense WAN address.
Which allows OpenVPN clients to access your OpenVPN server from the Internet.
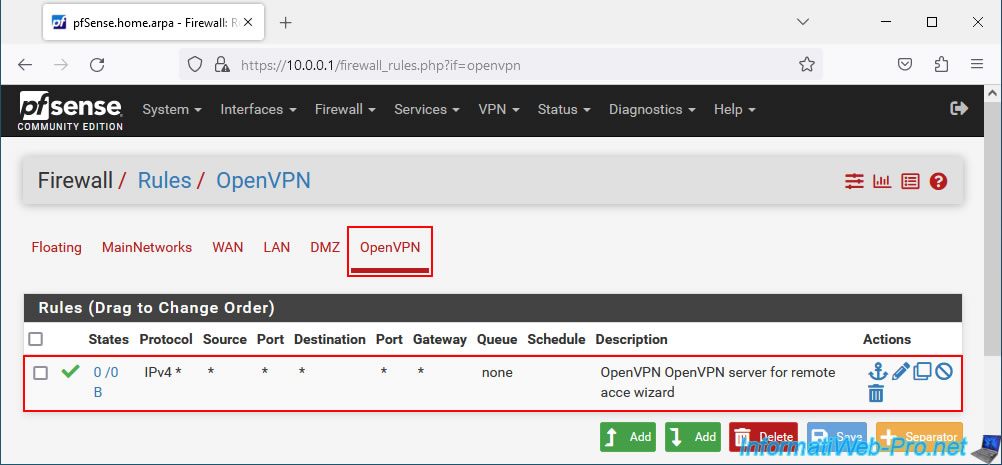
In the "OpenVPN" tab of the firewall, you will see that an "OpenVPN OpenVPN server for remote access wizard" rule has been created to allow all IPv4 network traffic into the OpenVPN tunnel.
4. Change OpenVPN server mode
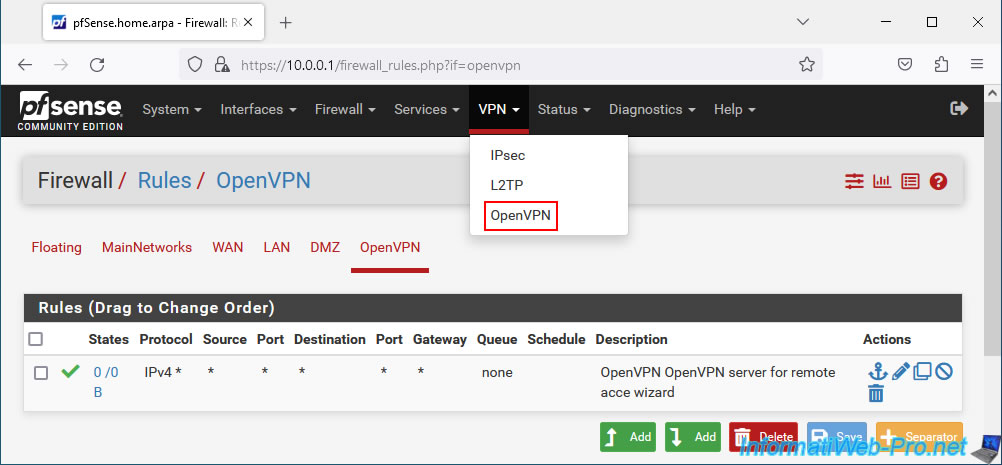
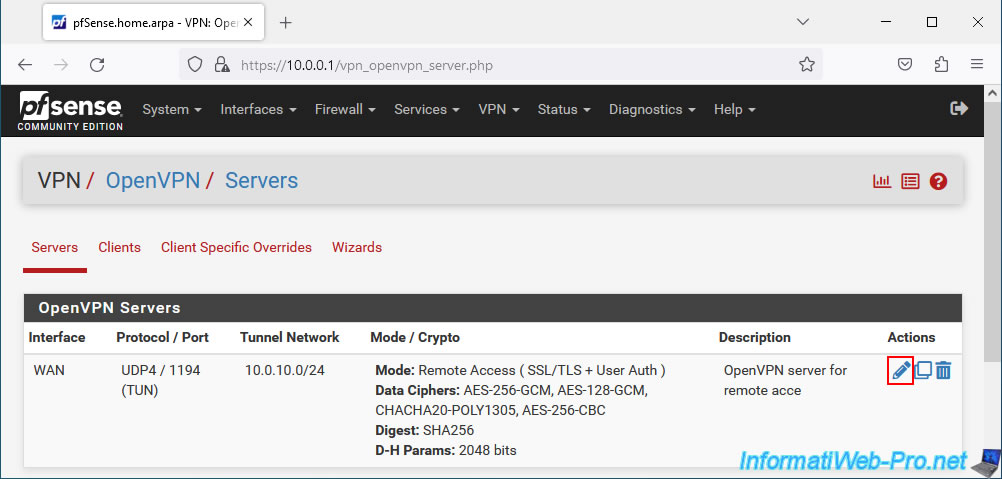
To change the server mode and more specifically the way your users will be authenticated, go to: VPN -> OpenVPN.
In the "Servers" tab, click on the small pencil to the right of your OpenVPN server.
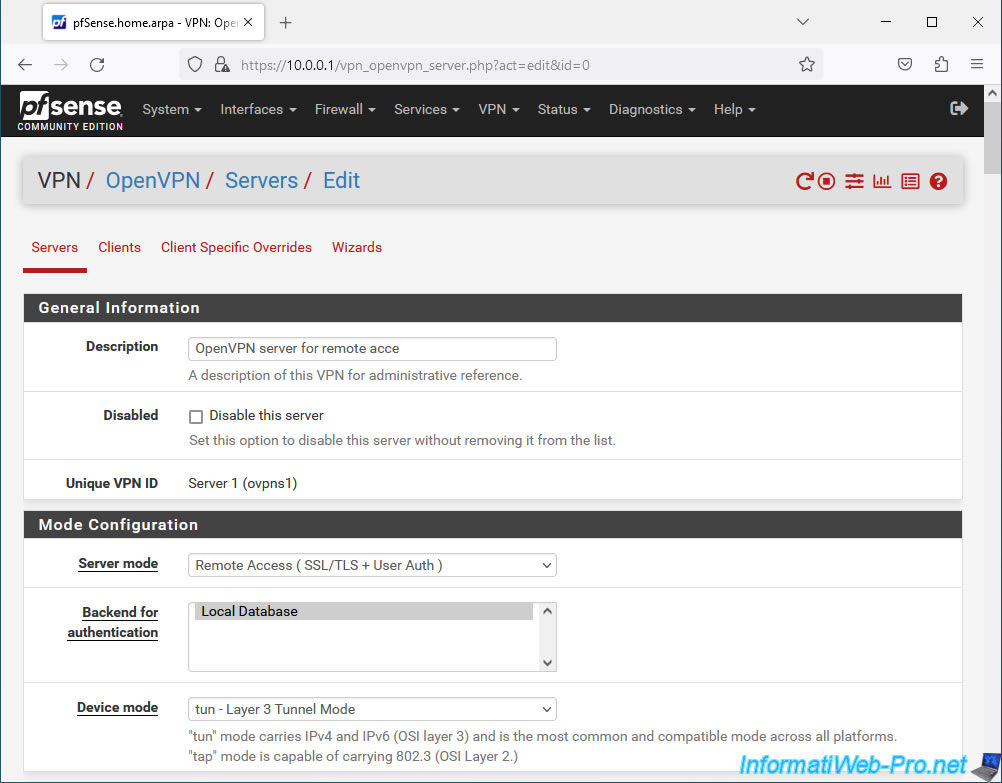
In the "Configuration Mode" section, locate the "Server mode" setting.
As you can see, at the moment your customers must log in with a local account in pfSense (User Auth) and have a user type certificate (SSL) in their account on pfSense.
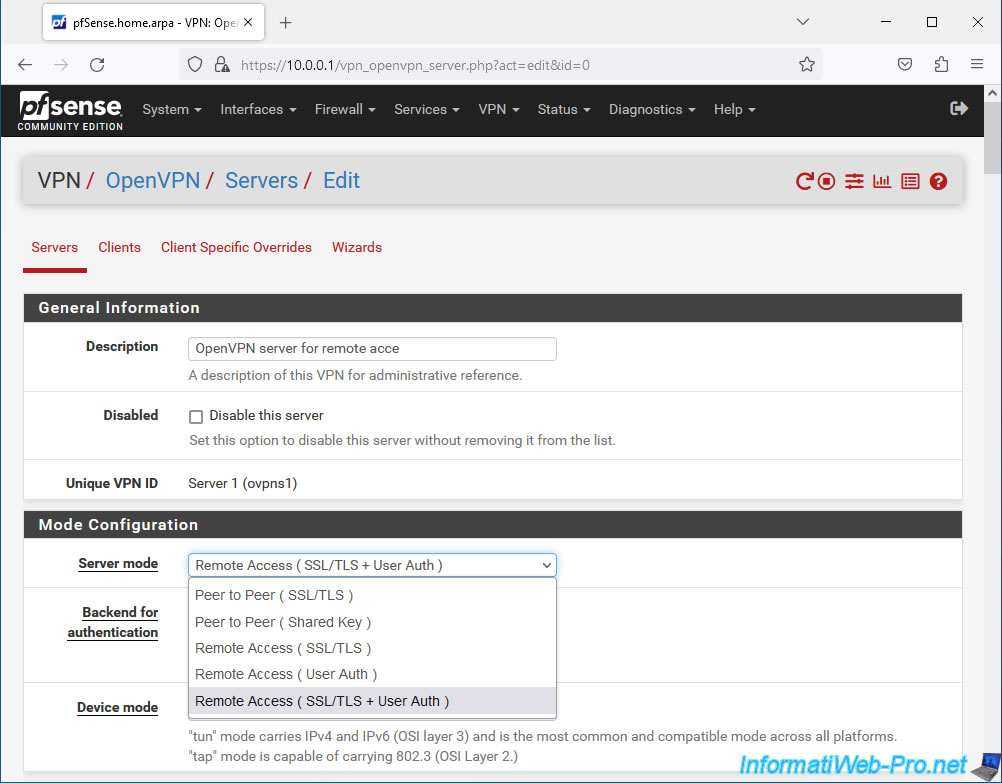
If you wish, you can choose one of the other "Remote Access" modes:
- Remote Access (SSL/TLS): requires only one SSL certificate per user and one TLS key (common to OpenVPN server and clients).
- Remote Access (User Auth): only requires a user account (local to pfSense in this case).
- Remote Access (SSL/TLS + User Auth): SSL certificate, TLS key + user account (as explained previously).
Warning : only requiring the SSL certificate can cause problems when a laptop on which it was located is stolen, for example.
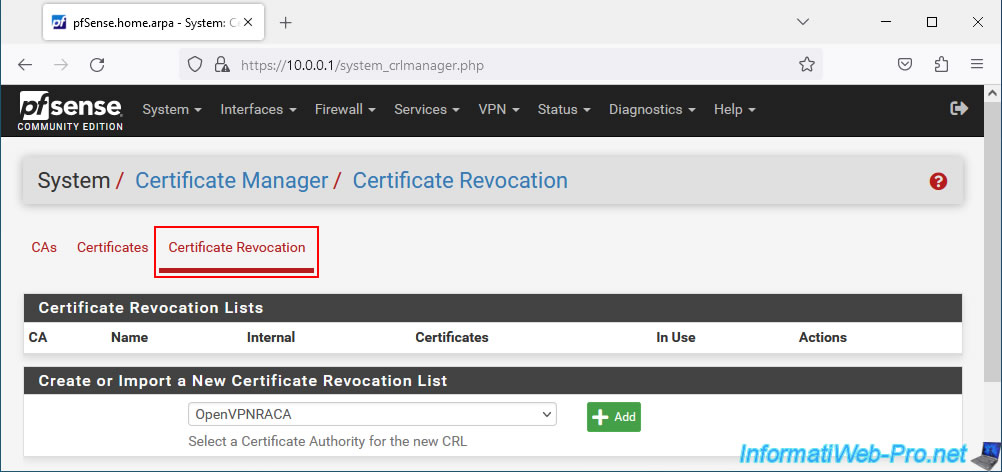
5. Revoke a certificate (optional)
If you think that a certificate has been understood (during the theft of a computer where an OpenVPN client was configured, for example), you can revoke the certificate concerned so that it is no longer valid.
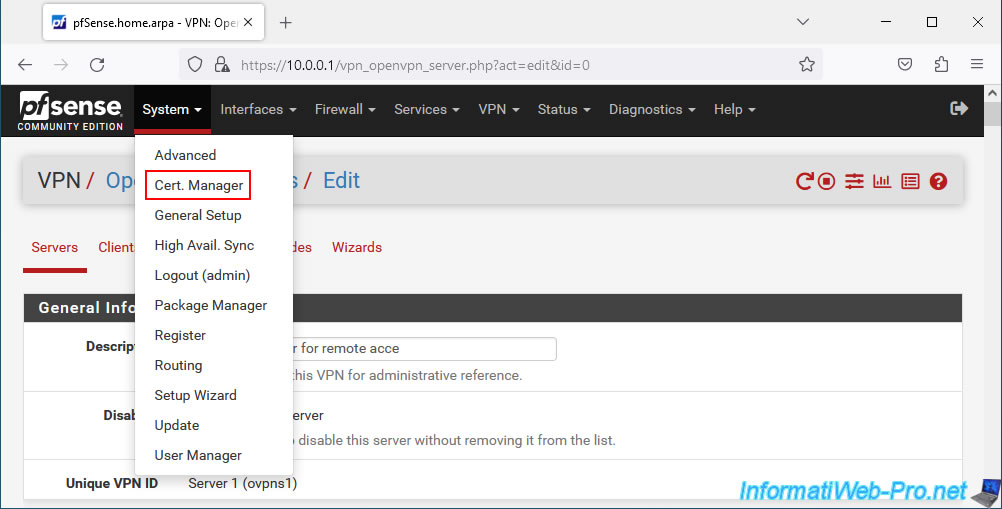
To do this, go to: System -> Cert. Manager.
Warning : you will then need to tell your OpenVPN server to use the revocation list created. Because by default, there is none.
To do this, locate the "Peer Certificate Revocation list" parameter in the configuration of your OpenVPN server.
In the "Certificate Revocation" tab, you will be able to select a certificate authority (CA) for which you want to create a new revocation list.
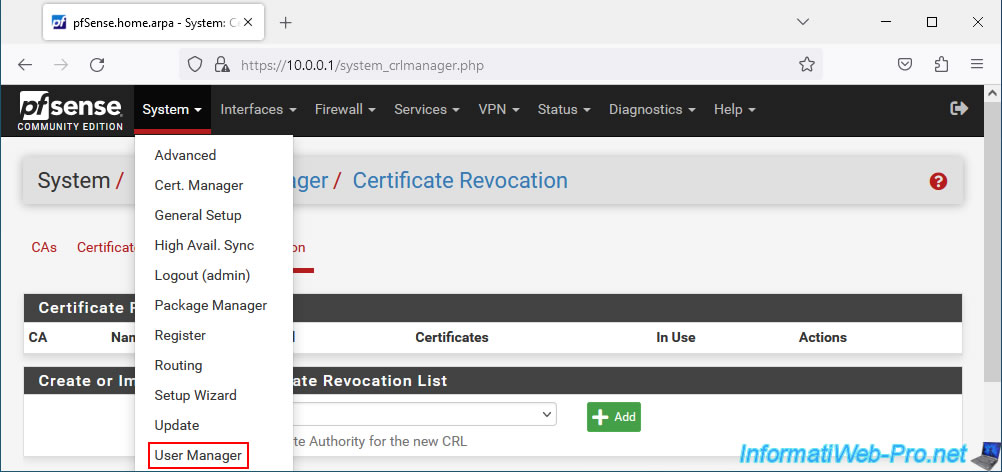
6. Add a user account on pfSense with a certificate (for OpenVPN)
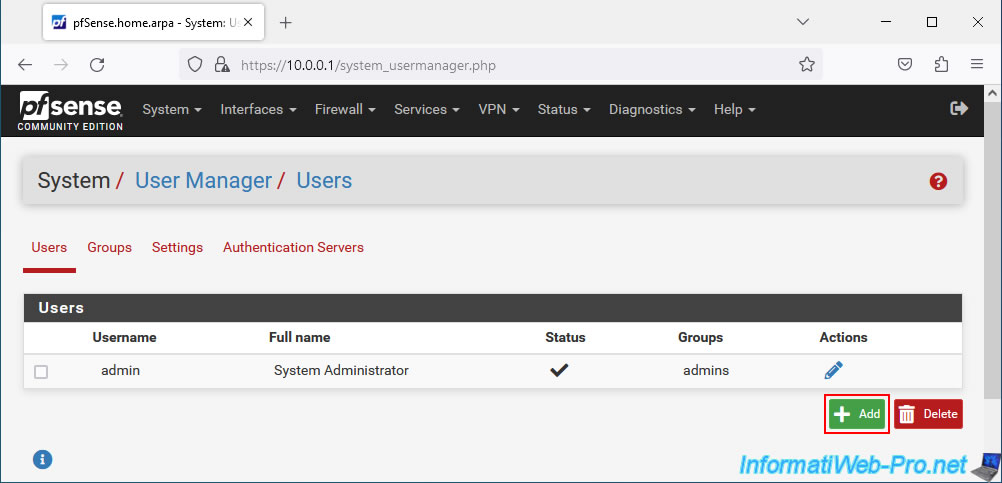
To add a user account on pfSense, go to: System -> User Manager.
In the "Users" tab, click: Add.
Specify a Username and Password for this user.
Then, check the "Click to create a user certificate" box for the "Certificate" parameter.
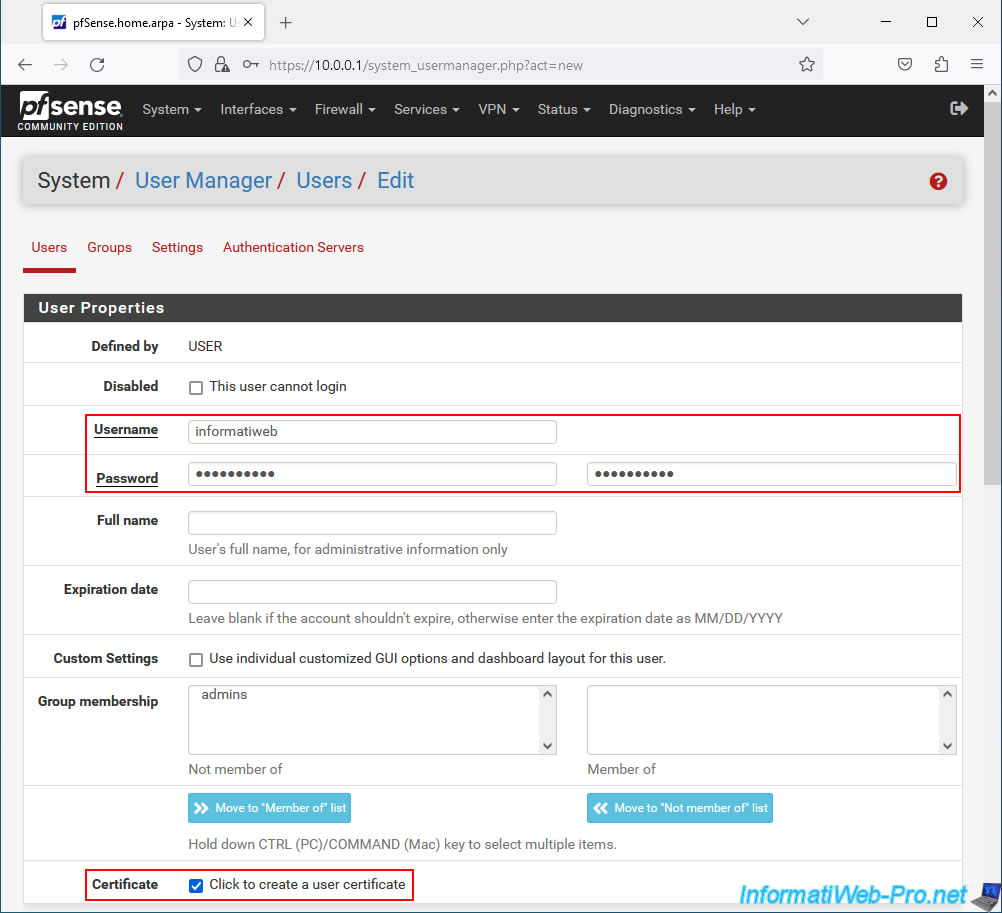
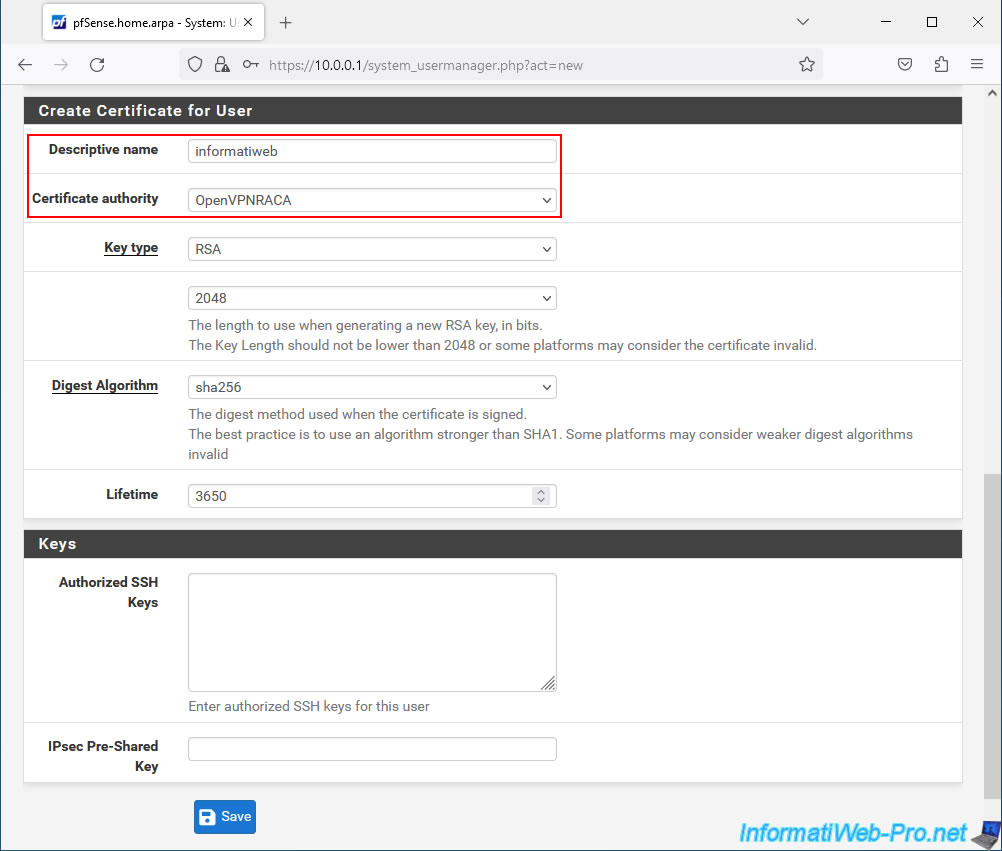
In the "Create Certificate for User" section that appears, indicate:
- Descriptive name: the same as for the username.
- Certificate authority: the internal certification authority (CA) to use.
In our case: OpenVPNRACA. - Lifetime: by default, the user certificate is valid for 10 years.
Click Save.
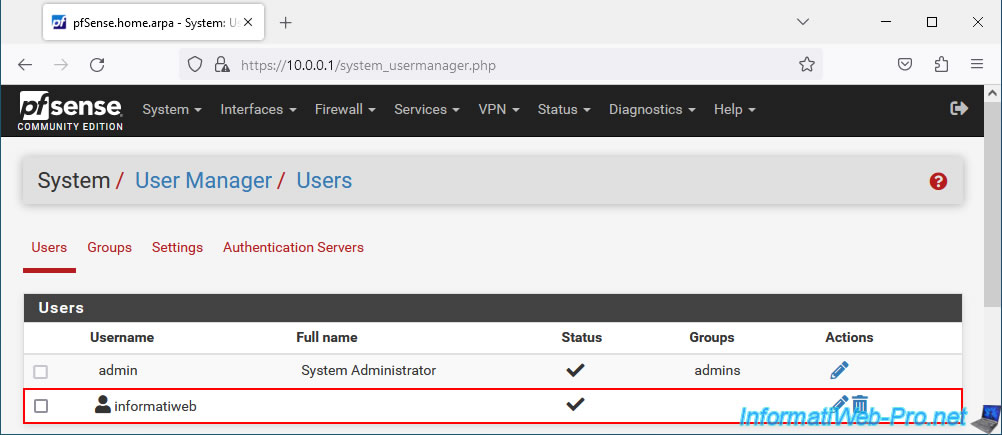
Your user has been created.
Share this tutorial
To see also
-
Firewall 9/12/2025
pfSense 2.6 - Create a site-to-site (S2S) VPN tunnel via OpenVPN secured with shared key (PSK)
-

Firewall 7/25/2025
pfSense 2.6 - Create and manage aliases
-

Firewall 5/30/2025
pfSense 2.6 - Enable and configure DHCP server
-
Firewall 7/16/2025
pfSense 2.6 - Renew web interface certificate
No comment