- Firewall
- pfSense
- 19 September 2025 at 07:48 UTC
-

- 1/7


On pfSense, you can create a site-to-site tunnel using OpenVPN so that 2 networks located on different physical sites can communicate together transparently.
Generally, you will use layer 3 of the OSI model as we explained in our "pfSense 2.6 - Create a site-to-site (S2S) VPN tunnel via OpenVPN secured with SSL/TLS (L3 mode)" tutorial since the subnets used at each physical site are supposed to be different.
However, there is a special case where you need to connect 2 physical networks using the same network ID. In particular, if you want to be able to migrate a virtual machine live (via VMware vMotion, for example) from one physical site to another.
Indeed, in this case, the IP configuration (IP address of the VM, IP address of the gateway, ...) must remain the same so that the virtual machine can continue to access the network and the Internet without problem.
In this case, you will need to create a VPN tunnel using layer 2 of the OSI model.
Important : to avoid IP address conflicts during multiple migrations of virtual machines from one site to another, we will only use a DHCP server which will be activated at the company headquarters.
Then, machines at other physical sites will receive their IP configurations via the layer 2 OpenVPN tunnel established between your 2 pfSense machines.
There will therefore only be one DHCP server which will distribute IP addresses, regardless of the physical source site. Which means there will never be a problem with IP address conflicts for dynamically distributed ones.
Note: as for the previous tutorials, the pfSense screen impressions with a white background concern site 1 (Brussels) and those with a black background concern site 2 (Paris).
- Create the certificates required to secure OpenVPN
- Change IP addresses of pfSense LAN interfaces
- Change the IP address ranges distributed across your 2 sites
- Check IP address leases on your DHCP servers
- Configure site 1 in Brussels for OpenVPN (at company headquarters)
- Create the OpenVPN server at the company headquarters
- Assign the virtual interface of the VPN server in TAP mode to a logical interface (OPTx) on site 1 (Brussels)
- Create the network bridge between the LAN and the OpenVPN tunnel on site 1 (Brussels)
- Authorize access to the OpenVPN server on site 1 (Brussels)
- Allow network traffic in the OpenVPN tunnel on site 1 (Brussels)
- Configure site 2 in Paris for OpenVPN
- Disable the DHCP server of site 2 (Paris)
- Import certificates for OpenVPN on site 2 (Paris)
- Create an OpenVPN client on site 2 (Paris)
- Assign the virtual interface of the VPN client in TAP mode to a logical interface (OPTx) on site 2 (Paris)
- Create the network bridge between the LAN and the OpenVPN tunnel on site 2 (Paris)
- Allow network traffic in the OpenVPN tunnel on site 2 (Paris)
- Check OpenVPN tunnel status
- View logs for OpenVPN
- Testing ping via the OpenVPN tunnel
- DHCP traffic blocked by default
- Allow DHCP traffic through network bridge
- Testing access to a website from a remote site
- Add the OpenVPN widget to the pfSense dashboard (optional)
1. Create the certificates required to secure OpenVPN
To secure the OpenVPN tunnel on pfSense, you will need 3 certificates:
- an internal certification authority (CA) certificate
- a certificate for the OpenVPN server (which will be installed at the company headquarters)
- a certificate for each OpenVPN client (which will be installed on the company's other sites)
To create these certificates at your company headquarters, in our case in Brussels, follow our tutorial "pfSense 2.6 - Create a site-to-site (S2S) VPN tunnel via OpenVPN secured with SSL/TLS (L3 mode)" until step 1.4.
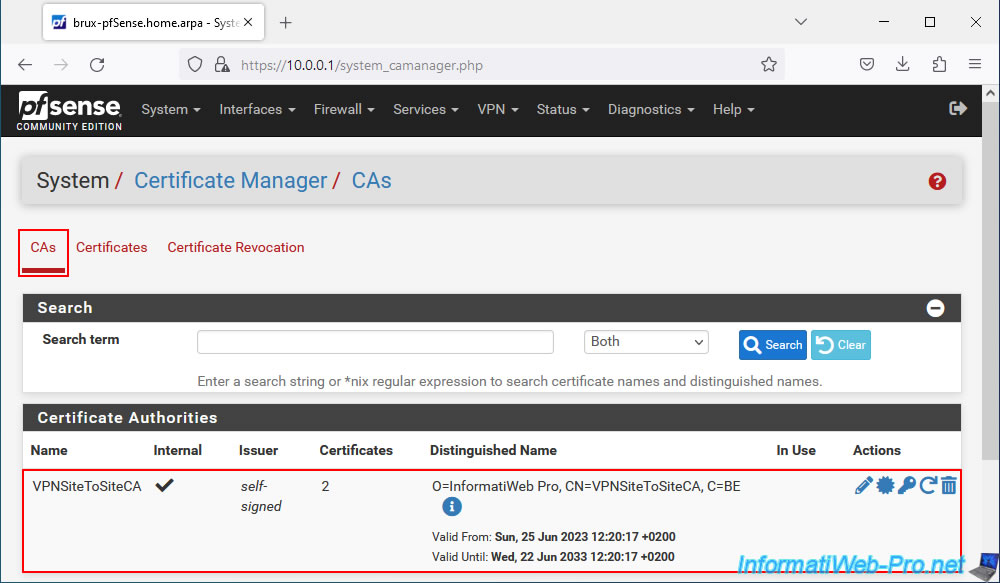
Which will give you this:
- VPNSiteToSiteCA: the internal certificate authority (CA) certificate.
- VPNserverBrux: the "server" type certificate for the future OpenVPN server.
- VPNclientParis: the "user" type certificate for the future OpenVPN client.
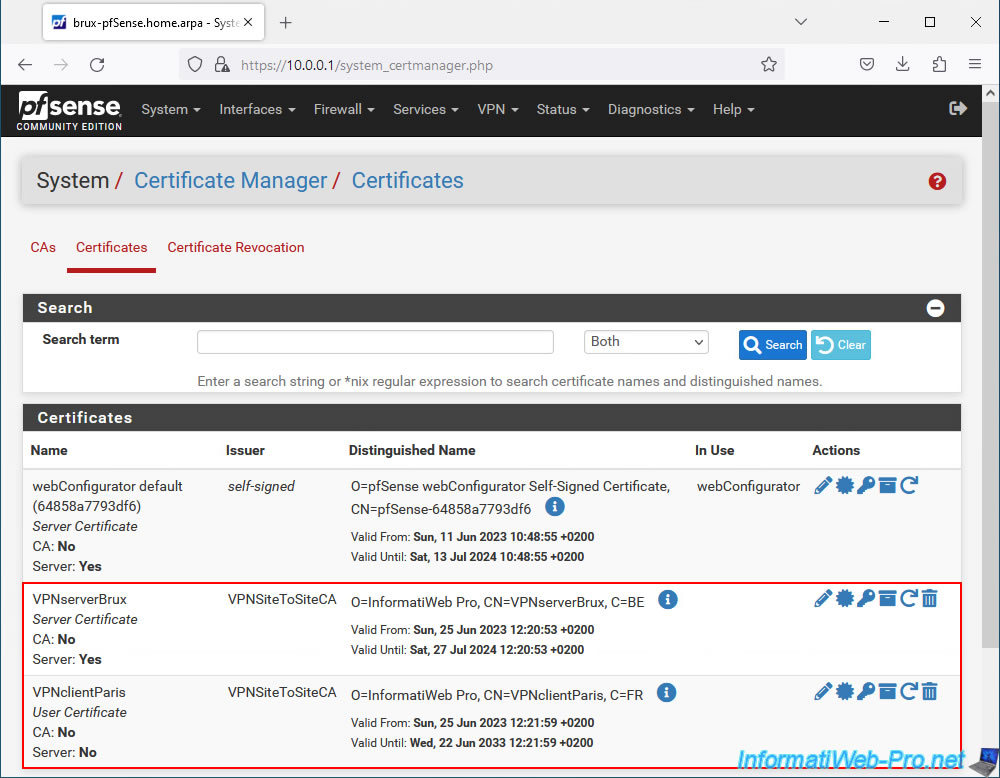
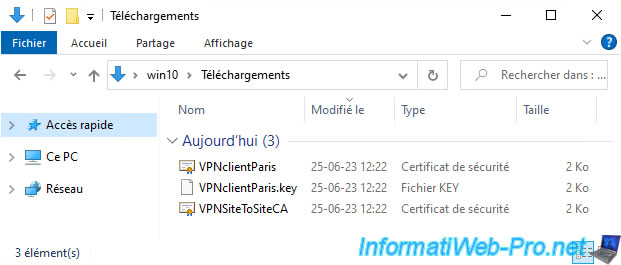
By following the steps in the tutorial cited above, you should also have these 3 files:
- VPNclientParis: the certificate for the OpenVPN client.
- VPNclientParis.key: its associated private key.
- VPNSiteToSiteCA: the certificate of your internal certification authority (CA) created under pfSense.
2. Change IP addresses of pfSense LAN interfaces
Since the IP addressing is the same at your different physical sites, it's important that the IP address of the LAN interfaces of your pfSense machines is different.
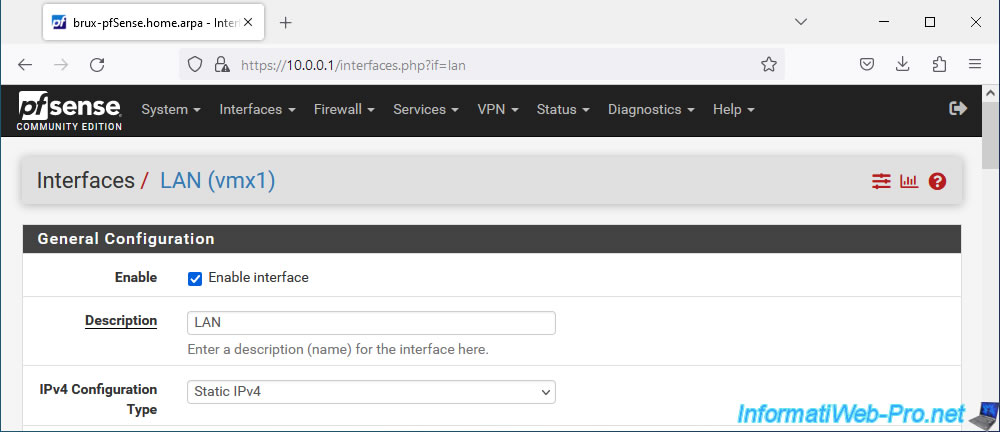
To change the IP address of a LAN interface, go to: Interfaces -> LAN.
On site 1, the pfSense LAN interface has the IP address "10.0.0.1" in our case.
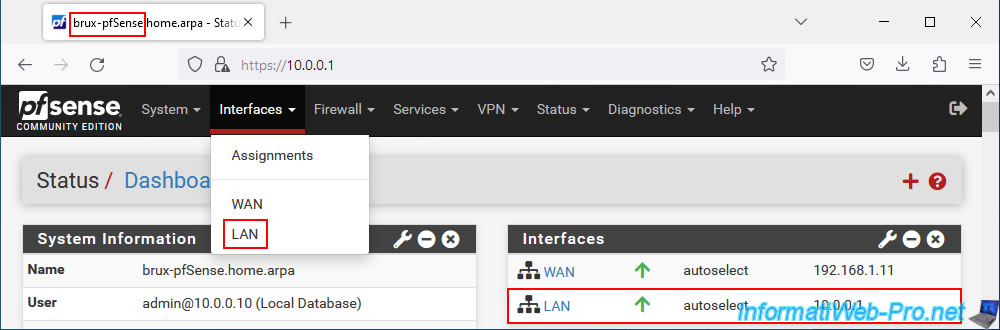
In our case, this LAN interface has a static IP v4 address.
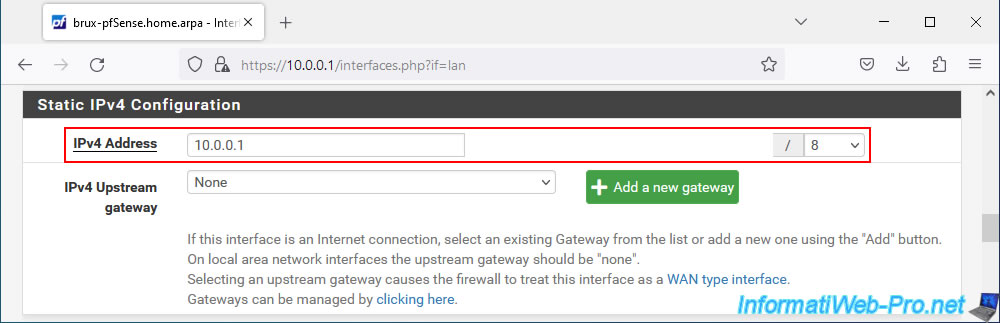
In our case, this static IPv4 address is: 10.0.0.1.
We will keep this IP address for the LAN interface of site 1 (Brussels).
Important : make sure that the subnet mask (in our case: /8) is the same for the LAN network of your 2 pfSense machines.
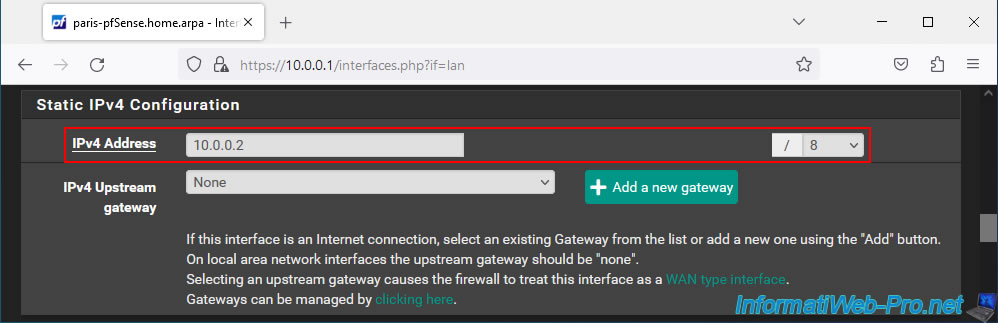
On site 2 (Paris), we will use the IP address "10.0.0.2" for its LAN interface.
Important : the subnet mask used (/8) is the same as for the LAN network of site 1.
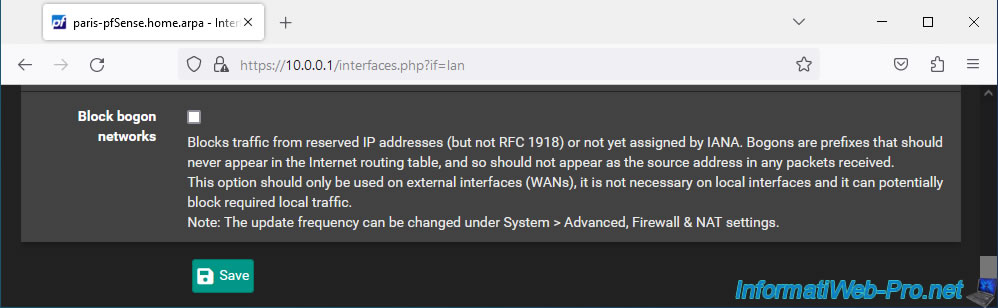
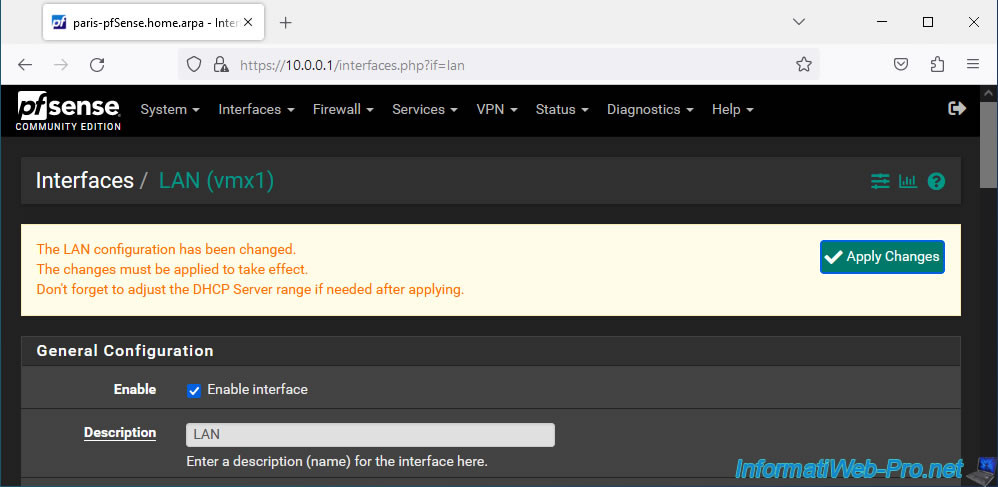
Click "Save" at the bottom of the page if you have changed the IP address of this LAN interface.
Click "Apply Changes", then after a few seconds, type the new LAN IP address yourself into your browser's address bar.
Indeed, the old address no longer exists since you have just changed the IP address of the pfSense LAN interface.
Since the IP address has changed, you must log in again as admin to pfSense.
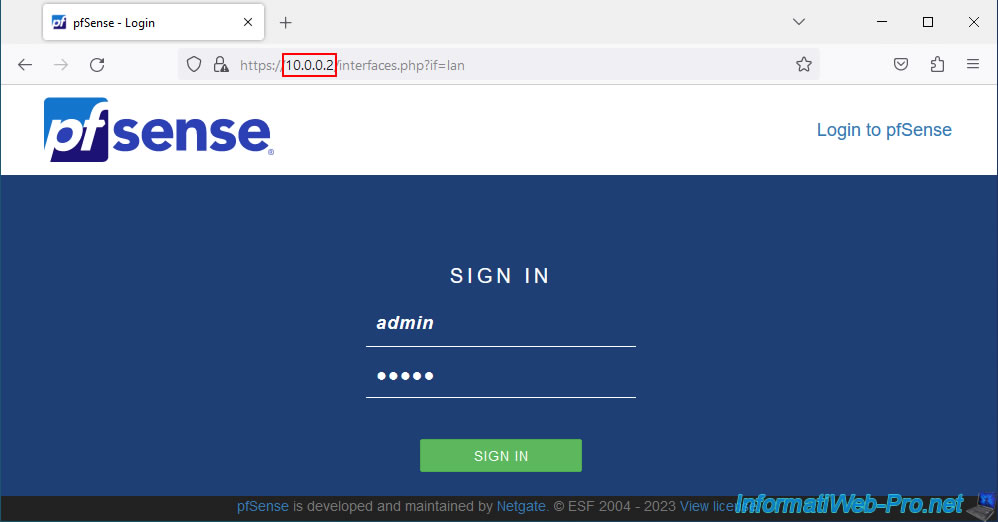
Now, the pfSense machine at site 2 (Paris) has the LAN IP address "10.0.0.2".

3. Change the IP address ranges distributed across your 2 sites
To avoid an IP address conflict occurring when you create your Layer 2 OpenVPN tunnel, make sure to use a different IP address range on each site, but with the same network ID.
Thus, the machines will have different IP addresses on the 2 sites, but will be able to communicate with each other without problem when the 2 physical networks are connected given that the same subnetwork is used on the 2 sites.
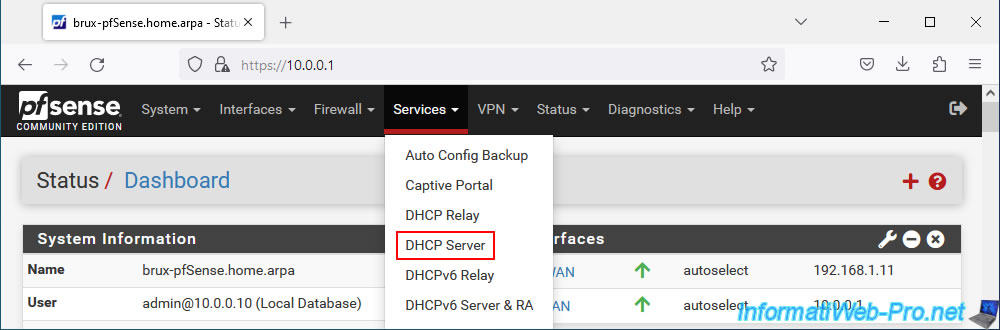
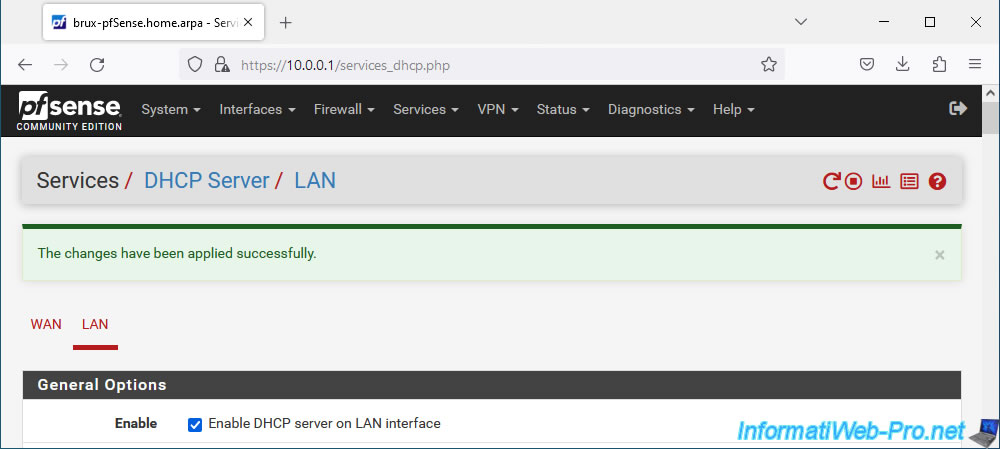
To do this, on site 1 (Brussels), go to: Services -> DHCP Server.
As you can see, our DHCP server is enabled on site 1 (Brussels) and we distribute IP addresses "10.0.0.10" to "10.0.0.50".

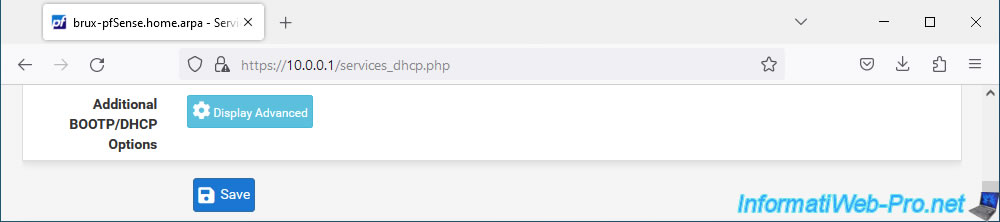
At the bottom of the page, click Save.
The DHCP server changes have been saved.
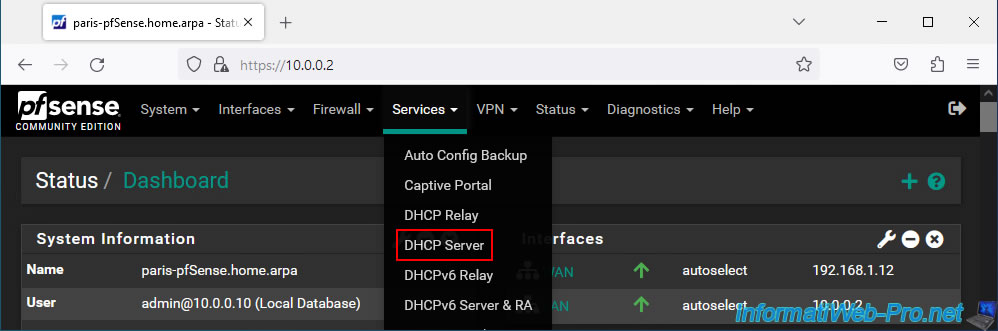
On site 2 (Paris), also go to the menu: Services -> DHCP Server.
Temporarily, leave the site 2 DHCP server enabled.
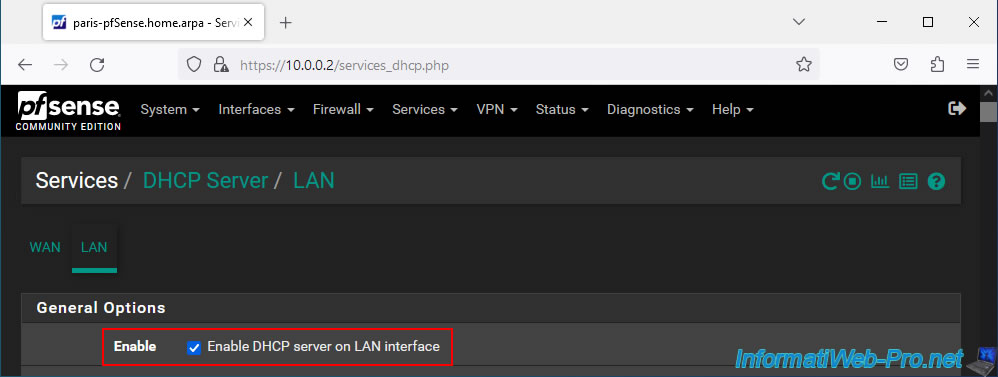
But, define a different IP address range (keeping the same subnet) so that your machines on site 2 (Paris) do not use the same IP addresses as the machines on site 1 (Brussels).

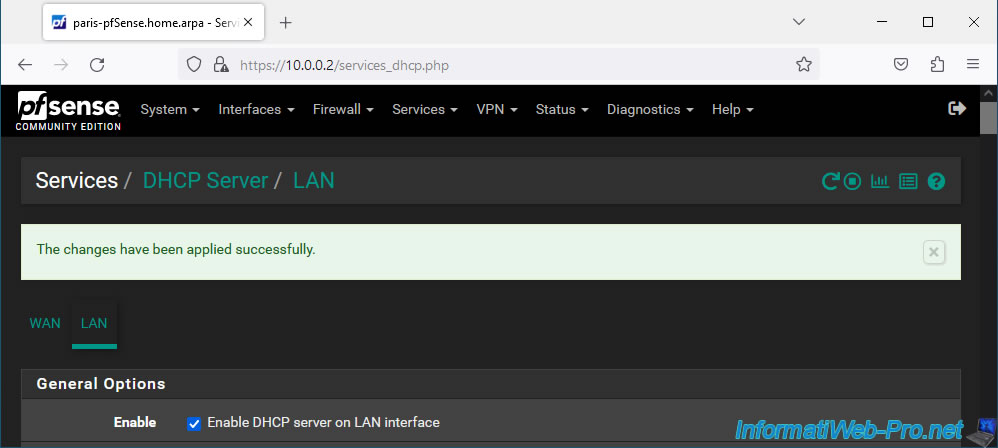
At the bottom of the page, click Save.

Modifications have been saved.
4. Check IP address leases on your DHCP servers
Now that the IP address ranges have been modified on your 2 DHCP servers, it is important to verify that the IP addresses already distributed will not conflict once the tunnel is established.
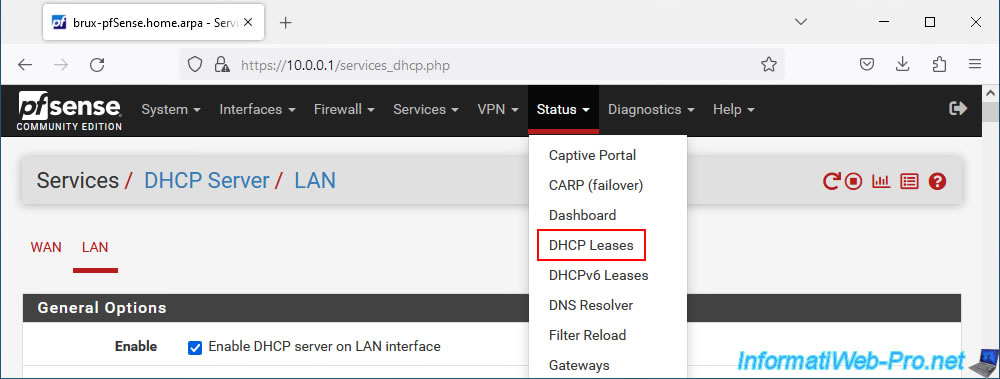
To check DHCP leases, go to: Status -> DHCP Leases.
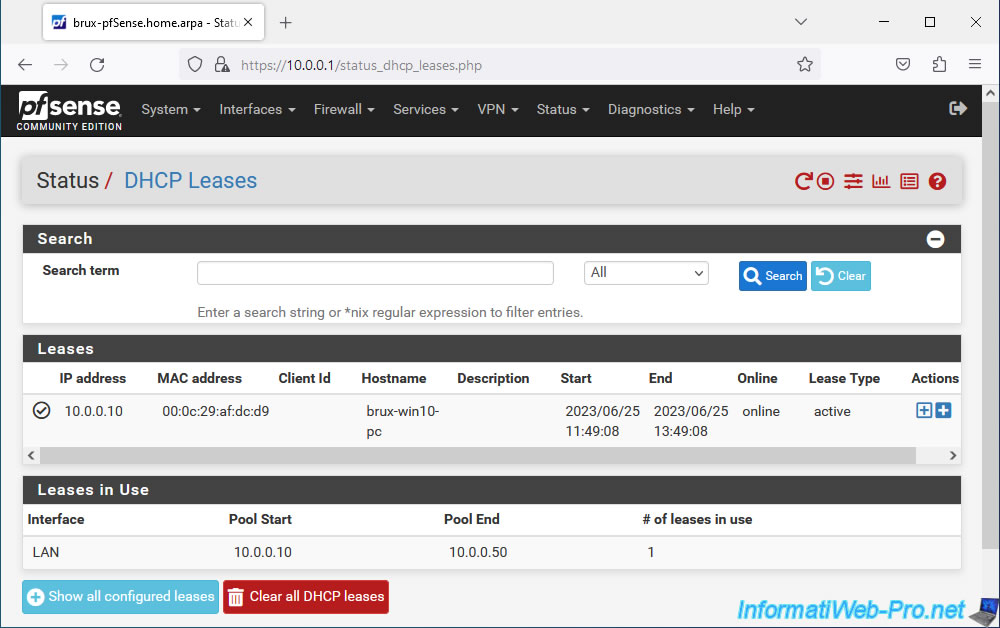
In our case, your PC "brux-win10-pc" on site 1 (Brussels) has the IP address "10.0.0.10".
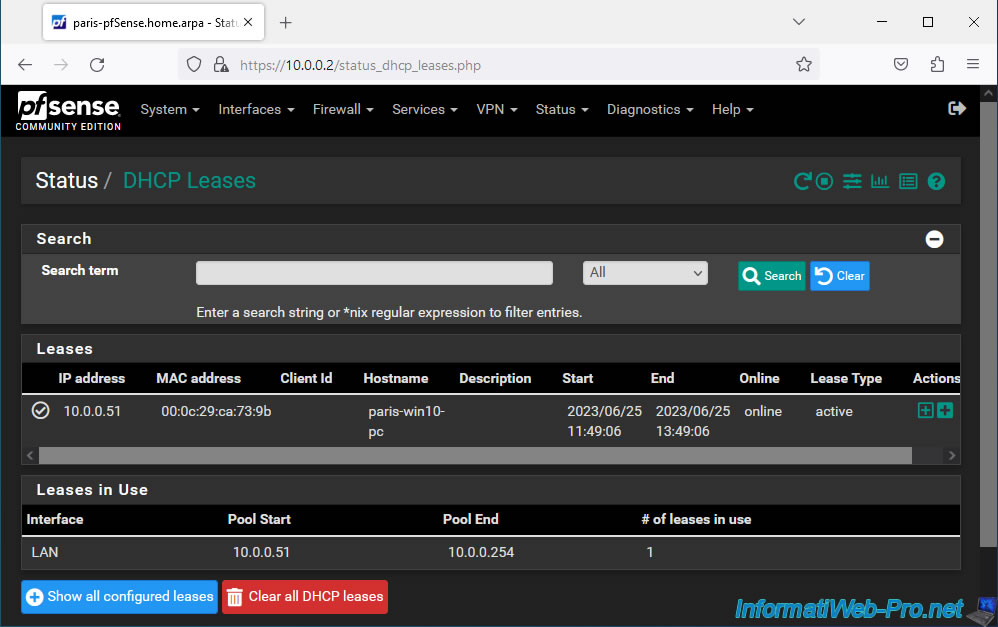
On site 2 (Paris), our PC "paris-win10-pc" has the IP address "10.0.0.51".
So there will be no problem of IP address conflict in our case.
Note: if you need to change the IP address of a machine, disable and then re-enable its network card so that it receives a new IP address that is part of the new IP address range. Or use the commands "ipconfig /release", then "ipconfig /renew" from a command prompt.
Share this tutorial
To see also
-

Firewall 8/8/2025
pfSense 2.6 - Configure a LACP link (LAGG)
-

Firewall 8/13/2025
pfSense 2.6 - Create a captive portal
-

Firewall 7/2/2025
pfSense 2.6 - Enable NAT reflection
-

Firewall 6/18/2025
pfSense 2.6 - Manage quality of service (QoS)
You must be logged in to post a comment