Create a site-to-site (S2S) VPN tunnel via OpenVPN secured with SSL/TLS (L2 mode) on pfSense 2.6
- Firewall
- pfSense
- 19 September 2025 at 07:48 UTC
-

- 7/7

11. Allow DHCP traffic through network bridge
To resolve the issue, simply add a rule in the firewall of this pfSense machine (where the OpenVPN client is installed).
To do this, go to: Firewall -> Rules.
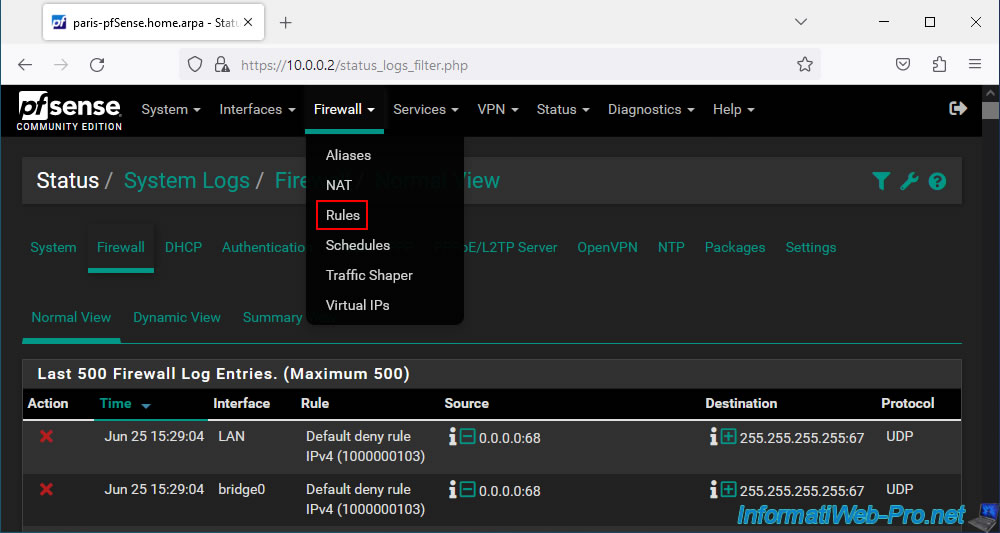
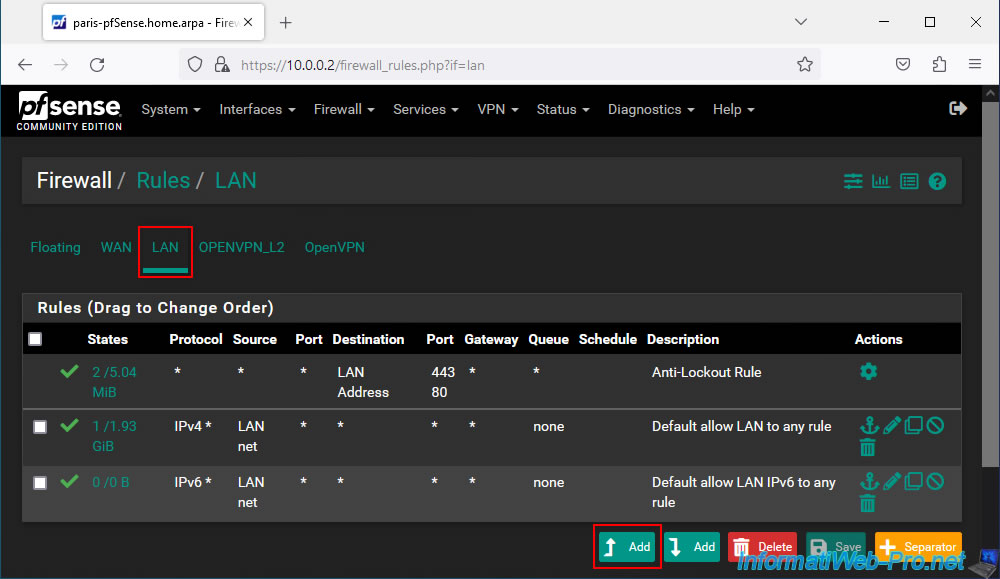
Select the "LAN" interface (visible above in the firewall logs) and click: Add.
Note that it is not possible to create rules in the firewall for a network bridge and therefore these rules must be created on the appropriate interface that is a member of that network bridge.
In this case, the "LAN" interface.
Source : Bridging Two Internal Networks - DHCP and Internal Bridges | pfSense Documentation.
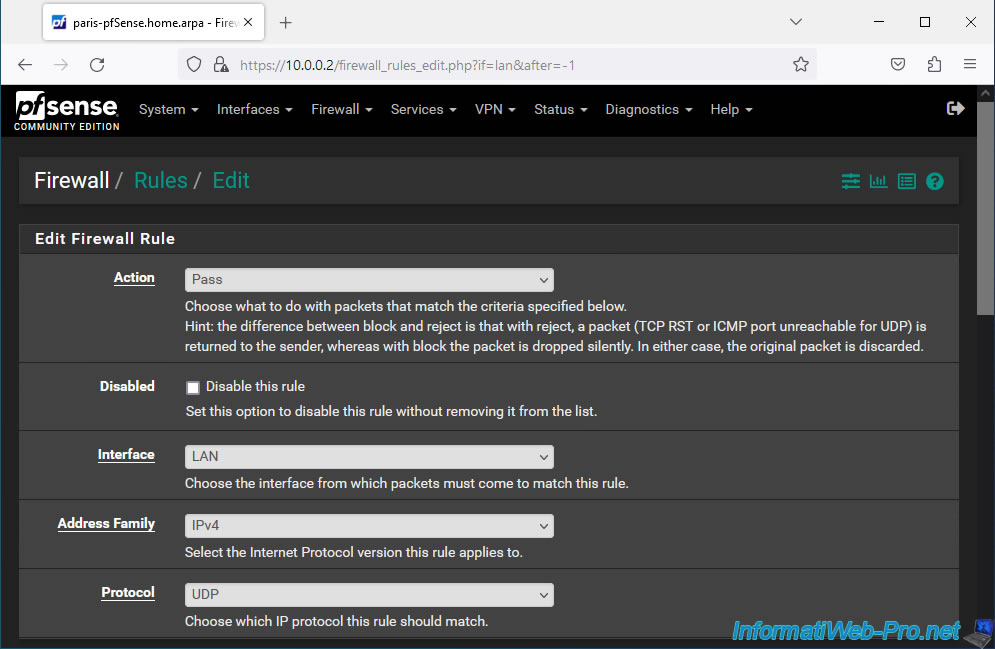
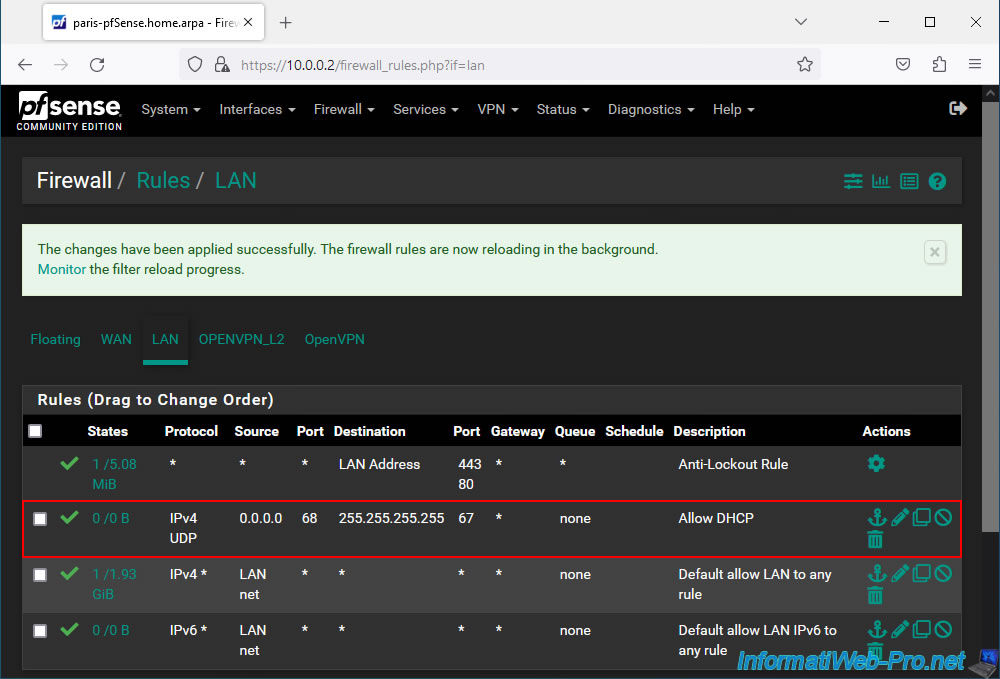
Configure this firewall rule like this:
- Action: Pass. To allow network traffic.
- Interface: LAN.
- Address Family: IPv4.
- Protocol: UDP. As said before, DHCP uses the UDP protocol.
- Source: select "Single host or alias" and specify "0.0.0.0".
In fact, the source machine does not have an IP address when it sends its DHCP request. So, you must specify "0.0.0.0" (as specified in the pfSense documentation). - Source Port Range: 68.
The DHCP client (from the source machine) uses UDP port 68. - Destination: select "Single host or alias" and specify "255.255.255.255".
As explained previously, the DHCP request is sent to the broacast address. So at the address "255.255.255.255". - Destination Port Range: 67.
The DHCP server listens on UDP port 67. - Description: Allow DHCP.
Then, click Save.

Once the rule is created, click: Apply Changes.
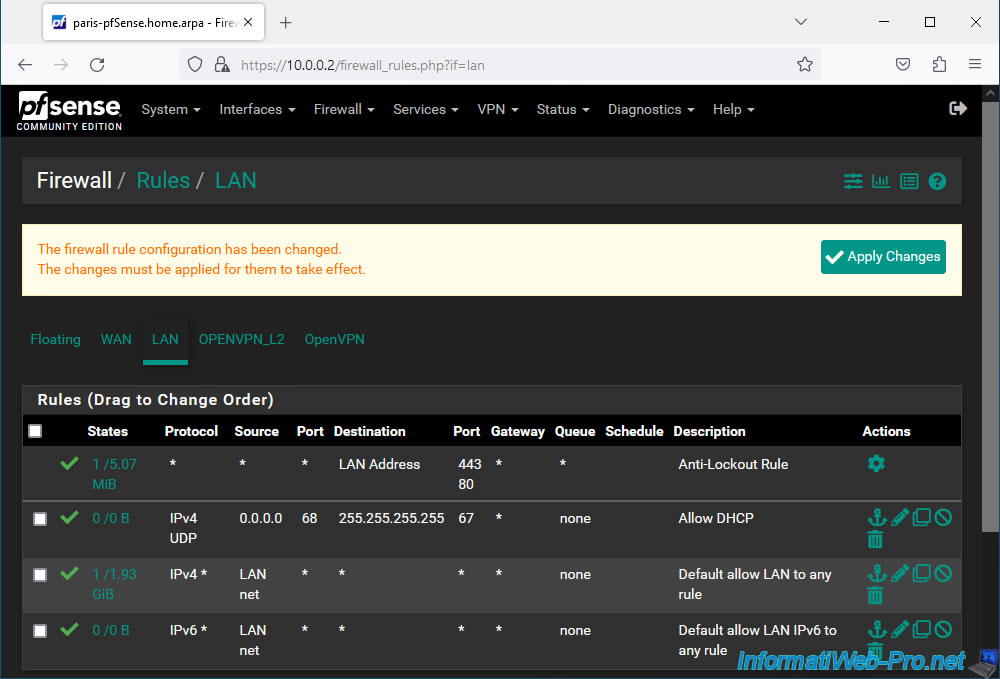
Now, broadcast type DHCP traffic is allowed.
On your PC at site 2 (Paris), reset its network card, then request a new IP address by executing these commands:
Batch
ipconfig /release
ipconfig /renew
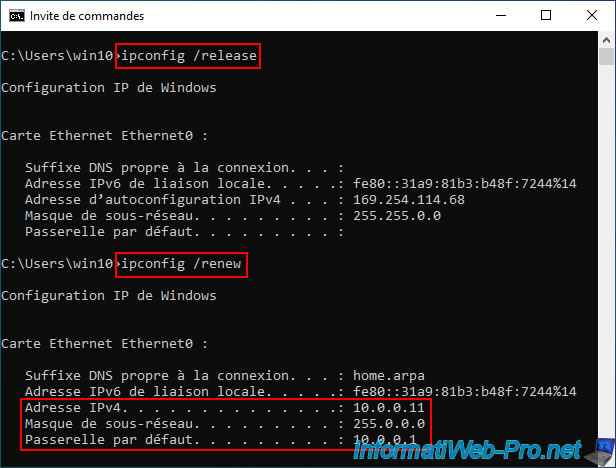
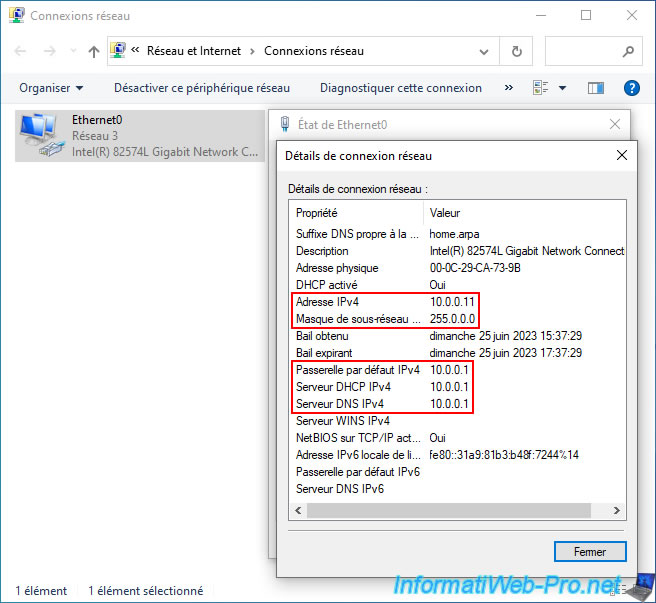
If you view the details of your network connection, you will see that this machine physically located at site 2 (Paris) received an IP address from the DHCP server at site 1 (Brussels) whose IP address is "10.0.0.1".
Note: as a reminder, in our case, the IP address "10.0.0.1" corresponds to the IP address of the LAN interface of the pfSense machine on site 1 (Brussels).
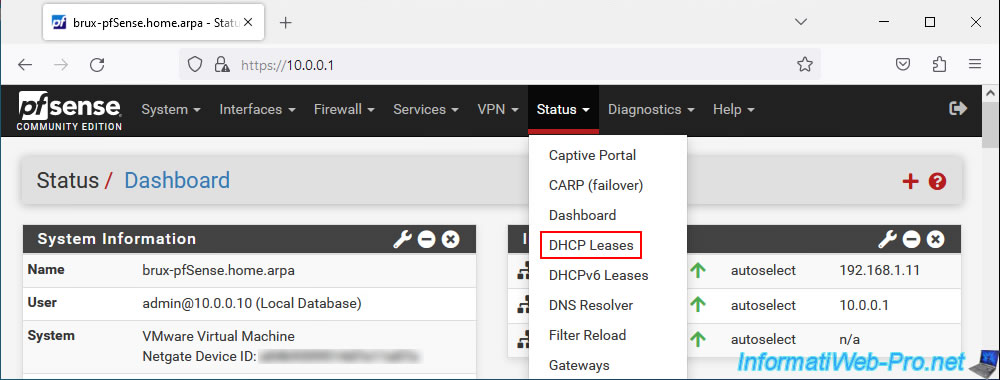
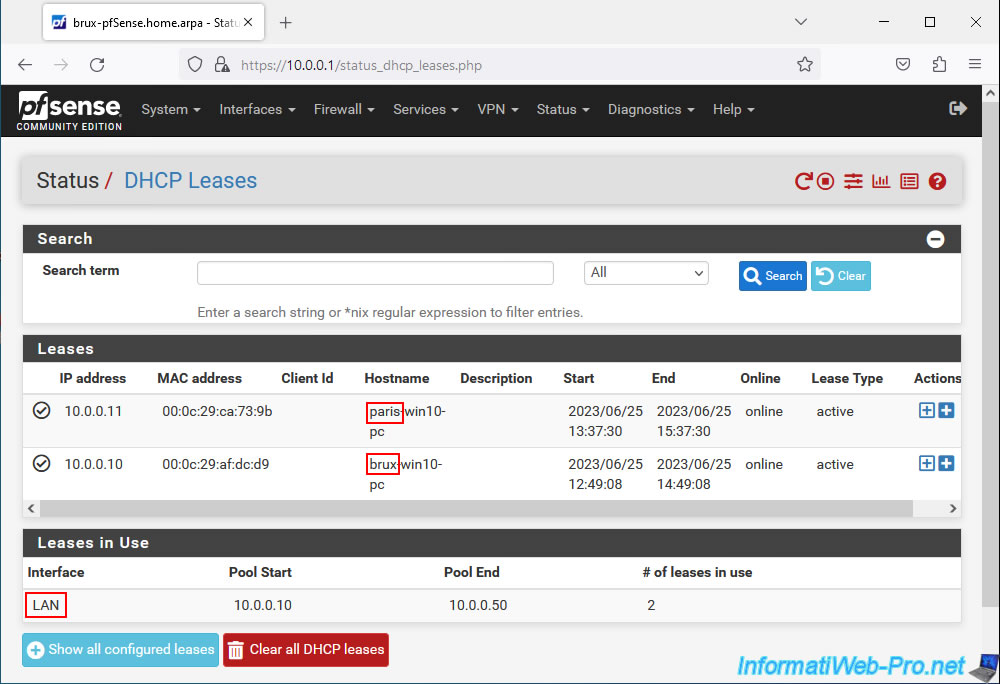
To check current DHCP leases, go to the pfSense machine at site 1 (Brussels) which is the only one to have a DHCP server enabled.
Go to: Status -> DHCP Leases.
As you can see, the DHCP server of site 1 (Brussels) distributed IP addresses to our 2 machines:
- 10.0.0.11: for the "paris-win10-pc" machine located on site 2 (Paris).
- 10.0.0.10: for the "brux-win10-pc" machine located on site 1 (Brussels).
As you can see, the LAN interface of this pfSense machine was used for both DHCP leases.
Indeed, the DHCP request sent by the machine on site 2 (Paris) was sent to the DHCP server on site 1 (Brussels) via the network bridges (between LAN and VPN) and via the OpenVPN tunnel in layer 2 (L2).
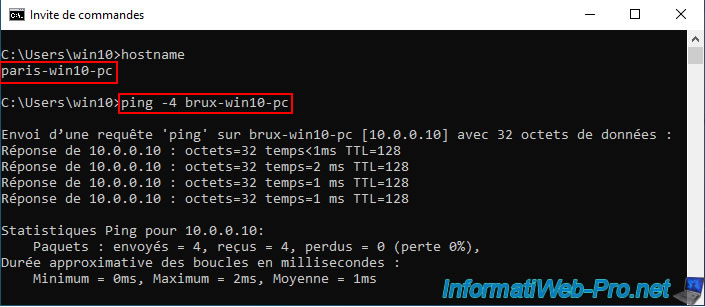
As expected, the "brux-win10-pc" machine from site 1 (Brussels) can still communicate without problem with the "paris-win10-pc" machine from site 2 (Paris).
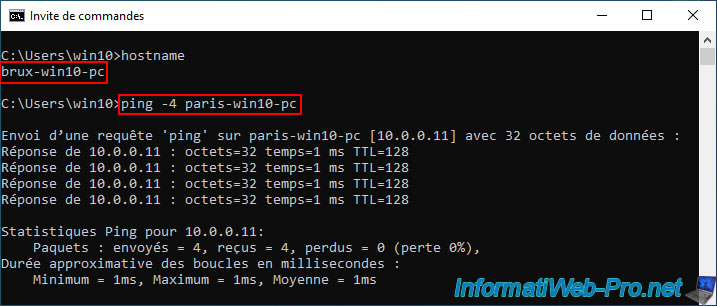
And vice versa.
Note: if this doesn't work in your case, make sure you have allowed ping (ICMP) for traffic entering the firewall of your Windows machines.
12. Testing access to a website from a remote site
To go further, we installed a web server on a Windows Server installed on each physical site.
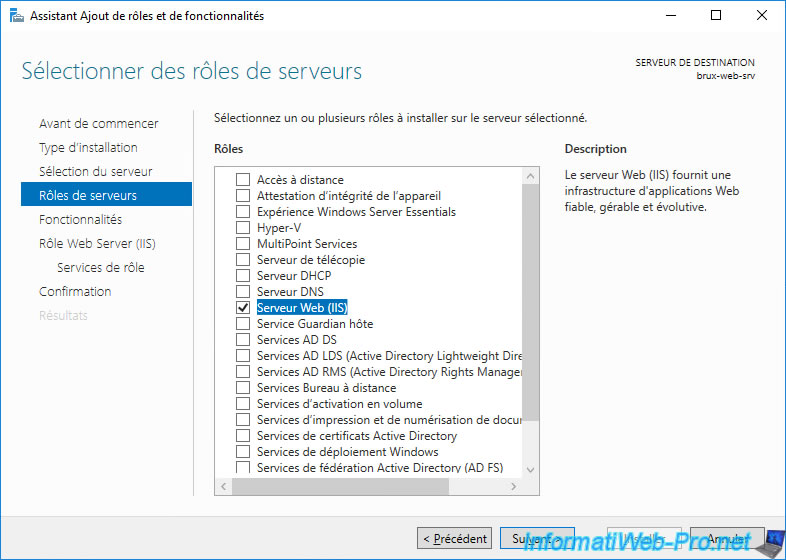
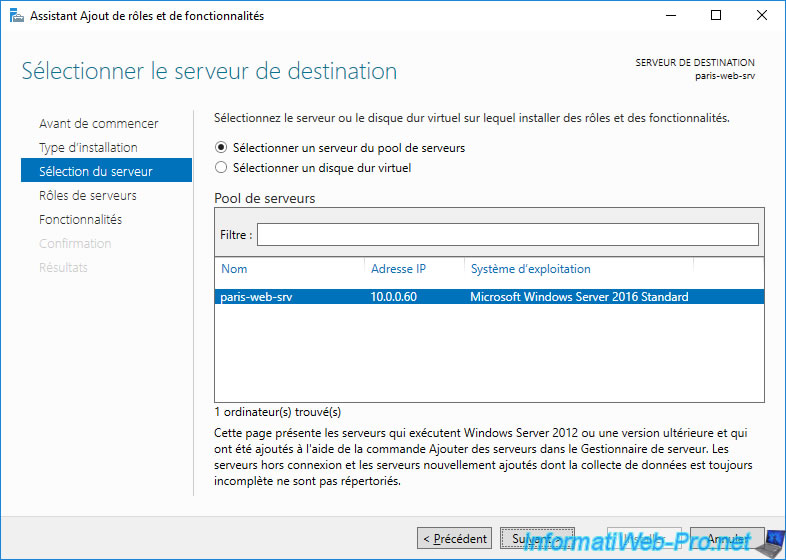
To do this, open the Add Roles and Features Wizard.
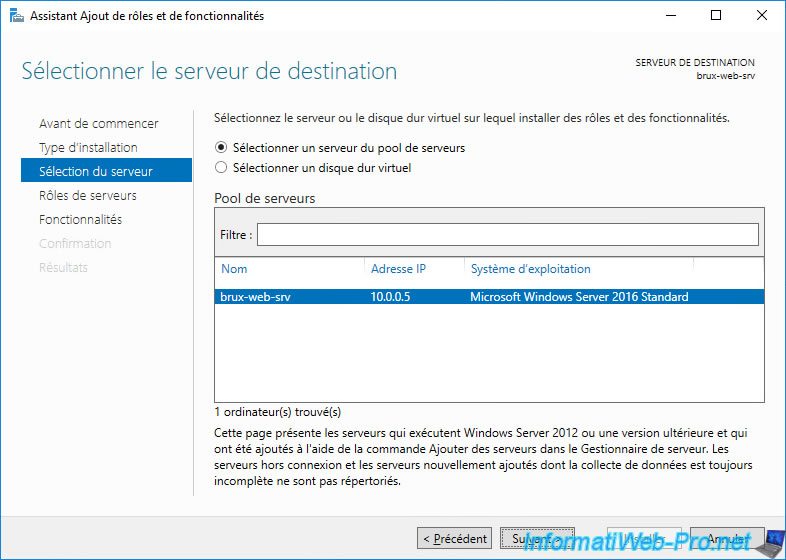
Install the "Web Server (IIS)" role.
Same on the other server (this time located in Paris).

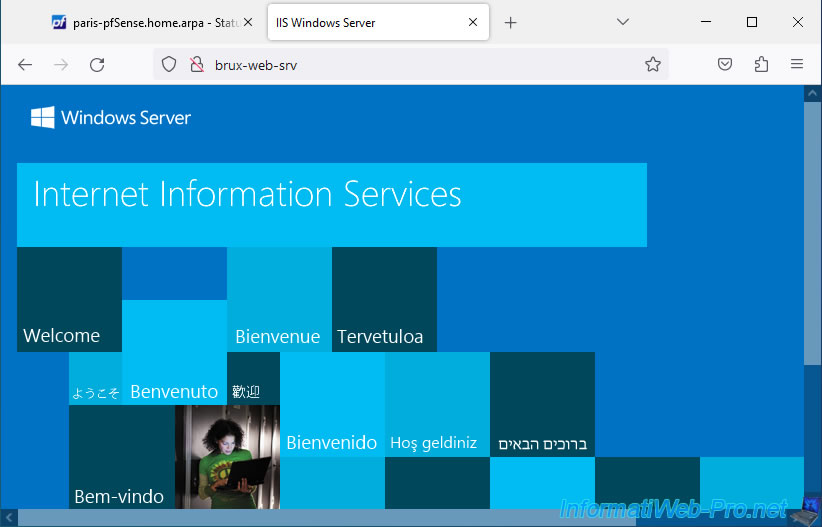
As you can see, from site 1 (Brussels), you can access the web server of site 2 (Paris) by typing its name like this "http://[NETBIOS name of the web server]/".

If necessary, type its IP address instead.

In the other direction, you can easily access the web server of site 1 (Brussels) from site 2 (Paris).
Same by typing your IP address.

13. Add the OpenVPN widget to the pfSense dashboard (optional)
Finally, note that you can add the "OpenVPN" widget to the pfSense dashboard if you wish.
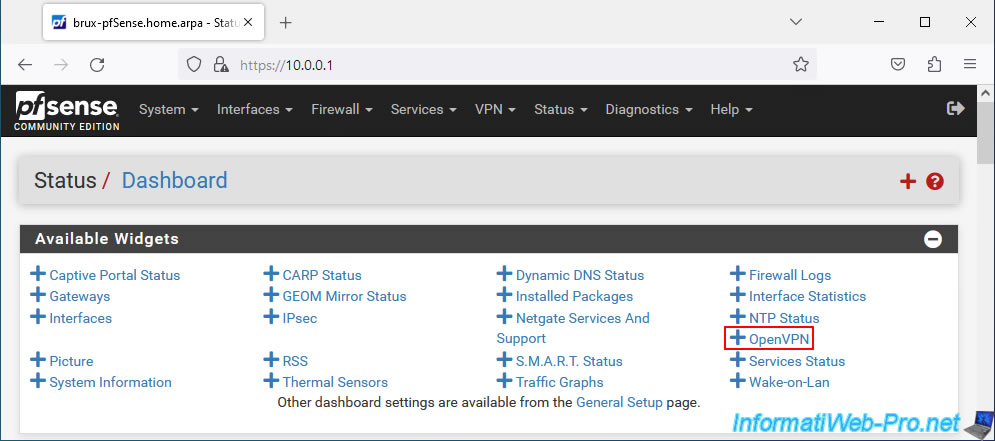
To do this, go to the pfSense dashboard and click on the "+" icon located at the top right.
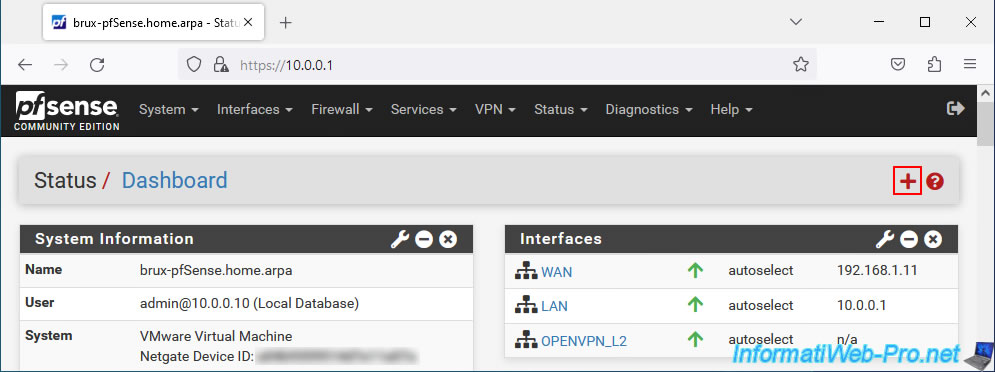
Click: OpenVPN.
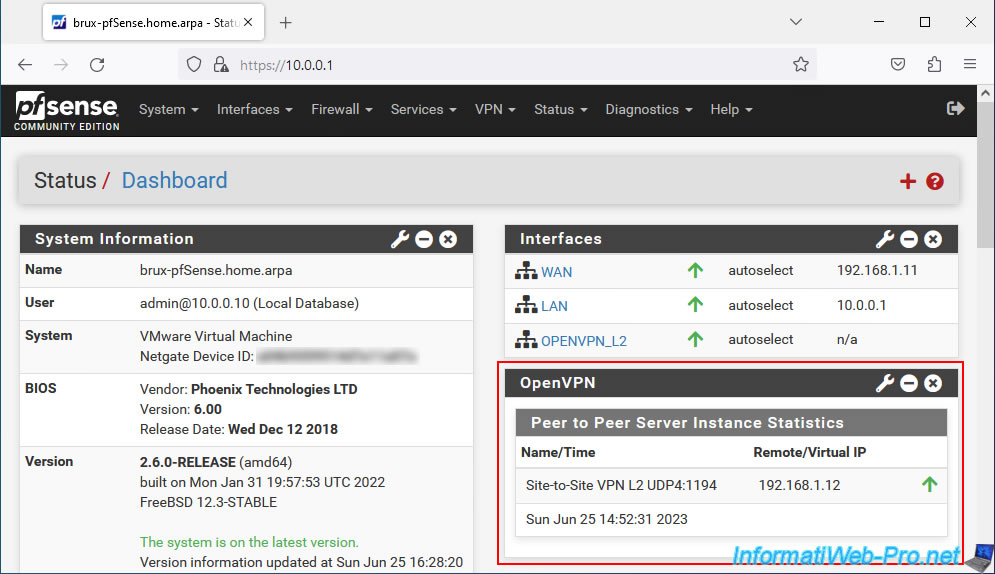
The "OpenVPN" block appears with the address of the remote OpenVPN client in the case of the machine where the OpenVPN server is installed.
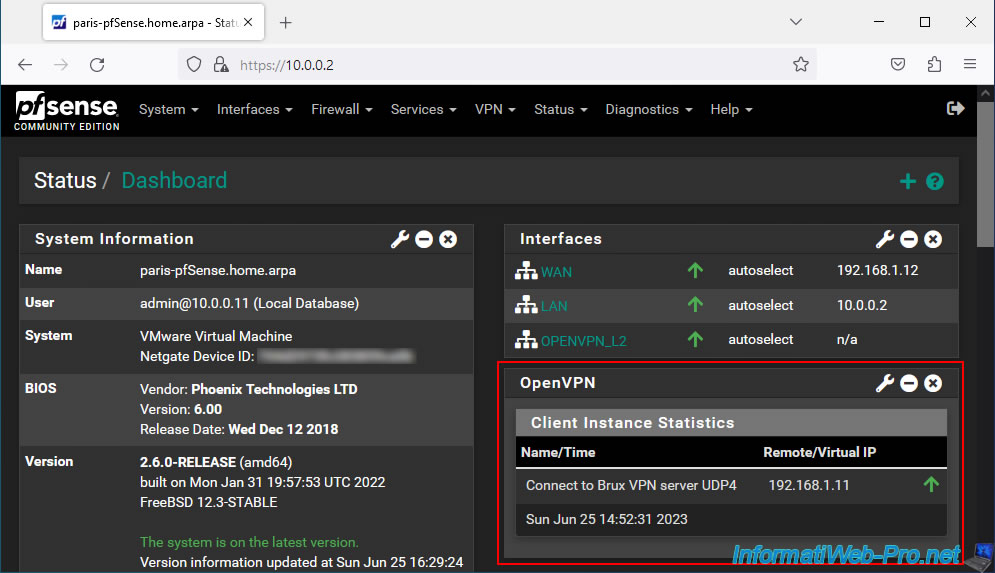
In the case of the pfSense machine having the OpenVPN client, you will see the IP address of the OpenVPN server to which the client is connected.
Share this tutorial
To see also
-

Firewall 5/21/2025
pfSense 2.6 - Access to the web interface via the WAN interface
-

Firewall 5/30/2025
pfSense 2.6 - Enable and configure DHCP server
-

Firewall 6/18/2025
pfSense 2.6 - Manage quality of service (QoS)
-

Firewall 6/13/2025
pfSense 2.6 - Schedule a rule in the firewall
No comment