- Firewall
- pfSense
- 15 May 2025 at 16:21 UTC
-

- 1/2

Although you can install pfSense on a computer, you can also virtualize it on VMware ESXi.
Note: if you are using VMware Workstation Pro instead of VMware ESXI, refer to our tutorial: pfSense 2.6 - Download and installation on VMware Workstation.
- Create a standard virtual switch (vSwitch)
- Create a pfSense virtual machine on VMware ESXi
- Installing pfSense on VMware ESXi
- Configure pfSense from its web interface
1. Create a standard virtual switch (vSwitch)
To virtualize pfSense, you will need 2 networks:
- WAN: for Internet access. In our case, we will use the default network (VM Network) of VMware ESXi.
- LAN: for the local area network (LAN) of pfSense. In our case, we will create a new VMware virtual switch for this LAN network.
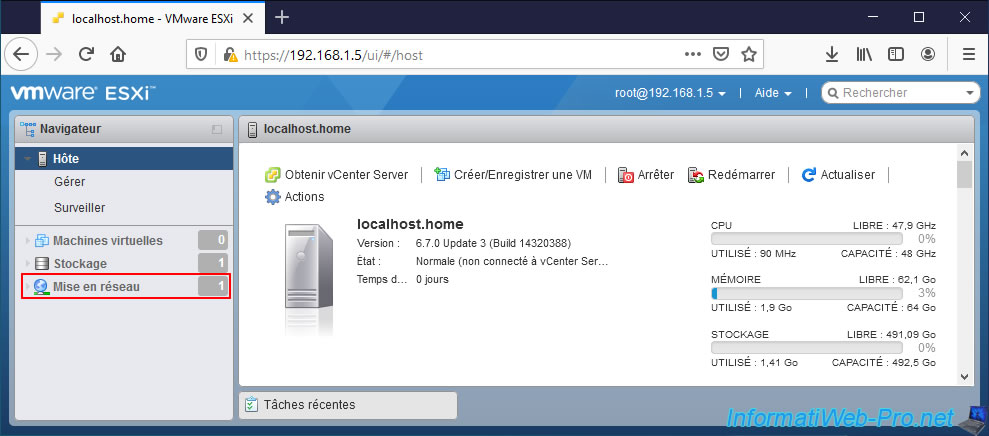
To do this, in the VMware ESXi web interface, go to: Networking.
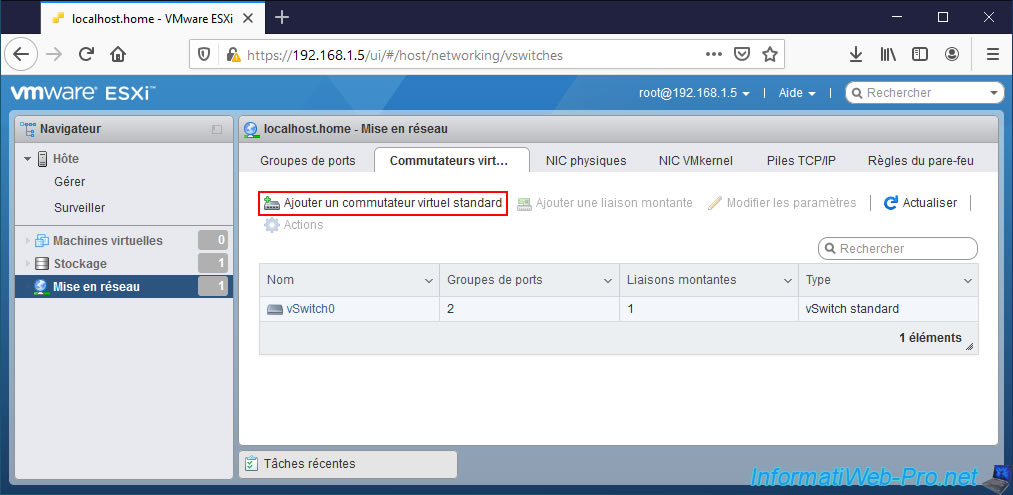
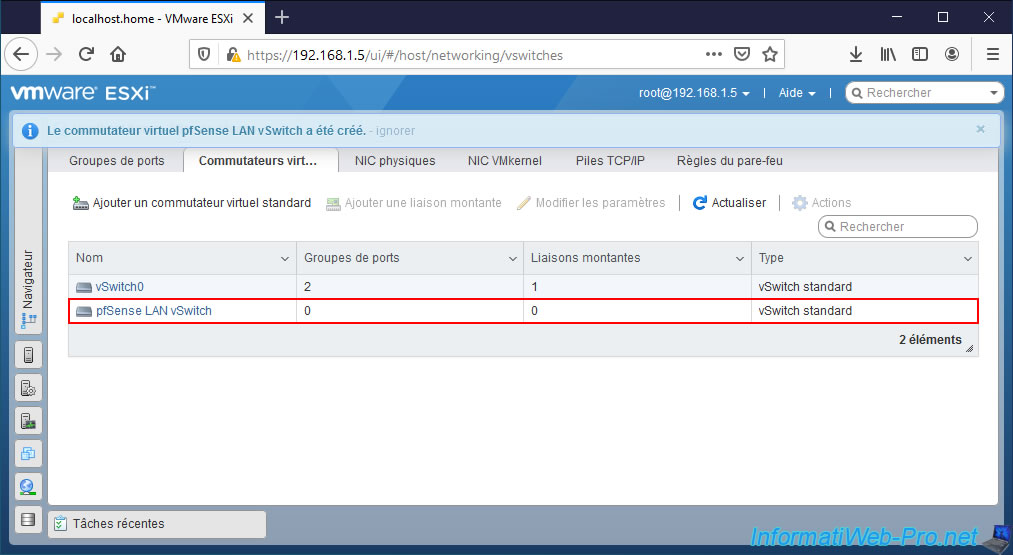
Then, in the "Virtual switches" tab, click: Add standard virtual switch.
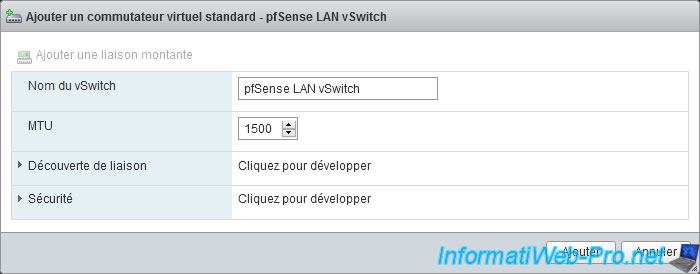
Specify a name for this new virtual switch (vSwitch).
In our case: pfSense LAN vSwitch.
The new virtual switch "pfSense LAN vSwitch" has been created.
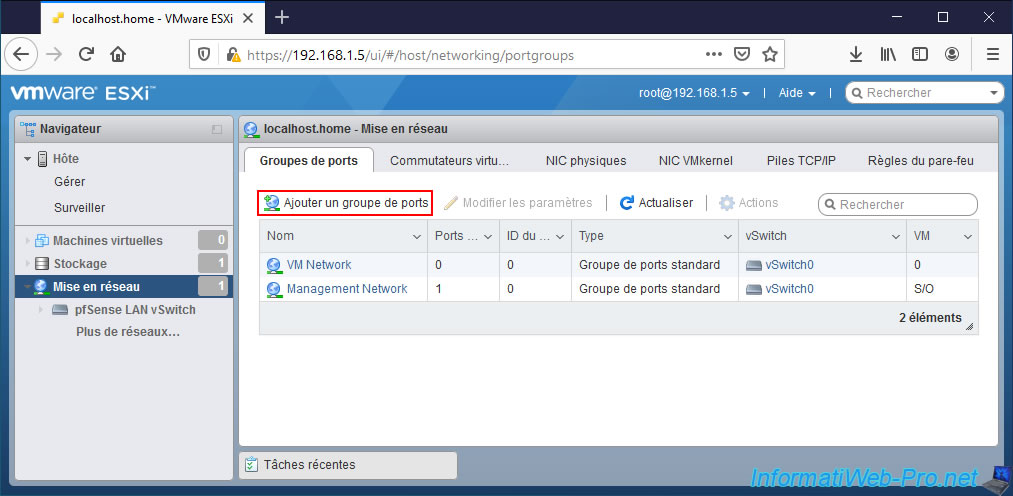
Now, go to the "Port groups" tab and click: Add port group.
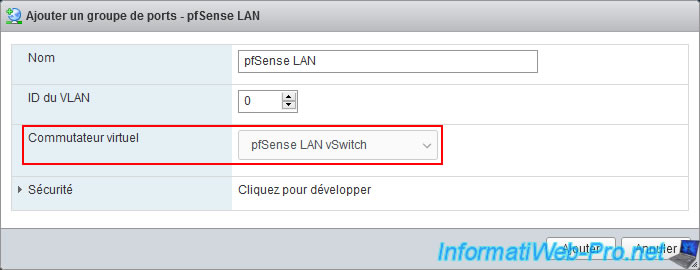
In the "Add port group" window that appears, specify:
- Name: a name for this port group.
For example: pfSense LAN. - Virtual switch: select the virtual switch created previously.
In our case: pfSense LAN vSwitch.
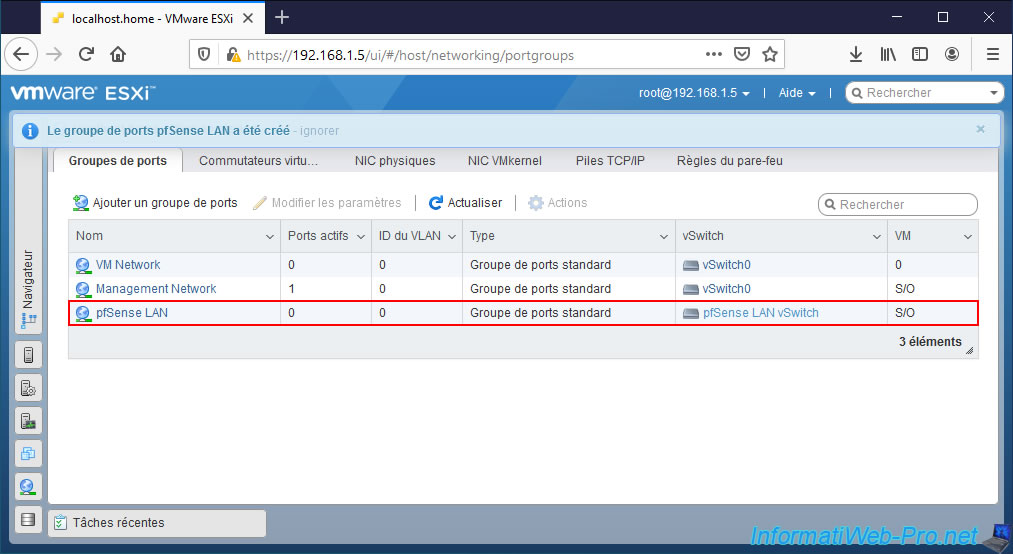
The port group "pfSense LAN" was successfully created.
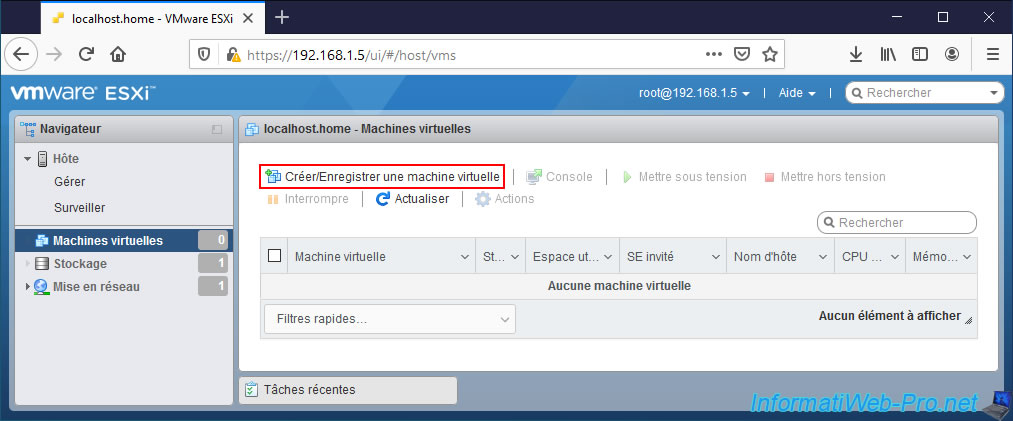
2. Create a pfSense virtual machine on VMware ESXi
In "Virtual Machines", click on: Create / Register VM.
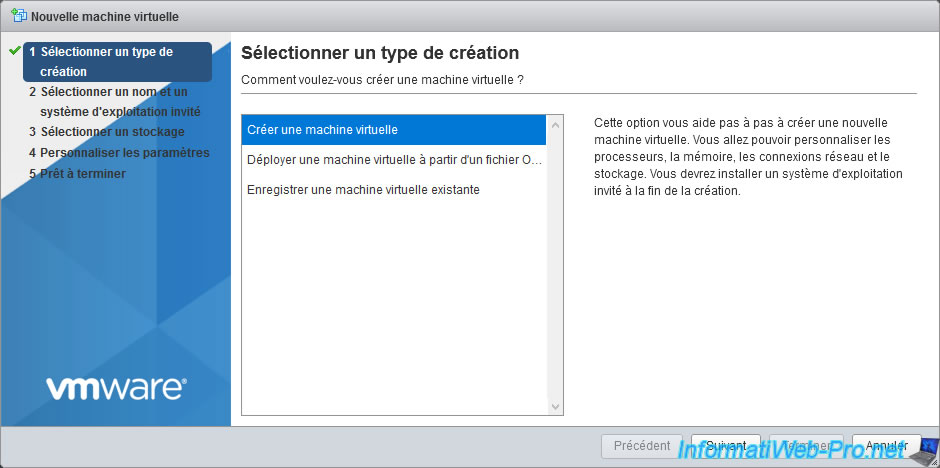
Select "Create a new virtual machine" and click Next.
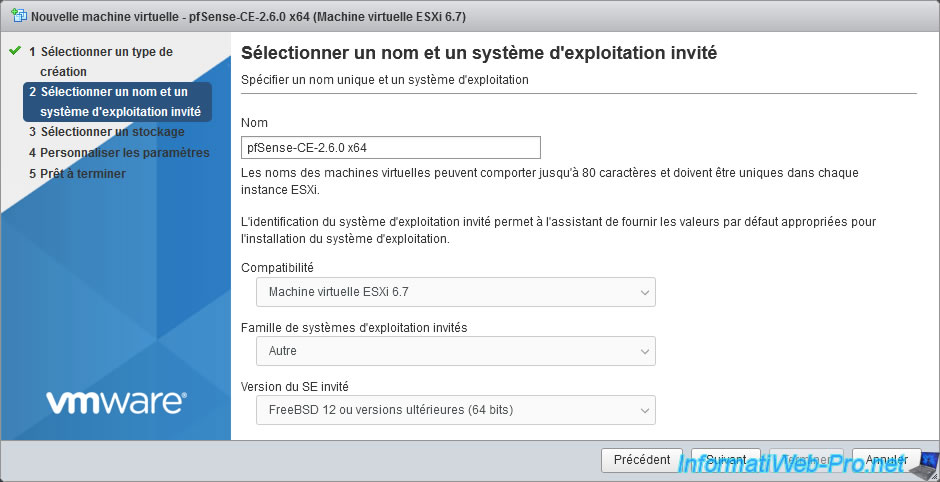
Specify a name for this virtual machine: pfSense-CE-2.6.0 x64.
Then, select the options below:
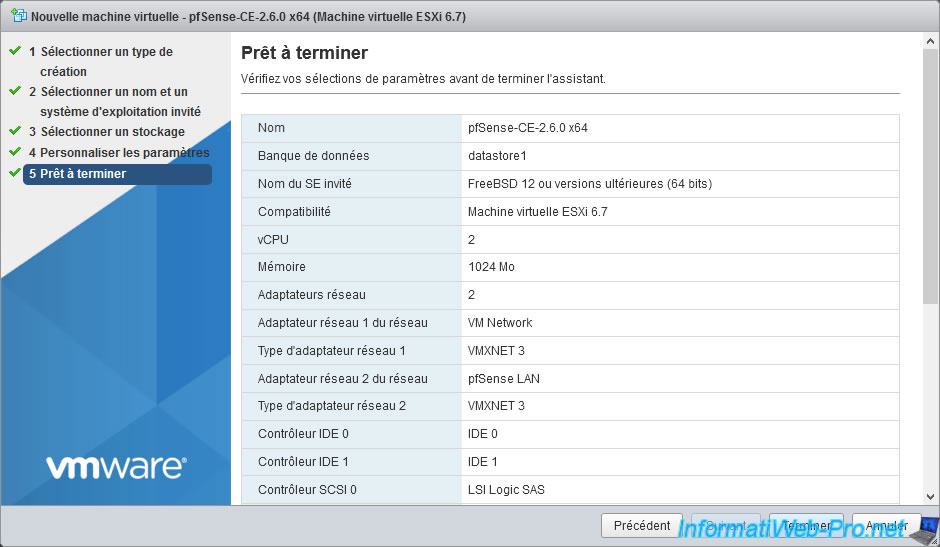
- Compatibility: ESXi 6.7 virtual machine.
- Guest OS family: Other.
- Guest OS version: FreeBSD 12 or later versions (64-bit).
For pfSense 2.6.0, it is FreeBSD 12.3.
For future versions of pfSense, you can find out which version of FreeBSD your version of pfSense is based on by consulting the "Versions of pfSense software and FreeBSD | pfSense Documentation" page.
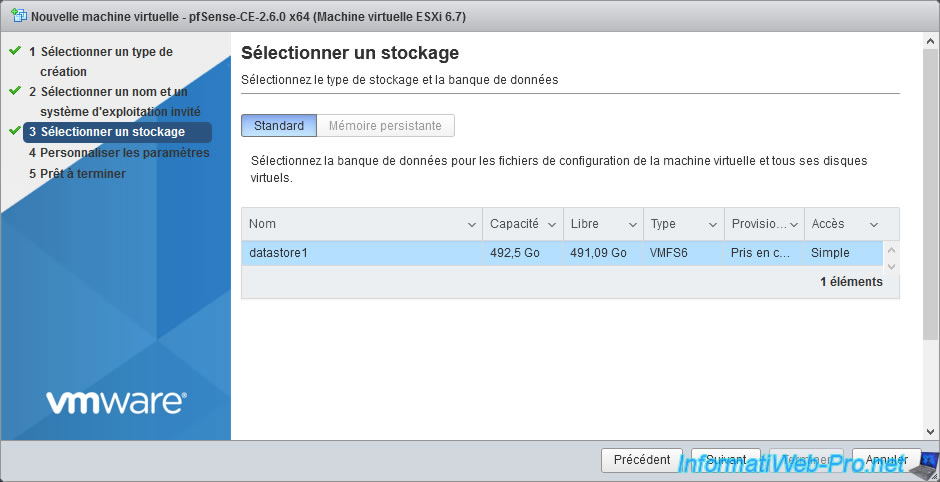
Select the datastore where you want to store this new virtual machine.
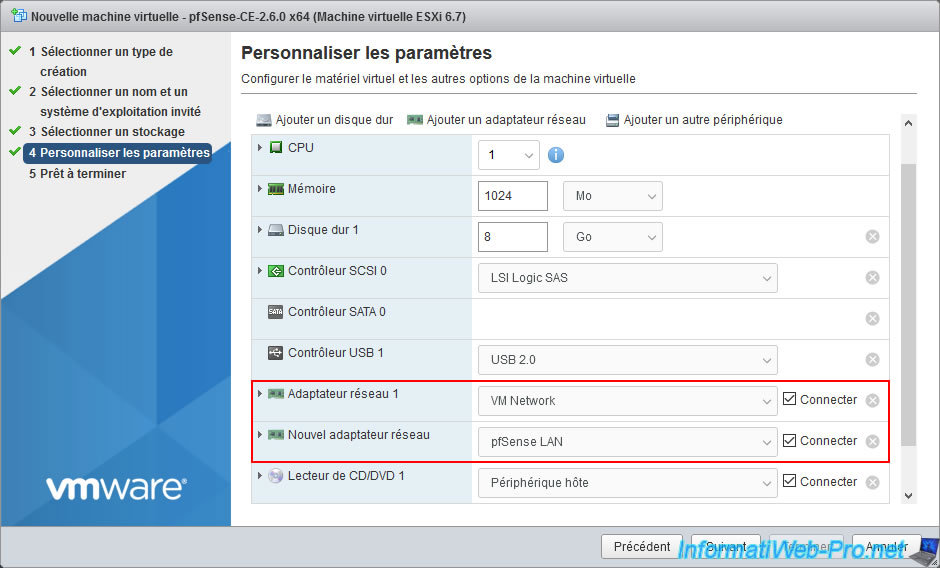
As said before, to virtualize pfSense you will need 2 networks.
So, click "Add network adapter" to add a 2nd virtual network adapter to this virtual machine.
Connect these network adapters to your 2 networks:
- Network Adapter 1: the pfSense WAN (Internet Access) network.
In our case: VM Network. - New network adapter: the pfSense LAN network.
In our case: pfSense LAN.
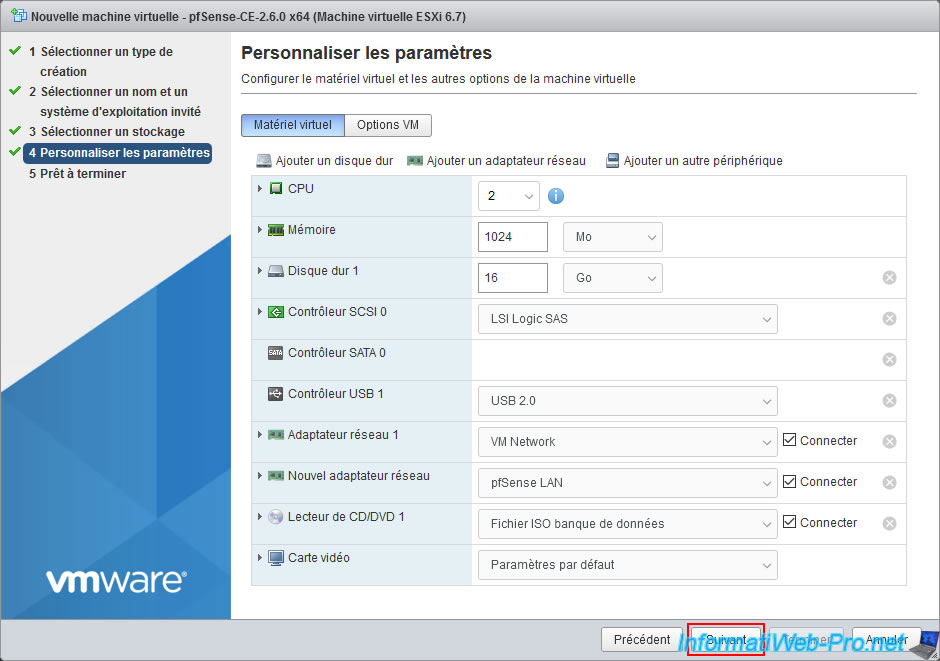
As pfSense states in its official documentation, you can use a "VMXNET3" virtual network adapter to improve pfSense's network performance.

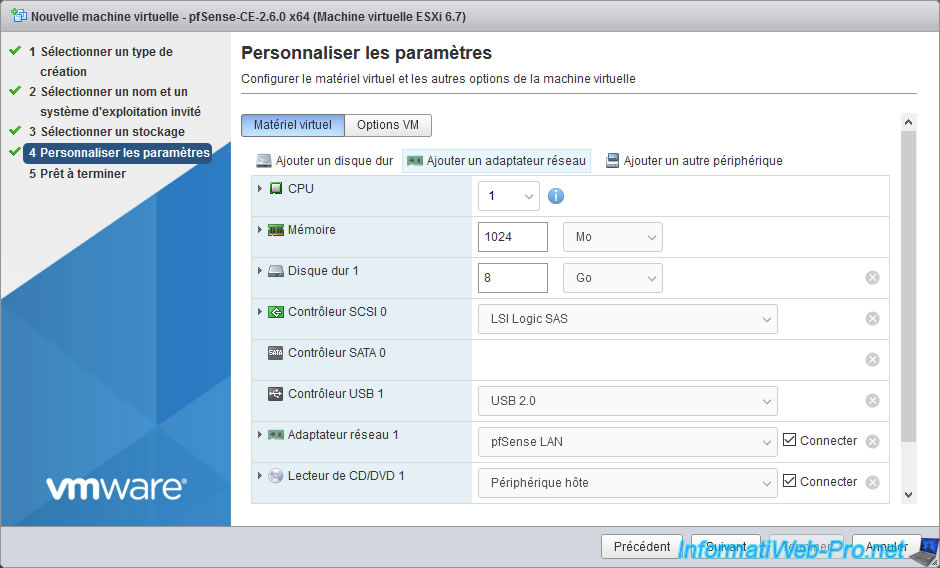
For the number of processor cores (CPU), the minimum required by pfSense is 1.
But you can add others to increase the performance of pfSense, if you have the possibility.
So, in our case, we assigned: 2.

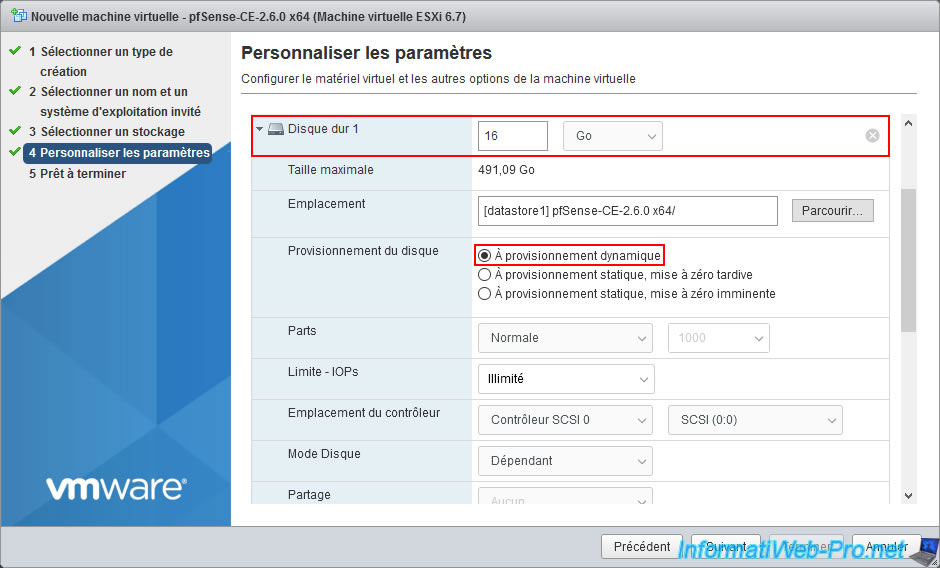
The minimum disk space required by pfSense is 16 GB. But you can also allocate more disk space if you plan to install potentially large plugins.
Note: don't forget to select "Thin provisioned" in the case of a lab to avoid reserving too much disk space on your VMware datastores.
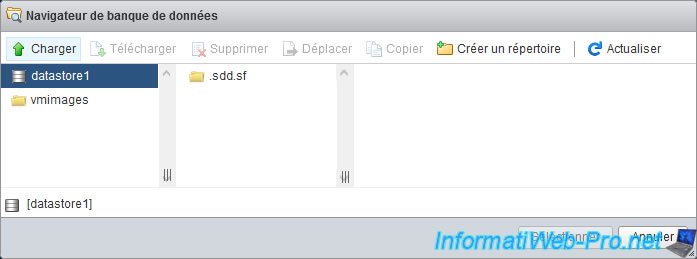
For the virtual CD/DVD drive, select: Datastore ISO file.
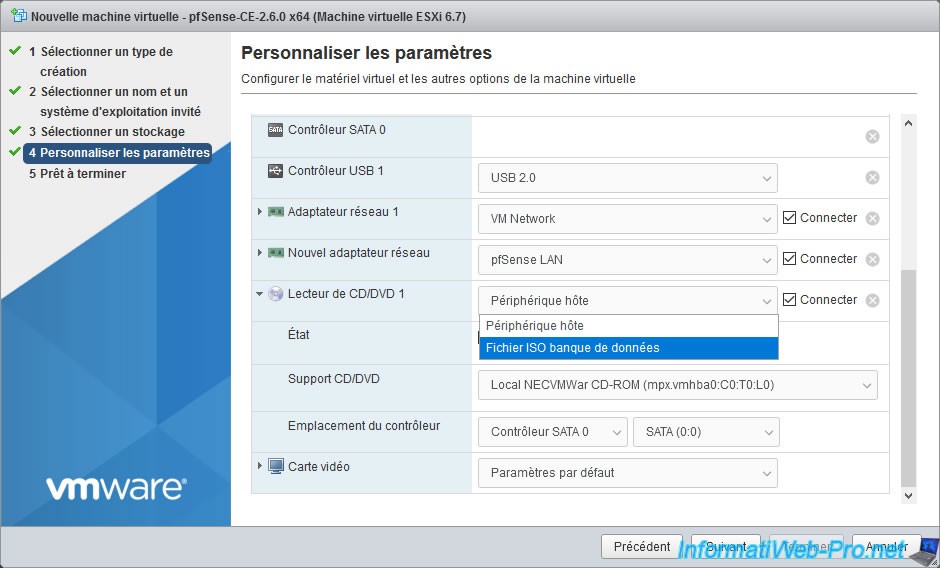
In the datastore browser that appears, click: Upload.
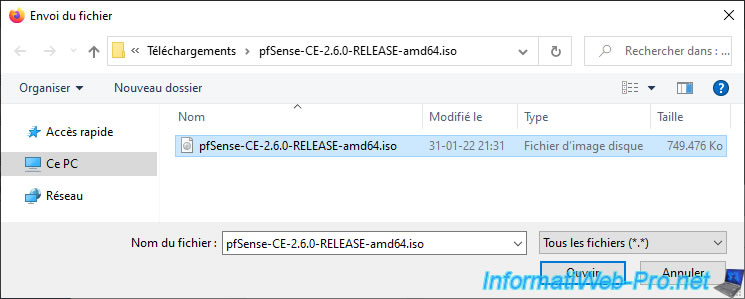
Select the file "pfSense-CE-2.6.0-RELEASE-amd64.iso" which you can download from the pfSense website.
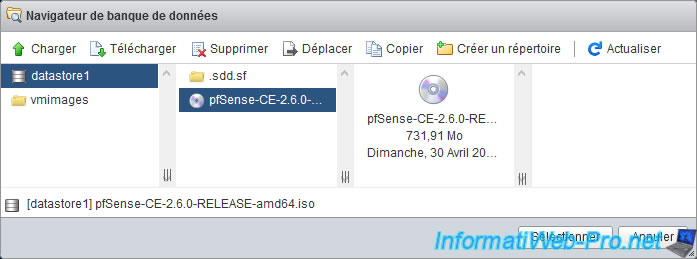
Once the pfSense iso file is stored on your datastore, select it and click: Select.
For random access memory (RAM), you will need to allocate at least 1 GB of RAM to use pfSense only as a firewall.
Otherwise, allocate more RAM to use certain features and plugins.
For the "LSI Logic SAS" SCSI controller used by default, leave this one selected, as it is compatible with pfSense.
A summary of the configuration of your pfSense virtual machine appears.
Click: Finish.
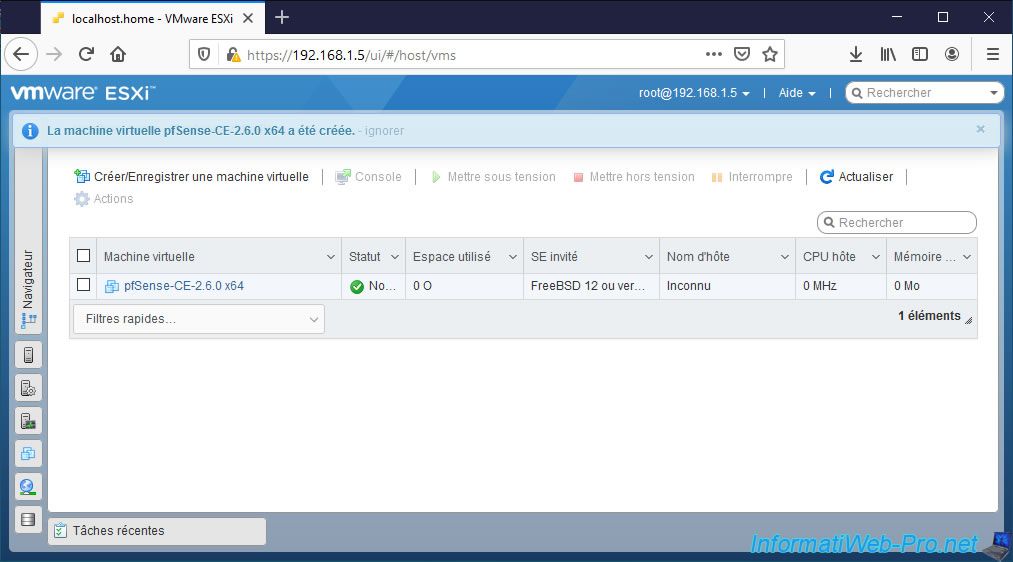
Your pfSense virtual machine has been created.
Share this tutorial
To see also
-

Firewall 9/5/2025
pfSense 2.6 - Create a VPN server (remote access) via OpenVPN (L3 mode)
-

Firewall 5/28/2025
pfSense 2.6 - Create and use VLANs
-
Firewall 8/29/2025
pfSense 2.6 - Implement Multi-WAN (Dual-WAN)
-
Firewall 7/9/2025
pfSense 2.6 - Secure the web interface in HTTPS
You must be logged in to post a comment