Create a site-to-site (S2S) VPN tunnel via OpenVPN secured with SSL/TLS (L2 mode) on pfSense 2.6
- Firewall
- pfSense
- 19 September 2025 at 07:48 UTC
-

- 2/7

5. Configure site 1 in Brussels for OpenVPN (at company headquarters)
5.1. Create the OpenVPN server at the company headquarters
To create the OpenVPN server, go to: VPN -> OpenVPN.
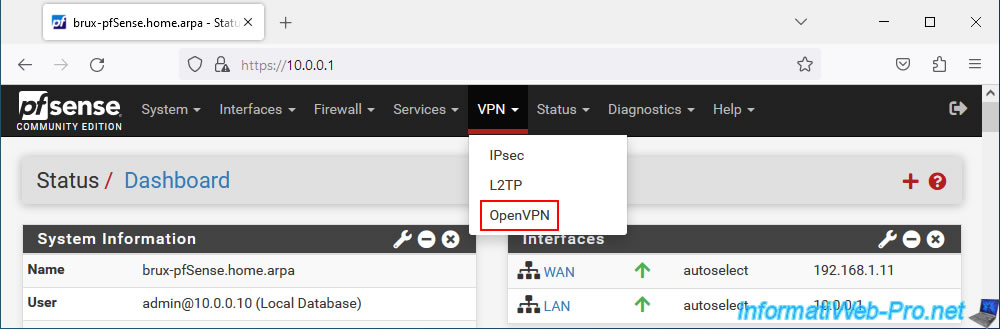
In the "Servers" tab, click: Add.
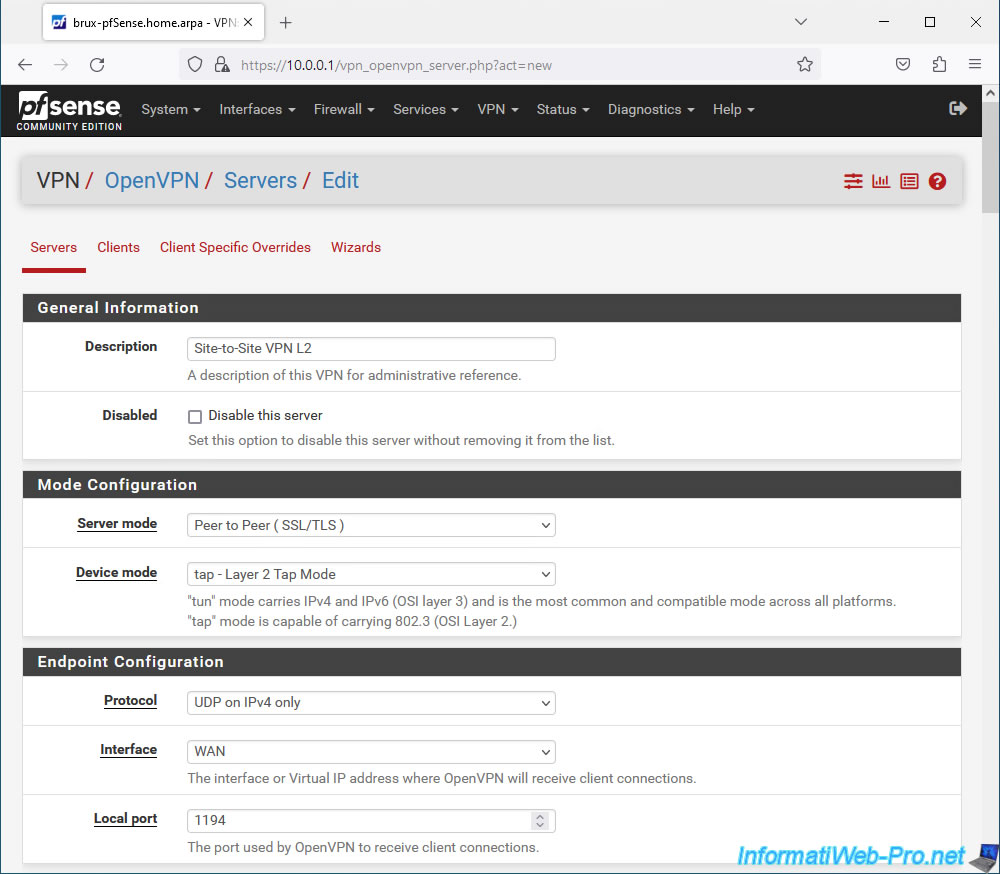
To configure the OpenVPN server to create a site-to-site VPN tunnel using layer 2 of the OSI model, configure the OpenVPN server like this:
- Description: Site-to-Site VPN L2.
- Server mode: Peer to Peer (SSL/TLS). Allows you to create a site-to-site VPN tunnel by securing it with certificates (which is recommended).
- Device mode: tap - Layer 2 Tap Mode. The "tap" mode allows you to create a layer 2 VPN tunnel instead of the layer 3 used with the "tun" mode.
- Protocol: UDP on IPv4 only. OpenVPN uses the UDP protocol and we only use IPv4.
- Interface: WAN. The tunnel will be established via the Internet, therefore via the WAN interface.
- Local port: 1194. OpenVPN default port.
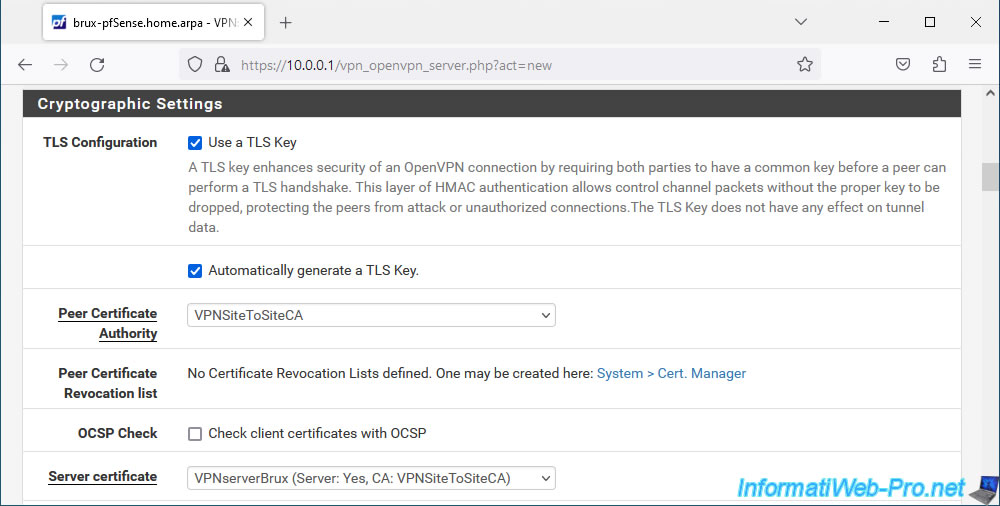
To secure the OpenVPN server in SSL/TLS mode, you must configure the "Cryptographic Settings" section like this:
- TLS Configuration: check the "Use a TLS Key" box to use a TLS key and also check the "Automatically generate a TLS Key" box so that it is automatically generated when creating this OpenVPN server.
- Peer Certificate Authority: select your internal certificate authority (CA) certificate created at the beginning of this tutorial.
In our case: VPNSiteToSiteCA. - Server certificate: select the "server" type certificate previously created for your OpenVPN server.
In our case: VPNserverBrux.
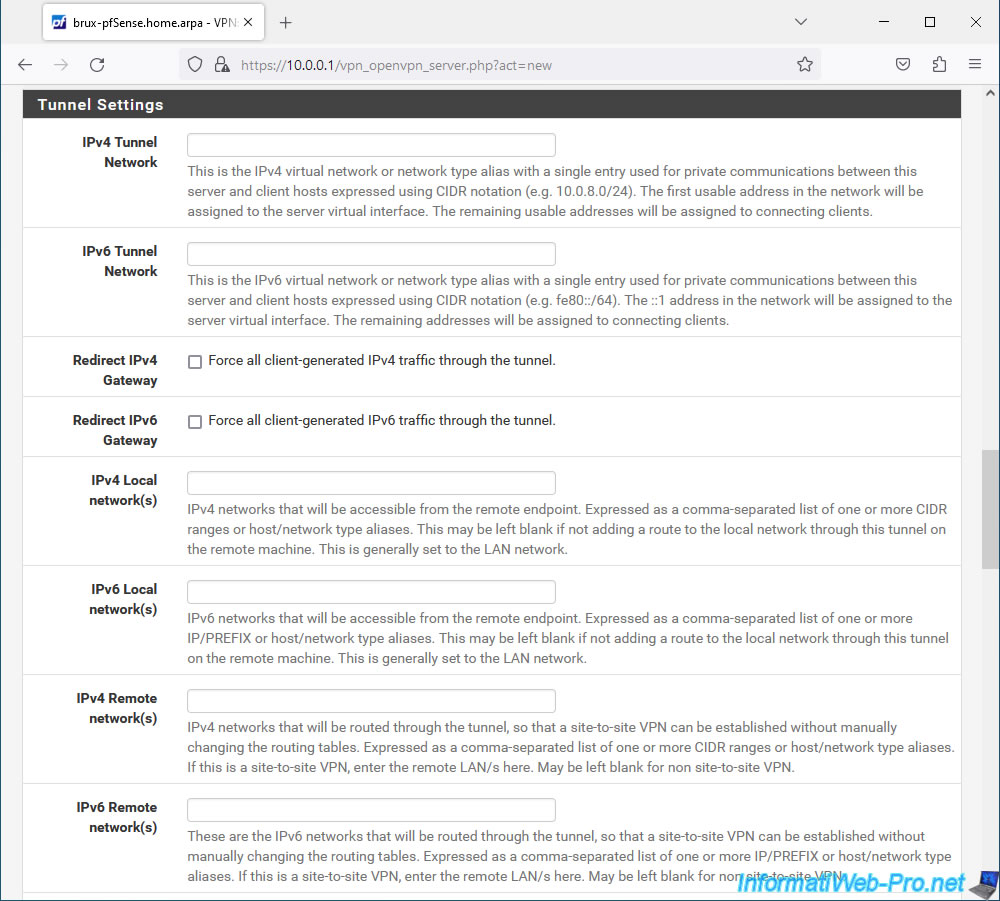
When you create an OpenVPN tunnel using Layer 2 (L2), you do not need to specify anything for the network in the "Tunnel Settings" section.
Indeed, there is no subnet for the OpenVPN tunnel and given that the subnet is the same on your 2 physical sites, there is no local or remote network to indicate.
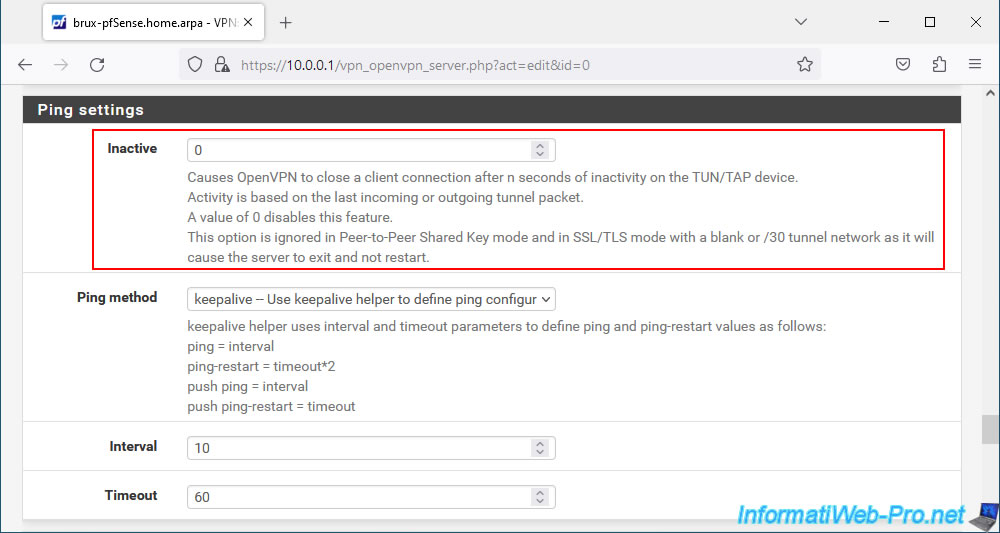
In the "Ping settings" section, specify the value "0" for the "inactive" parameter.
So, once the VPN tunnel is established between your 2 sites, it will remain established.
At the bottom of the page, click Save.
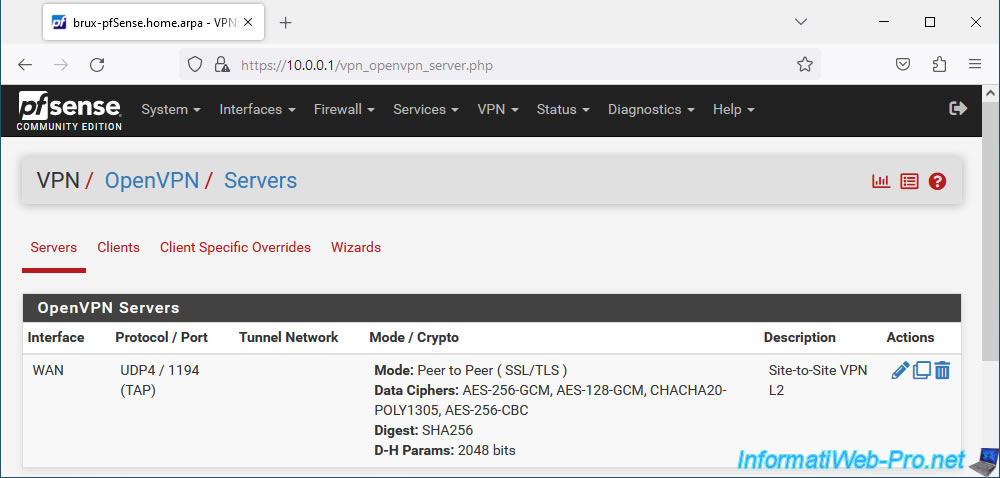
Your OpenVPN server was created in "TAP" (L2) mode.
5.2. Assign the virtual interface of the VPN server in TAP mode to a logical interface (OPTx) on site 1 (Brussels)
When you configure an OpenVPN server in TAP (layer 2) mode, you must assign the virtual interface of the OpenVPN server to a logical interface which will be named "OPTx".
To do this, go to: Interfaces -> Assignments.
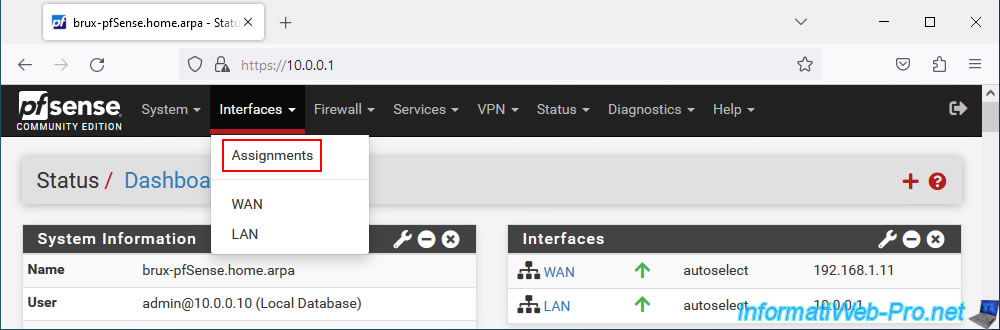
An "Available network ports" section will appear with the virtual interface "ovpns1" which corresponds to the TAP interface of your OpenVPN server (named in our case "Site-To-Site VPN L2").
Select this virtual interface "ovpns1" and click: Add.
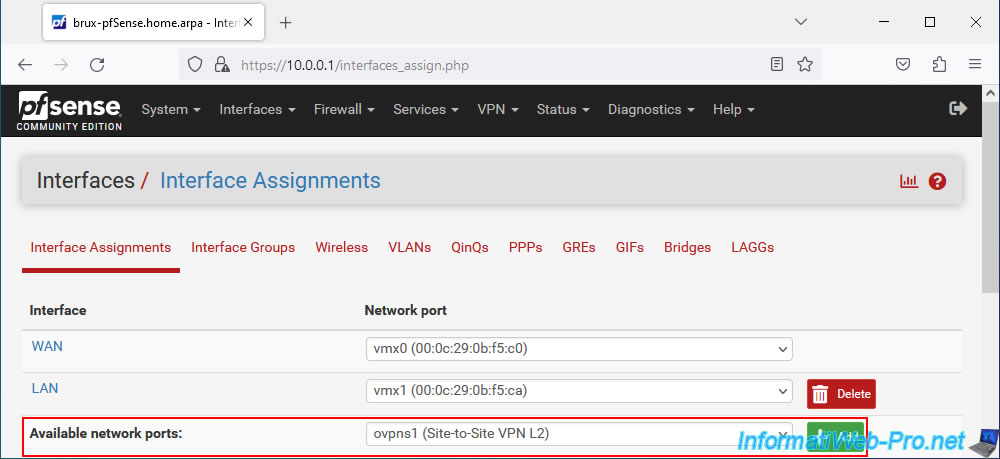
Virtual interface "ovpns1" has been assigned as logical interface "OPT1".
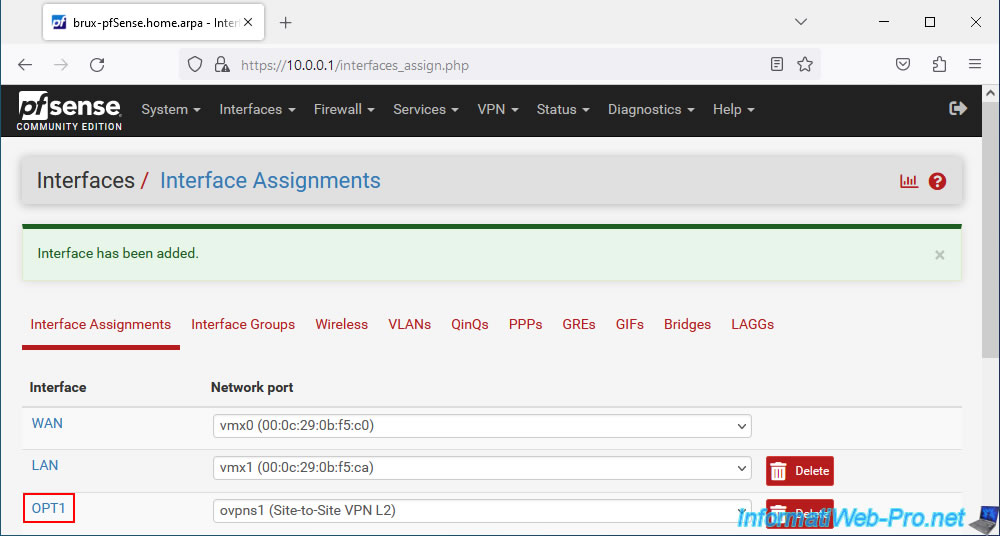
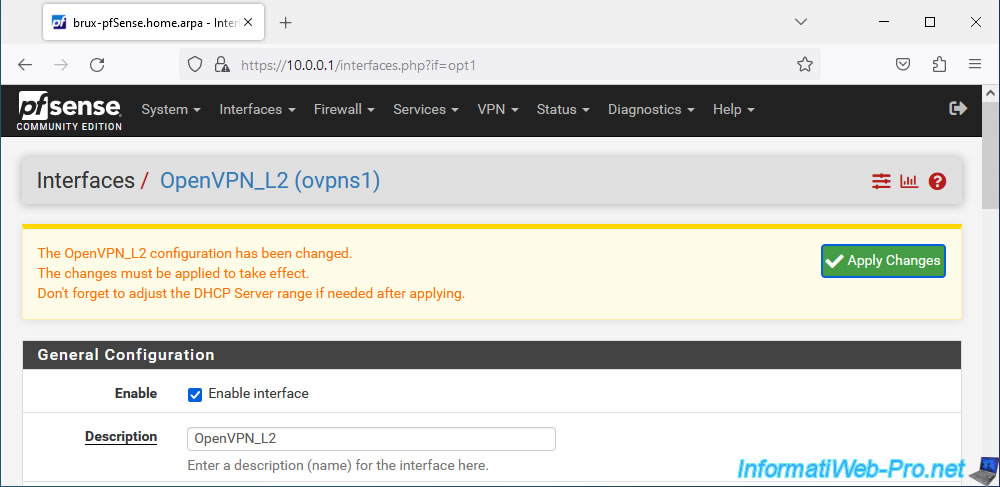
Click on the name of this logical interface (OPT1) or go to: Interfaces -> OPT1.
Enable this OPT1 logical interface by checking the "Enable interface" box and rename this interface to "OpenVPN_L2" for example using the "Description" option.
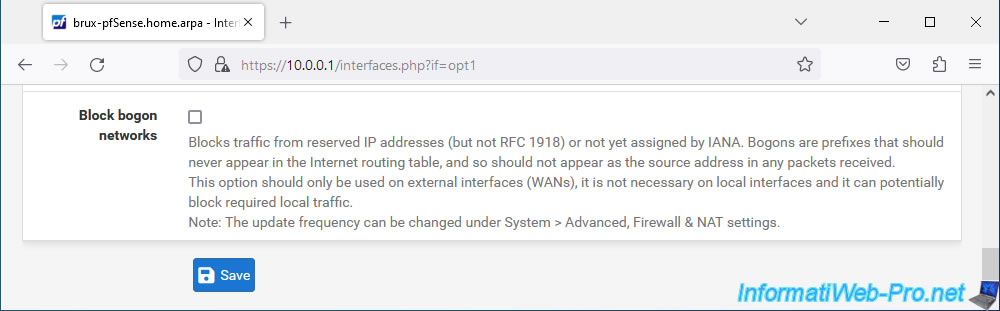
Note that because OpenVPN operates on Layer 2 (L2), this interface cannot have an IP address.
Hence the message "This interface type does not support manual address configuration on this page" displayed for the "IPv4/IPv6 Configuration" parameter.
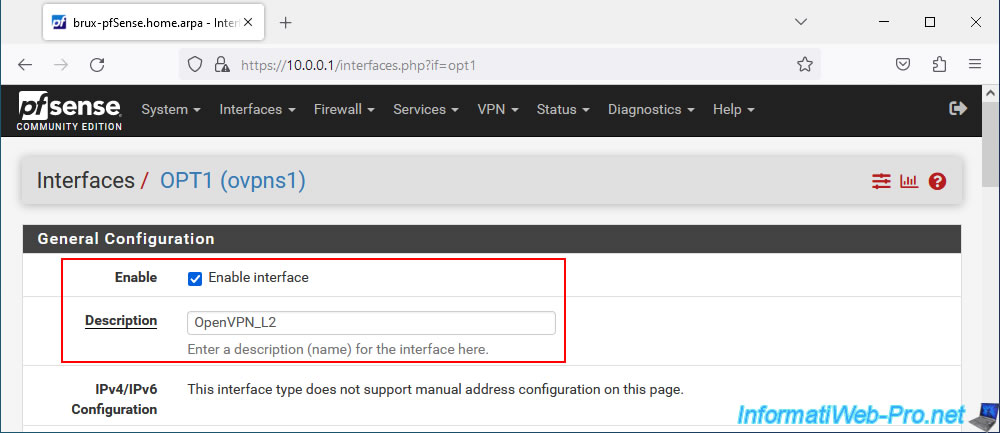
At the bottom of the page, click Save.
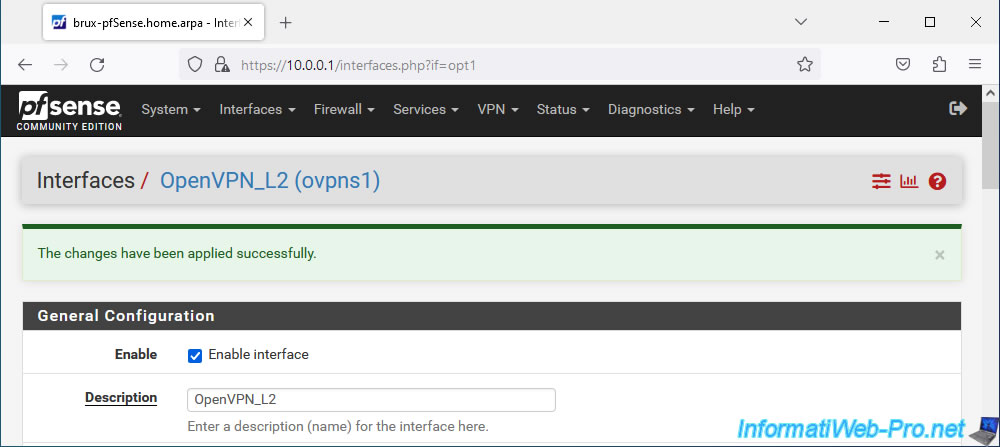
At the top of the page, click: Apply Changes.
The OPT1 interface has been enabled and renamed to "OpenVPN_L2".
Share this tutorial
To see also
-

Firewall 5/21/2025
pfSense 2.6 - Access to the web interface via the WAN interface
-

Firewall 5/9/2025
pfSense 2.6 - Download and installation on VMware Workstation
-

Firewall 8/27/2025
pfSense 2.6 - Load balancing via HAProxy
-

Firewall 7/23/2025
pfSense 2.6 - Synchronize the clock from a time server (NTP)
No comment