- Firewall
- pfSense
- 25 June 2025 at 06:25 UTC
-


To access a local server from the Internet, you can use NAT port forwarding to be able to access certain ports (such as port 80 for a web server via HTTP, port 21 for a file server via FTP, ...).
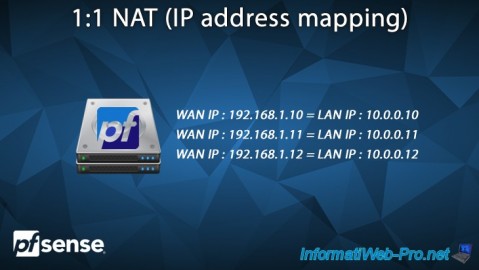
But you can also completely expose a local server to the Internet by mapping an external IP address (WAN) to a local IP address (LAN).
This is called 1:1 NAT on pfSense.
- Create a 1:1 NAT rule on pfSense
- Network traffic blocked from the Internet (WAN)
- Allow network traffic from WAN interface
1. Create a 1:1 NAT rule on pfSense
As you can see, the WAN IP address of pfSense in our case is: 192.168.1.10.
It is therefore at this address that we can access our local server from a computer connected to the WAN network (or to the Internet if applicable).
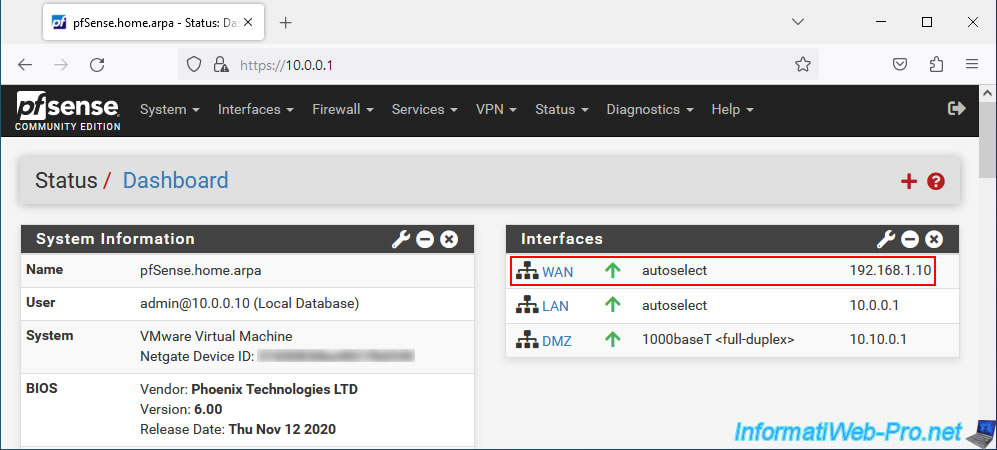
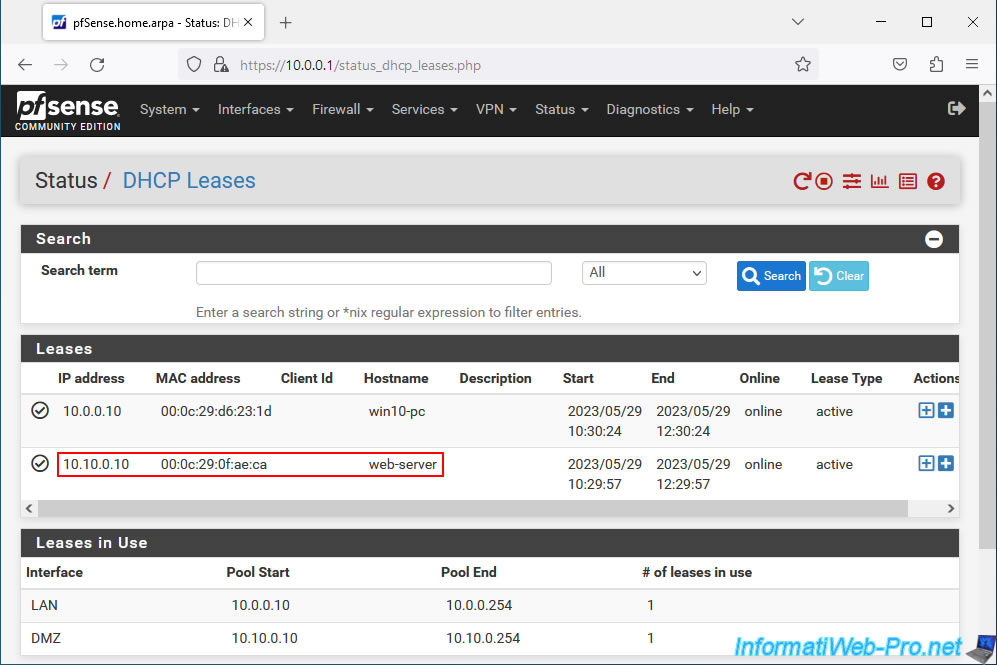
Our local web server has the IP address "10.10.0.10" which is part of the distributed IP address range on our DMZ network.
But, the operation is the same if your server is on the pfSense LAN network.
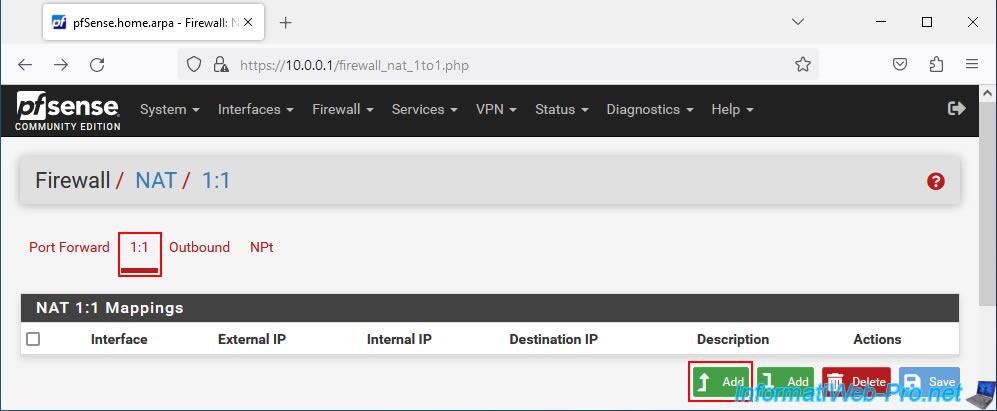
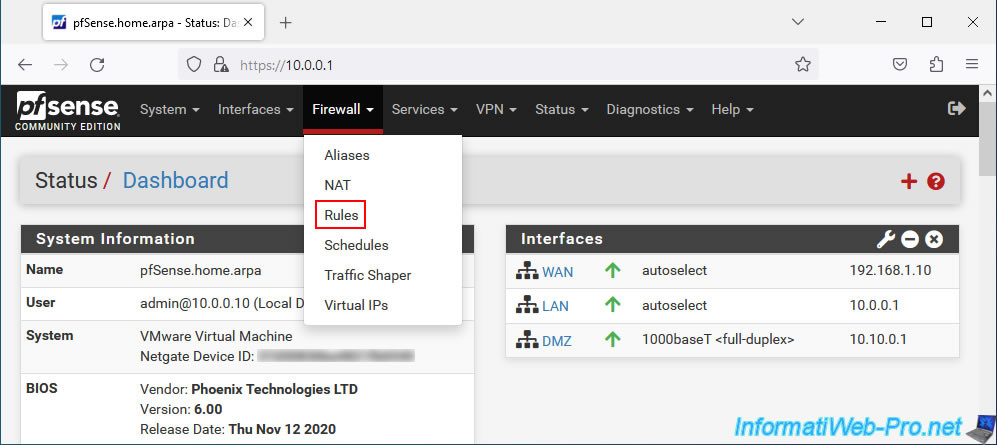
To create a "1:1 NAT" rule on pfSense, go to: Firewall -> NAT.

Next, go to the "1:1" tab and click "Add".
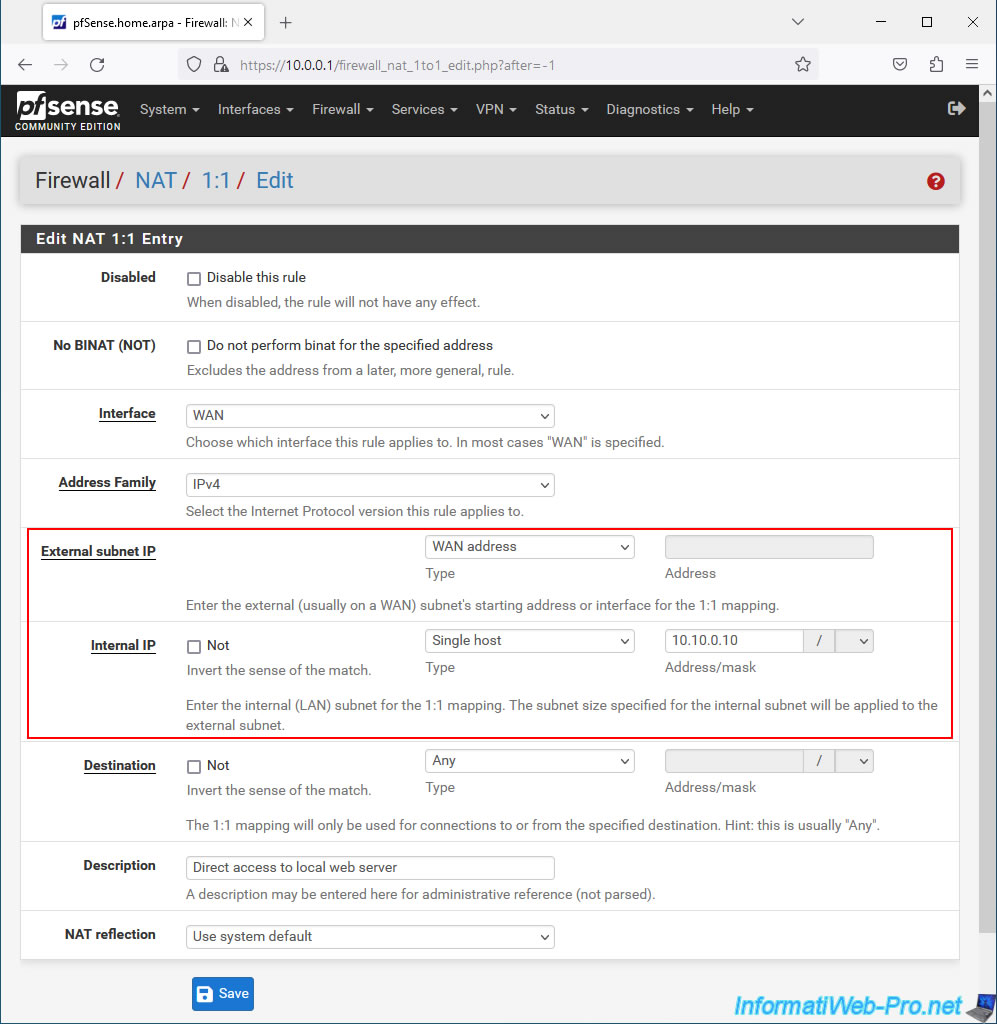
On the "Edit NAT 1:1 Entry" page that appears, you can configure these settings:
- Disabled: allows you to disable this NAT rule by checking the "Disable this rule" box.
- No BINAT (NOT): if the "Do not perform binat for the specified address" box is checked, traffic that matches this "1:1 NAT" rule will be excluded if it may match another rule below it .
- Interface: interface where this "1:1 NAT" rule must be applied. Typically the WAN interface (connected to the Internet).
- Address Family: allows you to specify the desired Internet protocol (IPv4, IPv6 or both).
- External subnet IP: allows you to specify the external IP address (WAN) to match the internal address (LAN) configurable with the following setting.
You can select "Single host" to specify an external pfSense IP address or select "WAN address" to use the IP address of the pfSense WAN interface. - Internal IP: allows you to indicate the internal IP address that will be mapped to the external address configured above.
That is, the local IP address of the server you want to fully expose to the Internet via pfSense's external IP address. - Destination: allows you to restrict the use of "1:1 NAT" to one direction or the other. That is, from the specified internal IP address to the specified destination IP address or from the destination address to the external IP address specified above.
- Description: allows you to add a descriptive description for this NAT rule.
- NAT reflection: allows you to authorize or not access to the external address (WAN) of pfSense from the local network (LAN).
By default, the global pfSense value is used. So "NAT reflection" is not allowed.
To expose your local web server to the Internet, configure these settings:
- Interface: WAN. Because the web server must be accessible from the Internet.
- Address Family: IPv4. In our case we only use IPv4.
But you can also support IPv6 by selecting "IPv4+IPv6". - External subnet IP: select "WAN address", as we will access the external IP (WAN) address of pfSense from outside.
- Internal IP: select "Single host" and provide the local IP address (it doesn't matter if it is on the LAN or in a DMZ known to pfSense).
- Description: indicate for example "Direct access to local web server".
Then, click Save.
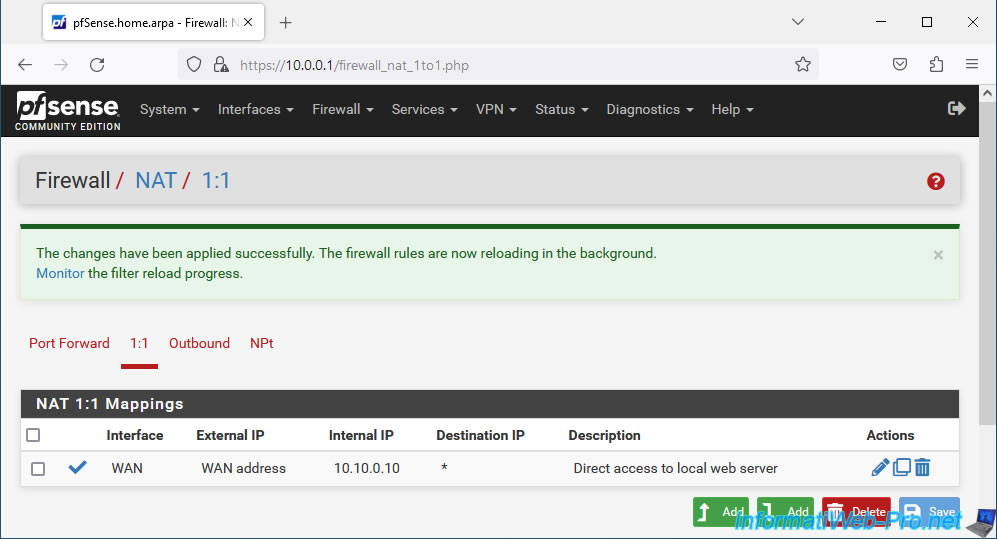
Click "Apply Changes" to apply the changes.

The "1:1 NAT" rule has been applied.
2. Network traffic blocked from the Internet (WAN)
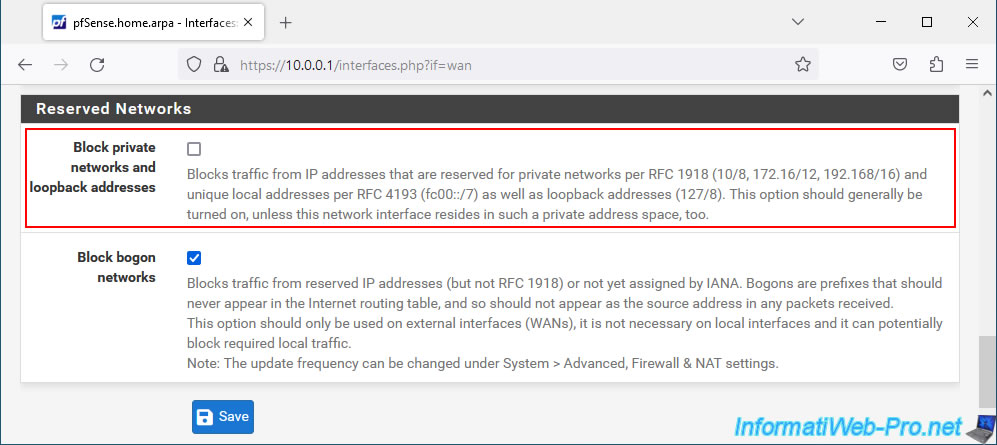
First of all, if you have defined a private IP address (eg: 192.168.1.x, 10.0.0.x, ...) on the pfSense WAN interface, it is important to disable the "Block private" setting networks and loopback addresses" in the configuration of its WAN interface.
To do this, go to "Interfaces -> WAN" and go to the bottom of the page.
Once this setting is disabled, click "Save", then "Apply Changes" (at the top of the page).
If you try to access your web server from the pfSense WAN IP address, you will see that it does not work.
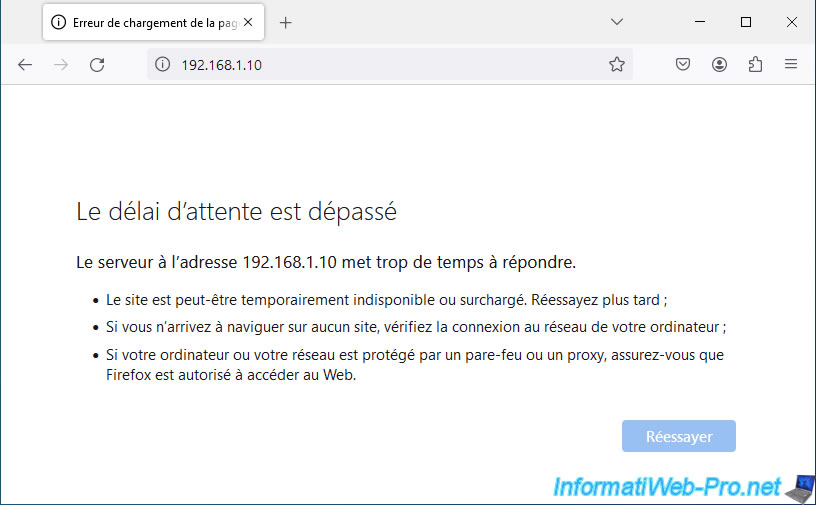
This is because network traffic is blocked by default by pfSense on the WAN interface.
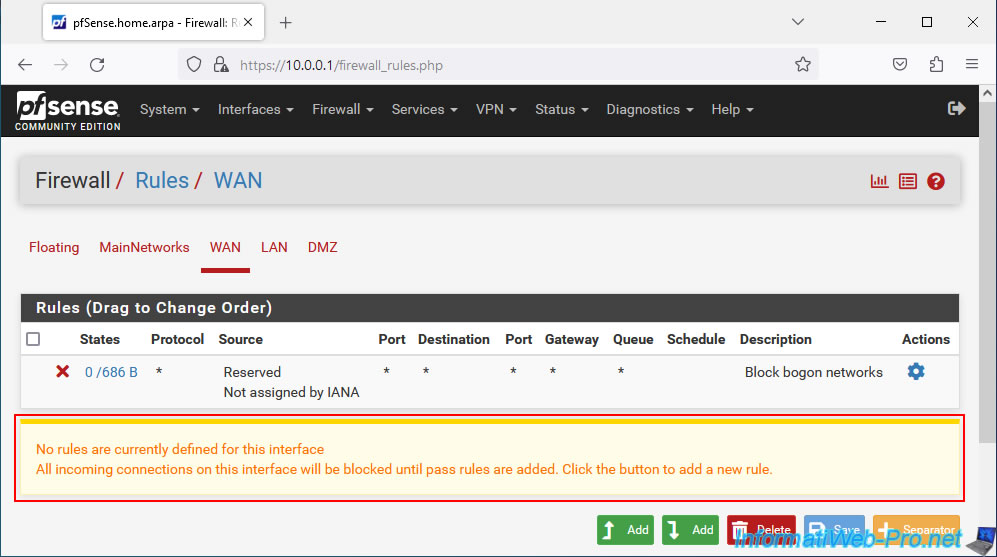
To understand it, go to "Firewall -> Rules".
As you can see, by default, on the pfSense WAN interface, there are no rules allowing network traffic.
Which means all incoming connections are blocked.
To see the history of packets blocked by the firewall, click on the 2nd red icon at the top right.
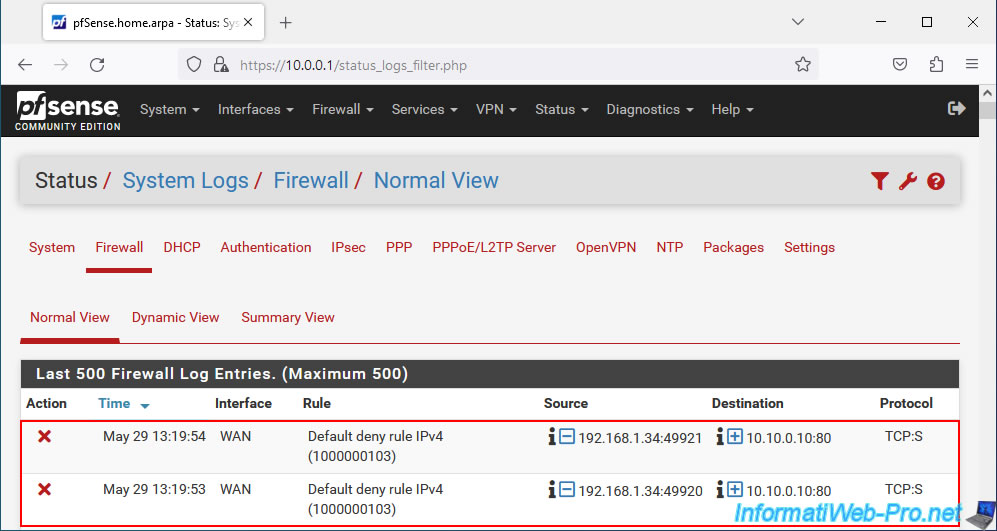
On the "Status / System Logs / Firewall / Normal View" page that appears, sort the list by date/time by clicking on the "Time" column.
As you can see, in our case, access from our PC "192.168.1.34" (WAN network PC) to our local server "10.10.0.10" on port 80 (HTTP) was blocked on the interface WAN by the rule "Default deny rule IPv4 (1000000103)". This rule is not visible under pfSense, but pfSense makes it clear to you with the warning visible above (on a yellow background).
Note: when you forward a port via port forwarding, an appropriate rule is automatically created in the firewall to allow the corresponding network traffic.
But this is not the case when using "1:1 NAT", as this would mean that all open ports on your local server would be accessible without restriction from the Internet (the WAN).
3. Allow network traffic from WAN interface
As explained previously, in the case of "1:1 NAT", no rules are created in the firewall to allow network traffic to the desired local server.
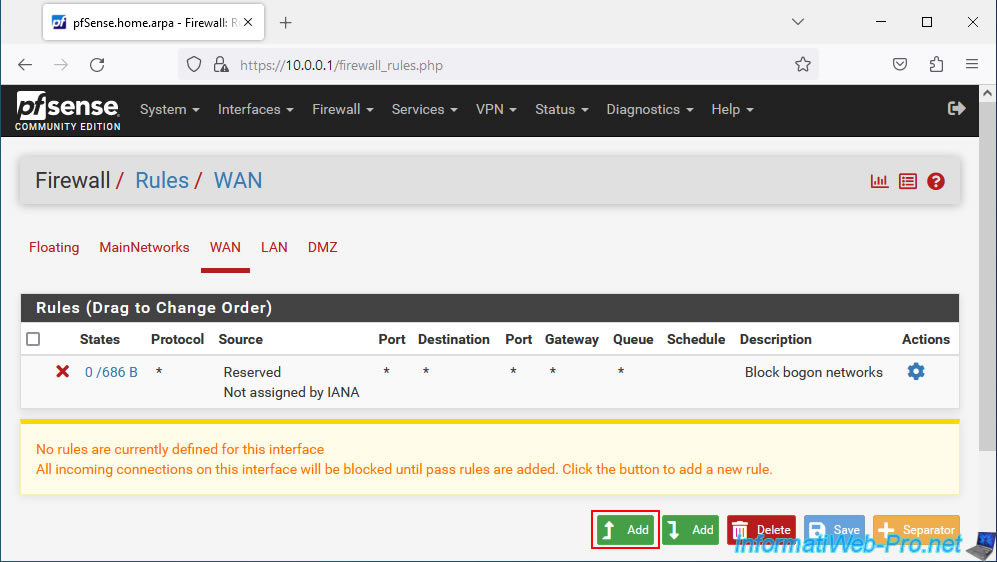
You must therefore create your rules yourself in the pfSense firewall.
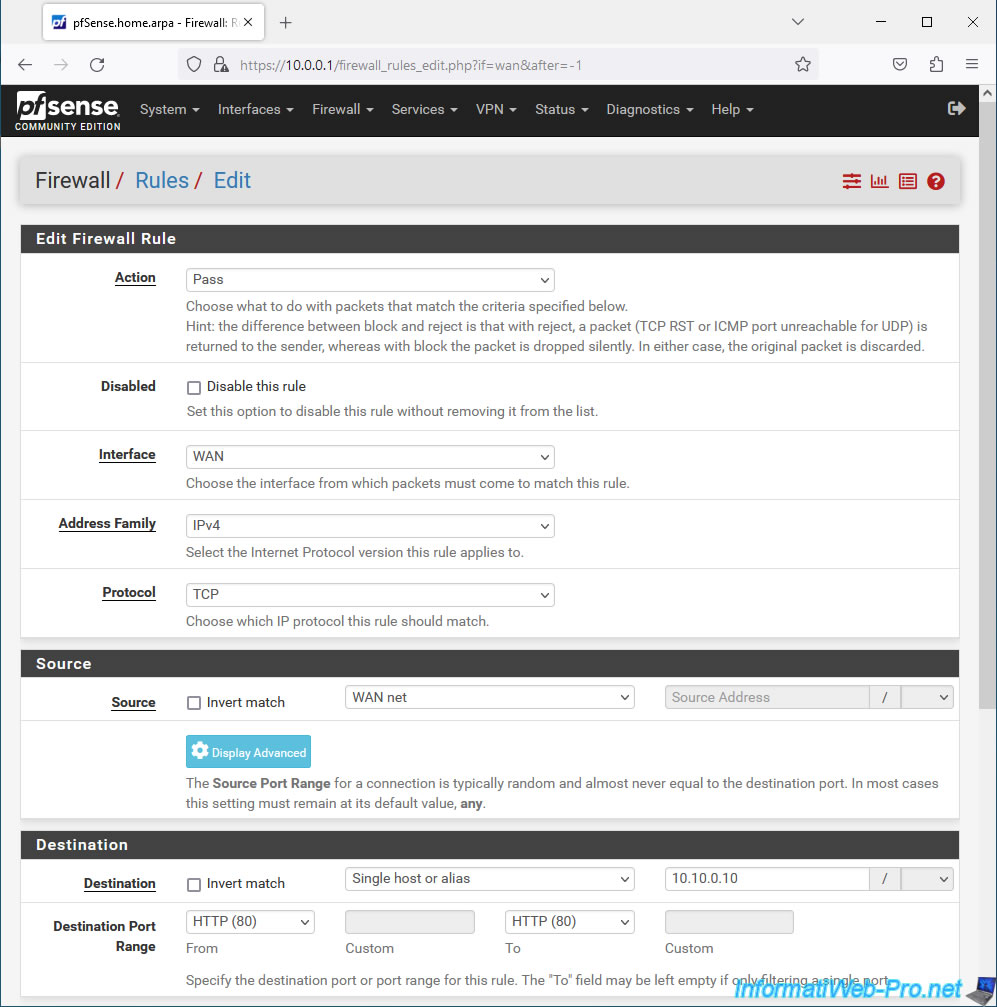
To do this, go to "Firewall -> Rules -> WAN" and click on: Add.
In our case, we want to be able to access our local web server using HTTP.
To do this, configure these settings:
- Interface: WAN. Because we want to access our web server from the Internet (i.e. via the pfSense WAN interface).
- Address Family: IPv4. We only use IPv4 in our case.
- Protocol: TCP. A web server uses TCP port 80 for the HTTP protocol.
- Source: WAN net. The source is the WAN (Internet).
- Destination: select "Single host or alias" and provide the local IP address of your web server. In our case: 10.10.0.10.
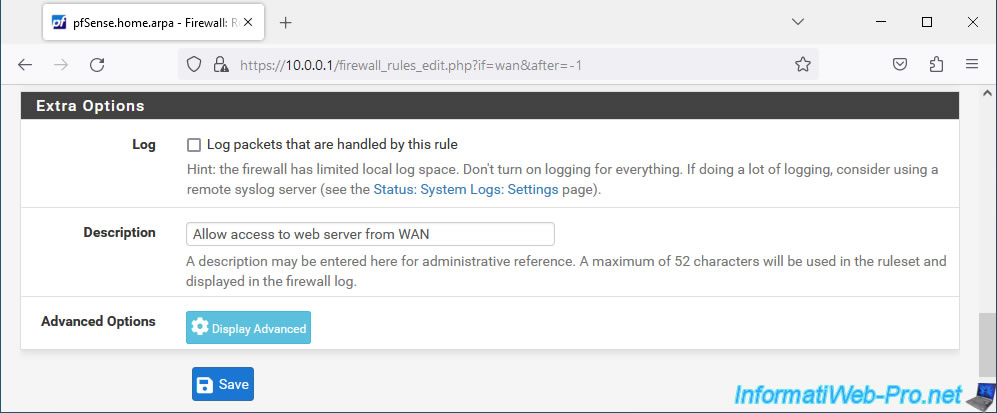
For the destination port, select "HTTP (80)" since our local web server listens on port 80. - Description: specify, for example, "Allow access to web server from WAN".
Then, click "Save".
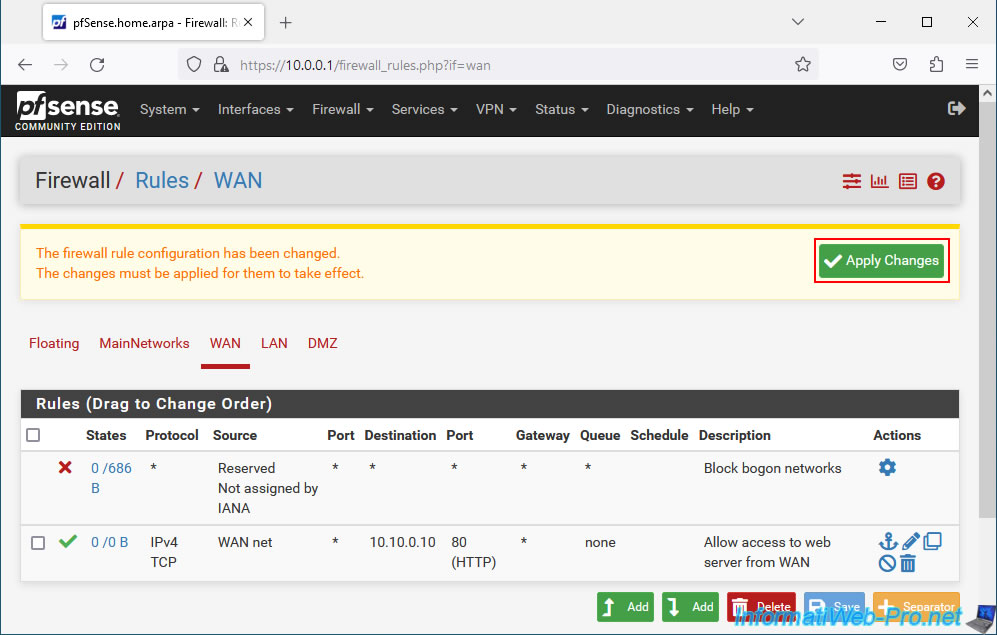
The configured rule appears.
Click "Apply Changes" to apply it.
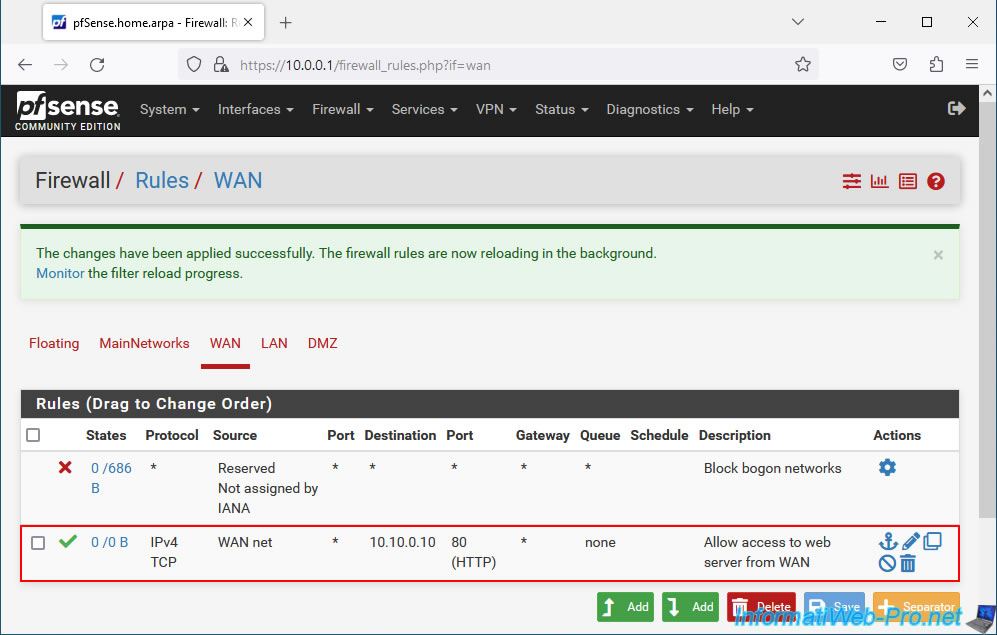
The new rule has been applied to your firewall.
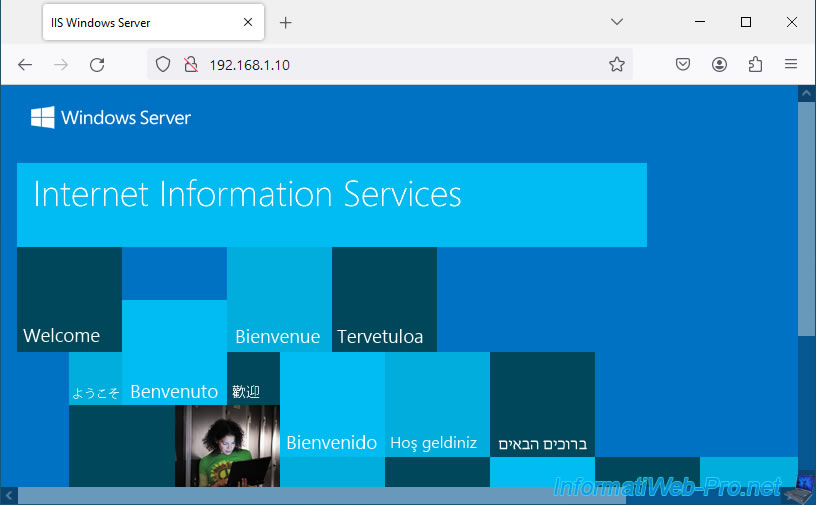
Now, try to access your web server from the Internet (or from a computer connected to the pfSense WAN network) by typing the pfSense WAN IP address.
As expected, the IIS page (in our case appears) given that our web server is installed on Windows Server.
Share this tutorial
To see also
-
Firewall 9/10/2025
pfSense 2.6 - Create a VPN server (remote access) via OpenVPN (L2 mode)
-

Firewall 5/28/2025
pfSense 2.6 - Create and use VLANs
-
Firewall 5/30/2025
pfSense 2.6 - Enable and configure DHCP server
-
Firewall 8/16/2025
pfSense 2.6 - Monitoring via SNMP and Zabbix 6
You must be logged in to post a comment