- VMware
- VMware Workstation
- 11 December 2025 at 08:45 UTC
-

- 1/5

With VMware Workstation Pro, you can virtualize Unraid to test this solution without using a physical computer or server.
However, you will need a physical USB key to install Unraid on it.
You can then boot your virtual machine from it and use your virtual machine's virtual hard drives for Unraid storage.
Note: although virtualizing Unraid with VMware Workstation Pro is possible, it's not officially supported by Lime Technology (the company that created Unraid).
- Create the Unraid USB key
- Download PlopKexec to boot the VM on the Unraid USB key
- Create and configure the Unraid virtual machine on VMware Workstation Pro
- Start your Unraid virtual machine on VMware Workstation Pro
- Start the Unraid evaluation period
- Configure Unraid Array
- Install the plugin: Community Applications
- Install VMware Tools on Unraid
- Enable automatic array startup
- Test VMware Tools
1. Create the Unraid USB key
As explained previously, to virtualize Unraid on VMware Workstation Pro, you must create the Unraid USB key using a physical USB key.
Indeed, the Unraid license (including the trial version) is linked to the ID of your USB key.
It is therefore necessary to use a physical USB key. Otherwise, the license will no longer be valid, as virtual USB keys always change their ID (UUID).
In our case, we used Unraid version 6.9.2, which we already use for our other Unraid tutorials.
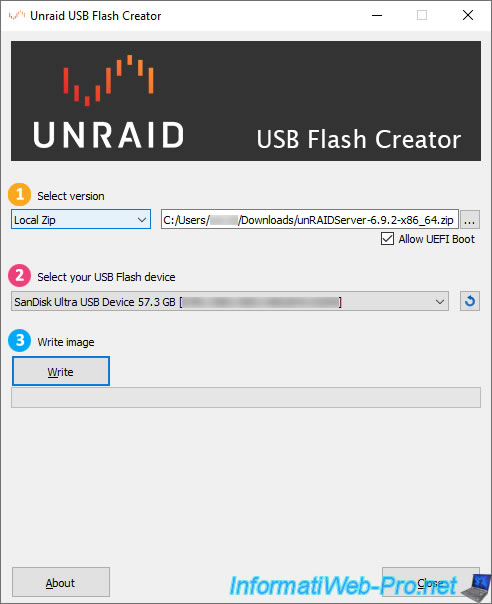
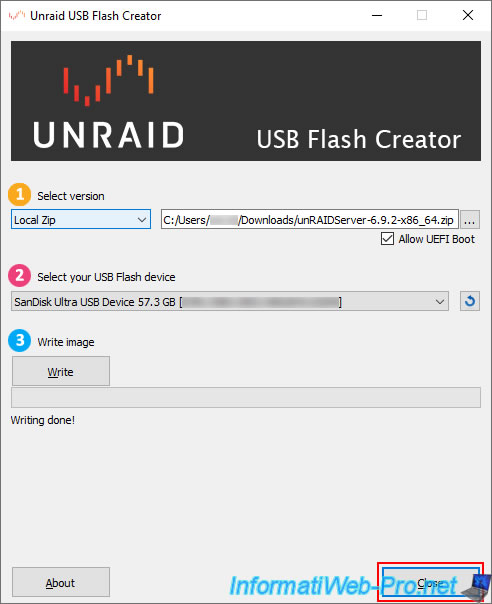
So, we launch the "Unraid USB Flash Creator" tool and select "Local Zip" to use the "unRAIDServer-6.9.2-x86_x64.zip" file previously downloaded from the Unraid website.
To enable Unraid UEFI boot, check the "Allow UEFI Boot" box. However, this is optional.
Next, select your physical USB key from the "Select your USB flash device" list and click "Write".
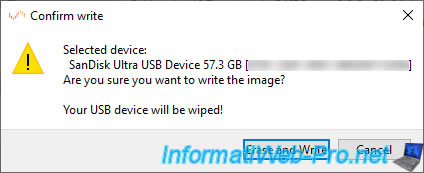
Warning : the contents of the USB key will be erased.
As the Unraid utility warns you, your USB key will be erased.
Click Erase and Write.
Please wait while Unraid is installed on your physical USB key.
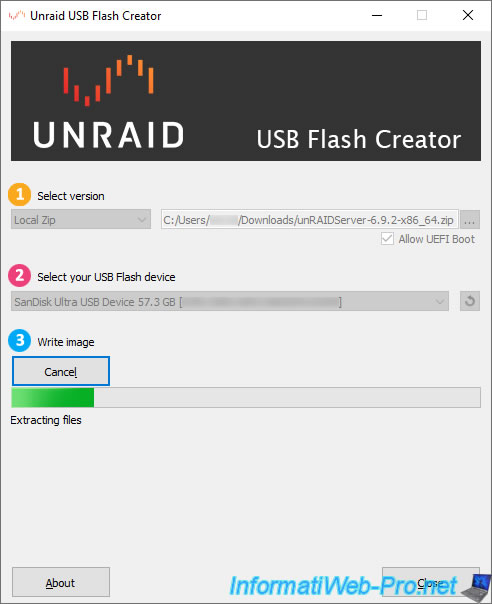
Once the Unraid installation is complete, you will see the message "Writing done!" appear.
Click Close.
2. Download PlopKexec to boot the VM on the Unraid USB key
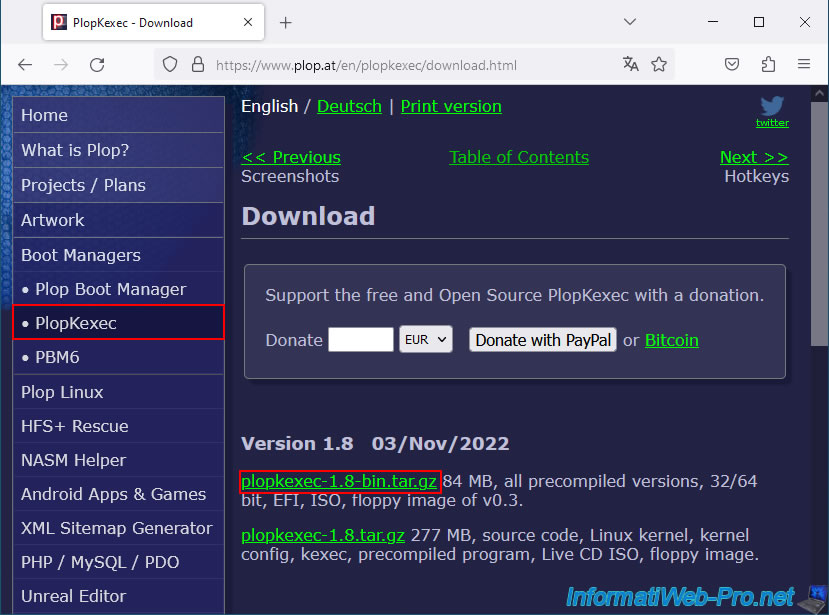
To boot a VMware virtual machine from your Unraid USB key, you'll need to use the "plopkexec" tool.
To do this, go to the "PlopKexec - Download" page, then click the "plopkexec-1.8.bin.tar.gz" link to download this tool.
The file "plopkexec-1.8.bin.tar.gz" has been downloaded.
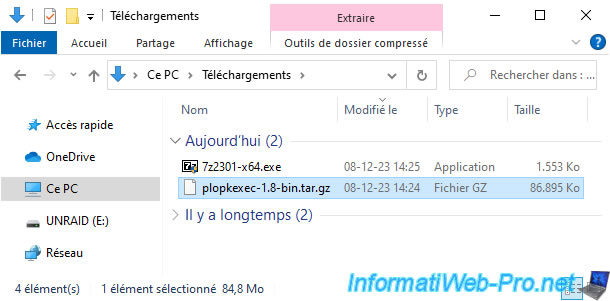
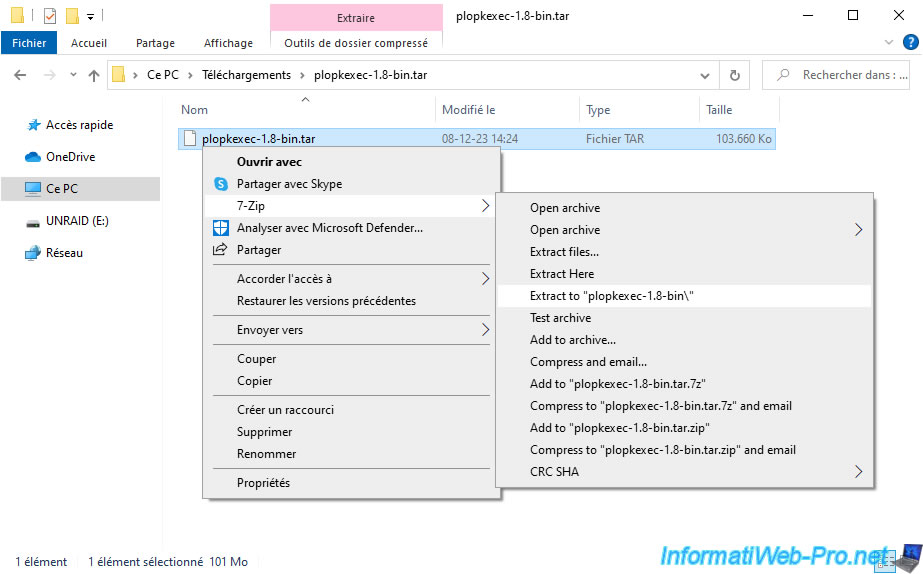
To unzip this file, use 7-Zip (which is free) or a paid equivalent (such as WinRAR).
With 7-Zip, you will need to unzip the downloaded file twice.
To do this, with 7-Zip installed, right-click "7-Zip\Extract to plopkexec-1.8-bin.tar\".
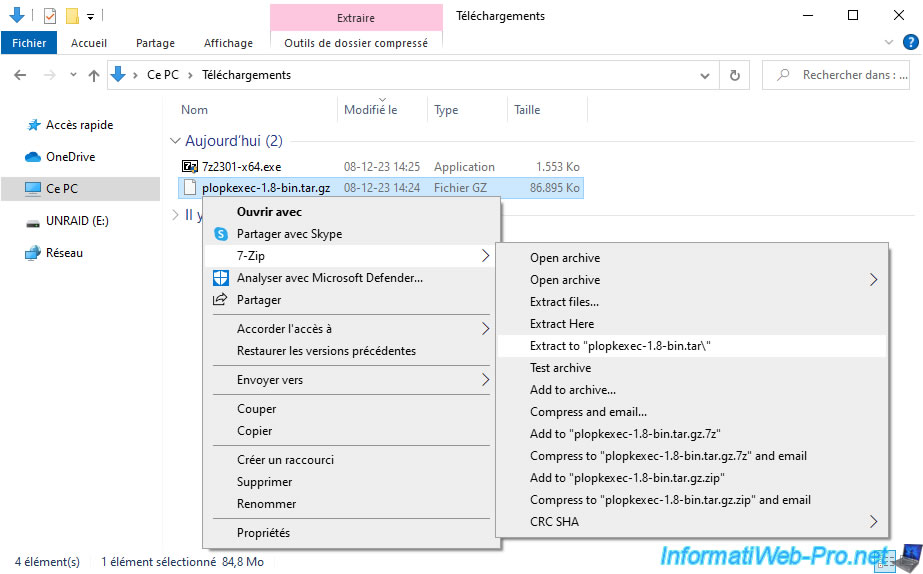
Then, with 7-Zip, right-click again "7-Zip\Extract to plopkexec-1.8-bin\" on the resulting "plopkexec-1.8-bin.tar" file.
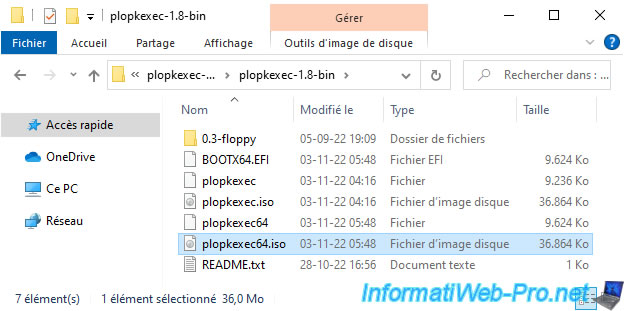
In the "plopkexec-1.8-bin" folder that appears, you'll find two virtual CDs: plopkexec.iso (32-bit version) and plopkexec64.iso (64-bit version).
For RAID, you'll need the file: plopkexec64.iso.
3. Create and configure the Unraid virtual machine on VMware Workstation Pro
3.1. Create the Unraid virtual machine
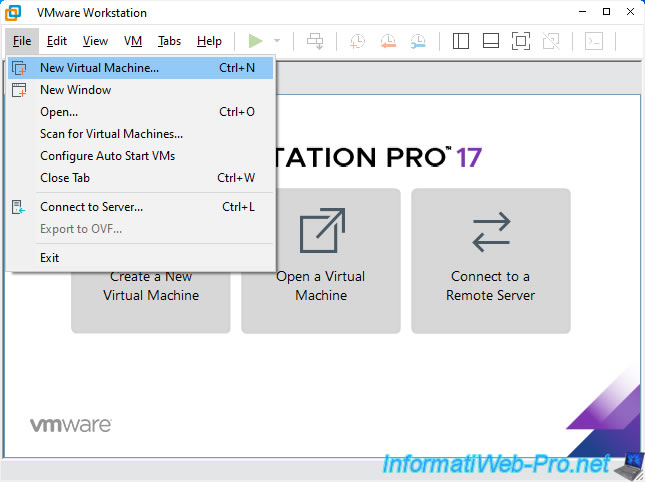
In VMware Workstation Pro, go to the menu: File -> New Virtual Machine.
Note: the prerequisites for creating your future Unraid virtual machine are listed in our previous tutorial "Unraid 6.9.2 - Install and configure Unraid 6.9.2".
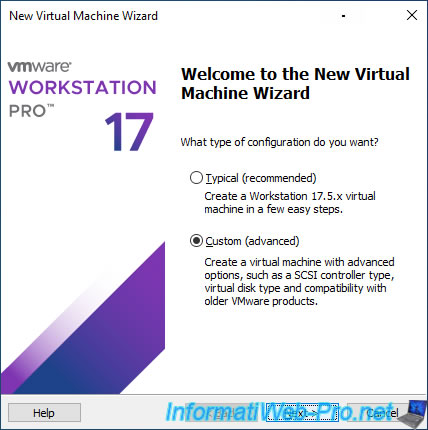
Select "Custom (advanced)" and click Next.
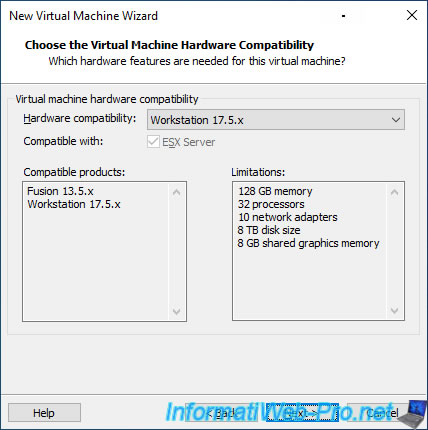
Leave the compatibility level selected as default and click Next.
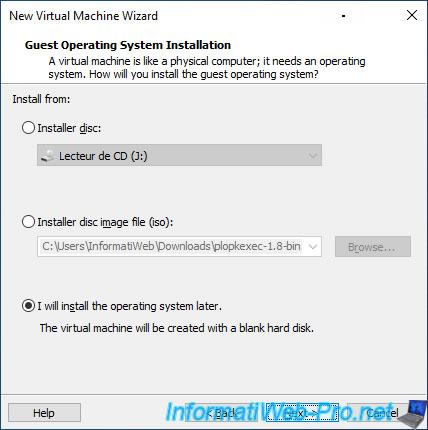
Select "I will install the operating system later".
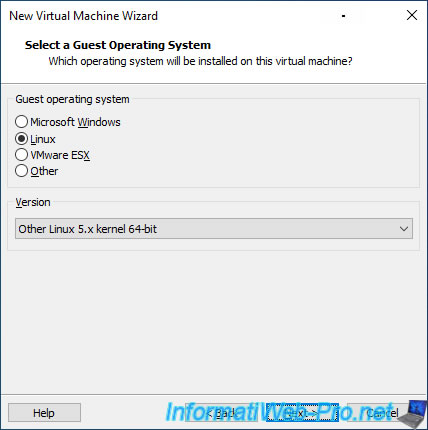
For Unraid 6.9.2, select "Linux" and then "Other Linux 5.x kernel 64-bit" as the Guest Operating System.
This is because Unraid 6.9.2 uses Linux kernel v5.10.28. Additionally, Unraid requires a 64-bit processor.
Source: Release Notes | Unraid Docs (choose a release and see the Linux kernel version used in the "Changelog" section of the page).
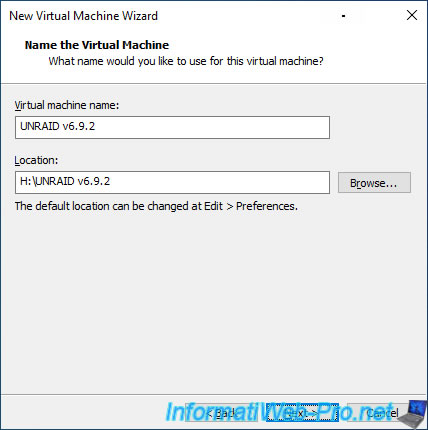
Enter a name for your virtual machine.
For example: UNRAID v6.9.2.
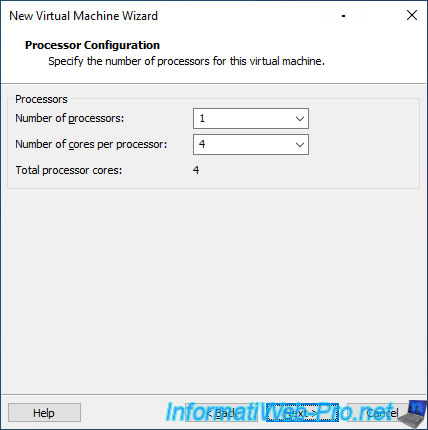
Allocate a CPU with 4 cores to your Unraid virtual machine.
- Number of processors : 1.
- Number of cores per processor : 4.
Indeed, for application management via Docker, Unraid recommends a processor with at least 4 cores.
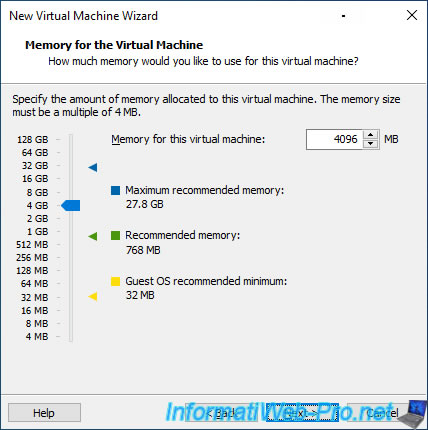
Again, to run applications on Unraid via Docker, it is recommended to allocate at least 4 GB of RAM to Unraid.
So, click on "4 GB" (or specify "4096 MB").
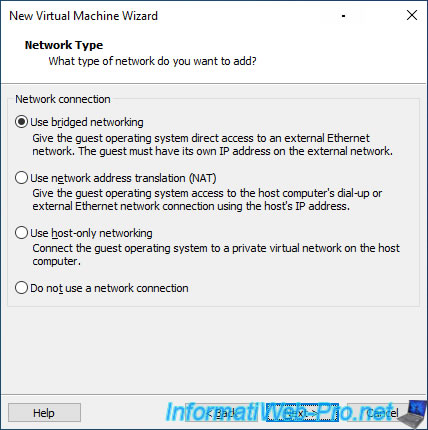
For networking, select "Use bridged networking" to connect Unraid to your physical network.
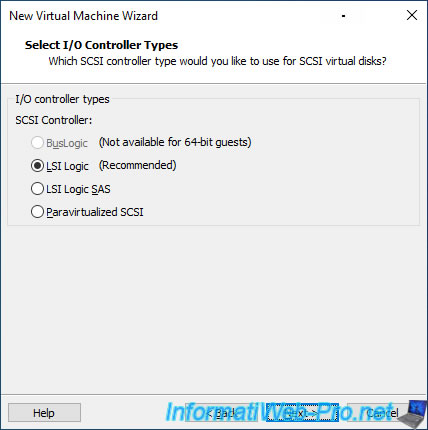
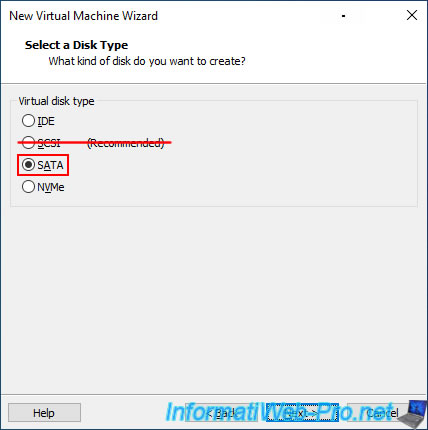
Leave the default option selected for the SCSI Controller.
Warning : SCSI virtual hard drives are NOT recognized by Unraid (regardless of the type of SCSI controller available).
For this reason, you will be using SATA and NVMe virtual drives in this tutorial.
For the first virtual hard drive type in your Unraid virtual machine, select "SATA."
Important : as mentioned previously, SCSI virtual hard drives are NOT recognized by Unraid.
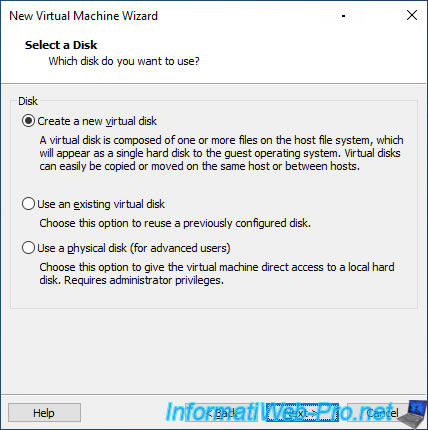
Select "Create a new virtual disk" to create a new virtual hard disk.
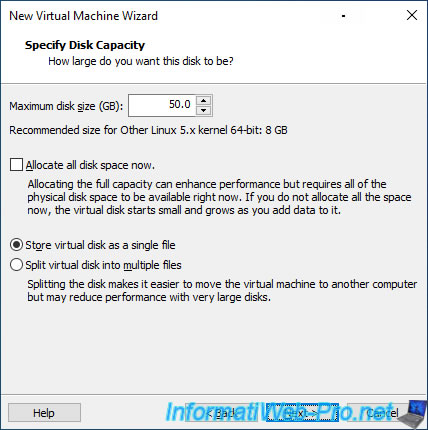
Specify a size for your virtual hard disk and select "Store virtual disk as a single file" (if possible) for better performance.
To reduce the time required for Unraid to calculate parity when you create your array in Unraid, we used small virtual hard disks.
Note that Unraid requires a minimum of two virtual hard disks.
In our case, we created a first 50 GB virtual hard disk.
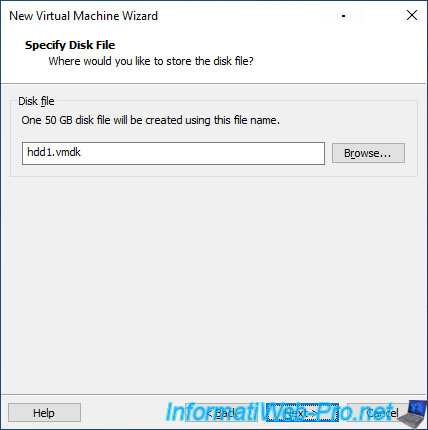
Specify "hdd1.vmdk" for your 1st virtual hard disk (which will be used for the Unraid array).
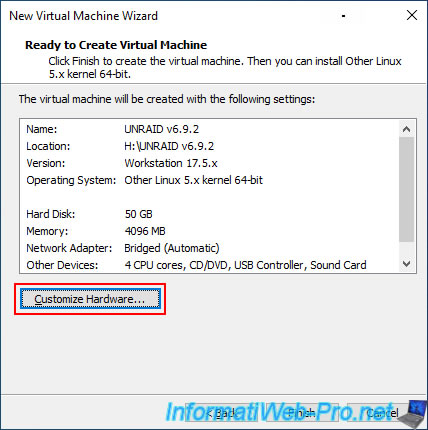
At the end of the wizard, click on: Customize Hardware.
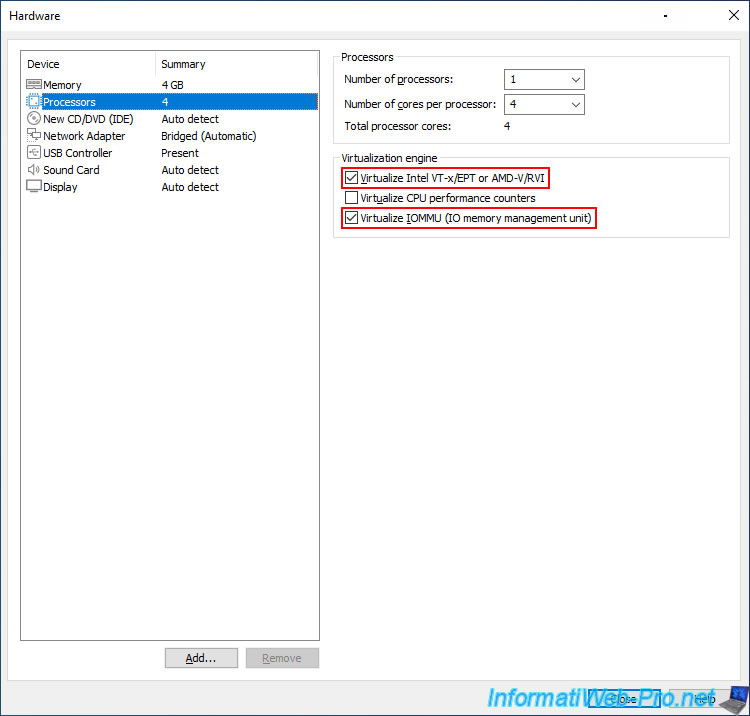
In the "Processors" section, enable the options:
- Virtualize Intel VT-x/EPT or AMD-V/RVI: so that Unraid can use CPU virtualization.
This is required to create virtual machines on Unraid. - Virtualize IOMMU (IO memory management unit): so that Unraid can use input/output (I/O) virtualization. This corresponds to Intel VT-d (for Intel) and IOMMU (for AMD).
This allows you to switch devices from your VMware virtual machine to a virtual machine created on Unraid.
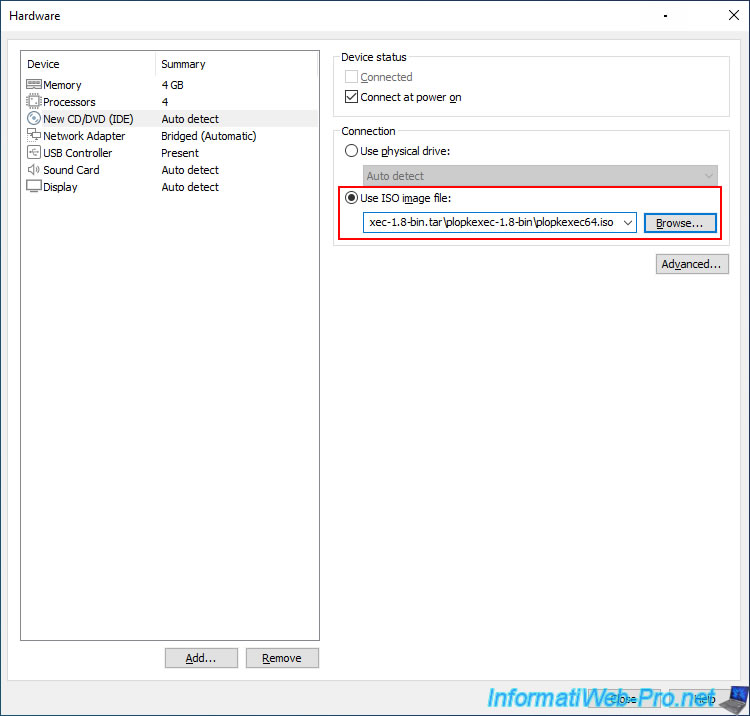
For the virtual CD/DVD drive (New CD/DVD (IDE)):
- check the "Connect at power on" box.
- select "Use ISO image file."
- click "Browse" and select the "plopkexec64.iso" file you downloaded earlier.
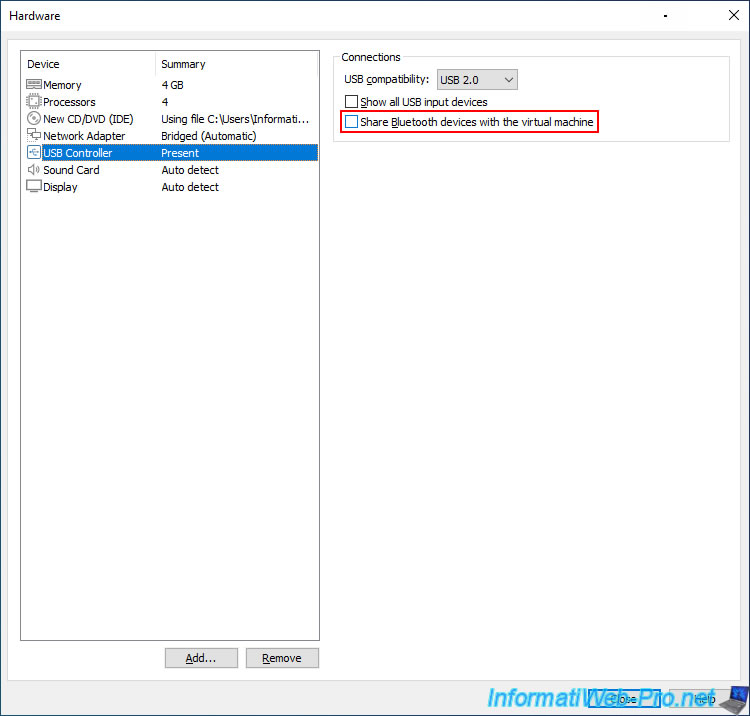
Optionally, for your Unraid virtual machine's USB controller, uncheck the "Share Bluetooth devices with the virtual machine" box to prevent Bluetooth devices connected to your physical computer from being accessible by your Unraid virtual machine.
Then, click "Close" to close this window.
Click "Finish" to exit this wizard.

Share this tutorial
To see also
-

VMware 3/16/2013
VMware Workstation - Boot a VM on the BIOS / EFI firmware
-
VMware 7/17/2020
VMware Workstation 16 / 15 - Configure VMware Workstation settings
-
VMware 4/17/2020
VMware Workstation 16 / 15 - Protect a virtual machine
-
VMware 10/2/2020
VMware Workstation 16 / 15.5.5 - Using Hyper-V and VMware Workstation simultaneously
You must be logged in to post a comment