- VMware
- 25 September 2020 at 09:16 UTC
-

- 1/2

VMware Workstation is a virtualization solution that allows you to do many things, but it still lacks a feature that would come in handy : starting a VM on a bootable USB key.
Indeed, for the moment, booting from USB is still not supported by default, and you must therefore use other techniques to test your bootable USB keys.
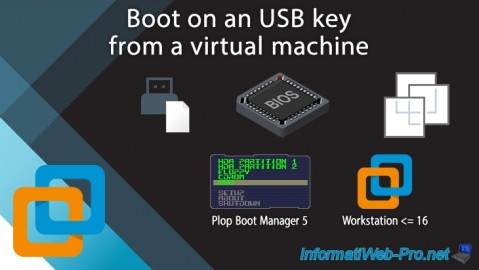
- Boot on USB not supported by default
- Use the Plop Boot Manager 5
- Use the USB key as a physical hard drive
1. Boot on USB not supported by default
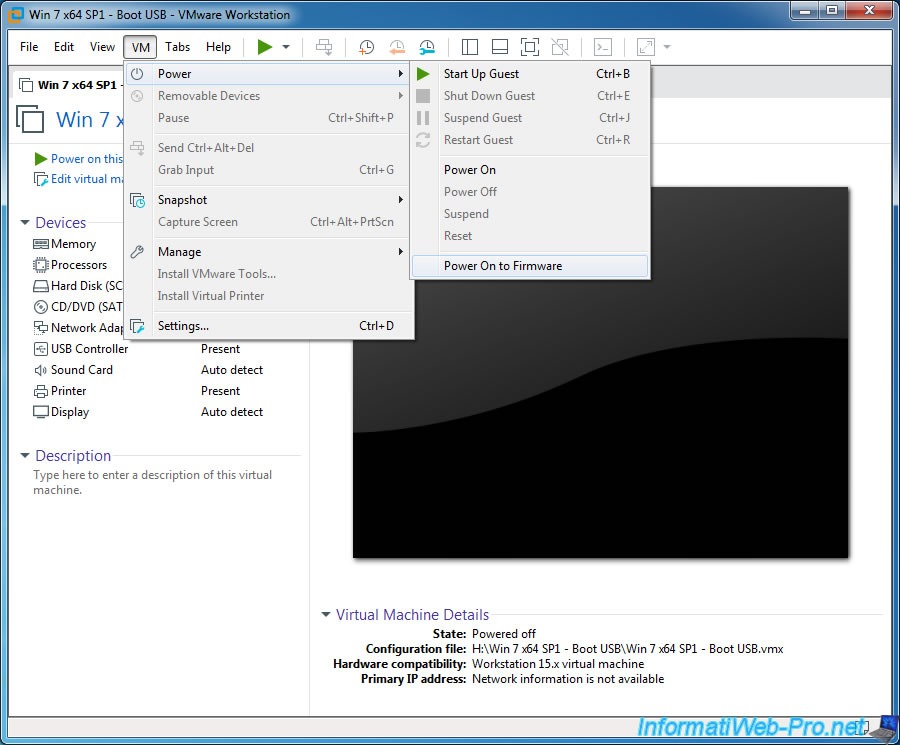
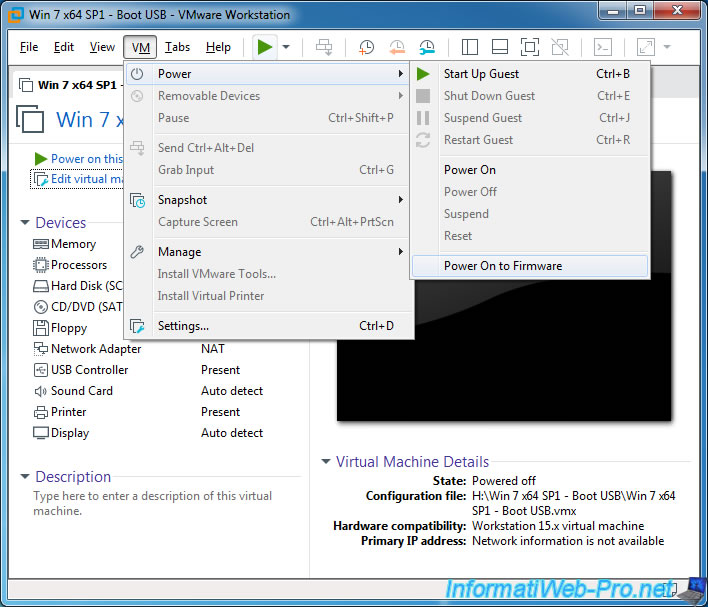
Boot on the virtual machine BIOS by clicking on : VM -> Power On to Firmware.
Connect your bootable USB key to your virtual machine.
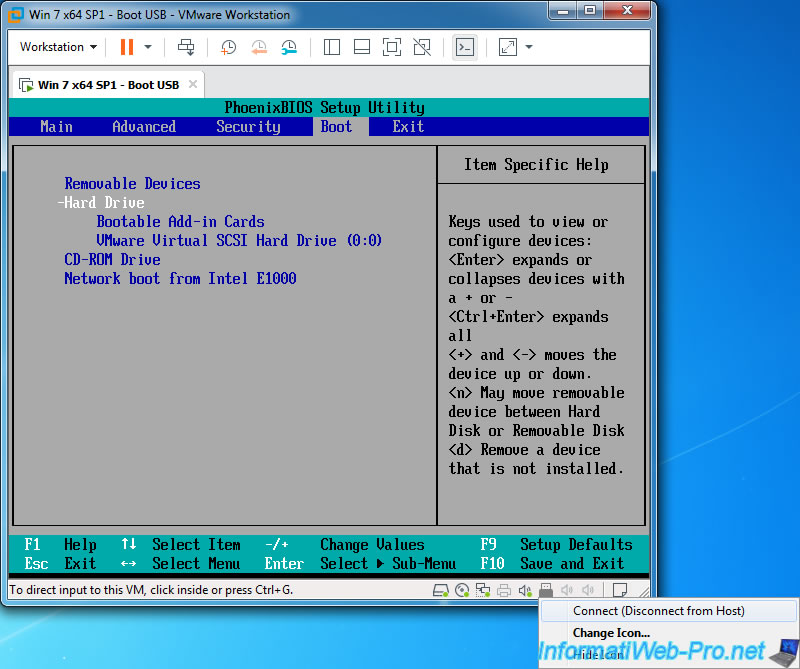
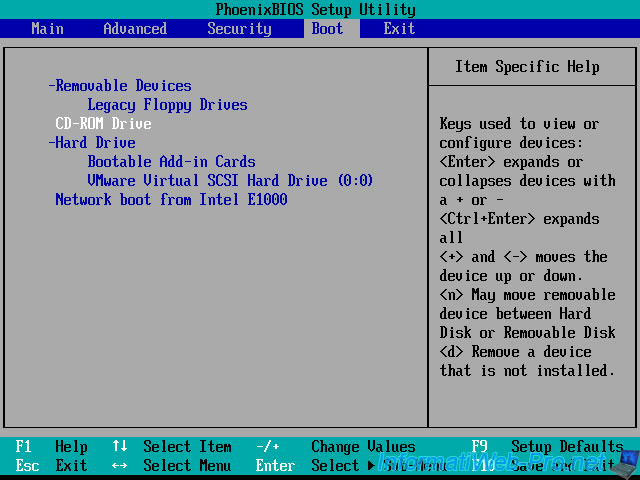
Then, go to the "Boot" tab of the BIOS of your virtual machine.
As you can see, it's not possible to boot directly on an USB key.
2. Use the Plop Boot Manager 5
The 1st technique to boot on a bootable USB key or a bootable external hard drive consists in using the "Plop Boot Manager 5" boot manager.
One of its advantages is that it's available in iso format (bootable CD) and img format (bootable floppy).
Warning : this boot manager is not compatible with EFI.
If your virtual machine uses EFI firmware instead of BIOS (PhoenixBIOS in the case of VMware), it will not work.
Once "Plop Boot Manager 5" downloaded, unzip the downloaded zip file and go to the settings of your virtual machine.

Select the "plpbt.iso" file for the CD/DVD drive.
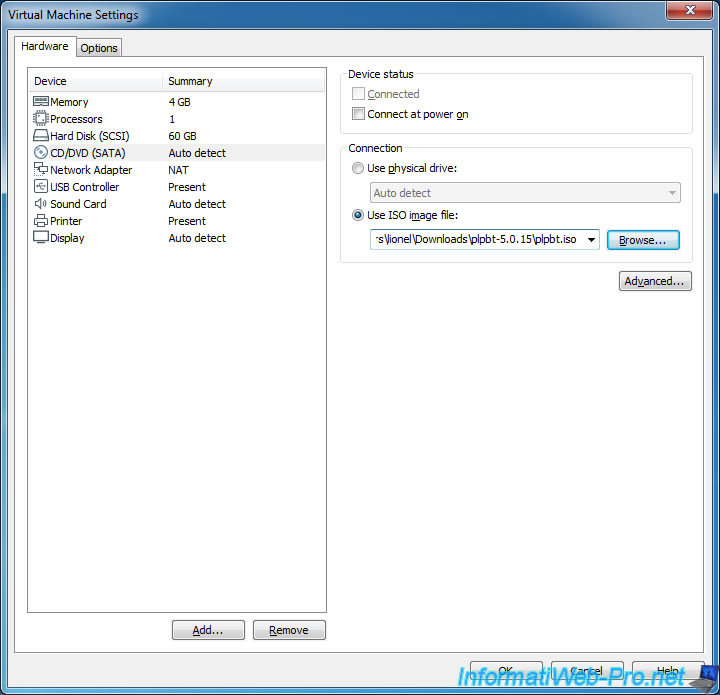
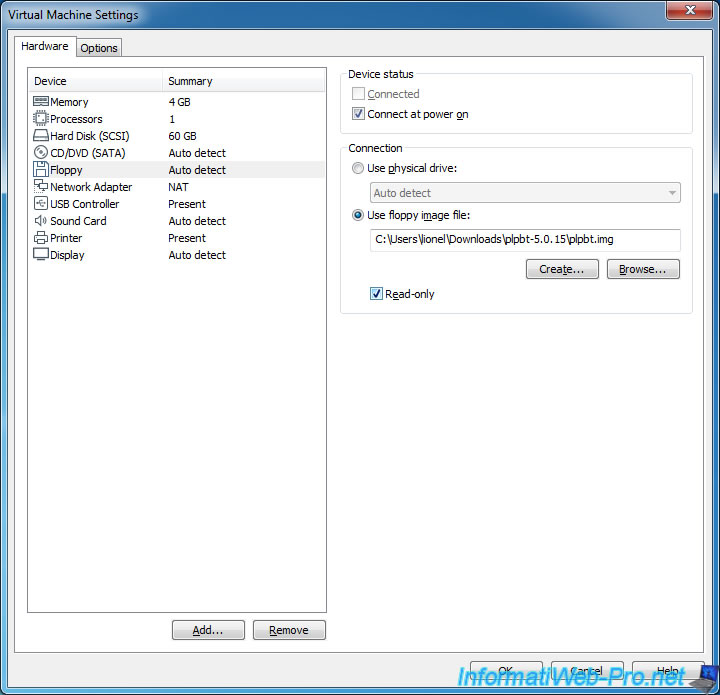
Or preferably use the bootable floppy "plpbt.img" to leave the CD/DVD drive free.
If the floppy drive is not part of your virtual machine, click "Add", then add a "Floppy Drive" to get it.
Then, start on the virtual machine BIOS to change the boot order of the virtual machine.
In the BIOS "Boot" tab, move the virtual CD/DVD drive "CD-ROM Drive" and/or the floppy drive "Legacy Floppy Drives" to the top of the list.
To do this, select the desired option and press the "+" key on the keyboard.
Then, go to the "Exit" tab to save the changes and exit the BIOS.
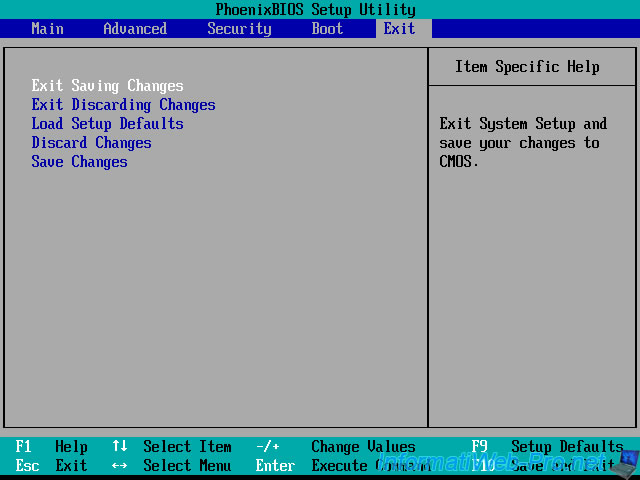
Confirm saving the changes.

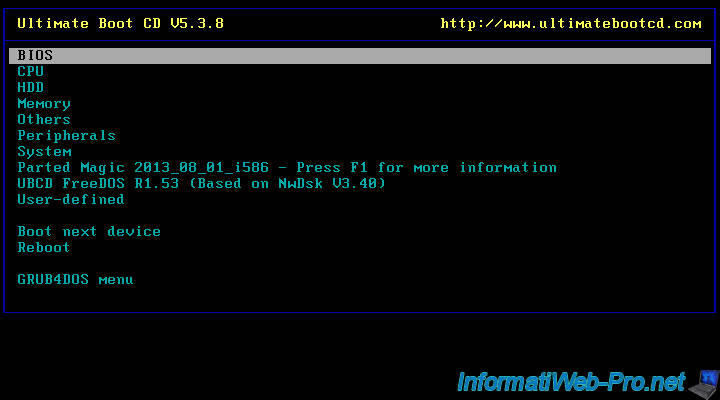
Now, your virtual machine arrives on the "Plop Boot Manager 5".
Select the "USB" option and press Enter.

Plop Boot Manager 5 searches for your USB key and attempts to boot from it.

If all goes well, your virtual machine will start on your bootable USB key.
In our case, it's a bootable USB key of Ultimate Boot CD.
If it's not the case, check that your USB key is well connected to your virtual machine.
Share this tutorial
To see also
-

VMware 3/16/2013
VMware Workstation - Boot a VM on the BIOS / EFI firmware
-

VMware 2/7/2020
VMware Workstation 15 - Installation on Linux
-

VMware 12/24/2021
VMware Workstation 15 - Slice the virtual hard disk of a VM
-

VMware 12/10/2021
VMware Workstation 15.5 - Convert a Virtual PC virtual machine to a VMware VM
You must be logged in to post a comment