- VMware
- 04 September 2020 at 17:43 UTC
-

Starting with VMware Workstation Pro v15.5, you can create virtual machines with a virtual hard disk connected to a paravirtual SCSI controller.
This feature primarily improves the compatibility of virtual hardware used by your virtual machine with VMware vSphere products.
However, since Windows doesn't support this type of controller by default, a few additional steps will be required when installing Windows.
1. Creating the virtual machine
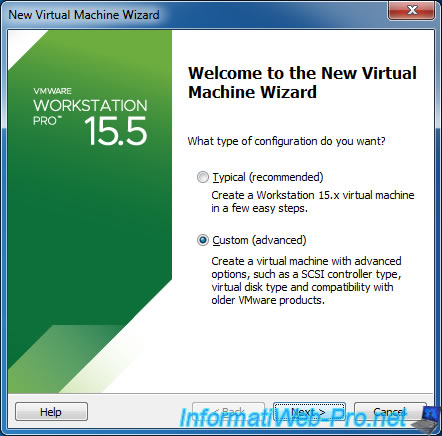
To begin, create a new virtual machine by selecting the "Custom (advanced)" option.
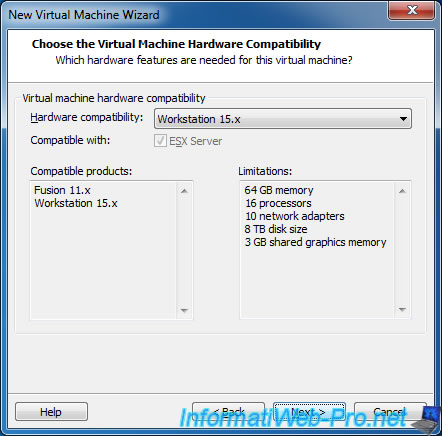
Select at least the "Workstation 15.x" virtual hardware.
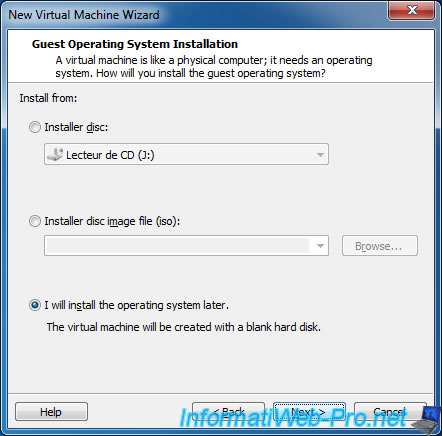
Select "I will install the operating system later".
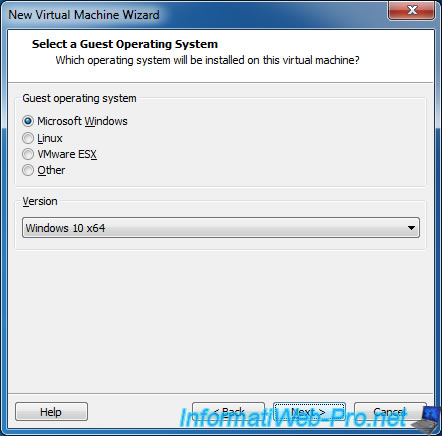
Select the operating system you want to install from those supported for Paravirtual SCSI :
- Windows XP and its server version : 2003
- Windows Vista
- Windows 7
- Windows 8 and 8.1
- Windows 10
In our case, we will install Windows 10, but the procedure is the same for Windows Vista, 7, 8, 8.1 and 10.
Provide a name for your virtual machine.
In our case : Windows 10 x64 PVSCSI.
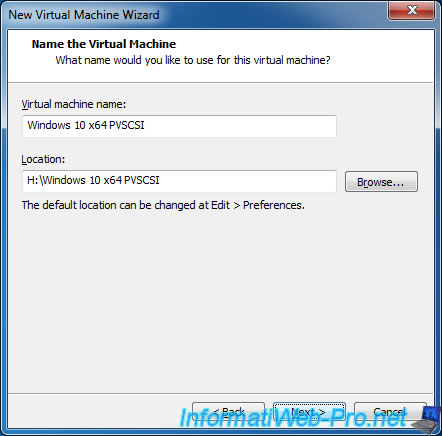
Click Next.
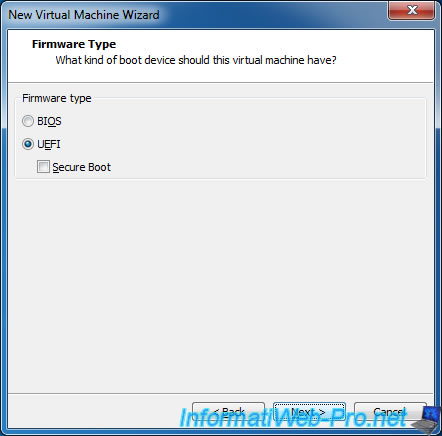
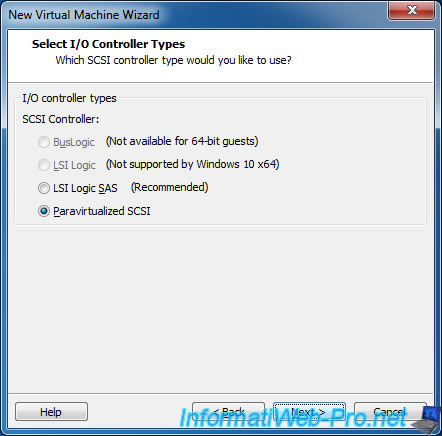
Sélectionnez le contrôleur "Paravirtualized SCSI".
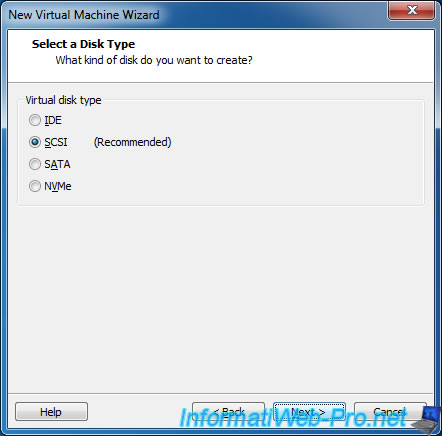
Select SCSI.
Click : Customize Hardware.
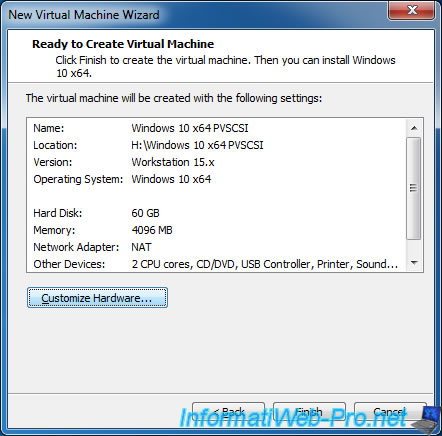
Select the iso file of the version of Windows that you want to install.
In our case, the latest version of Windows 10 - 1903 in 64-bit.
Then, as noted earlier, Windows doesn't support paravirtual SCSI controllers by default.
So, you will need the driver provided by VMware as a virtual floppy disk.
So, click on "Add" at the bottom of the list.
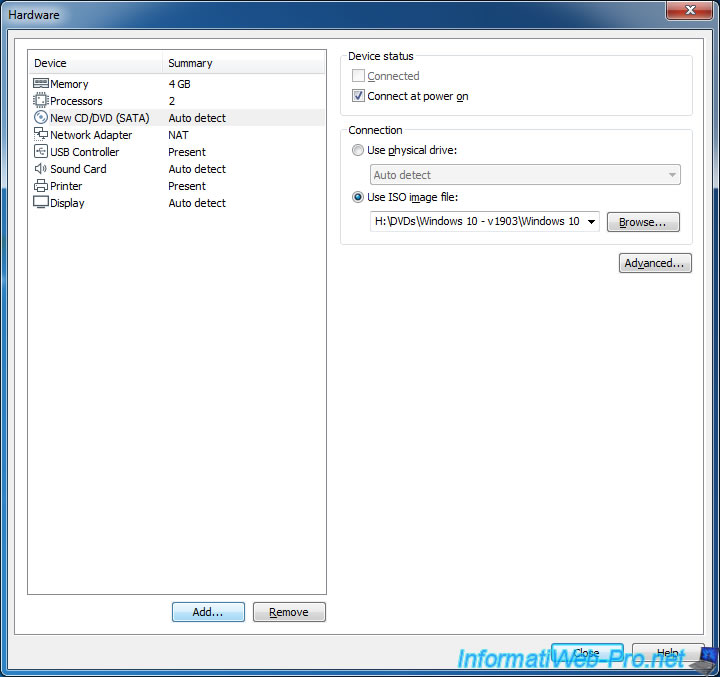
And add a Floppy Drive to your virtual machine.
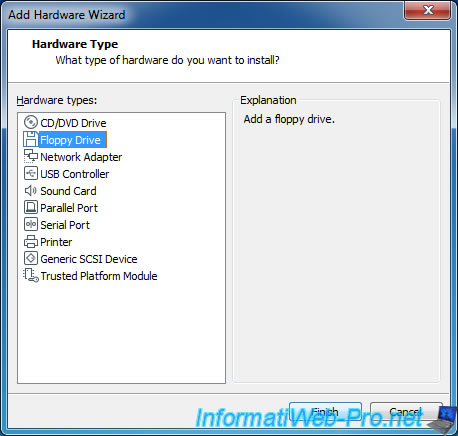
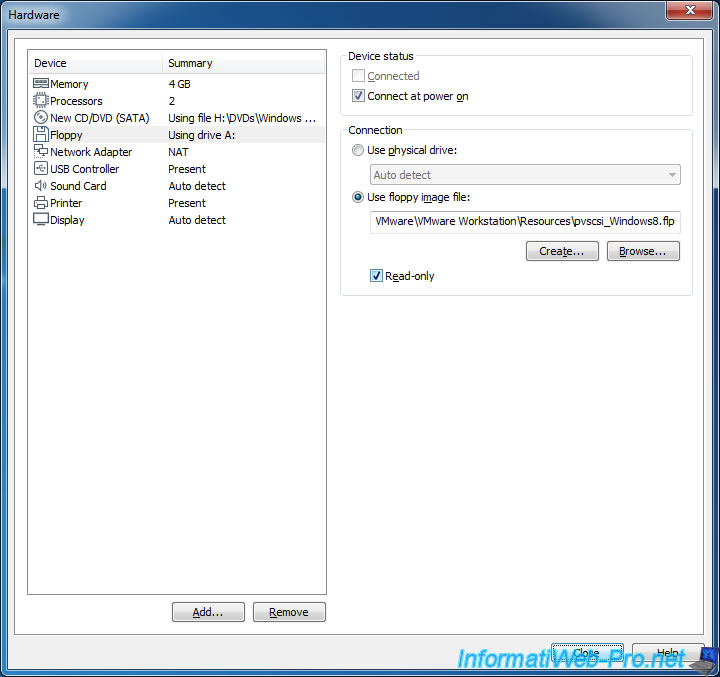
Then, select the "Floppy" device, select "Use floppy image file" and click Browse.
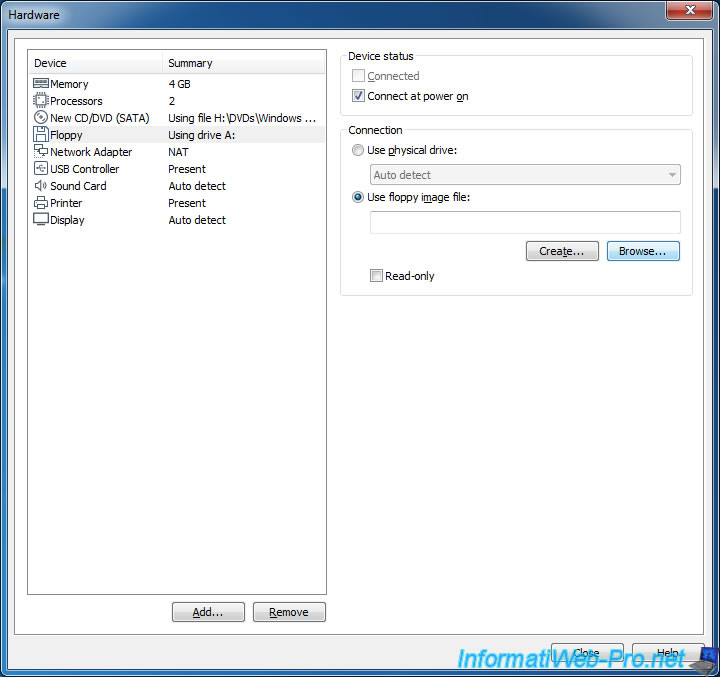
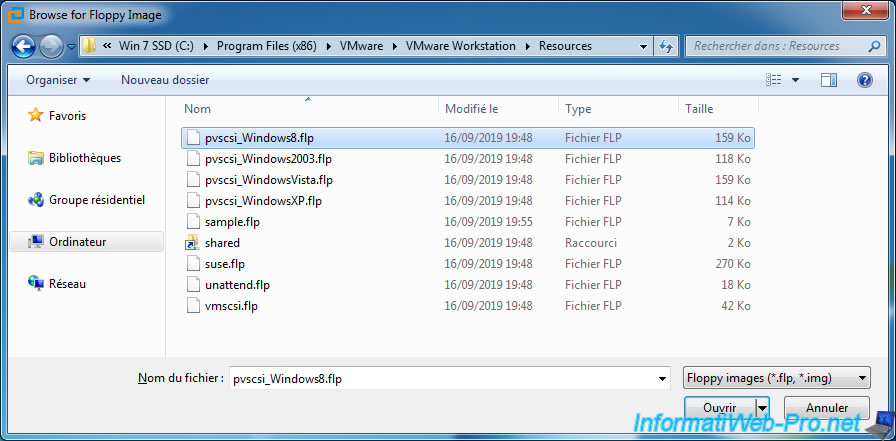
Go to the "C:\Program Files (x86)\VMware\VMware Workstation\Resources" folder on the host PC and select the appropriate virtual floppy disk for the version of Windows that you want to install in your virtual machine :
- pvscsi_WindowsXP.flp : for Windows XP
- pvscsi_Windows2003.flp : for Windows Server 2003
- pvscsi_WindowsVista.flp : for Windows Vista and 7
- pvscsi_Windows8.flp : for Windows 8, 8.1 and 10
Important : since VMware Workstation Pro 17, the "pvscsi_WindowsVista.flp" virtual floppy is no longer available.
However, you will notice that the Windows Vista and Windows 7 installer will easily recognize the "VMware PVSCSI Controller" driver present on the "pvscsi_Windows2003.flp" virtual floppy.
So in case you want to use a VMware paravirtual SCSI controller with Windows 7 or Vista on VMware Workstation Pro 17, select the "pvscsi_Windows2003.flp" virtual floppy.
Finally, check the "Read-only" box for security and click Close.
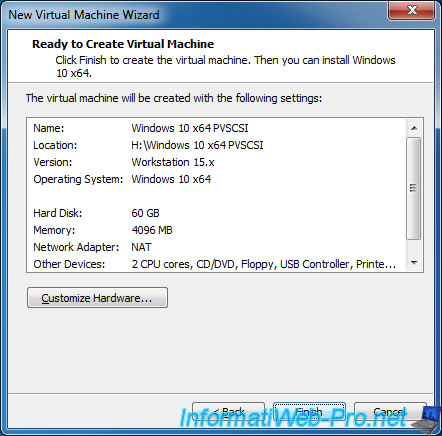
Finally, click Finish.
2. Installing the guest OS
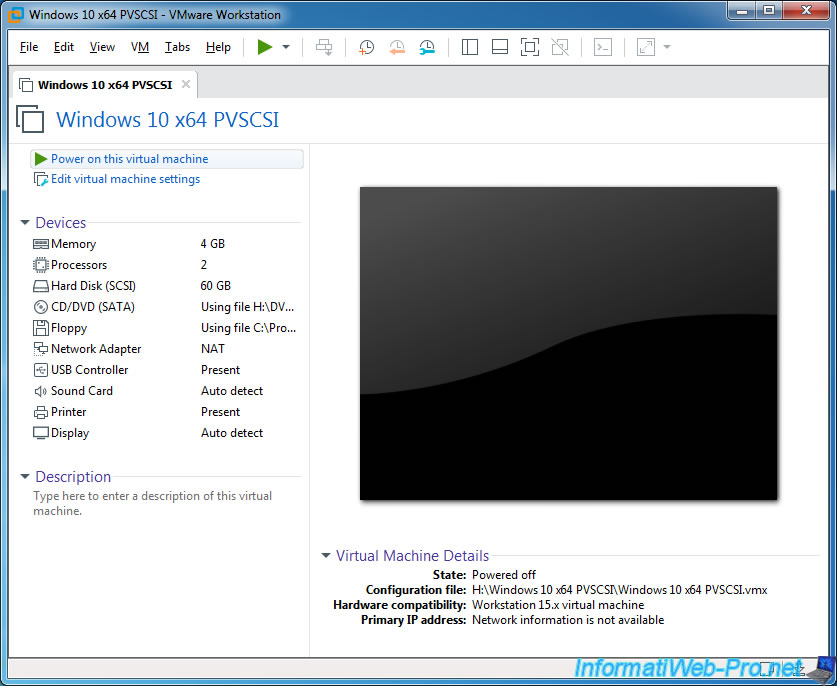
Now that your virtual machine is ready, start it by clicking : Power on this virtual machine.
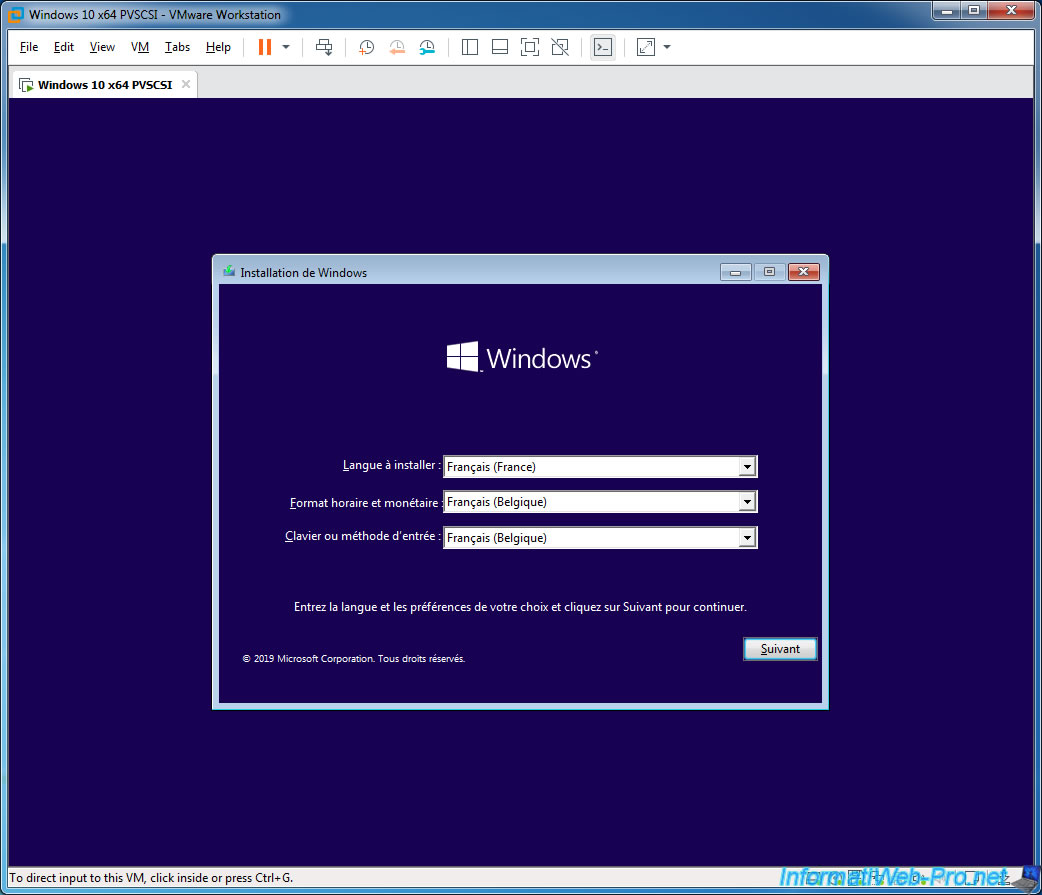
Select the desired language and click Next.
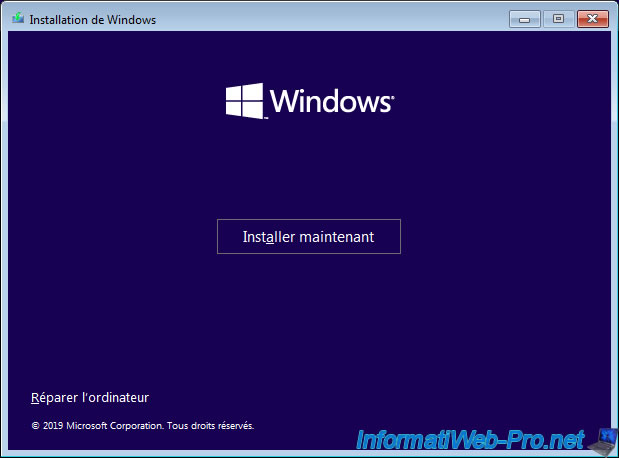
Click on : Install now.
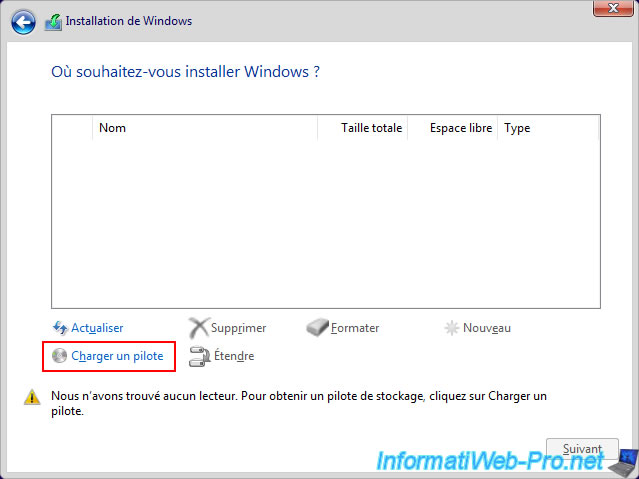
Since Windows doesn't support the paravirtual SCSI controller by default, the wizard doesn't find any hard disks.
Hence the "We couldn't find any drives.To get a storage driver, click Load driver" message.
Click : Load driver.
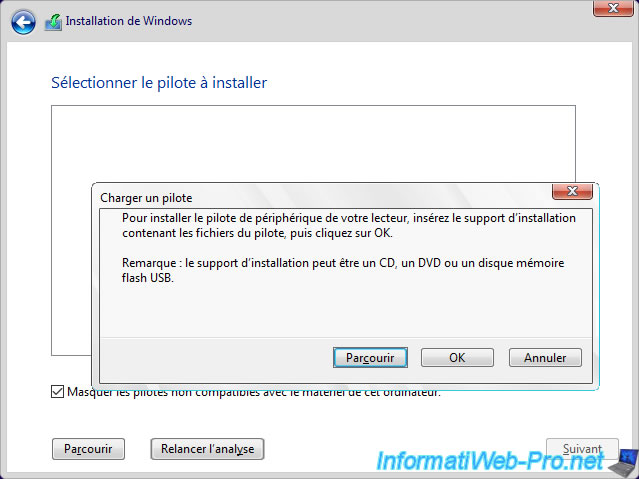
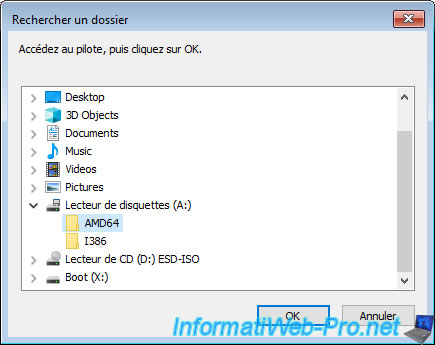
In the "Load driver" window that appears, click : Browse.
Enter the floppy disk drive and select one of these folders :
- AMD64 : if you are installing a 64-bit (x64) version of Windows
- I386 : if you are installing a 32-bit (x86) version of Windows
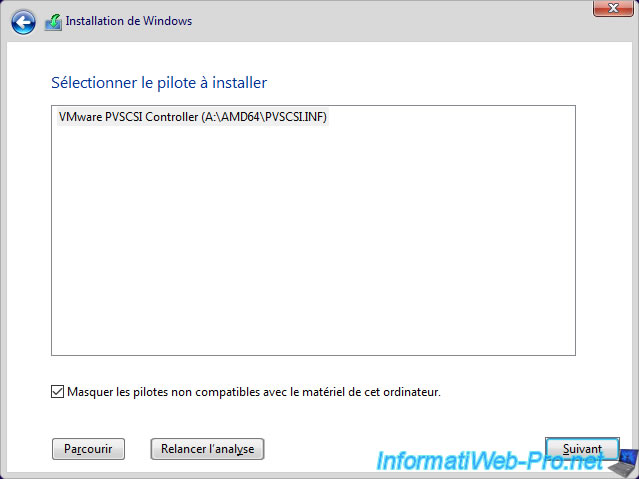
Select the "VMware PVSCSI Controller (A:\AMD64\PVSCSI.INF)" driver that appears and click Next.
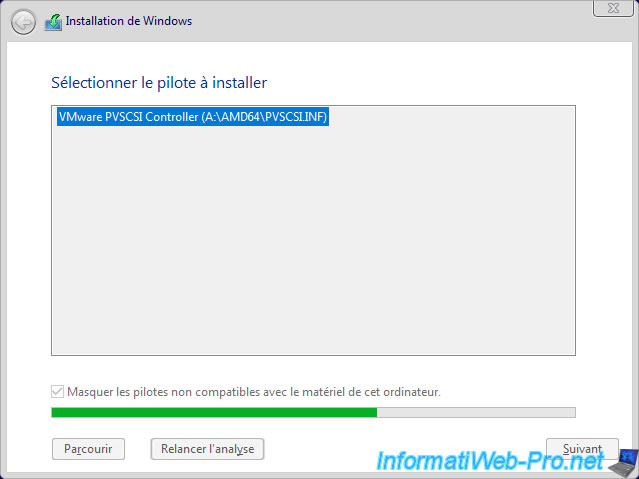
Wait while the driver loading.
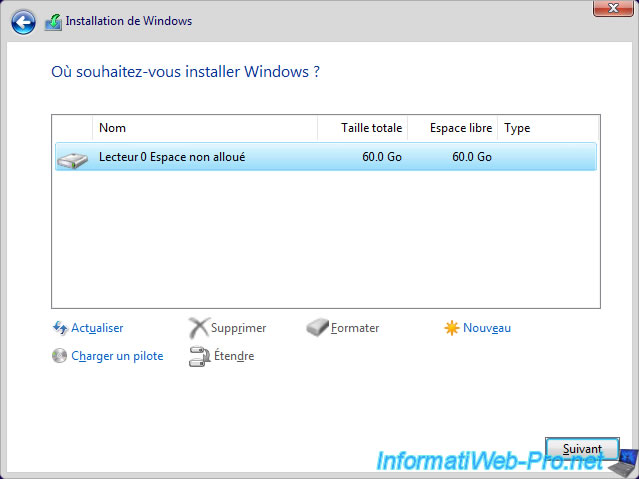
The wizard returns to the partition selection screen and a drive 0 with unallocated space appears.
Partition it if you want, and then click Next.
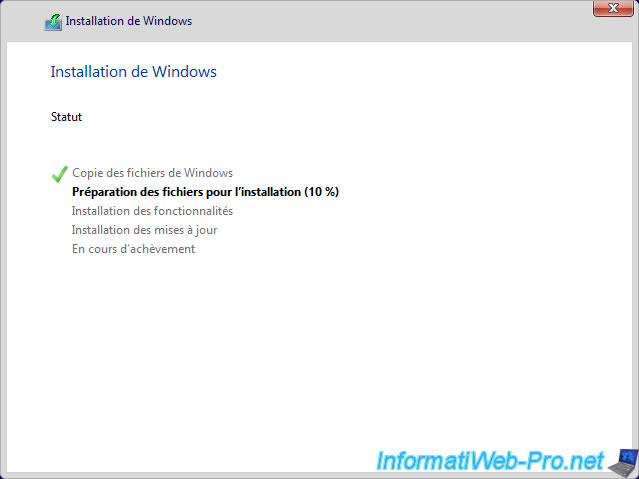
The Windows installation starts.
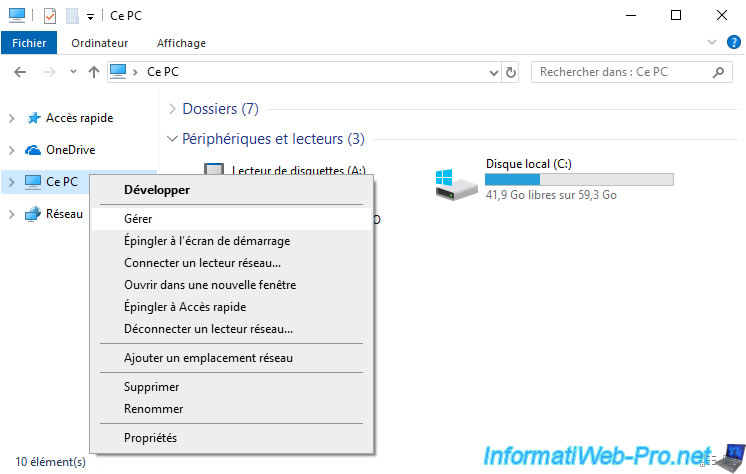
Once Windows is installed, right click "Manage" on "This PC" (or its equivalent, depending on the version of Windows installed).
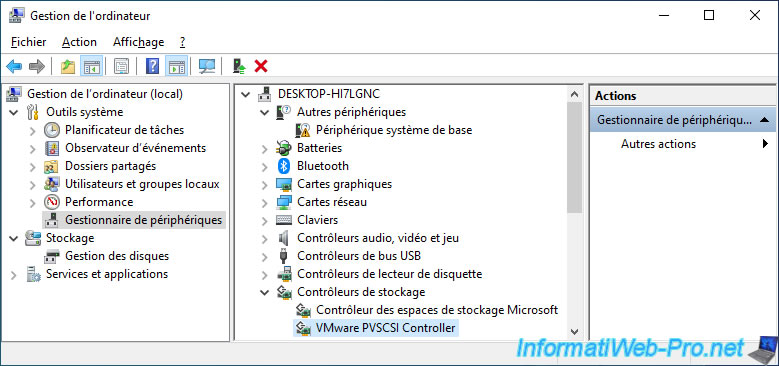
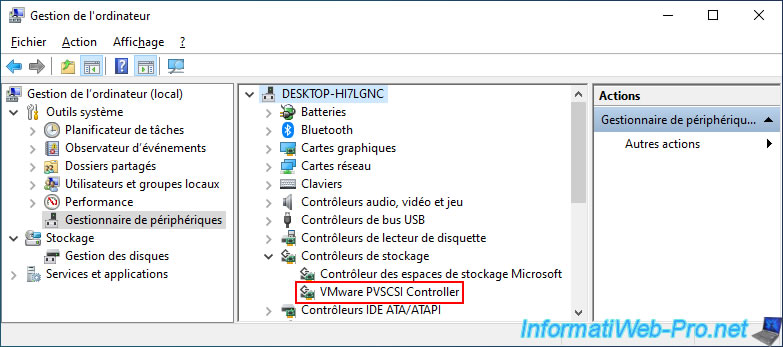
In the Device Manager, open the "Storage controllers" node.
As you can see, there is the new paravirtual SCSI controller : VMware PVSCSI Controller.
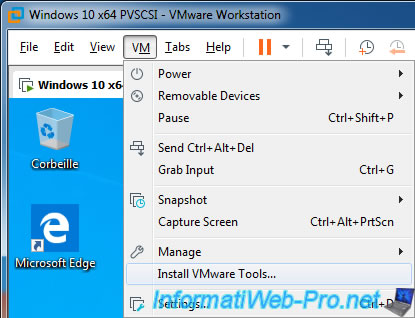
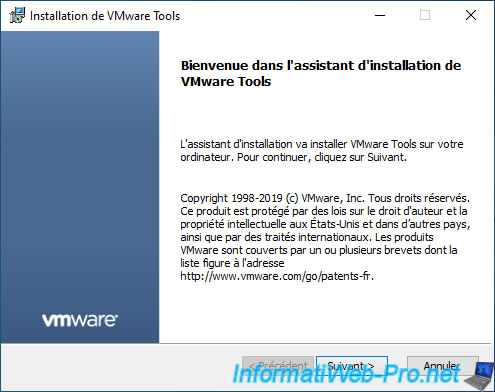
Install the VMware Tools as usual.
And do a typical installation (as usual).
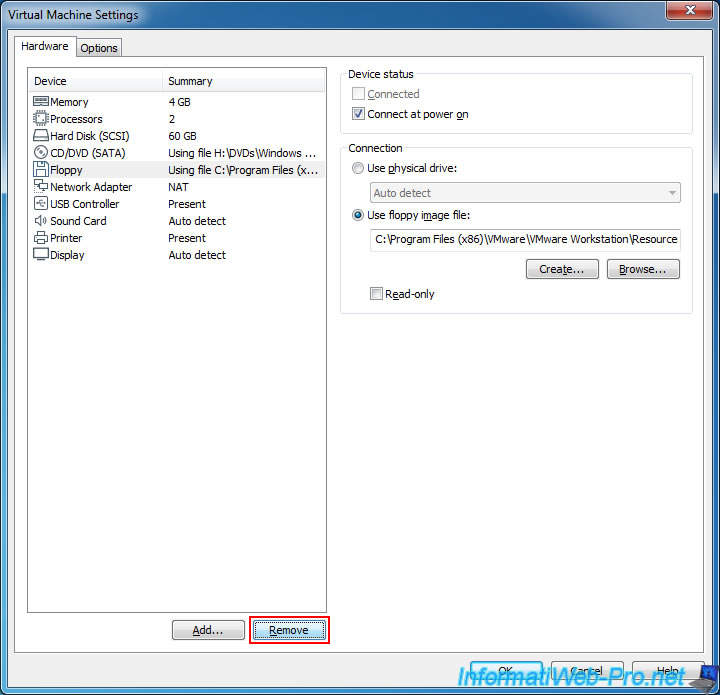
Finally, shut down the virtual machine and remove the floppy disk drive, as you will no longer need it.
Share this tutorial
To see also
-
VMware 3/16/2013
VMware Workstation - Boot a VM on the BIOS / EFI firmware
-
VMware 2/7/2020
VMware Workstation 15 - Installation on Linux
-
VMware 12/24/2021
VMware Workstation 15 - Slice the virtual hard disk of a VM
-
VMware 12/10/2021
VMware Workstation 15.5 - Convert a Virtual PC virtual machine to a VMware VM

You must be logged in to post a comment