- NAS
- Unraid
- 21 November 2025 at 13:38 UTC
-

- 1/5


Unraid is an operating system that allows you to create your own system with all the features you've always wanted on your server.
- What is Unraid?
- Prerequisites
- Create the Unraid USB key
- Configure your motherboard BIOS
- Booting from UNRAID USB key
- Obtain an evaluation license for Unraid
- Create the Array
- Stop the server
- Automatically start the array when Unraid starts
- Purchase an Unraid Plus or Pro license
- Information about your Unraid server
- Change the root account password
- Change the time zone used
1. What is Unraid?
Unraid is an operating system that offers flexibility, simplicity, modularity, and scalability.
With Unraid, you can create the server of your dreams with the features you want, your favorite software (Plex and others), and your favorite hardware (Pro or not).
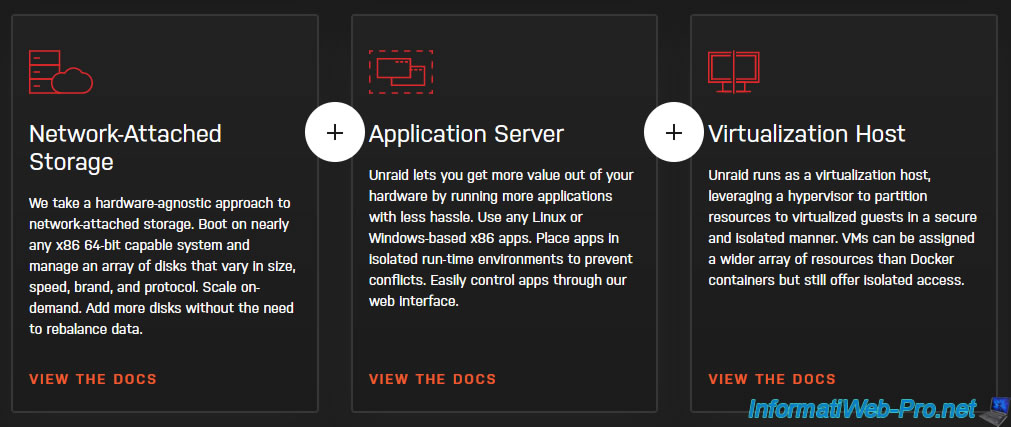
Unraid allows you to combine multiple server types into a single server:
- a NAS (Network Attached Storage) server
- an application server to run any Linux or Windows application in an isolated environment (Docker)
- a virtualization server where you can create and launch Windows, Linux, or other virtual machines that will run in an environment completely isolated from the host system (the Unraid server) and secure (thanks to this isolation).
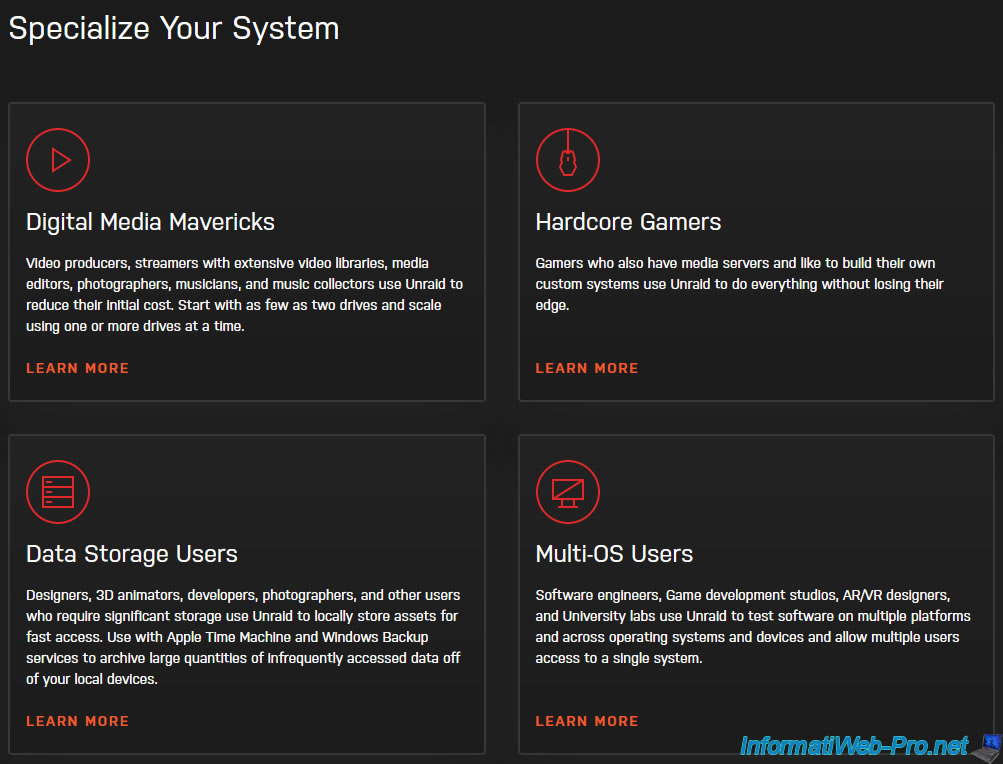
As Lime Technology states on their website, Unraid can be used in a variety of ways and by different types of people:
- video creators, streamers, photographers, ...
- gamers (in particular by creating a dedicated gaming VM and installing a real graphics card).
- data storage by graphic designers, developers (programmers), photographers, ...
- professionals with the ability to create multiple users and grant them different rights.
Source : Unraid - Product
2. Prerequisites
Unraid requires one or more prerequisites depending on the features you want to use.
2.1. Prerequisites for the USB key where Unraid will be installed
To use Unraid, you'll need a good-quality USB key with a capacity of at least 2 GB and a maximum of 32 GB.
Indeed, to function properly, the USB key on which you install Unraid must be formatted in FAT32, and Microsoft limits the maximum capacity for this file system to 32 GB. However, this limitation can be technically overcome by using third-party software.
Using a quality USB key is very important, as the license (trial or purchased) will be linked to its unique identifier (GUID). However, you can transfer this license later if necessary in the event of a USB key failure.
Unraid recommends the following: Kingston DataTraveler SE9 (DTSE9) 32 GB, PNY 32 GB USB key, Lexar, or Cruzer micro 16 GB.
However, the important thing is to choose a USB key from a reputable brand, and if possible, one that Unraid recommends. Namely: Kingston, Sandisk, PNY, Lexar or Samsung.

You should therefore avoid NO NAME keys in the shape of characters or objects of any kind.

Note that Unraid will run entirely in your computer or server's RAM to minimize writes to your USB key.
Most of the time, it won't be in use, which won't shorten its lifespan too quickly.
This also means that using a USB 3.0 drive doesn't offer many advantages. The only benefit you'll gain is faster boot times for the Unraid server. However, once booted, this won't affect Unraid's performance, as it will only run in RAM.
Although USB 2.0 and 3.0 are supported, Unraid advises against using USB 3.1 drives.
Furthermore, based on experience, Unraid states that USB 2.0 appears to be more reliable than USB 3.0.
Sources:
2.2. Additional requirements for data storage and protection
![]()
The minimum requirements to install Unraid OS 6 for data storage are:
- a 64-bit (x64) processor (CPU) with a frequency of at least 1 GHz
- at least 2 GB of RAM
- hardware compatible with Linux.
- at least two hard drives, one of which will be used as a parity disk. This will allow the data on the failed hard drive to be recalculated in the event of a problem.
Note: The hard drive used as a parity disk must have a capacity at least equal to that of the largest hard drive you intend to use in your Unraid array.
Note that not all versions of Unraid use the same version of the Linux kernel.
Therefore, it's possible that one version of Unraid will work for you and another won't.
- Unraid 6.9.2 : noyau Linux 5.10.28
- Unraid 6.9.1 : noyau Linux 5.10.21
- Unraid 6.9.0 : noyau Linux 5.10.x
- Unraid 6.8.3 : noyau Linux 4.19.108
- Unraid 6.8.2 : noyau Linux 4.19.98
- Unraid 6.8.0 : noyau Linux 4.19.88
Consider this if you have any issues with the latest version of Unraid or want to update your version of Unraid.
Source : Release Notes | Unraid Docs (choose a version, then look for the link to its Changelog).
2.3. Additional requirements for application management (Docker)
![]()
If you want to install and run multiple applications at the same time on your Unraid server, you will also need:
- a quad-core processor with a frequency of at least 2.4 GHz
- 4 to 8 GB of RAM
Note that you will need to increase these requirements if you add more applications and want to use them simultaneously.
Note: applications will be installed as Docker containers.
2.4. Additional requirements for machine virtualization (hypervisor)
![]()
To run virtual machines on your Unraid server, your server hardware must support hardware-assisted virtualization (HVM), also known as "processor virtualization," and called Intel VT-x for Intel or AMD-V for AMD.
To enable it in your motherboard BIOS, refer to our tutorial: Enable virtualization (Intel VT-x / AMD-V).
In addition, to be able to pass peripherals using PCI passthrough or graphics cards using GPU passthrough, your hardware must also support input/output (I/O) virtualization, called Intel VT-d for Intel or AMD-Vi for AMD.
To enable this feature in your motherboard BIOS, refer to our tutorial: Enable IOMMU or VT-d in your BIOS.
2.5. Other prerequisites
Your server must of course be connected with a network cable (Ethernet), and using a monitor is only necessary the first time you boot your server to configure your motherboard's BIOS and determine your server's IP address.
You can then boot your server without connecting a monitor if you wish, allowing you to use your server in headless mode.
Source : Unraid - Getting Started
3. Create the Unraid USB key
Unlike other professional solutions (NAS, hypervisors, ...), Unraid is not installed on a hard drive or SSD, but on your USB key. This is provided that the USB key meets the requirements mentioned above.
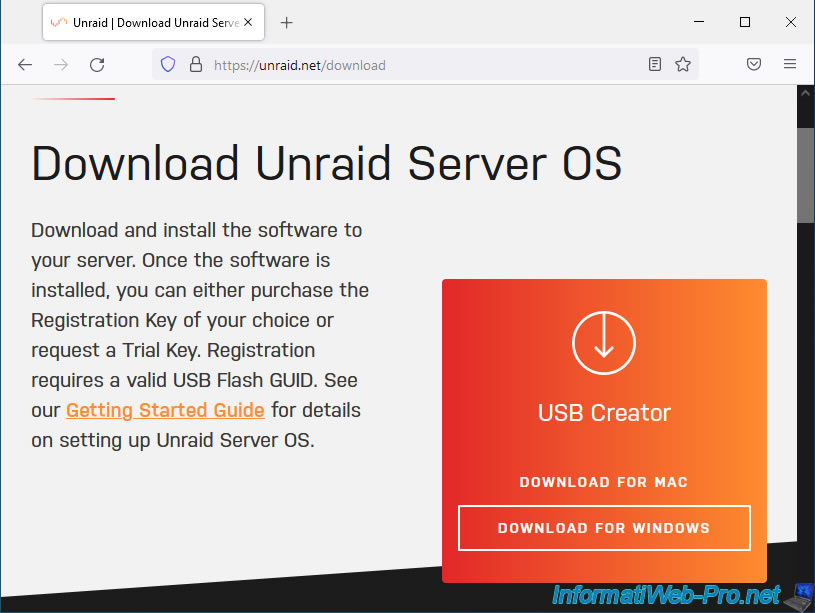
To begin, download Unraid's "USB Creator" program, available for Windows and Mac, which will allow you to easily download and install Unraid on your USB key.
Note that this utility requires an internet connection to download Unraid from the "s3.amazonaws.com" server.
Otherwise, you will need to download the Unraid zip file at the bottom of this page and use the manual method.
In our case, we downloaded the Windows version of this utility: Unraid.USB.Creator.Win32-1.6.exe.
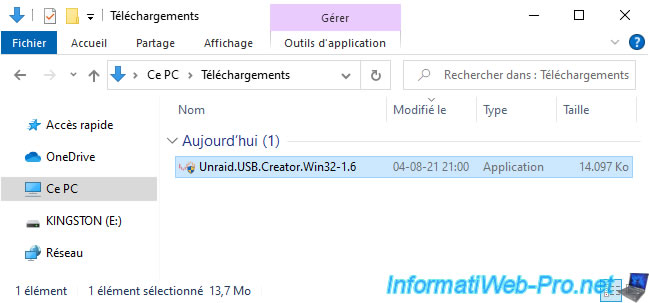
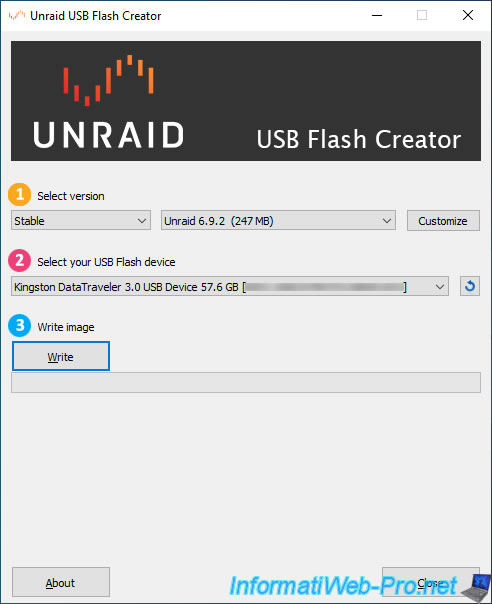
Connect the USB key you want to install Unraid to your computer, then launch this USB Creator utility (Unraid USB Flash Creator).
By default, this program allows you to install the latest stable version (version 6.9.2 in our case).
Select your USB key from the list and click "Write."
Warning : the USB key selected here will be completely erased (formatted).
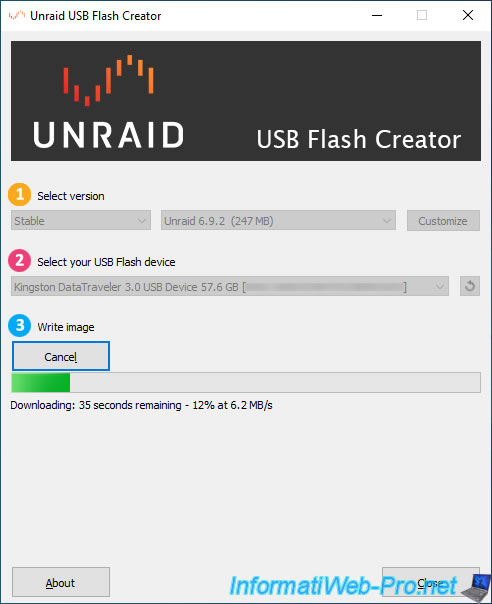
This utility downloads the desired version of Unraid.
The download is complete.
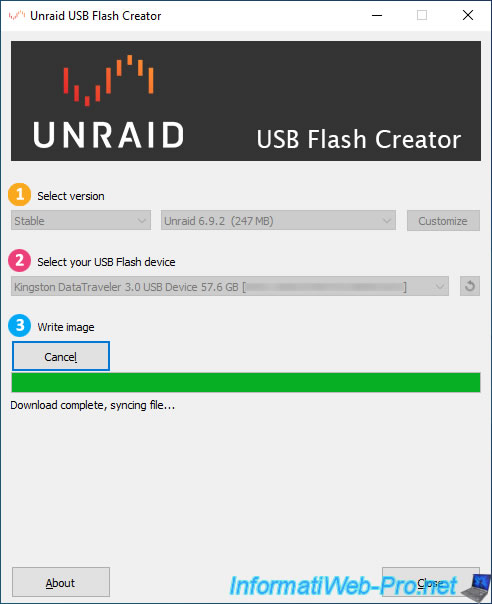
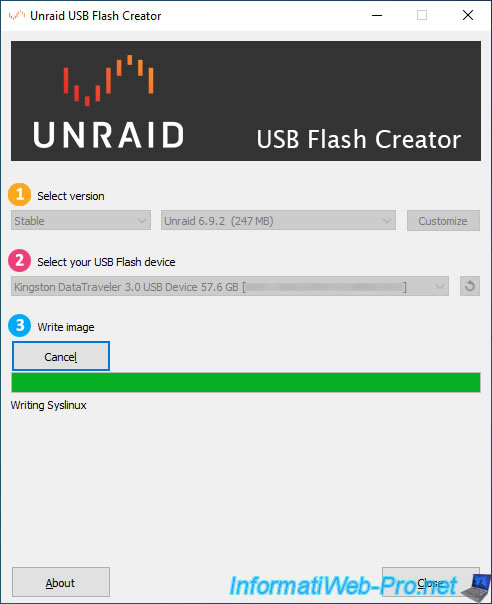
Once Unraid is downloaded, the Unraid files will be extracted to your USB key.
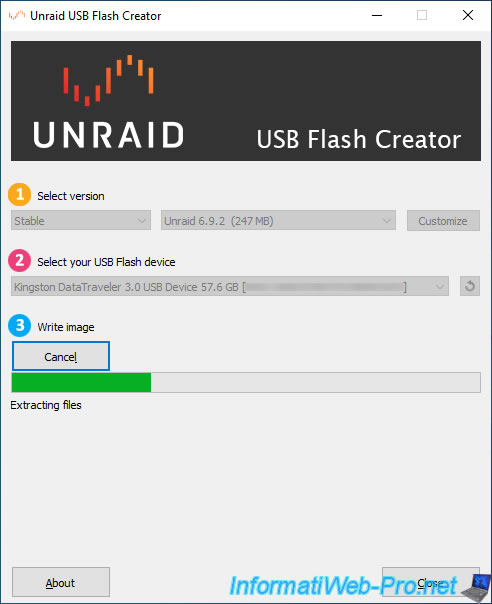
Once the Unraid files are copied to your USB key, syslinux will be installed on your USB key to make it bootable.
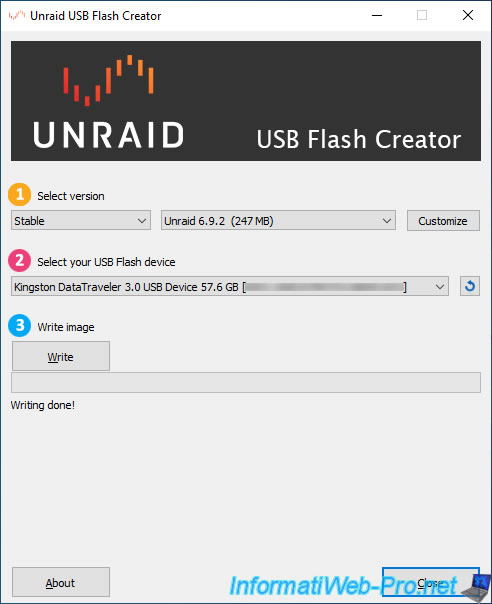
Your bootable Unraid USB key is ready.
Click Close.
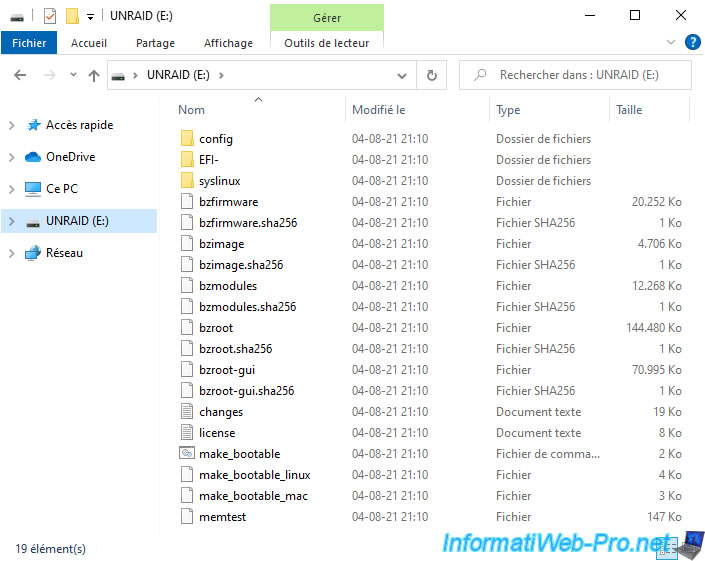
Here's what the contents of your Unraid USB key look like.
Note that to enable UEFI boot on your "UNRAID" USB key, you simply need to rename the "EFI-" folder to "EFI".
However, this is not mandatory, as you can also boot in normal mode (LEGACY BIOS).
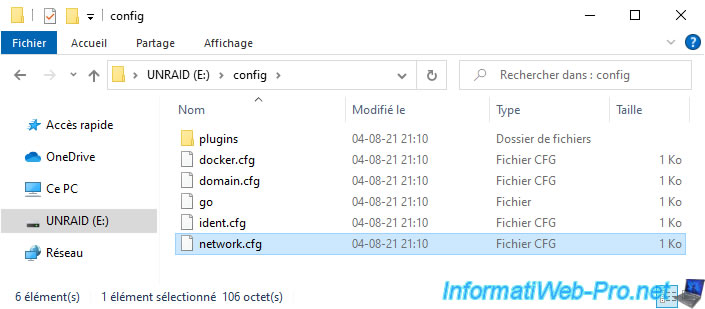
By the way, note that you will find some configuration files in the "config" folder, including the one for network configuration: network.cfg.
4. Configure your motherboard BIOS
Properly eject your USB key from the computer you used to install Unraid on, then plug it into the back of your server.
Note that Unraid recommends plugging it into the back of your server, not the front, to avoid problems and prevent it from accidentally being disconnected.
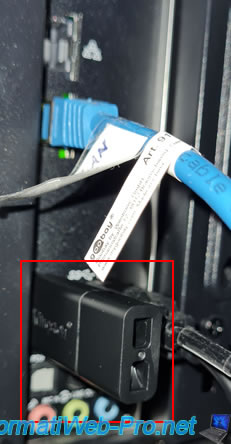
Once the "UNRAID" USB key is connected to your server, boot your server and enter your motherboard's BIOS.
Usually, this is done by pressing "DEL" or "F2" when booting.
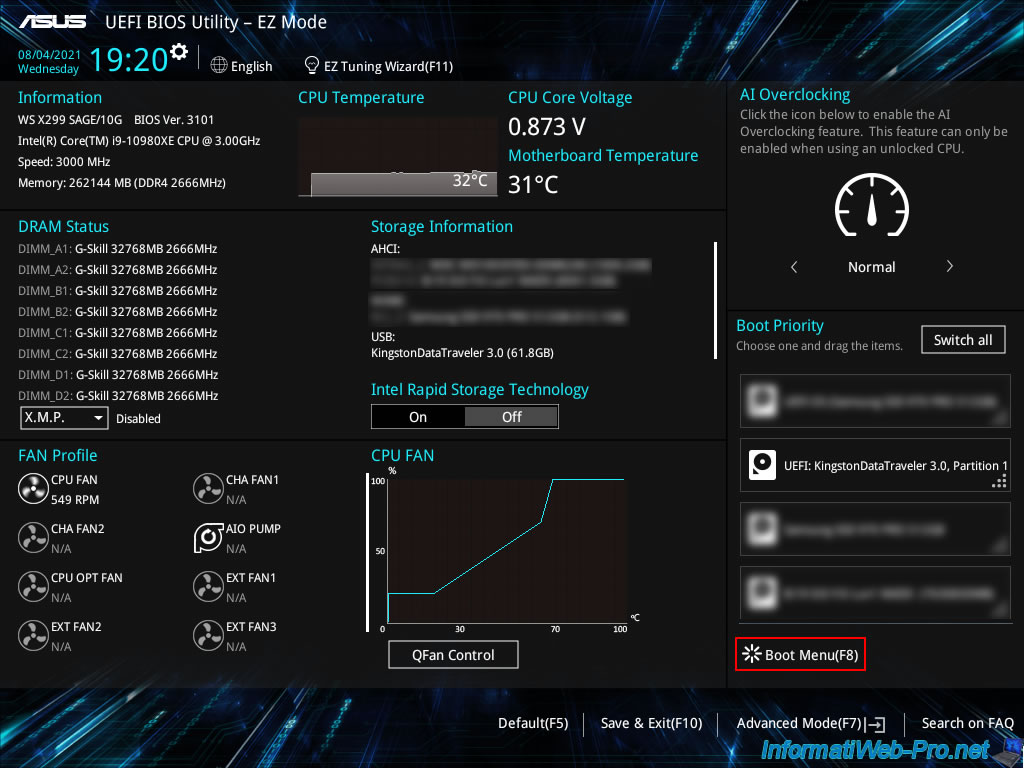
For this tutorial, we used our server with an ASUS WS X299 SAGE/10G motherboard.
However, you will also find other BIOS interfaces in our tutorial: Change the BIOS boot priority.
As you can see, in our case, our motherboard tells us to press "DEL" or "F2" to enter its BIOS.
![]()
Once we enter the BIOS of our "ASUS WS X299 SAGE/10G" motherboard, we can use the boot menu by clicking on "Boot Menu (F8)".
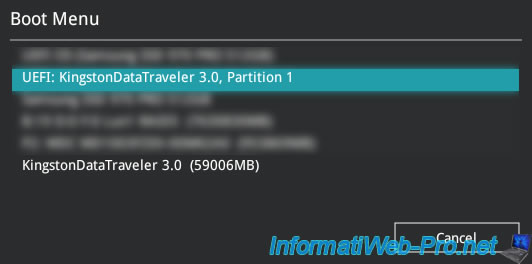
And click on the name of our USB key.
In our case, "KingstonDataTraveler 3.0".
The line preceded by "UEFI" allows you to boot from it in UEFI mode.
And the other line allows you to boot from it in LEGACY BIOS mode.
However, the options displayed vary from one BIOS to another and depend on whether the EFI and LEGACY BIOS support options are enabled or disabled in your motherboard's BIOS.
Important : this boot menu allows you to boot from your USB key without changing your BIOS settings.
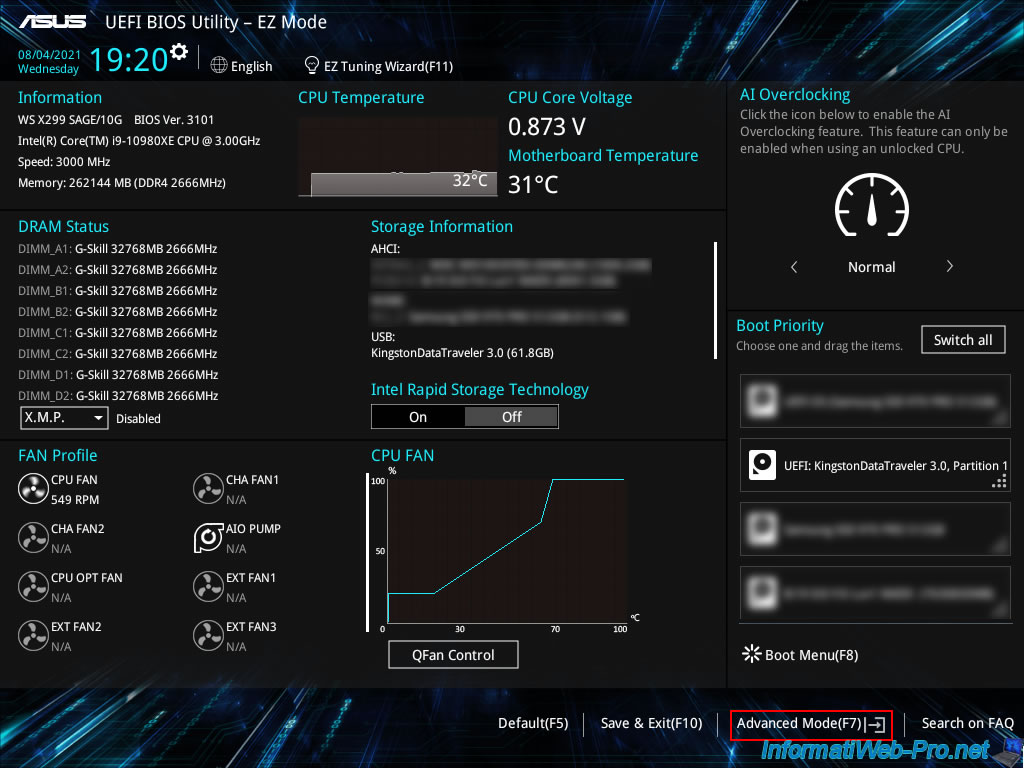
If you want your computer to automatically boot from your "UNRAID" USB key every time you start up, you will need to change the boot order in your BIOS.
To do this, in our case, click Cancel.
In ASUS BIOS, click: Advanced Mode (F7).
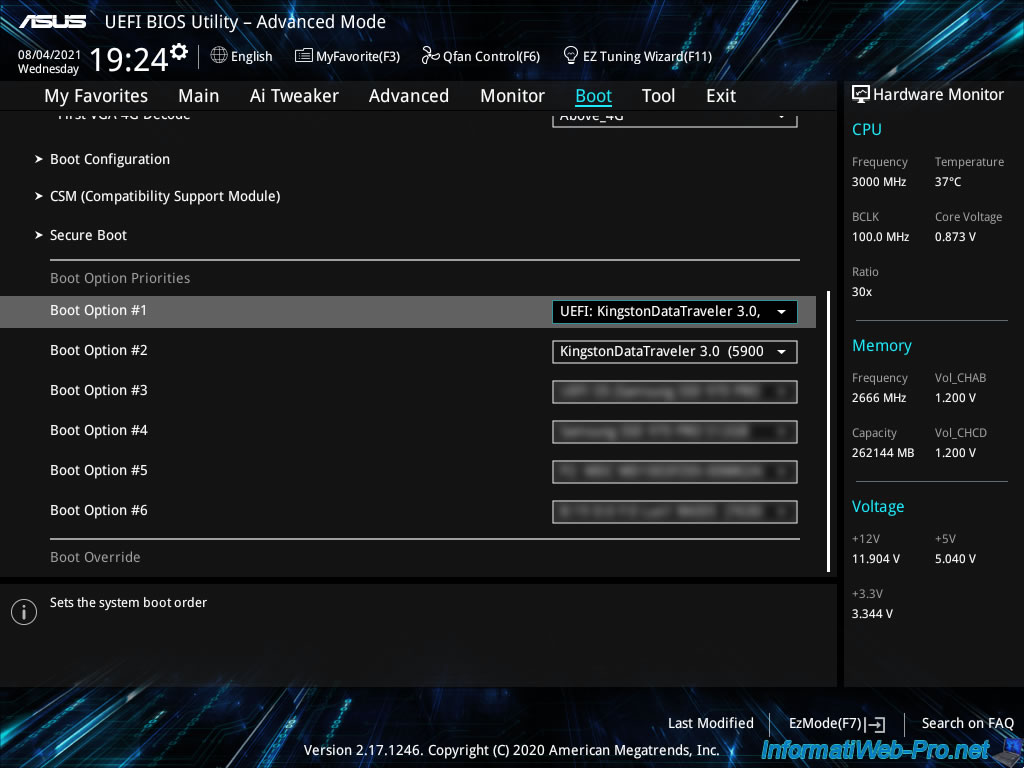
Next, go to the "Boot" tab and locate the "Boot Option Priorities" section.
In this section, select your USB key in the "Boot Option #1" line.
In our case, we selected the UEFI version in the "Boot Option #1" line and the normal version (LEGACY BIOS) in the "Boot Option #2" line.
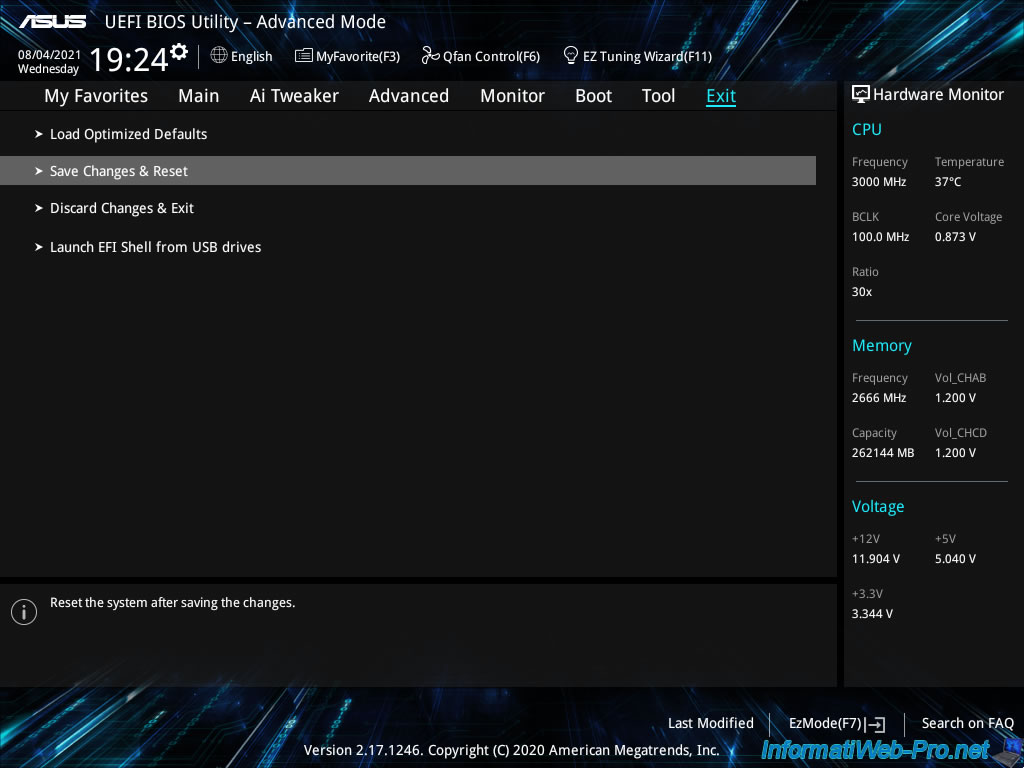
In the "Exit" tab, select "Save Changes and Reset" and press Enter.
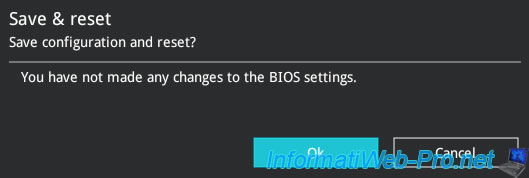
Confirm saving your changes by clicking OK.
Note: ignore the fact that the BIOS tells you that no changes have been made. This is simply because not all changes appear here.
Share this tutorial
To see also
-
NAS 1/8/2026
Unraid 6.9.2 - Add a storage disk
-

NAS 2/4/2026
Unraid 6.9.2 - Change or reset root password
-
NAS 2/11/2026
Unraid 6.9.2 - Customize the web interface
-
NAS 4/8/2026
Unraid 6.9.2 - Docker - Install a media server (Jellyfin)
You must be logged in to post a comment