- VMware
- 09 May 2024 at 18:43 UTC
-

- 1/2


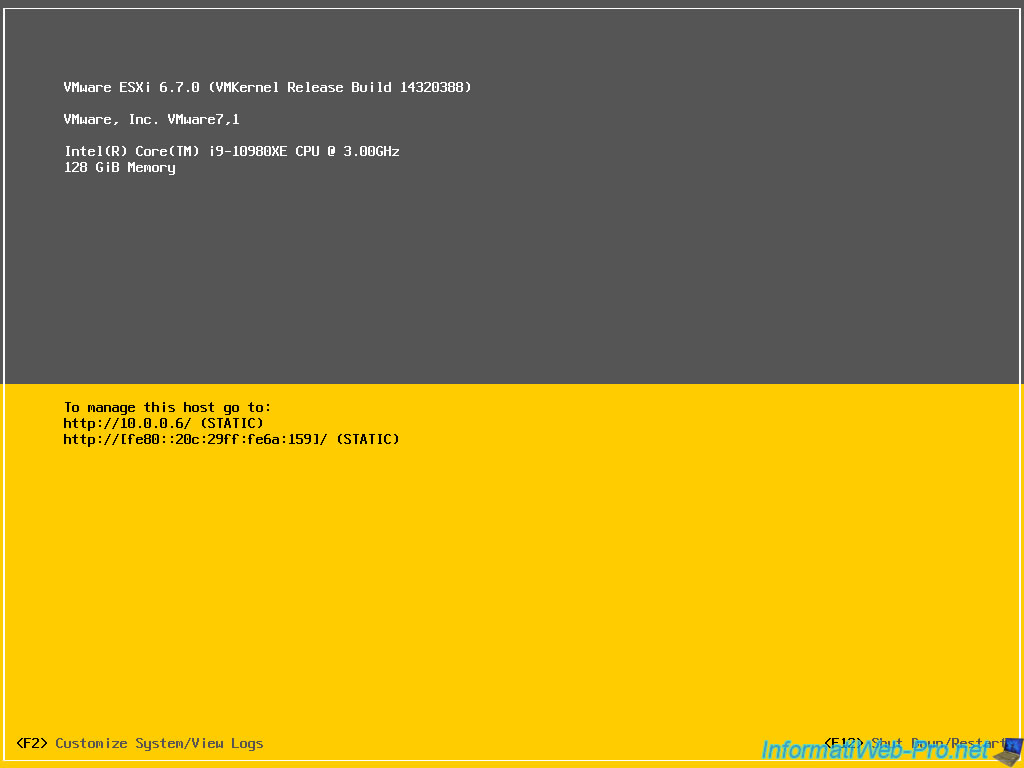
When you install your VMware ESXi hypervisor, the 1st console to which you have access is called DCUI (Direct Console User Interface).
As you will see in the presentation below, this console will allow you to perform some basic operations, as well as consult the various logs of your hypervisor.
Tutorial updated for ESXi 7.0 on 05/09/2024 at 8:43 p.m.
- Customize System/View Logs
- Shut Down/Restart the server
- Access the ESXi shell hidden in the DCUI console
- Quickly view the Vmkernel system log
1. Customize System/View Logs
To configure some settings of your VMware ESXi hypervisor and access its logs, press the F2 key (as shown at the bottom left of the screen).
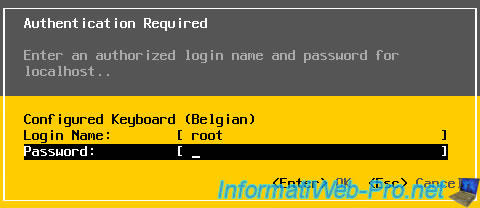
Then, log in as requested by VMware ESXi.
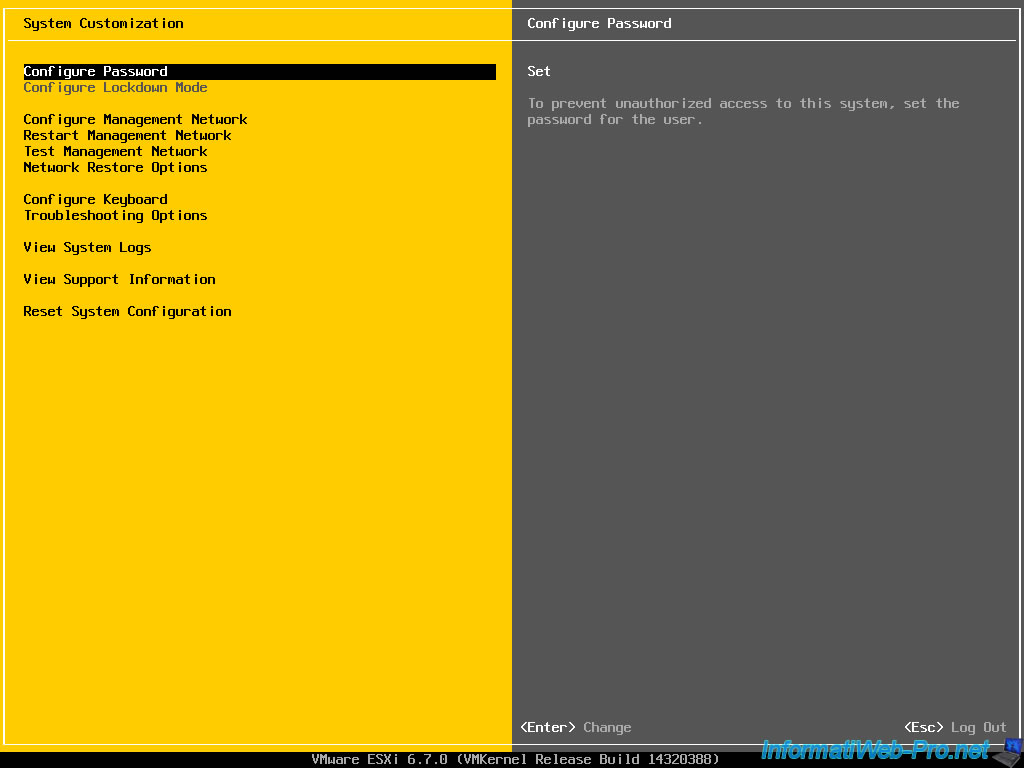
1.1. Configure Password
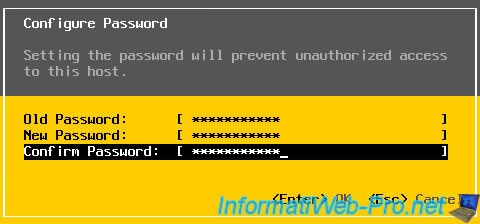
To change the account password (root, in our case), go to : Configure Password.
Then, enter the current password, then 2 times the new password and press Enter.
1.2. Configure Lockdown Mode
By default, the "Configure Lockdown Mode" option is grayed out, because it's used to prevent users from directly connecting to the VMware ESXi server.
Once the lockout is enabled, you will only be able to manage it from VMware vCenter Server.
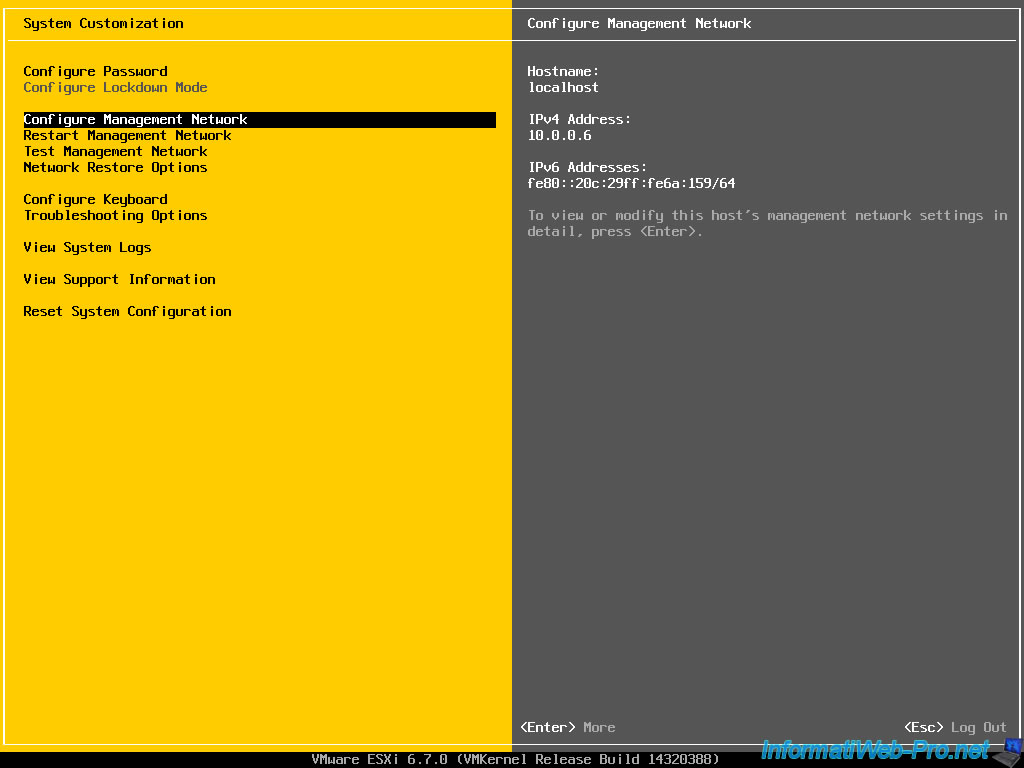
1.3. Configure Management Network
To configure the network access used to manage your VMware ESXi hypervisor, go to : Configure Management Network.
When you select this option, VMware ESXi shows :
- its hostname
- its IPv4 address
- its IPv6 address
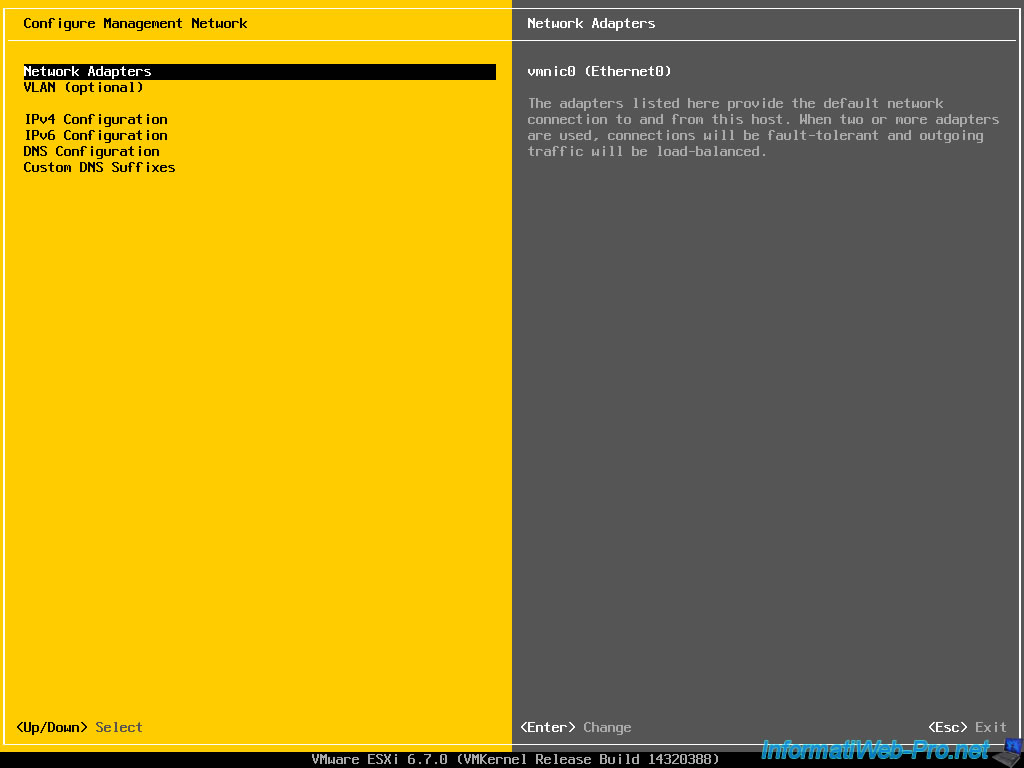
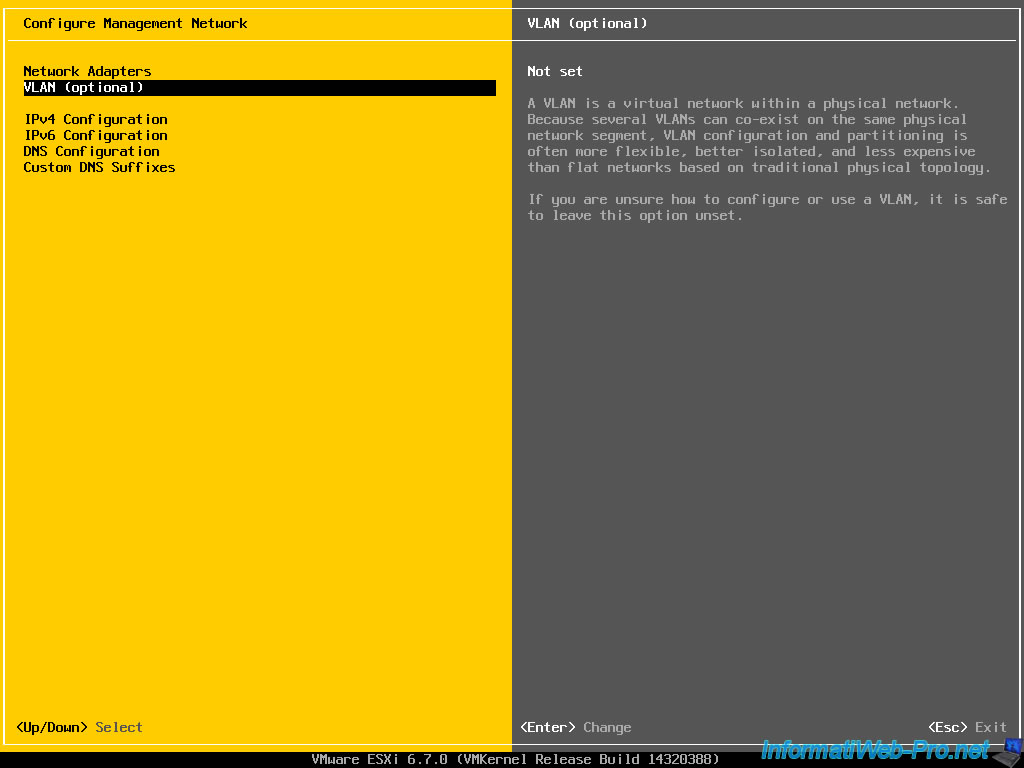
In this "Configure Management Network" section, you will be able to :
- Network Adapters : select which network adapter(s) should be used for managing your VMware ESXi hypervisor
- VLAN (optional) : choose in which VLAN to place your VMware ESXi server (optional)
- IPv4 Configuration : define the IPv4 configuration of your VMware ESXi hypervisor
- IPv6 Configuration : same, but for the IPv6 configuration
- DNS Configuration : define the DNS configuration of your VMware ESXi hypervisor
- Custom DNS Suffixes : define DNS suffixes (list of domain names to use as suffixes to try to resolve short names to IP addresses)
1.3.1. Network Adapters
In "Network Adapters", you will be able to choose which network adapter(s) should be used to manage your VMware ESXi hypervisor.
Using multiple network adapters provides fault tolerance and distributes the use of bandwidth across them for outgoing traffic.
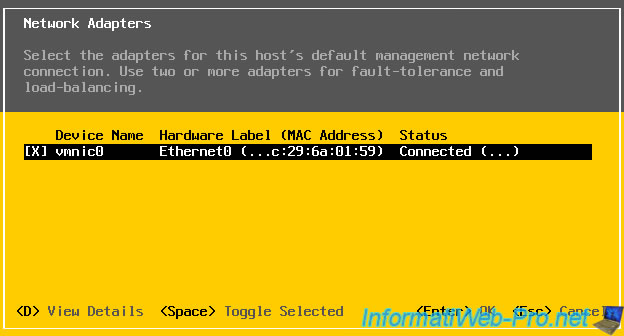
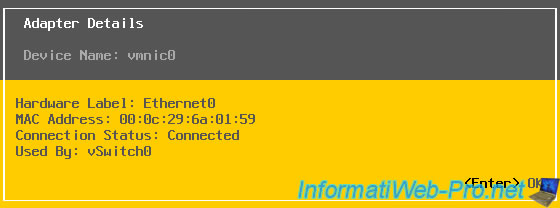
If you select a network adapter and press the "D" key (View Details), you will be able to know :
- Hardware Label : its hardware name (ex : Ethernet0)
- MAC Address : its MAC address (unique physical address per network adapter)
- Connection Status : allows you to know if it's currently connected to the network or not
- Used By : indicates by which network switch it's used (by default : vSwitch0)
1.3.2. VLAN optional
On large corporate networks, the use of VLANs allows a physical network to be virtually segmented into multiple network segments.
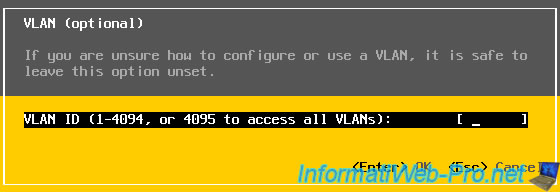
To place your VMware ESXi hypervisor on a specific VLAN, go to : VLAN (optional).
Enter the desired ID (VLAN number) if you are using VLANs on your company network.
Otherwise, leave this box empty so as not to use this notion of VLAN.
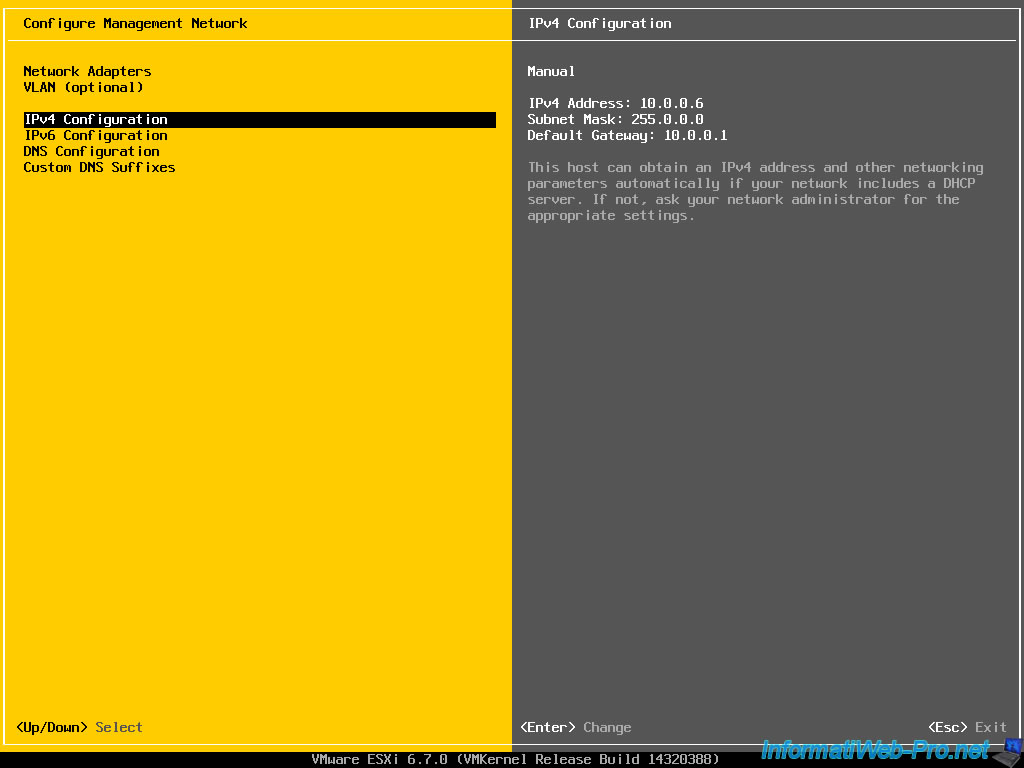
1.3.3. IPv4 Configuration
By selecting the "IPv4 Configuration" option, you will be able to see :
- Automatic / Manual : its type of IP configuration. Automatic = IP address obtained from a DHCP server and Manual = static IP address defined manually on the VMware ESXi server
- IPv4 Address : its IPv4 address
- Subnet Mask : its associated subnet mask
- Default Gateway : the IP address of the gateway used. In general, the IP address of your router (or of the Box if you are an individual).
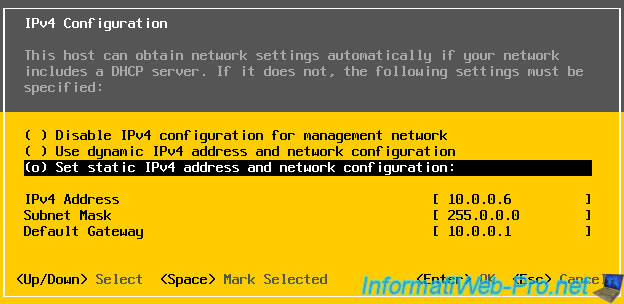
As you can see, in "IPv4 Configuration", you will have the possibility to :
- Disable IPv4 configuration for management network : Disable the use of the IPv4 configuration for the management network
- Use dynamic IPv4 address and network configuration : use an IPv4 address obtained from your network's DHCP server for the management network
- Set static IPv4 address and network configuration : set the static IPv4 address that your VMware ESXi hypervisor should use for the management network
If you want to define a static IPv4 address for your VMware ESXi server, you will need to specify :
- IPv4 Address : the IPv4 address to use
- Subnet Mask : the subnet mask to use. Typically, you will specify "255.255.255.0" for Class C IP addresses (192.168.1.xx) or "255.0.0.0" for Class A IP addresses (10.xx.xx.xx).
- Default Gateway : the IP address of the gateway allowing your server to access the Internet. In general, this will be the IP address of your router (whether it's a physical box or a role installed on a server on Windows Server or on Linux) or the IP address of your Box (if you are at home).
Important : if you define a static IP address, then make sure to specify the correct DNS servers in the "DNS Configuration" section available in this "Configure Management Network" section.
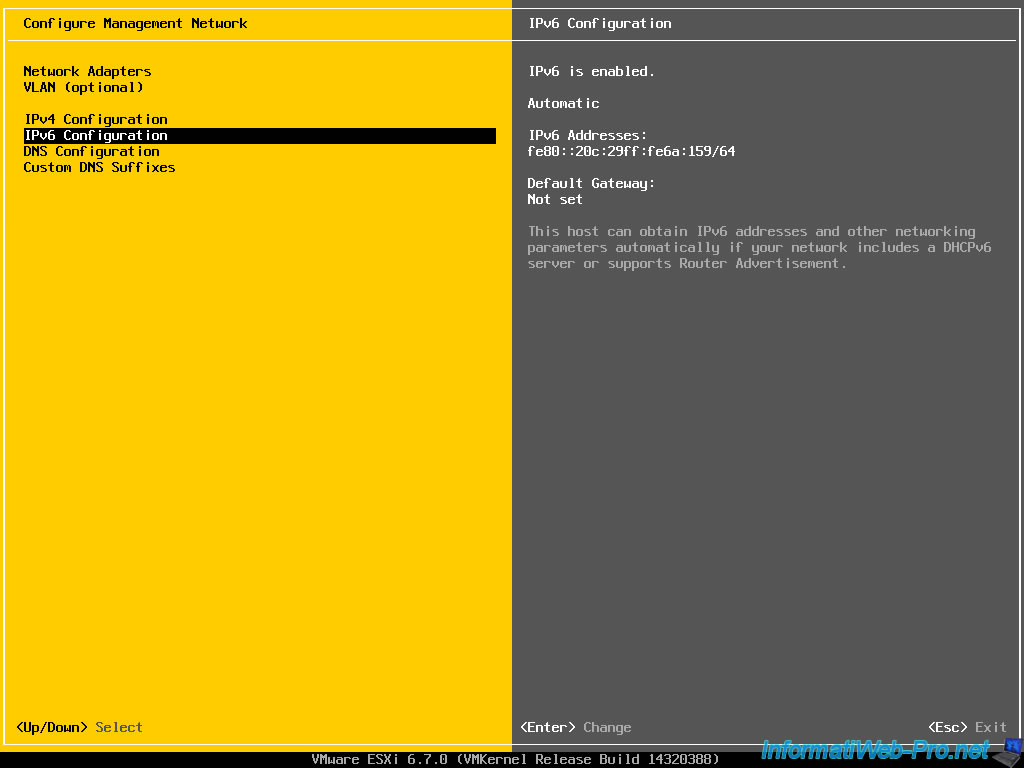
1.3.4. IPv6 Configuration
By selecting the "IPv6 Configuration" option, you will be able to see :
- IPv6 is enabled / disabled : whether IPv6 is currently enabled or not
- Automatic / Manual : its type of IP configuration. Automatic = IPv6 address obtained from a DHCPv6 server and Manual = static IPv6 address defined manually on the VMware ESXi server
- IPv6 Addresses : its IPv6 address(es)
- Default Gateway : the IPv6 address of the gateway used (if IPv6 is available on your network). This corresponds to the IPv6 address of your IPv6 compatible router (if applicable).
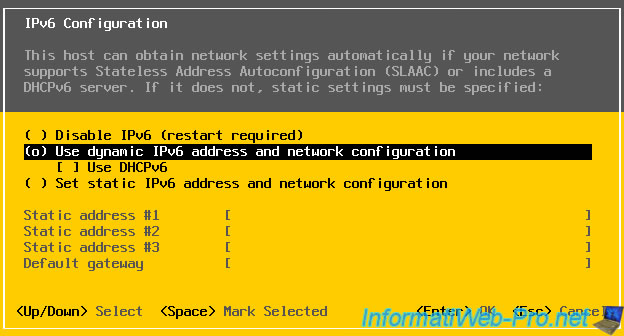
As you can see, in "IPv6 Configuration", you will have the possibility to :
- Disable IPv6 (restart required) : disable the use of IPv6. However, this will require restarting your VMware ESXi hypervisor.
- Use dynamic IPv6 address and network configuration : automatically obtain an IPv6 address from a DHCPv6 server (DHCP server for IPv6 addresses) or using SLAAC (Stateless Address Autoconfiguration) support
- Set static IPv6 address and network configuration : define one or more static IPv6 addresses for your VMware ESXi hypervisor
If you want to set an IPv6 address on your VMware ESXi hypervisor, the only information needed will be :
- Static address #1, #2 and #3 : the static IPv6 address(es) to use
- Default gateway : the IPv6 address of the gateway (or router) to use for Internet access
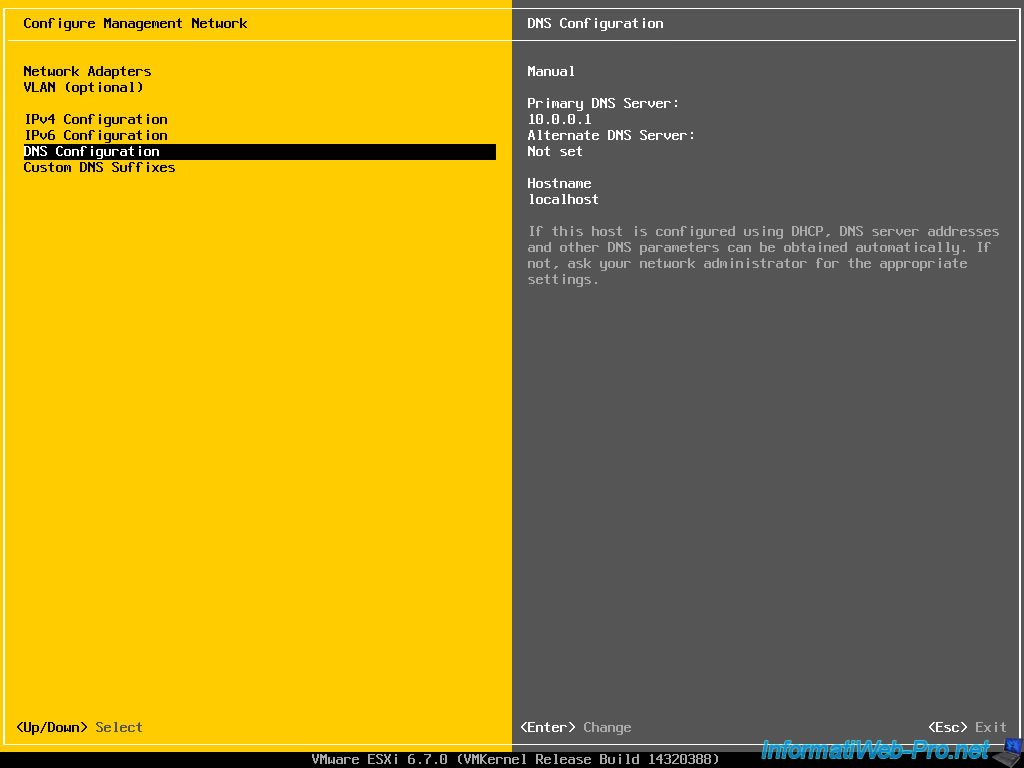
1.3.5. DNS Configuration
If you select the "DNS Configuration" option, you will be able to find out :
- Manual / Automatic : its configuration type.
By default (Automatic), the IP address of the DNS server(s) to be used are obtained from your DHCP server.
However, if you have chosen to define a static IP address for your hypervisor, then the IP address of the DNS servers to be used will have to be defined manually (Manual). - Primary DNS Server : the primary DNS server to use first.
- Alternate DNS Server : the alternative (secondary) DNS server to use if the other is not reachable.
- Hostname : the host name of the VMware ESXi server
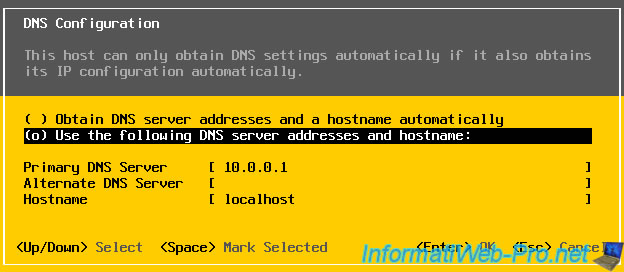
As you can see, in "DNS Configuration", you will have the possibility to :
- Obtain DNS server addresses and a hostname automatically : automatically obtain the IP address of the DNS servers to be used from the DHCP server present on your network ONLY if the IP configuration is also obtained automatically (from the DHCP server of your network).
- Use the following DNS server addresses and hostname : define the IP address of the primary DNS server and the alternate DNS server to be used as well as the host name of the VMware ESXi server.
If you have defined a static IP address on your VMware ESXi hypervisor, you will therefore have to manually specify the IP address of the DNS server(s) you want to use.
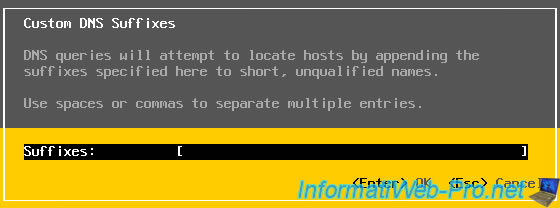
1.3.6. Custom DNS Suffixes
In corporate networks, it often happens that a domain system is used (either through an Active Directory infrastructure or with only a DNS server).
However, as each server and/or client workstation are generally part of the same domain, the automatic addition of a suffix to short names will automatically convert short names (unqualified names) into fully qualified domain names (FQDN).
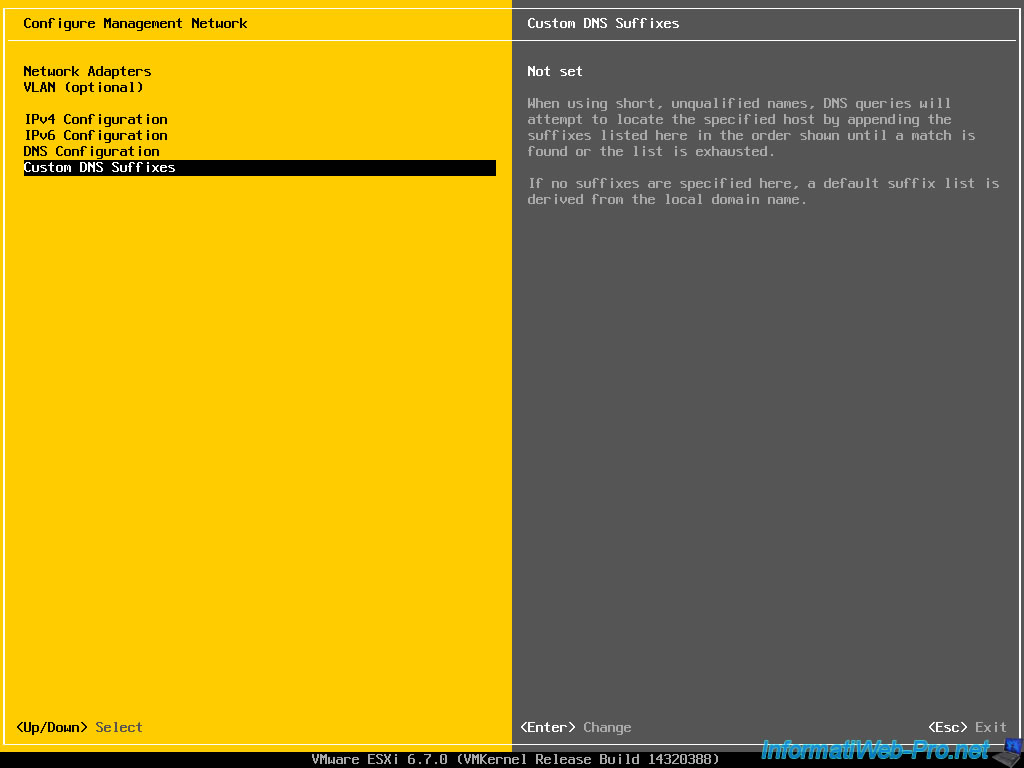
For example, if we have an Active Directory infrastructure in our company network and the domain name of our Active Directory domain controller is "dc.informatiweb.lan", the DNS suffix that we will specify here will be : informatiweb.lan.
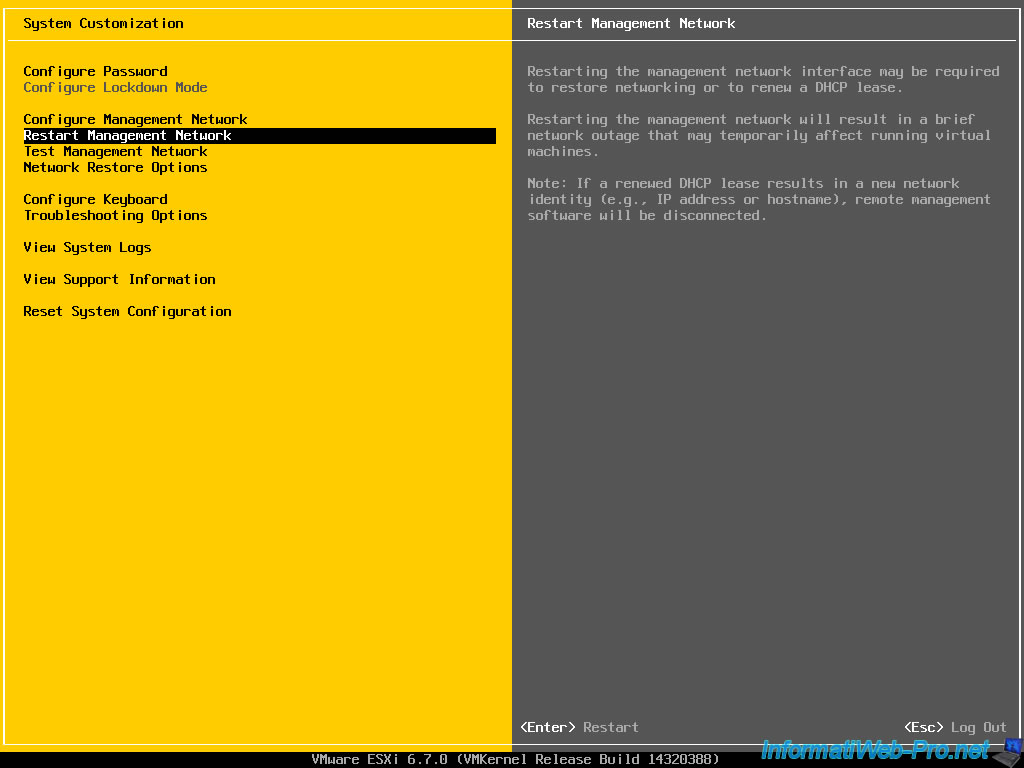
1.4. Restart Management Network
If there is a network problem with your VMware ESXi hypervisor or with one of your network devices, restarting the network services of your VMware ESXi hypervisor may resolve the problem.
However, this will cause a short interruption in the network connection of it, as well as of the virtual machines (which would be running right now, if any).
If your VMware ESXi hypervisor is configured to automatically obtain an IP address from your network's DHCP server, its IP address may change when you restart these network services.
If you are connected to this DCUI console remotely (via SSH, for example), you will therefore be disconnected.
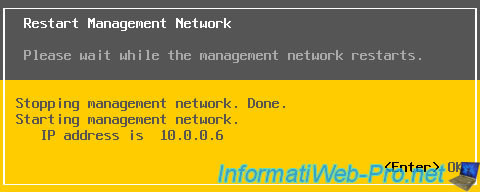
Confirm restarting network services by pressing F11.
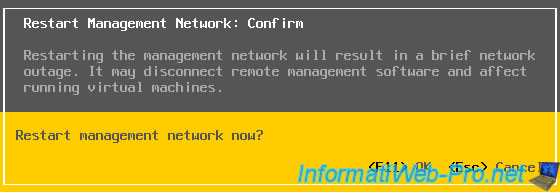
The management network shuts down, restarts, and then your network's new IP address is displayed.
So, if it has changed, you have it in front of you (unless you were remotely connected to this console).
1.5. Test Management Network
The "Test Management Network" option of this DCUI console allows you to perform network tests using the "ping" command.
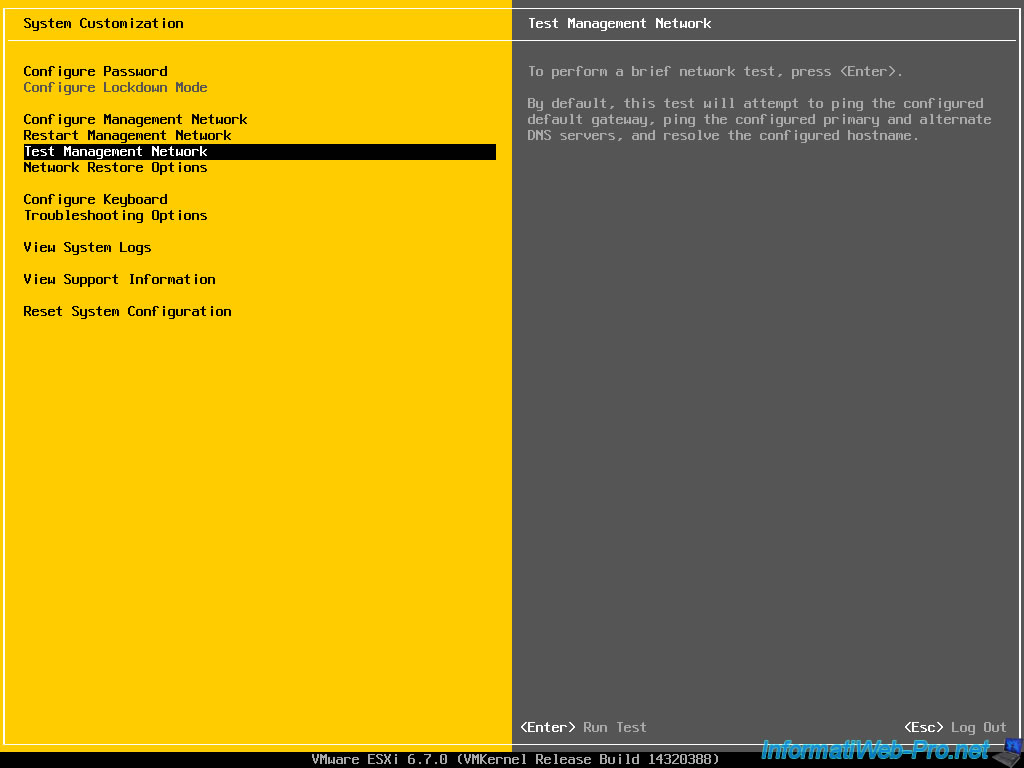
As shown in this "Test Management Network" window, by default, VMware ESXi will test the connection with :
- the default gateway configured on your VMware ESXi hypervisor
- the IP address of the DNS servers to use
He will also try to resolve his own domain name.
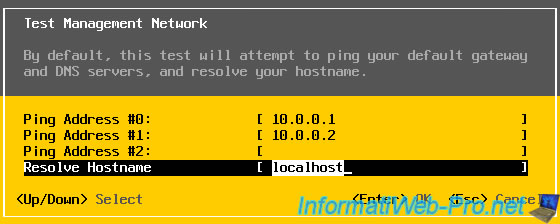
In our case, we have specified the IP address of our router (10.0.0.1), that of our 10 Gb/s switch (10.0.0.2) and the current host name of our VMware ESXi hypervisor (localhost).
Then, press Enter.
VMware ESXi attempts to ping each IP address one at a time.
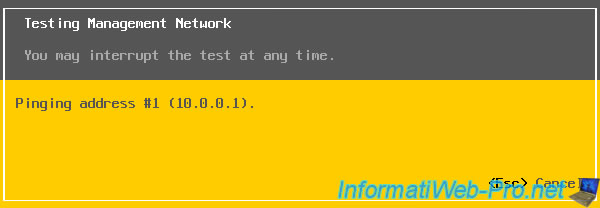
Once the test is complete, the status will be OK for each line if it's successful.
Warning : if you try to test the connection to servers running Windows Server, be aware that ping may be disabled by default on them.

1.6. Network Restore Options
Allows you to restore the network configuration, even if VMware ESXi is connected to a Switch or a Distributed Switch (vDS).
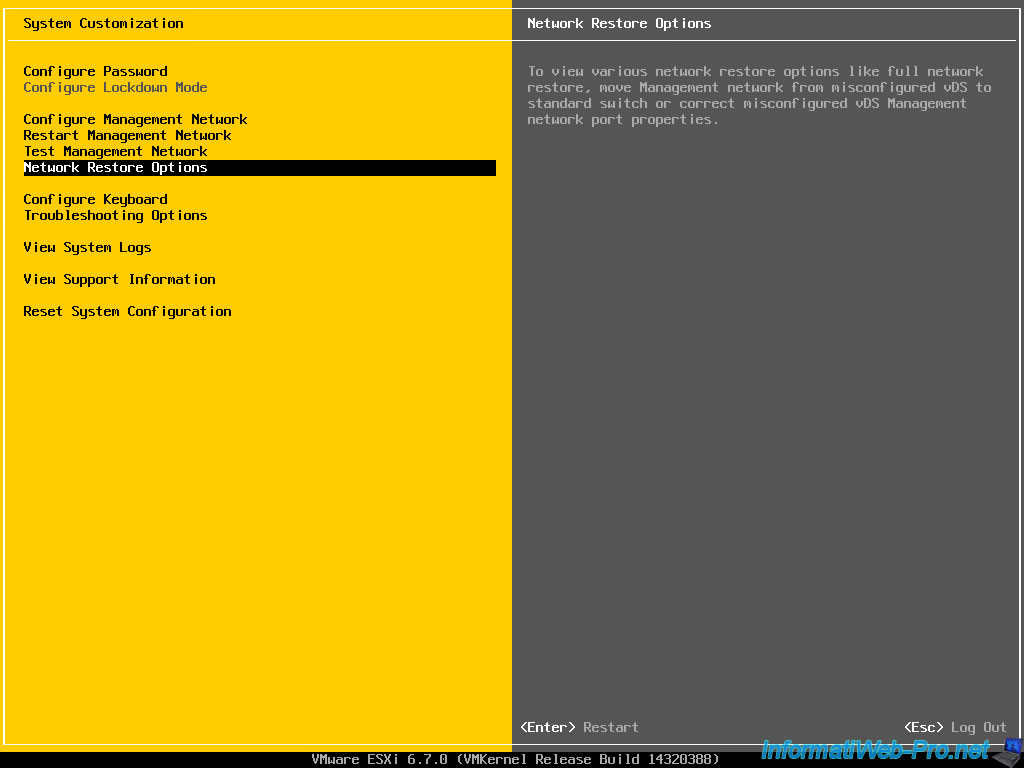
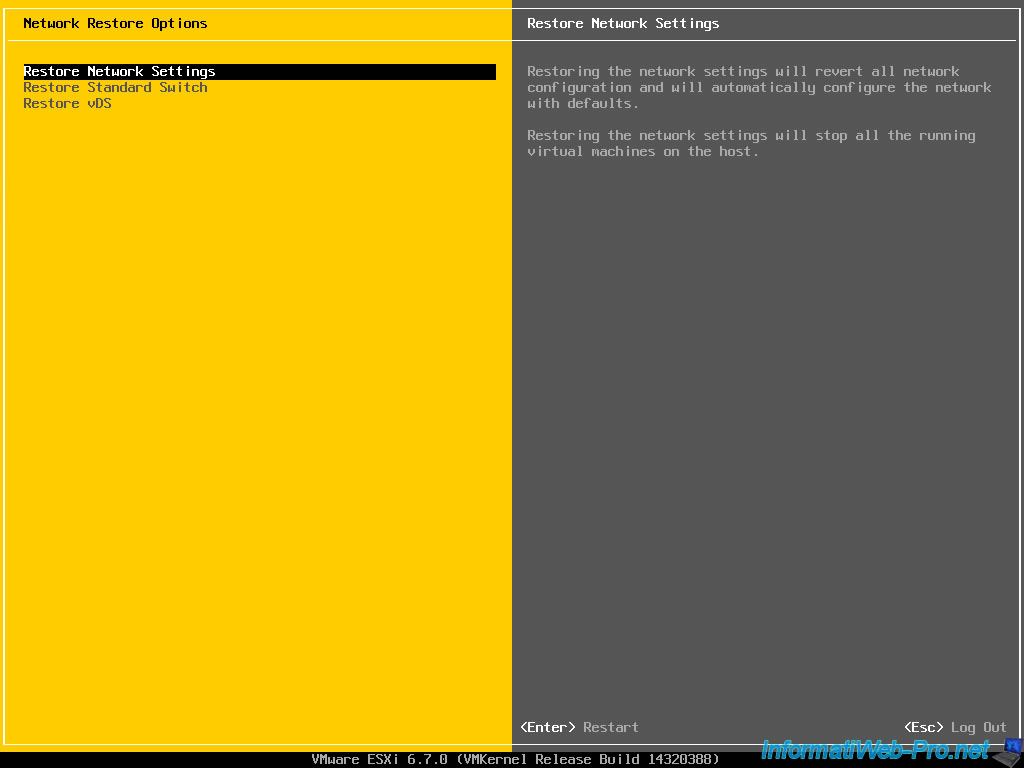
The "Restore Network Settings" option restores the network configuration of VMware ESXi to the default settings.
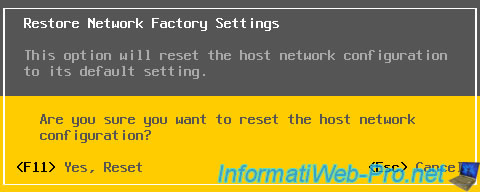
Warning : restoring these network settings will shutdown all virtual machines on your VMware ESXi hypervisor.
Confirm Restore Network Factory Settings by pressing F11.
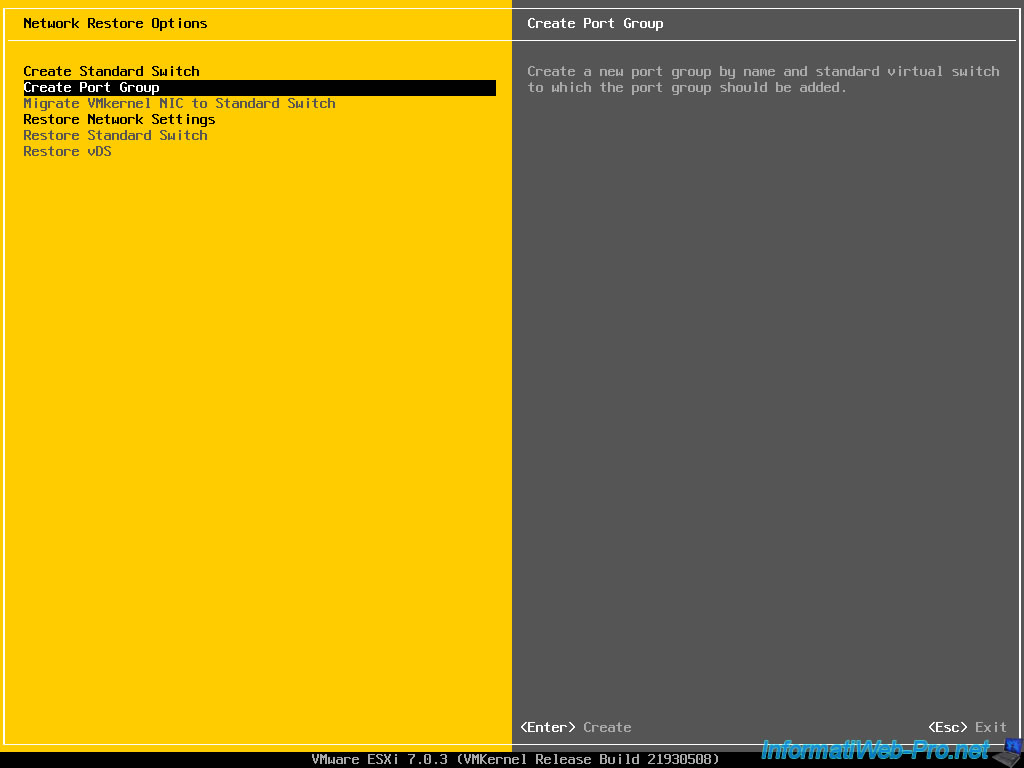
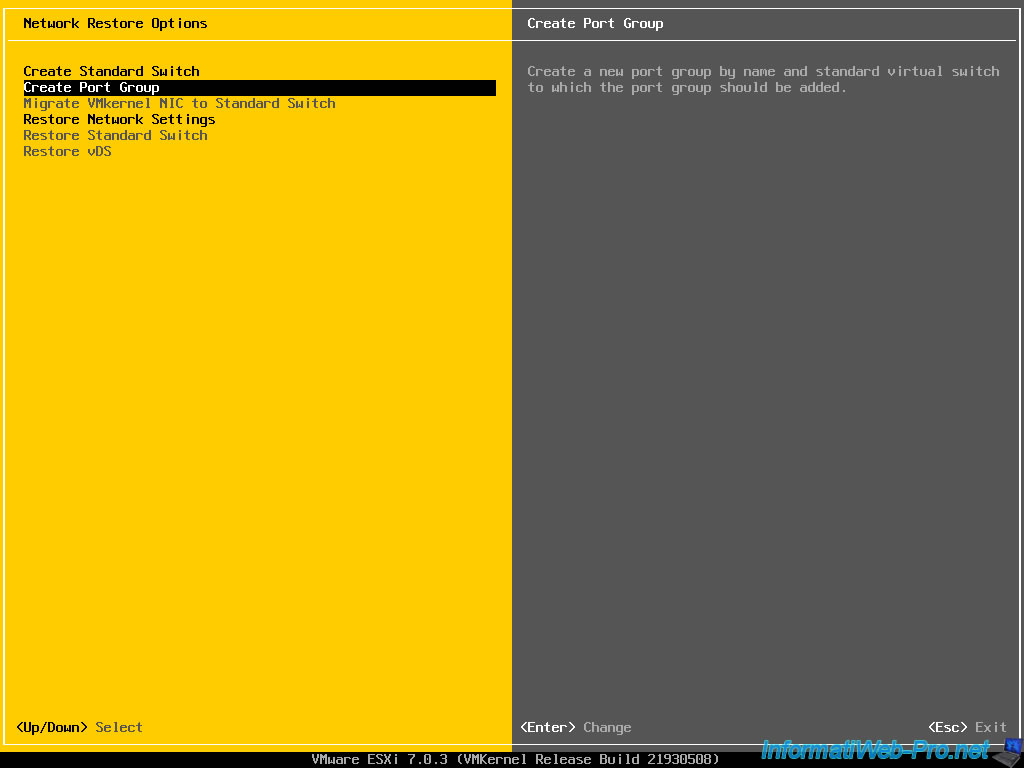
Since VMware ESXi 7, 3 new options are available in the "Network Restore Options" section:
- Create Standard Switch: to create a new virtual standard switch (vSS) and assign it a physical network card of your hypervisor.
- Create Port Group: to create a new port group on a virtual standard switch (vSS).
- Migrate VMkernel NIC to Standard Switch: to migrate (move) your hypervisor's VMkernel adapters assigned to a virtual distributed switch (vDS) to a virtual standard switch (vSS).
Which can be useful for being able to re-access your VMware ESXi hypervisor in the event of a problem.
Source : Migrate a VMkernel Adapter on a Host to a vSphere Standard Switch - VMware Docs.

To create a new virtual standard switch (vSS) on your VMware ESXi 7 hypervisor, select the "Create Standard Switch" option, then press Enter.
As you can see, by default your physical network card "vmnic0" is already connected to something.
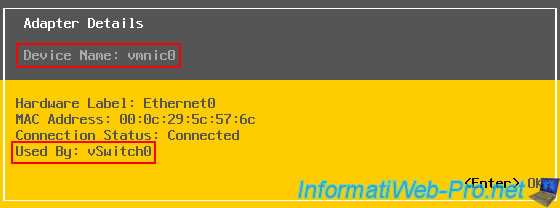
To learn more about this physical network adapter "vmnic0", select it and press the letter "D" (<D> View Details).
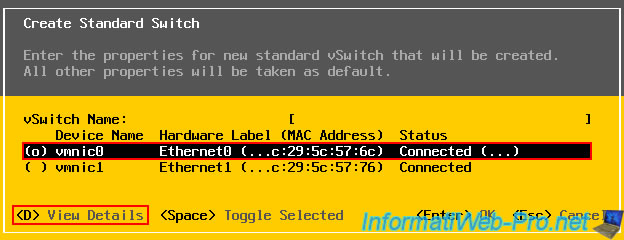
Your physical network adapter information (Adapter Details) appears with:
- Device Name: the name "vmnicX" automatically assigned by VMware ESXi to this physical network card.
- Hardware Label: typically an "EthernetX" name since you will primarily be using wired network cards.
- MAC Address: the MAC address of this physical network card.
- Connection Status: indicates whether the network cable is connected (Connected) or not (Disconnected).
- Used By: name of the virtual switch that uses this physical network adapter.
By default, the physical network card "vmnic0" is used by the virtual switch "vSwitch0" present by default on VMware ESXi.
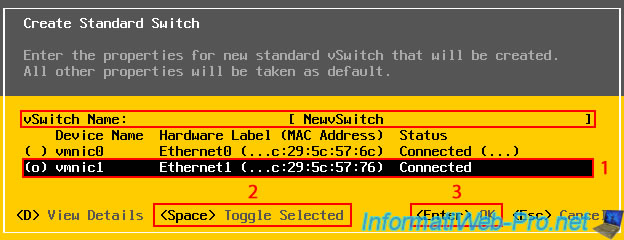
To create a new virtual standard switch (vSS):
- provide a name for this new virtual switch in the "vSwitch Name" box.
In our case: NewvSwitch. - Select the physical network adapter that you want to use with this new virtual switch, and then press the Spacebar (<Space> Toggle Selected) to check the box in front of that physical network adapter.
- press "Enter" (<Enter> OK) to create the new virtual switch.
The message below will appear.
Plain Text
Operation Succeeded.
Successfully created standard virtual switch: NewvSwitch.

To be able to connect virtual machines on your new virtual standard switch (vSS), you must create at least one port group on it.
To do this, use the "Create Port Group" option.
As you can see, at the moment the port group "VM Network" (pre-configured by VMware ESXi) is already present on the standard virtual switch "vSwitch0" (also pre-configured by VMware ESXi).
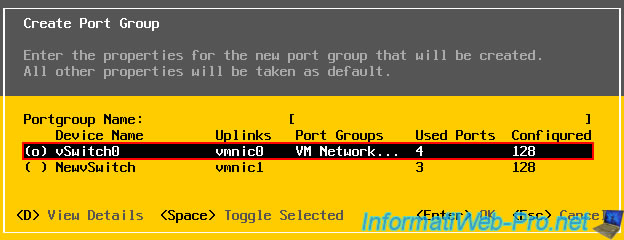
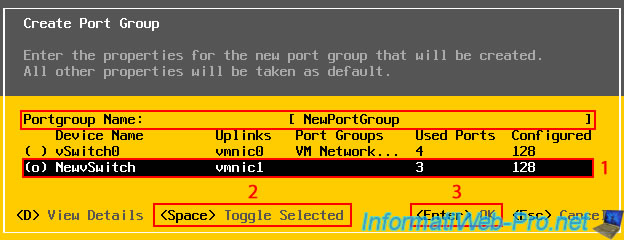
To create a new port group on an existing virtual standard switch (vSS):
- provide a name for this new port group in the "Portgroup Name" box.
In our case: NewPortGroup. - select the virtual standard switch (vSS) where you want to create this new port group (in our case: NewvSwitch), then press the spacebar (<Space> Toggle Selected) to check the box in front of this virtual standard switch (vSS).
- press "Enter" (<Enter> OK) to create the port group on this virtual standard switch (vSS).
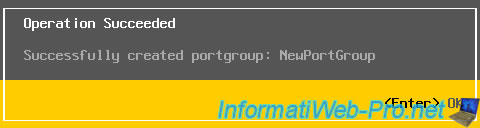
The message below will appear.
Plain Text
Operation Succeeded.
Successfully created portgroup: NewPortGroup.
To see the newly created configuration, use the "Create Port Group" option again.
As you can see, we now have a new virtual standard switch (vSS) named "NewvSwitch" with a port group named "NewPortGroup" on it.

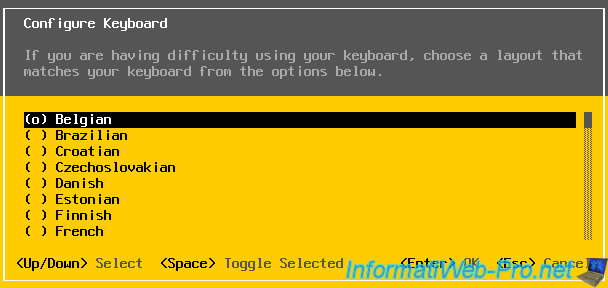
1.7. Configure Keyboard
When you select the "Configure Keyboard" option, VMware will tell you which keyboard layout is currently in use.
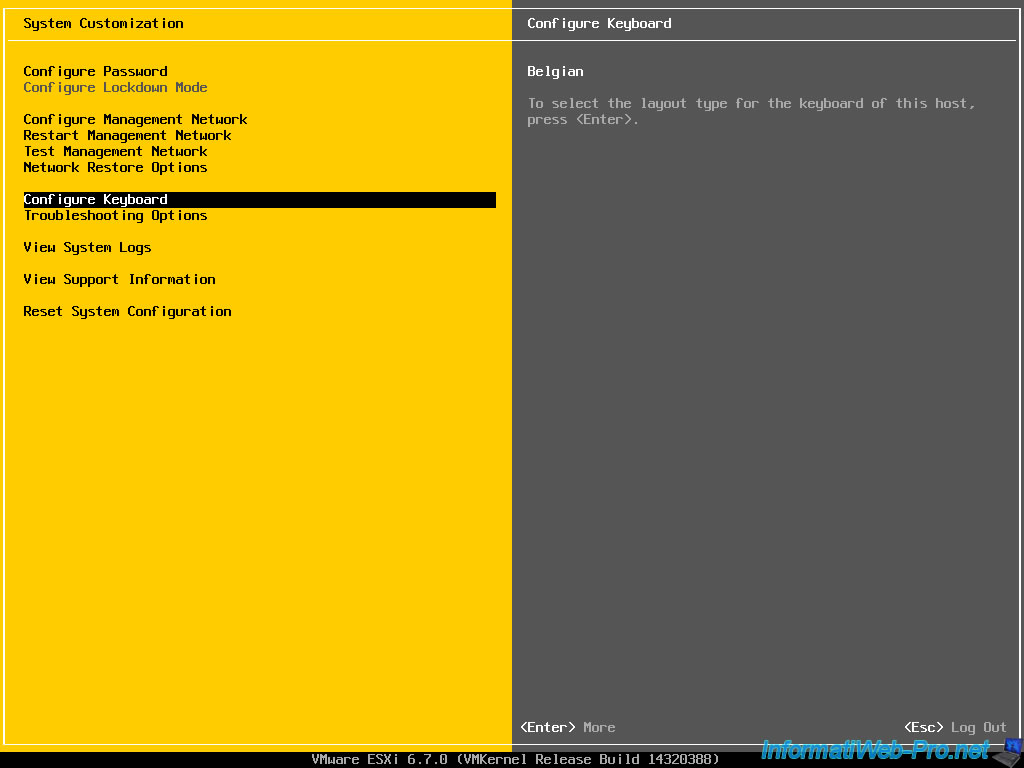
Select the keyboard layout that matches yours.
For example, "French" for the "French (France)" keyboard or "Belgian" for "French (Belgium)".
Share this tutorial
To see also
-

VMware 5/25/2022
VMware ESXi 6.0 - Install the VMware Host Client web client
-

VMware 5/27/2022
VMware ESXi 6.5 - Add a network driver in the installation ISO
-

VMware 1/27/2023
VMware ESXi 6.7 - Enable virtualization-based security (VBS)
-

VMware 12/2/2022
VMware ESXi 6.7 - Install and use the VMRC console on Linux
You must be logged in to post a comment