- VMware
- 25 May 2022 at 11:39 UTC
-

To manage a VMware ESXi 6.0 hypervisor, you must use the "vSphere Client" thick client, whose download link "Download vSphere Client" is available on the default web page of this hypervisor.
By default, you can't manage your VMware ESXi hypervisor, as well as its resources (virtual machines, databanks, etc.) from a web interface.
However, thanks to a fling (unofficial feature), you will be able to install the "ESXi Embedded Host Client" which corresponds to the "VMware Host Client" web interface available natively since VMware ESXi 6.5.
- VMware ESXi 6.0 default web page
- Download the fling : ESXi Embedded Host Client
- Enable SSH protocol on VMware ESXi 6.0
- Install the fling via SSH
- Accessing the VMware Host Client from VMware ESXi 6.0
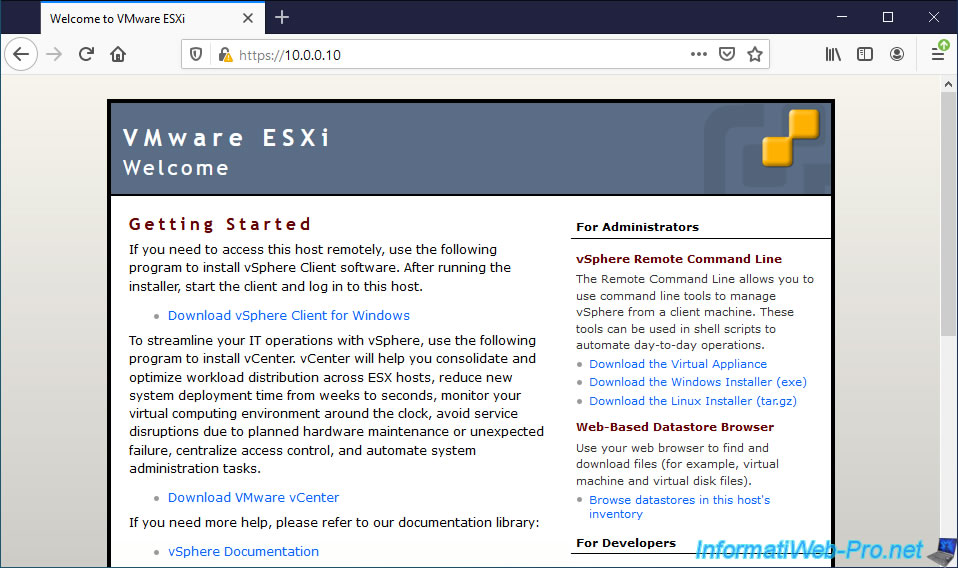
1. VMware ESXi 6.0 default web page
By default, if you connect to your VMware ESXi 6.0 server with a web browser, you will arrive on a page with a download link to the "vSphere Client" for Windows thick client appropriate for your version of VMware ESXi.
2. Download the fling : ESXi Embedded Host Client
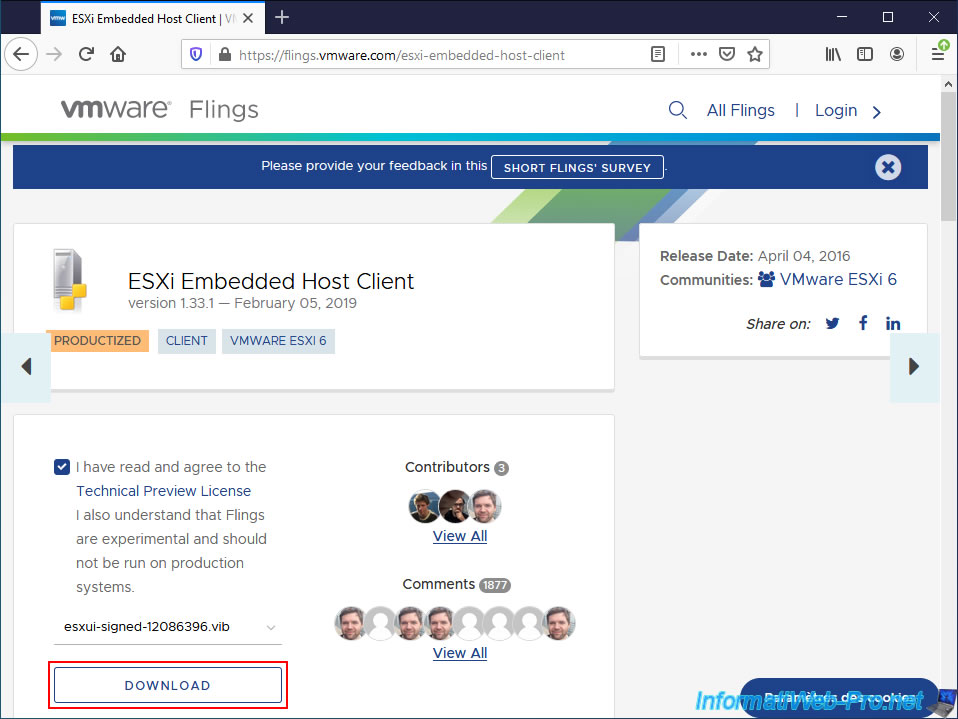
On the "VMware Flings" site which references interesting features for various VMware products, you can find the "ESXi Embedded Host Client" fling.
As you can see, this fling is for VMware ESXi 6 and was officially included in VMware ESXi later (status : Productized).
To download this fling :
- select the "esxui-signed-120286396.vib" file
- Check the "I have read and agree to the Technical Preview License ..." box
- click on Download
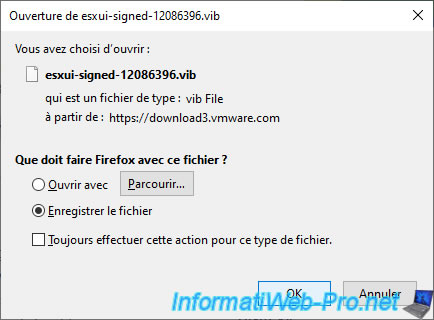
Confirm the download of the "esxui-signed-12086396.vib" file.
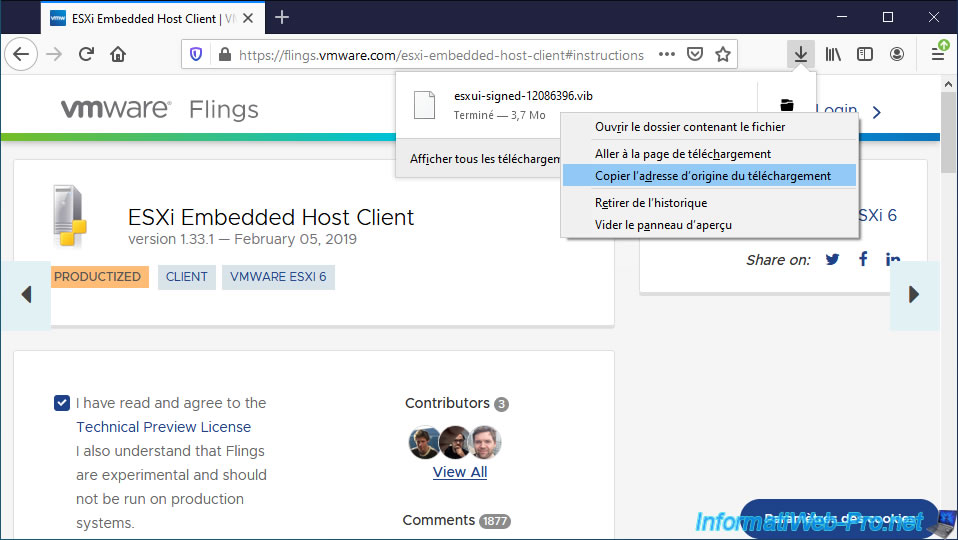
If you want to get the direct download link for this file, right click "Copy Download Link" on the downloaded file.
3. Enable SSH protocol on VMware ESXi 6.0
To be able to install this vib file, you will need to log into the command line (SSH) on your VMware ESXi 6.0 hypervisor.
To do this, start the "VMware vSphere Client" client and connect to your VMware ESXi hypervisor as "root".
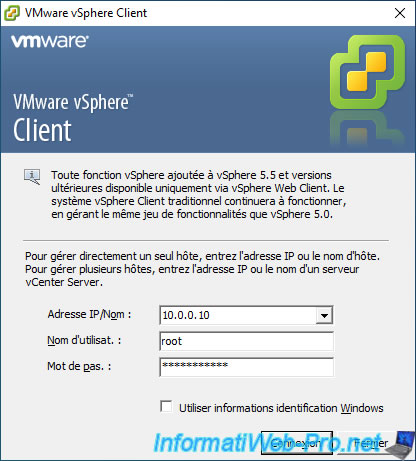
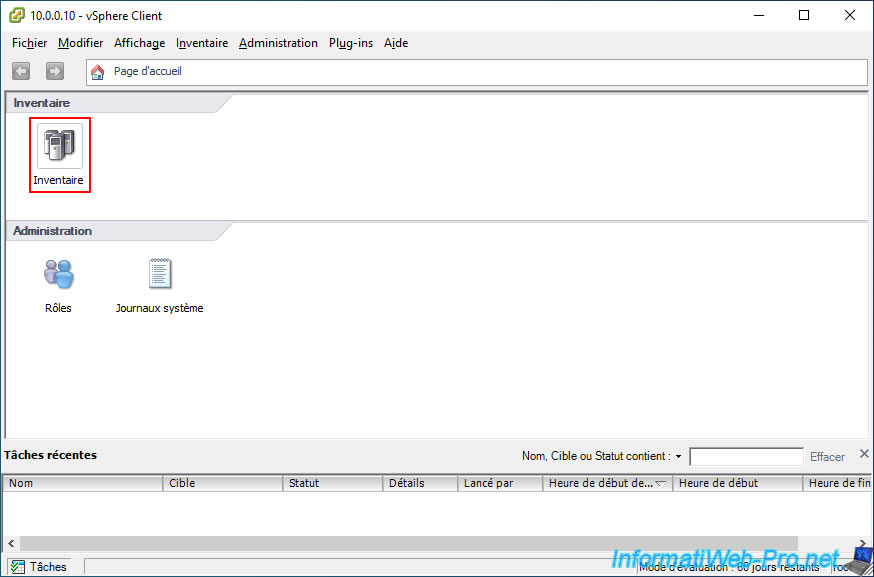
Click on : Inventory.
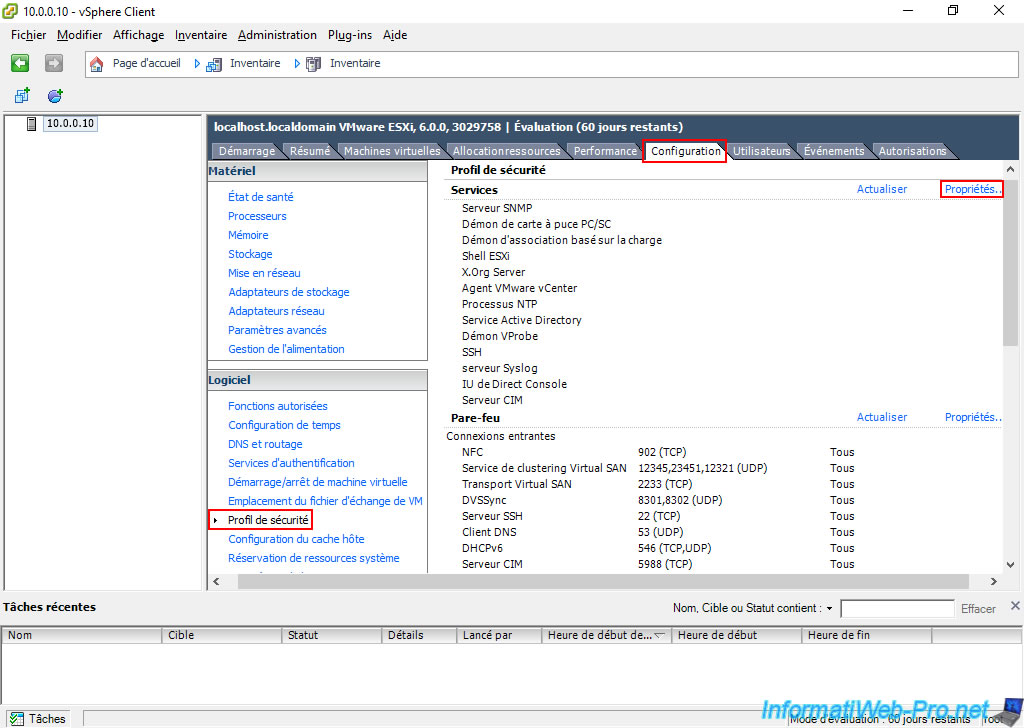
Then, go to the "Configuration" tab, then to the "Security Profile" section and finally, click on : Properties (on the right of the list of services).
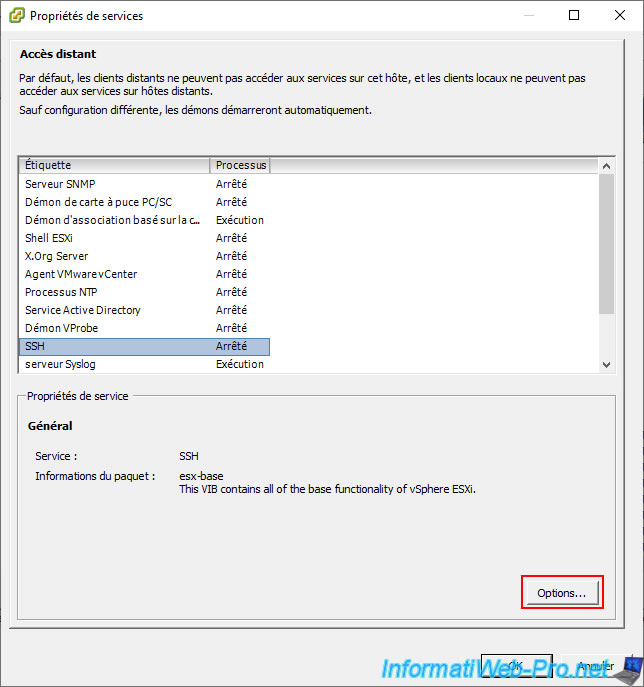
In the "Service Properties" window that appears, select the "SSH" service and click on : Options.
Start this "SSH (TSM-SSH)" service by clicking on : Start.
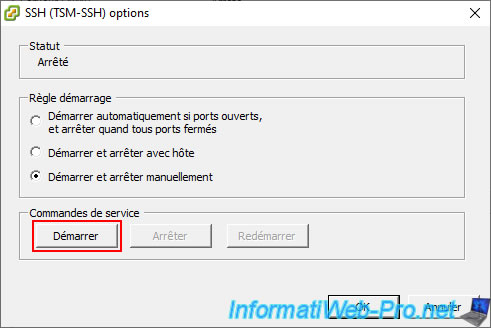
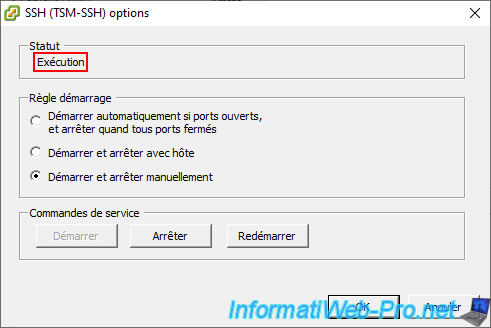
Now, this service is running.
By default, you must manually start and stop this service before you can use it.
Otherwise, select "Start and stop with host" for this "SSH (TSM-SSH)" service to start automatically when VMware ESXi starts.
4. Install the fling via SSH
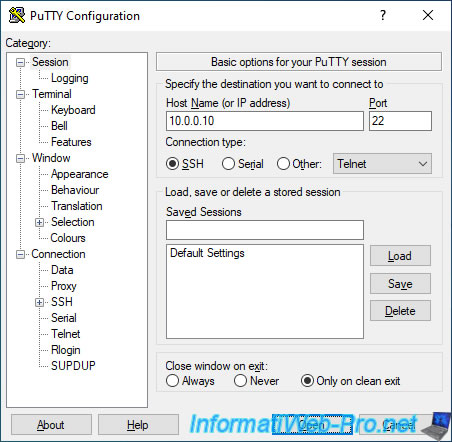
On Windows, you can use the "PuTTY" SSH client which has the advantage of being very well known, free and very light.
Simply enter the IP address or domain name of your VMware ESXi server and click Open.
Log in as "root".
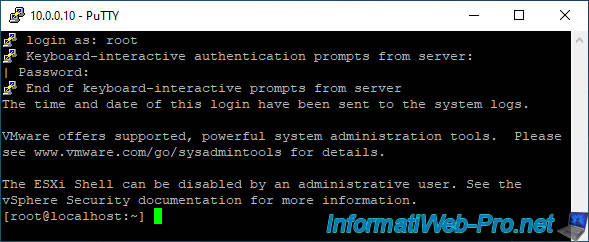
Install the fling by typing the following command :
Bash
esxcli software vib install -v https://download3.vmware.com/software/vmw-tools/esxui/esxui-signed-12086396.vib
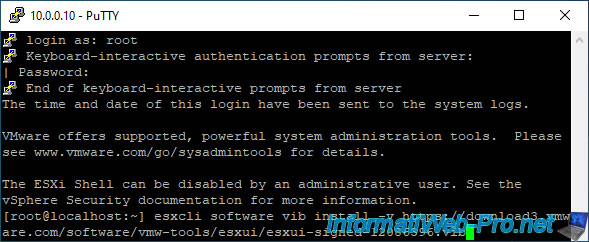
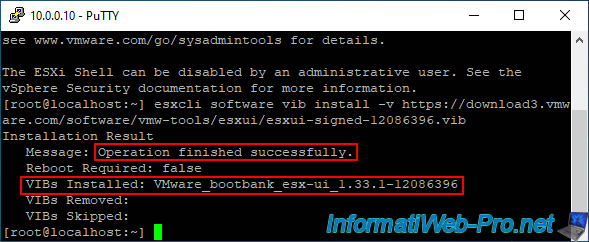
Once the fling is installed correctly, this will appear :
Plain Text
Installation Result
   Message: Operation finished successfully.
   Reboot Required: false
   VIBs Installed: VMware_bootbank_esx_ui_1.33.1-12086396
   VIBs Removed:
   VIBs Skipped:
The important thing is the presence of the "Operation finished successfully" message which means that the installation was completed correctly.
5. Accessing the VMware Host Client from VMware ESXi 6.0
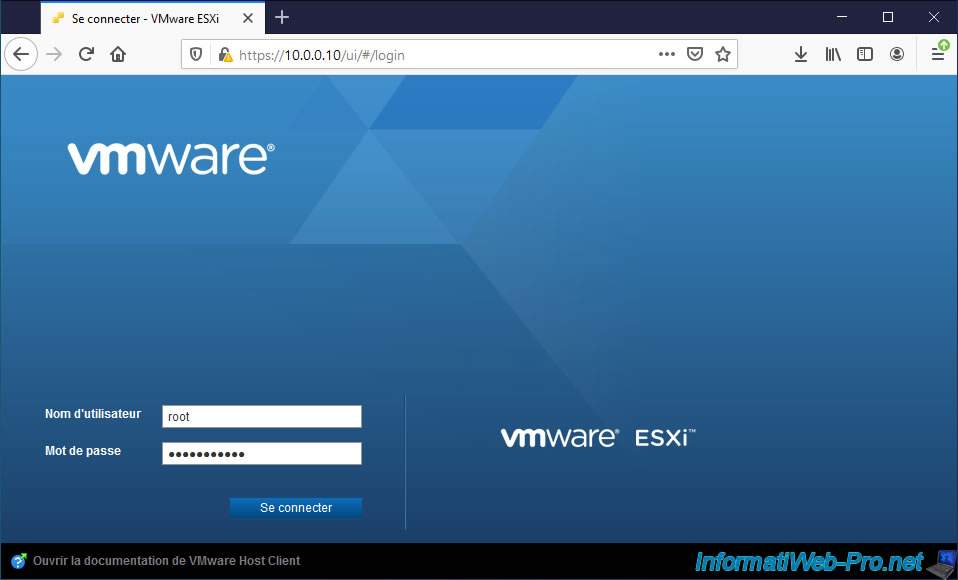
Navigate to the "https://[IP address of your VMware ESXi server]/ui/" address and you will see the "VMware ESXi" login page of the "VMware Host Client" appear.
Log in as "root" as you would with the thick client.
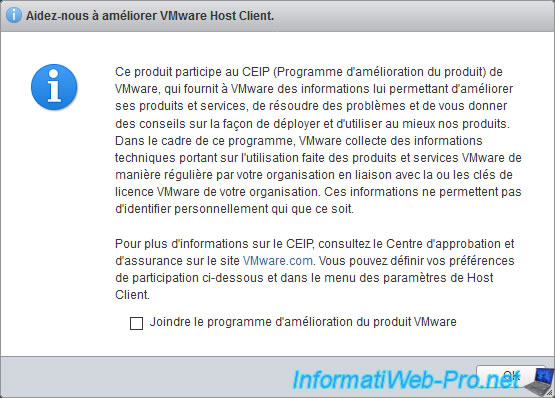
When using the "VMware Host Client" for the first time, a message will appear regarding participation in the Product Improvement Program.
In production, it's common to not join Product Improvement Programs for privacy reasons.
So, uncheck "Join CEIP" and click OK.
As you can see, the version of VMware ESXi used is : 6.0.0.
Although this web interface is only available natively since version 6.5 of VMware ESXi.
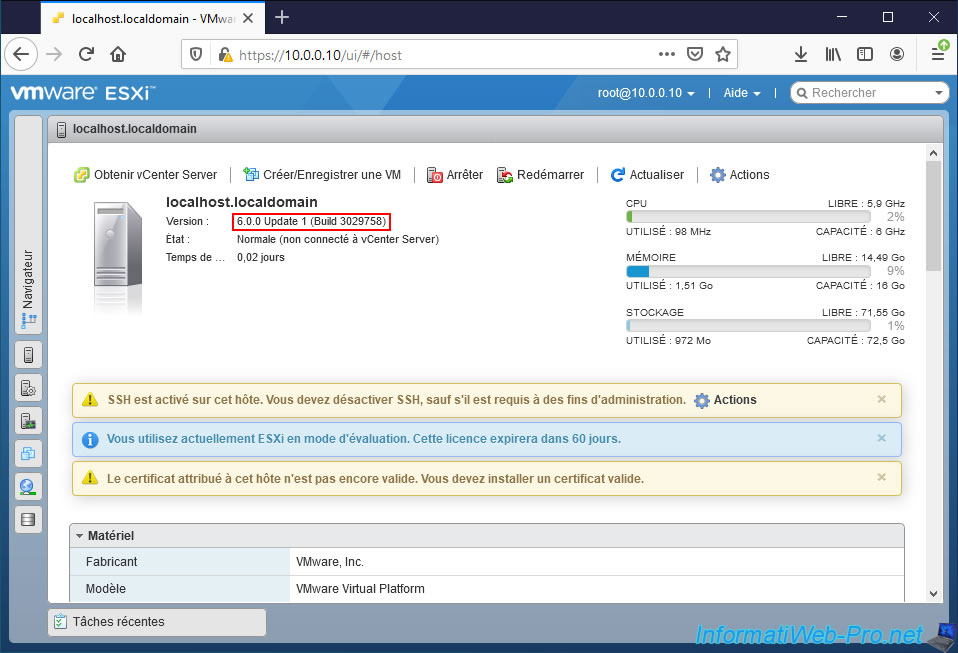
Thanks to this web interface, you will be able to manage your virtual machines.
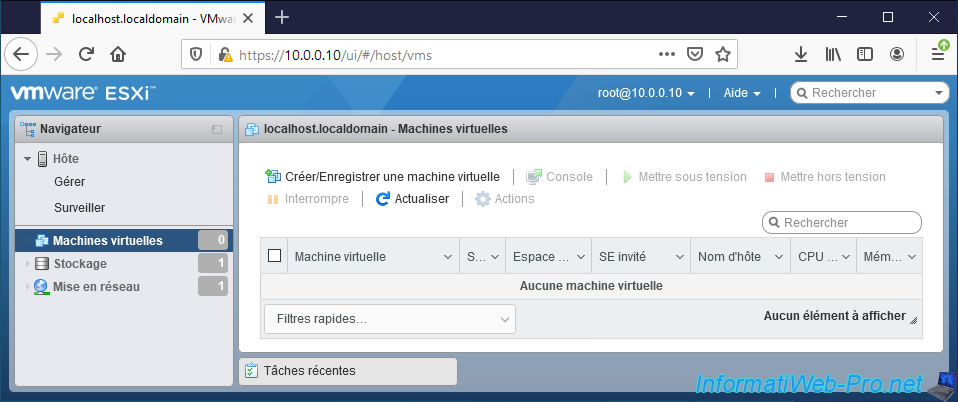
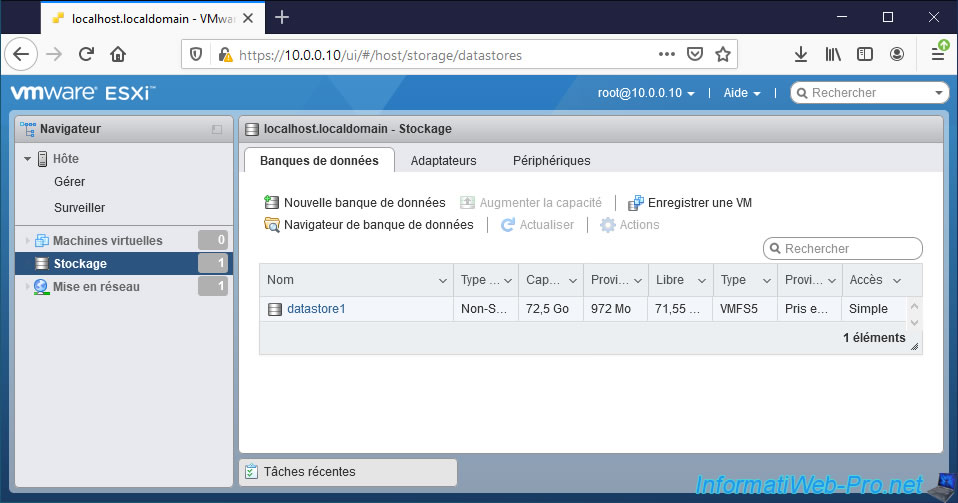
Manage your datastores.
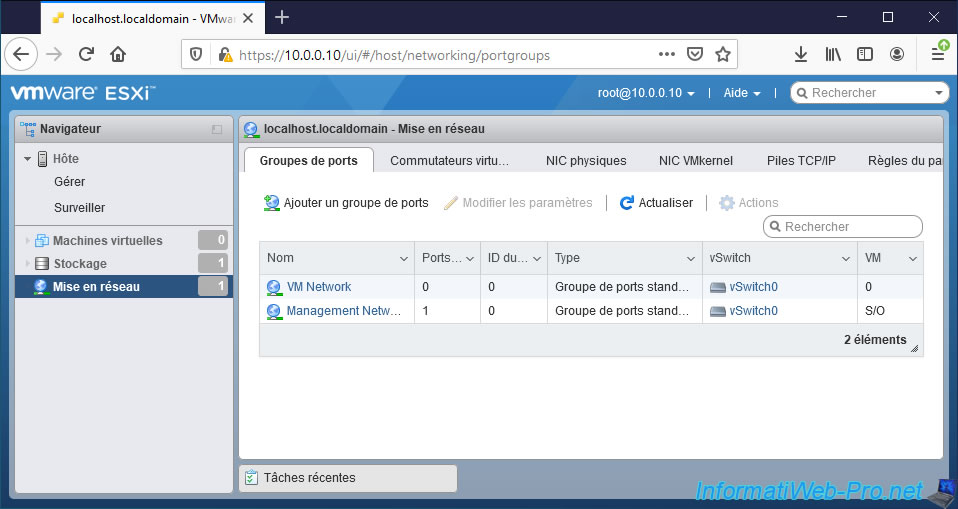
Manage network settings, including port groups, ...
Share this tutorial
To see also
-
VMware 5/27/2022
VMware ESXi 6.5 - Add a network driver in the installation ISO
-
VMware 1/27/2023
VMware ESXi 6.7 - Enable virtualization-based security (VBS)
-
VMware 12/2/2022
VMware ESXi 6.7 - Install and use the VMRC console on Linux
-
VMware 12/30/2022
VMware ESXi 6.7 - Install VMware Tools on Win Server in Core mode

You must be logged in to post a comment