VMware ESXi 7.0 or 6.7 Direct Console User Interface (DCUI) presentation
- VMware
- 09 May 2024 at 18:43 UTC
-

- 2/2

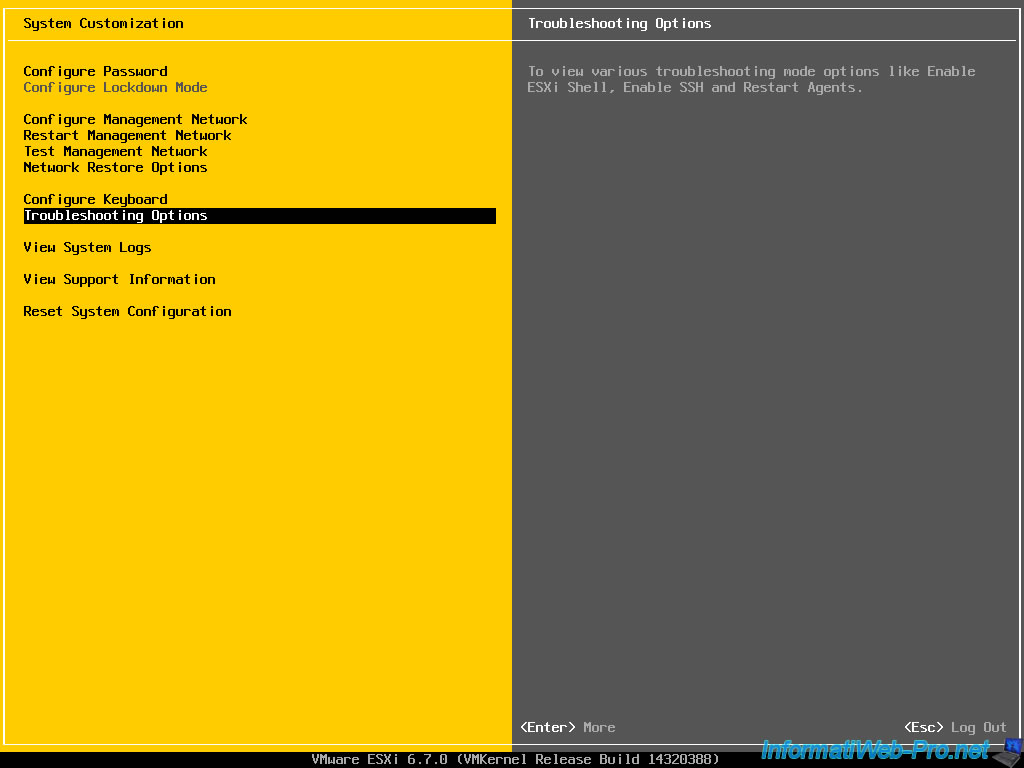
1.8. Troubleshooting Options
In the Troubleshooting Options, you will find options regarding the use of the ESXi shell, SSH, and management agents.

As you can see, in "Troubleshooting Options", you will be able to :
- Enable / Disable ESXi Shell : enable or disable the ESXi shell. Allows you to manage VMware ESXi from the command line, but only locally.
- Enable / Disable SSH : enable or disable SSH. Allows you to manage VMware ESXi from the command line remotely.
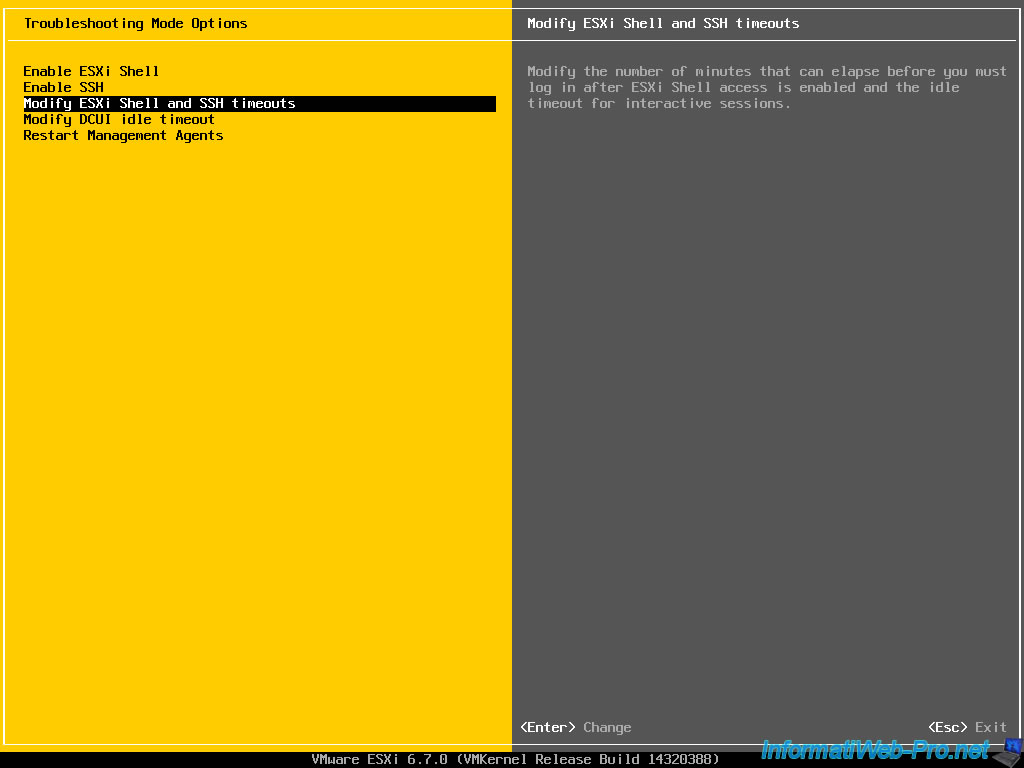
- Modify ESXi Shell and SSH timeouts : allows you to change the amount of time (in minutes) during which access to the ESXi shell will be available, as well as the idle time after which you will have to reconnect.
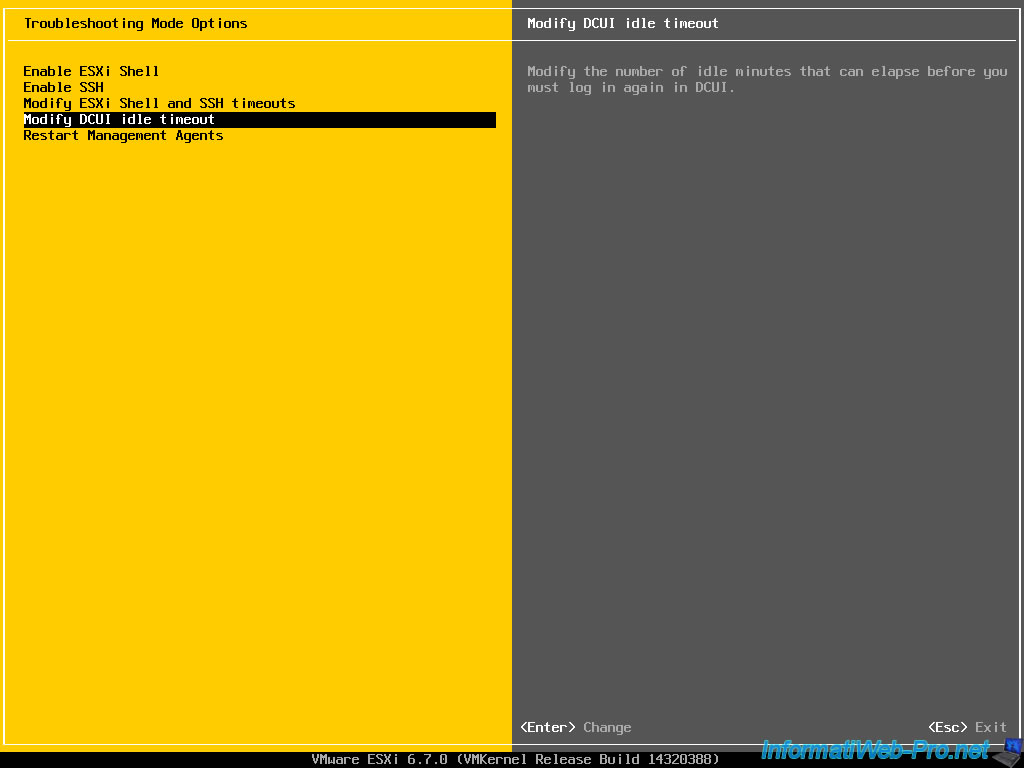
- Modify DCUI idle timeout : allows you to change the inactivity timeout after which you will have to reconnect to this DCUI console.
- Restart Management Agents : allows you to restart the VMware ESXi management agents.
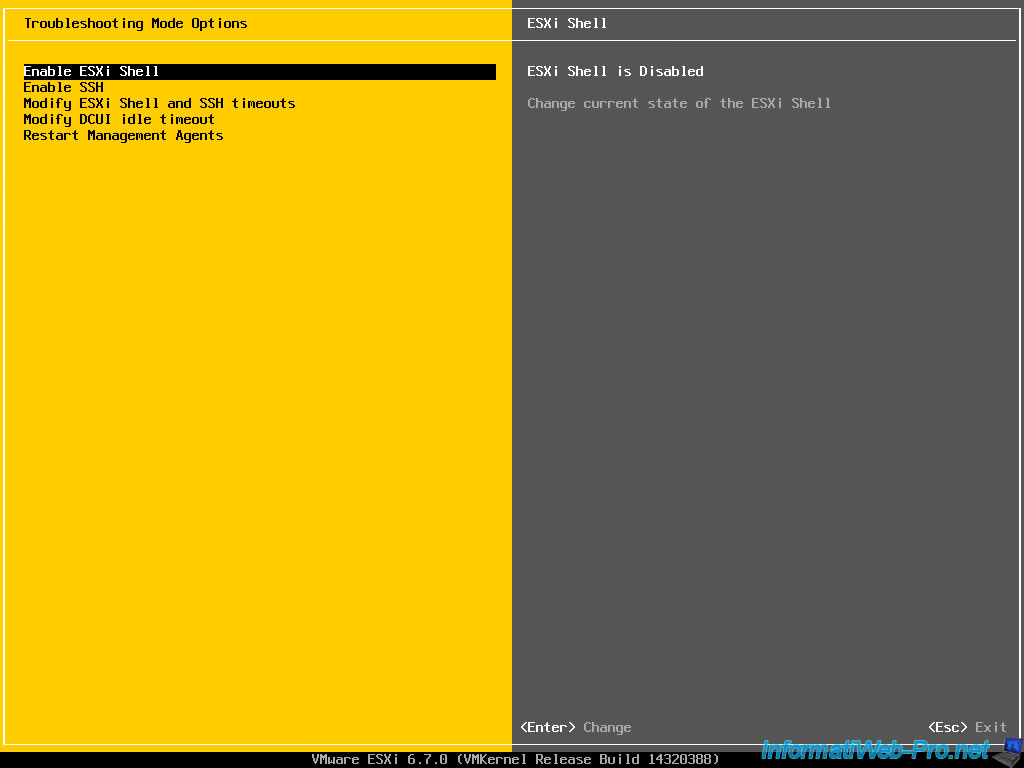
1.8.1. Enable / Disable ESXi Shell
To enable or disable the ESXi shell, select the "Enable / Disable ESXi Shell" option and press Enter, to disable or enable again the ESXi shell.
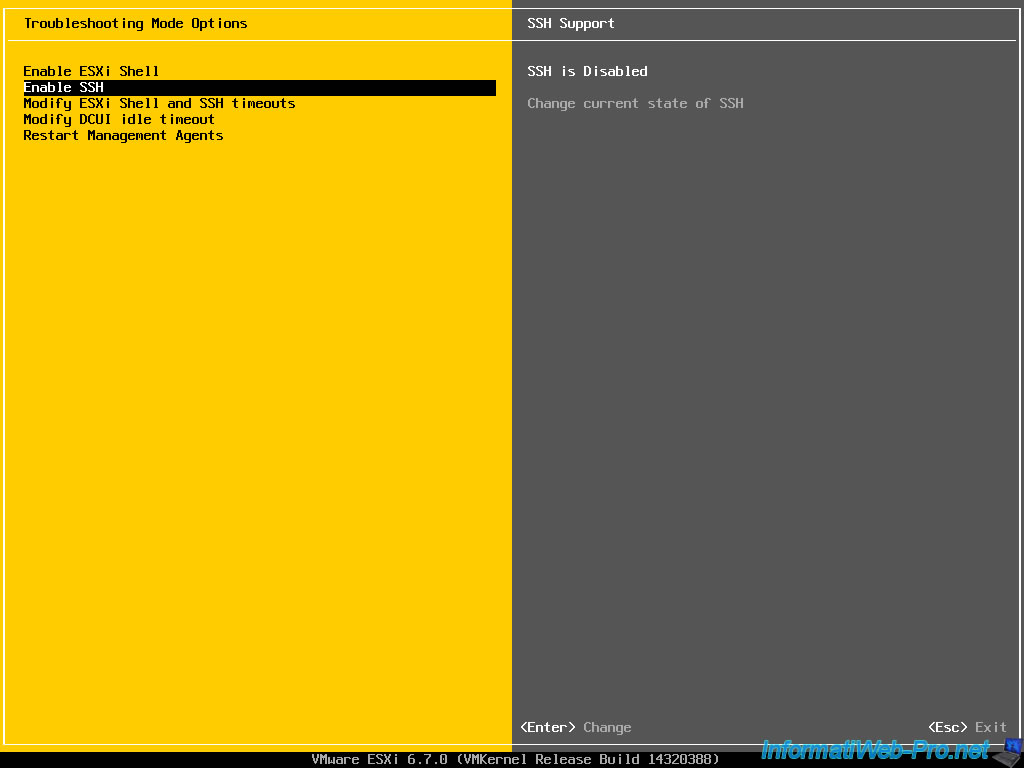
1.8.2. Enable / Disable SSH
To enable or disable the SSH protocol, select the "Enable / Disable SSH" option and press Enter, to disable or enable again the SSH (Secure Shell).
1.8.3. Modify ESXi Shell and SSH timeouts
To change the activity and inactivity timeouts for the ESXi shell and SSH, go to : Modify ESXi Shell and SSH timeouts.
As you can see, you will be able to define :
- Availability timeout : the activity timeout during which access to the ESXI shell will be available when you enable it. In this case, you will need to log into the ESXi shell before this timeout expires to be able to use it.
Then, after the activity time expires, you can continue to use your ESXi shell session. But, once disconnected, you will no longer be able to access this ESXi shell. - Idle timeout : idle time after which you will be automatically logged out of the ESXi shell.
Note that these activity and inactivity timeouts relate to the use of the ESXi shell (either locally or remotely via SSH) as indicated in the title of the window (Set the timeouts for ESXi Shell access (local and remote)).
By default, 0 is specified, which means that none of these timeouts are set.

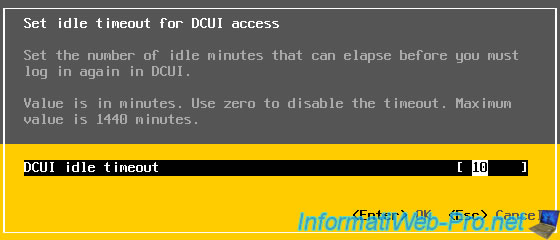
1.8.4. Modify DCUI idle timeout
To change the idle timeout after which you will be automatically logged out of the DCUI console, go to : Modify DCUI idle timeout.
Specify a delay in minutes or 0 so that you are never automatically logged out of this DCUI console.
By default, this delay is 10 minutes and you should never disable it in production for security reasons.
1.8.5. Restart Management Agents
If there is a problem with your VMware ESXi hypervisor, you can restart the management agents by going to : Restart Management Agents.
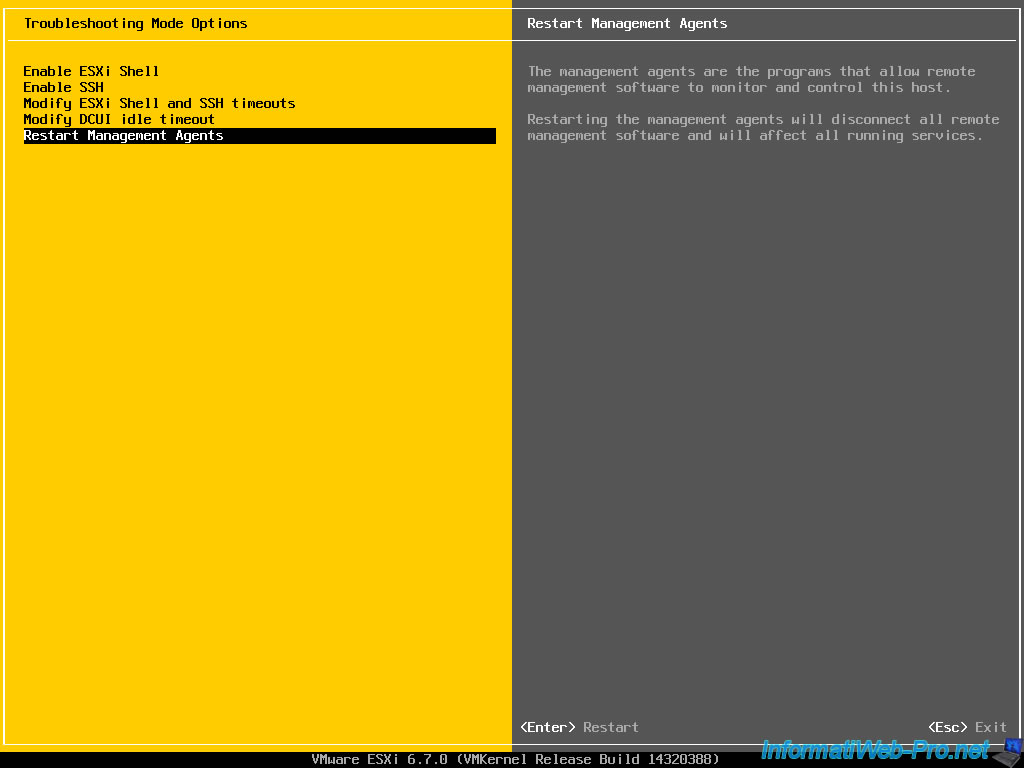
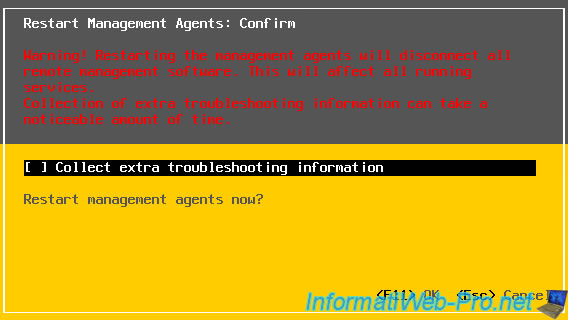
Warning : as shown in red, this will disconnect all remote management software and affect all running services.
Note that you can enable collection of troubleshooting information if you wish.
Then, confirm restarting the management agents by pressing F11.
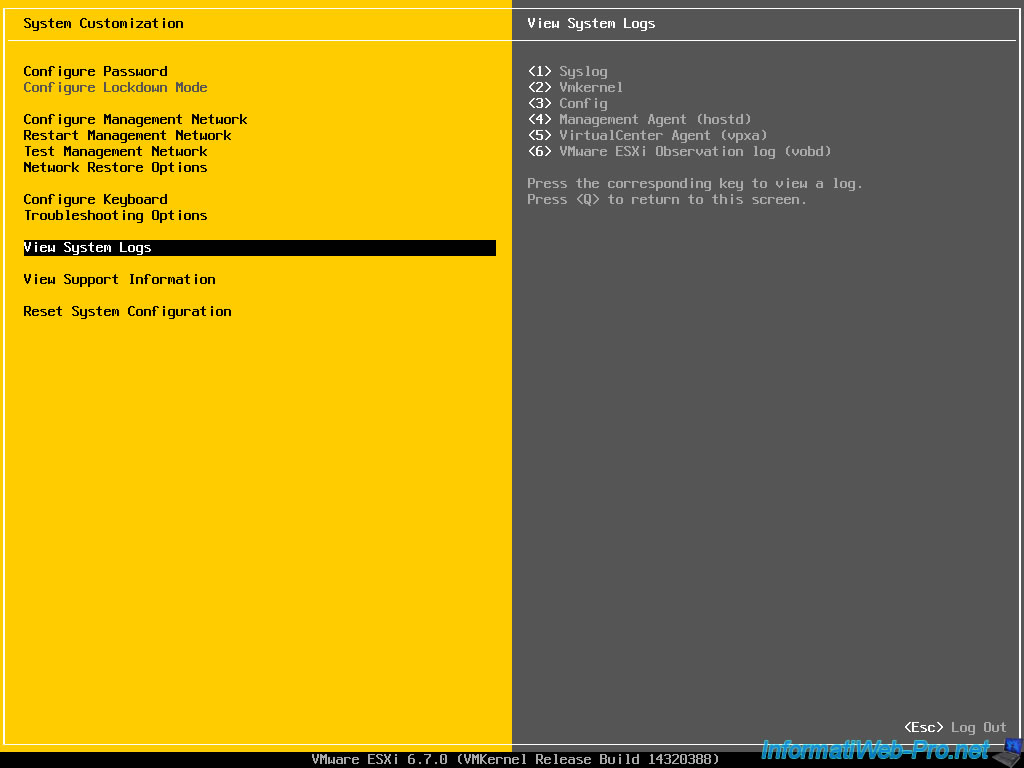
1.9. View System Logs
To view the system logs of your VMware ESXi hypervisor, select the "View System Logs" option and press the number key corresponding to the system log you want to view :
- 1 : Syslog
- 2 : Vmkernel
- 3 : Config
- 4 : Management Agent (hostd)
- 5 : VirtualCenter Agent (vpxa)
- 6 : VMware ESXi Observation log (vobd)
For example, here is an overview of the "Syslog" system log.
To return to the previous screen (the DCUI console), press the "Q" key.
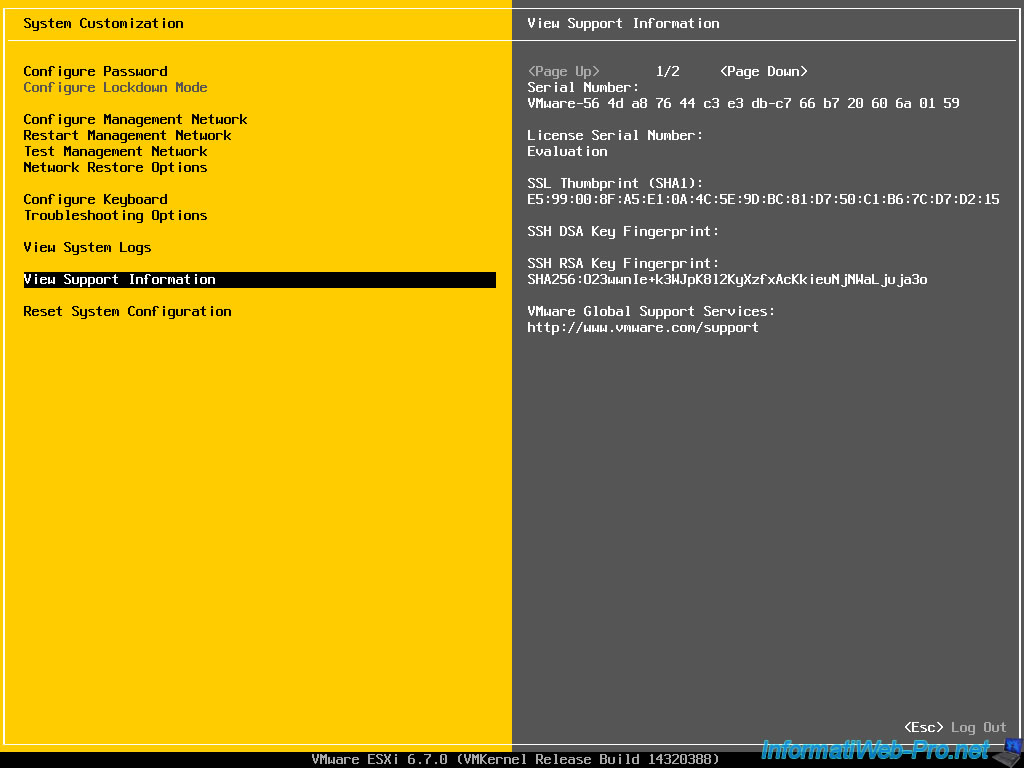
1.10. View Support Information
By selecting the "View Support Information" option, you can find out :
- Serial Number : the serial number of the physical server in case you purchased a real server from Hewlett Packard Enterprise (HPE) or any other Broadcom authorized partner.
- Licence Serial Number : the serial number (license) of your VMware ESXi hypervisor if it's registered. Otherwise, it will be indicated "Evaluation" since it's currently in evaluation period (default : 60 days).
- SSL Thumbprint (SHA1) : SSL fingerprint for the HTTPS protocol.
- SSH DSA Key Fingerprint : SSH DSA key fingerprint. If there is one.
- SSH RSA Key Fingerprint : RSA SSH key fingerprint.
- VMware Global Support Services : Broadcom support (for VMware products) address.
For information, know that it's preferable to use an RSA key instead of DSA for SSH and that OpenSSH disables by default the generation of the DSA key in favor of RSA from its version 7.0.
As you can check on the OpenSSH site.
OpenSSH 7.0 and greater similarly disable the ssh-dss (DSA) public key algorithm. It too is weak and we recommend against its use. It can be re-enabled using the HostKeyAlgorithms configuration option:
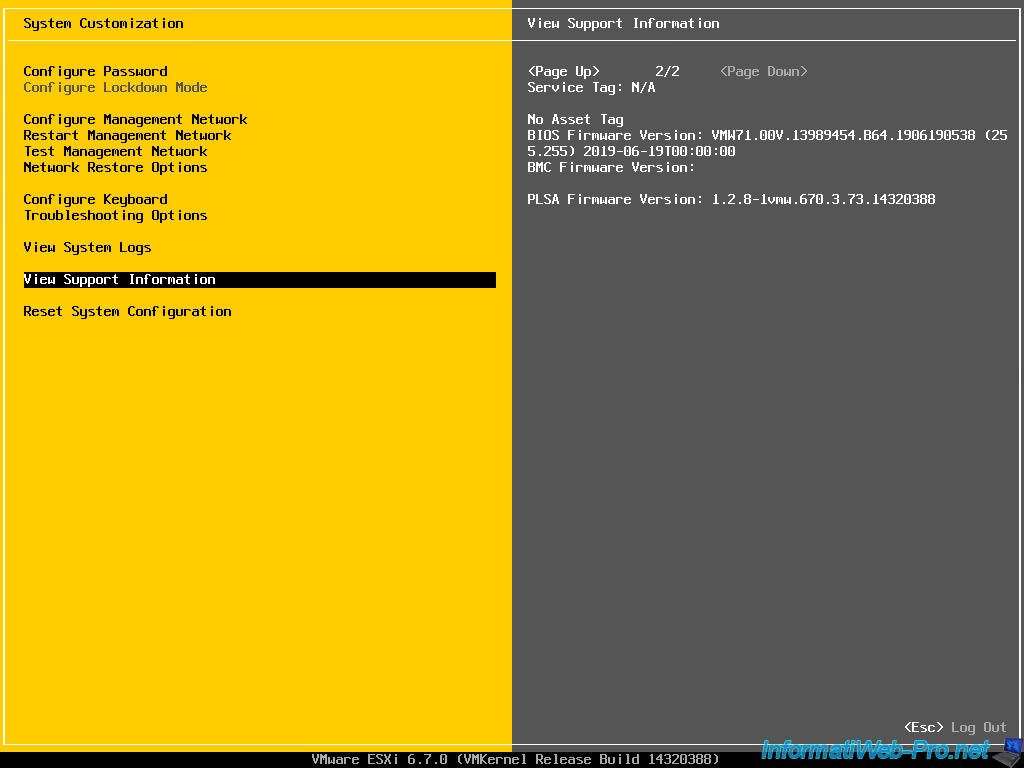
If you press the "Page Down" key on your keyboard to go to the next page of this information, you may also find :
- Service Tag : in the case of a real professional server, this corresponds to the "Service Tag" of the physical server and which you will need if you need to contact the manufacturer of your server.
- No Asset Tag : the Asset Tag defined by the manufacturer of the physical server (if applicable). This data is often indicated directly in the BIOS of the physical server and VMware ESXi only displays it here when it finds one.
- BIOS Firmware Version : BIOS / UEFI firmware version and release date of your computer or server motherboard.
- BMC Firmware Version : the firmware version of the BMC (Baseboard Management Controller) integrated in the motherboard of your server.
However, this type of controller is generally only present in professional servers. - PLSA Firmware Version : the PLSA firmware version
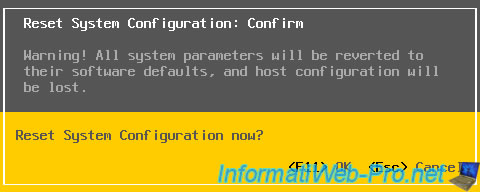
1.11. Reset System Configuration
To reset the system configuration of your VMware ESXi hypervisor, including those customized by the manufacturer of the server used (if applicable), use the "Reset System Configuration" option.
Note that it's best to first shut down running virtual machines or migrate them to another VMware ESXi host (if applicable) before resetting the VMware ESXi configuration.
Please note : the password of the root account will also be deleted. This means that anyone can potentially connect to your VMware ESXi hypervisor.
For virtual machines present on your VMware ESXi hypervisor, they will be unregistered.
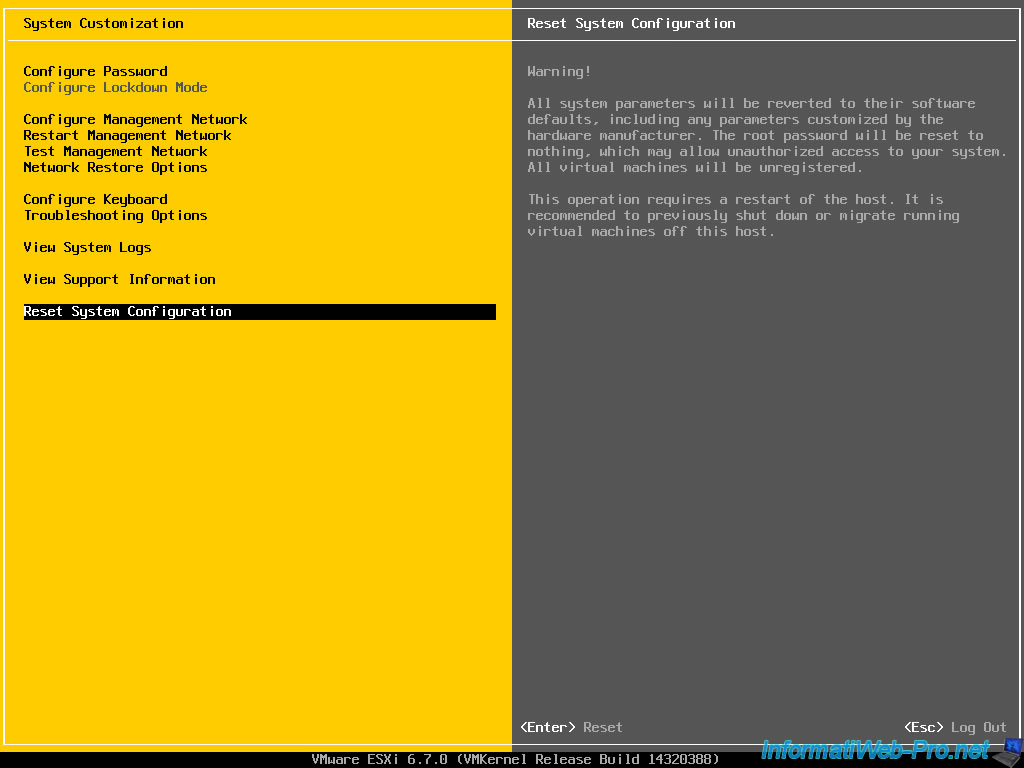
Confirm the restoration of the system settings to their default values by pressing the F11 key on your keyboard.
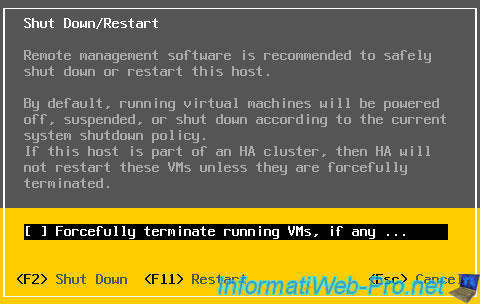
2. Shut Down/Restart the server
From this DCUI console, you have the option of shutting down or restarting your VMware ESXi server by pressing the F12 key.

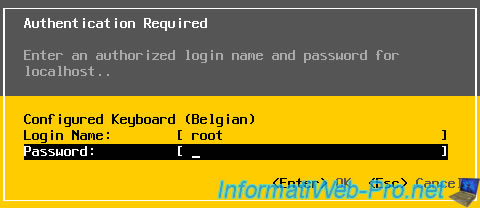
Authenticate yourself.
As indicated by this DCUI console, it's recommended that you manage your VMware ESXi server remotely (either through its web interface or through another product, such as VMware vCenter Server) to be able to safely shut down or restart it.
However, if you still want to shut down or restart your server, press F2 to shut down it or F11 to restart it.
3. Access the ESXi shell hidden in the DCUI console
When you see the DCUI console, there is no indication that you can access the ESXi shell locally.

However, if you press the "ALT + F1" keys, you will see this displayed on a black background.
If the ESXi shell is not enabled, you will not see anything other than the name "ESXi" and the VMware copyright.

To enable the ESXi shell, return to the DCUI console by pressing the "ALT + F2" keys, then press F2 to enter the configuration of VMware ESXi.

Authenticate yourself.

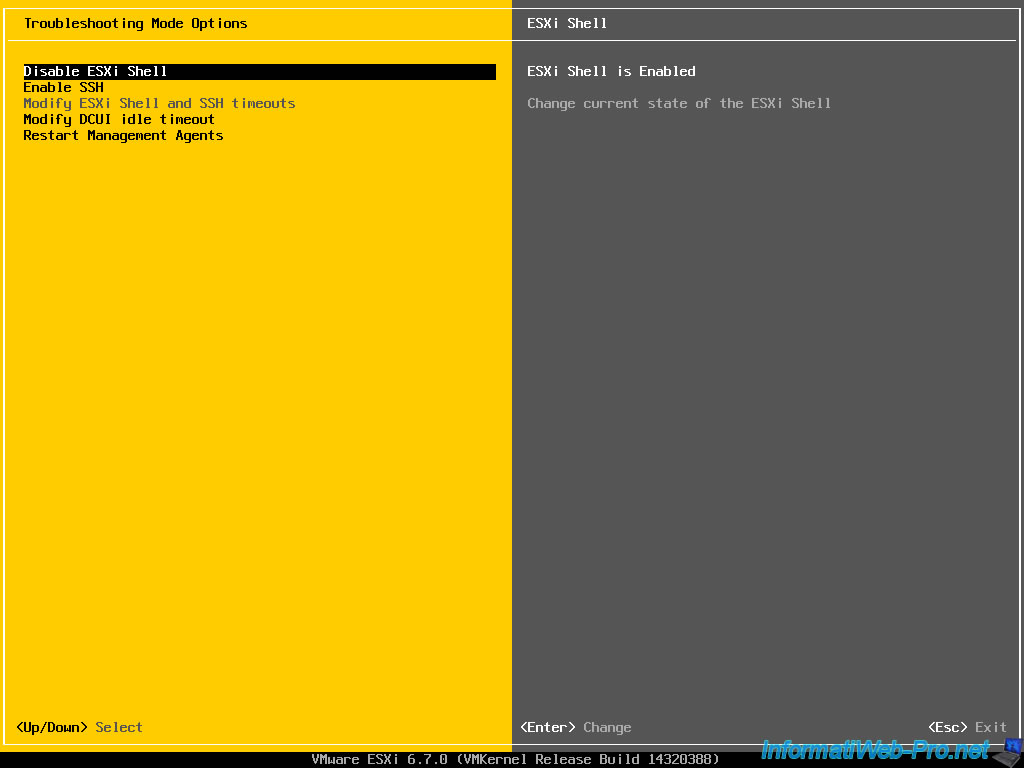
Then, go to : Troubleshooting Options.
Select the "Enable ESXi Shell" option and press Enter to enable the ESXi shell.

Now, "ESXi Shell is Enabled" is displayed.
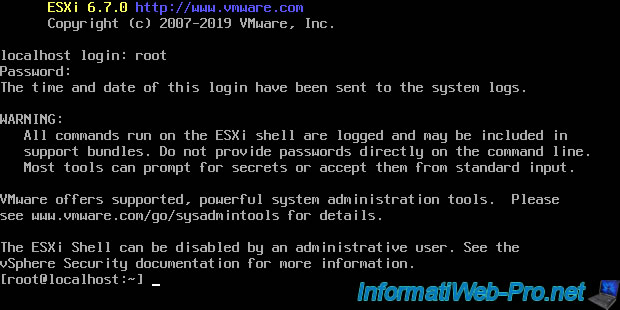
Now, press the "ALT + F1" keys again and you will see the "localhost login:" line appear.

Log in as root (for example).
As you can see, VMware ESXi tells you that all commands executed through the ESXi shell are logged and can be included in support bundles. It's therefore important not to directly specify passwords or other sensitive information in the commands that you will execute here.
To quit this ESXi shell, don't forget to type the "exit" command.
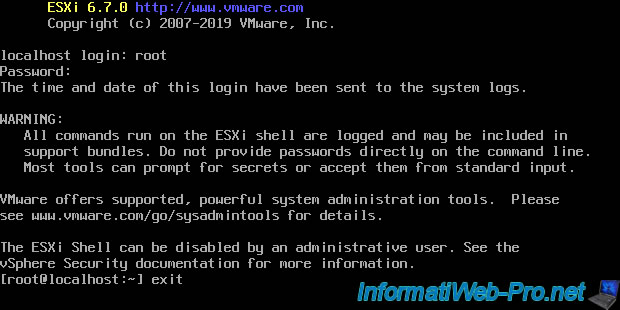
So, the screen will go back to like this.

To return to the DCUI console, press the "ALT + F2" keys.
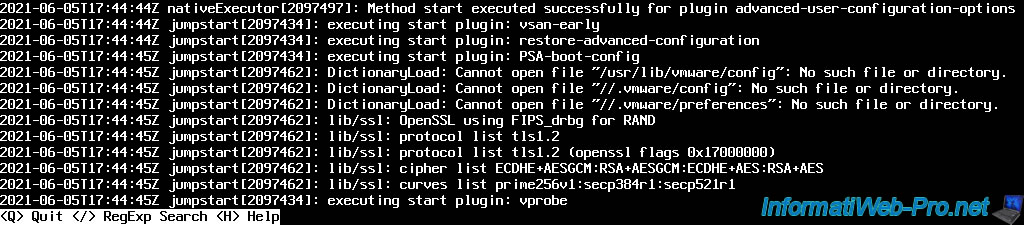
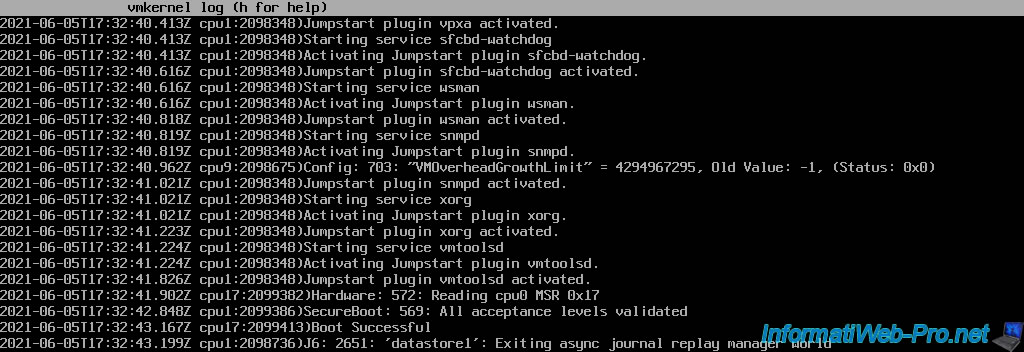
4. Quickly view the Vmkernel system log
To quickly display the "vmkernel" system log from the DCUI console, just press the "ALT + F12" keys.
Then, to return to the DCUI console, press the "ALT + F2" keys.
Share this tutorial
To see also
-

VMware 5/25/2022
VMware ESXi 6.0 - Install the VMware Host Client web client
-

VMware 5/27/2022
VMware ESXi 6.5 - Add a network driver in the installation ISO
-

VMware 1/27/2023
VMware ESXi 6.7 - Enable virtualization-based security (VBS)
-

VMware 12/2/2022
VMware ESXi 6.7 - Install and use the VMRC console on Linux
No comment