- Microsoft
- 20 December 2019 at 10:07 UTC
-

- 1/4

Hyper-V is a hypervisor and a sophisticated virtualization solution which has many settings.
In this article, we will simply present the different settings that you can find for the Hyper-V server, but also for your virtual machines (generation 1 and 2).
In addition, you will find many links to detailed tutorials published here.
- Hyper-V settings
- Generation 1 virtual machine settings
- Generation 2 virtual machine settings
- Virtual network management
- Create a virtual diskette
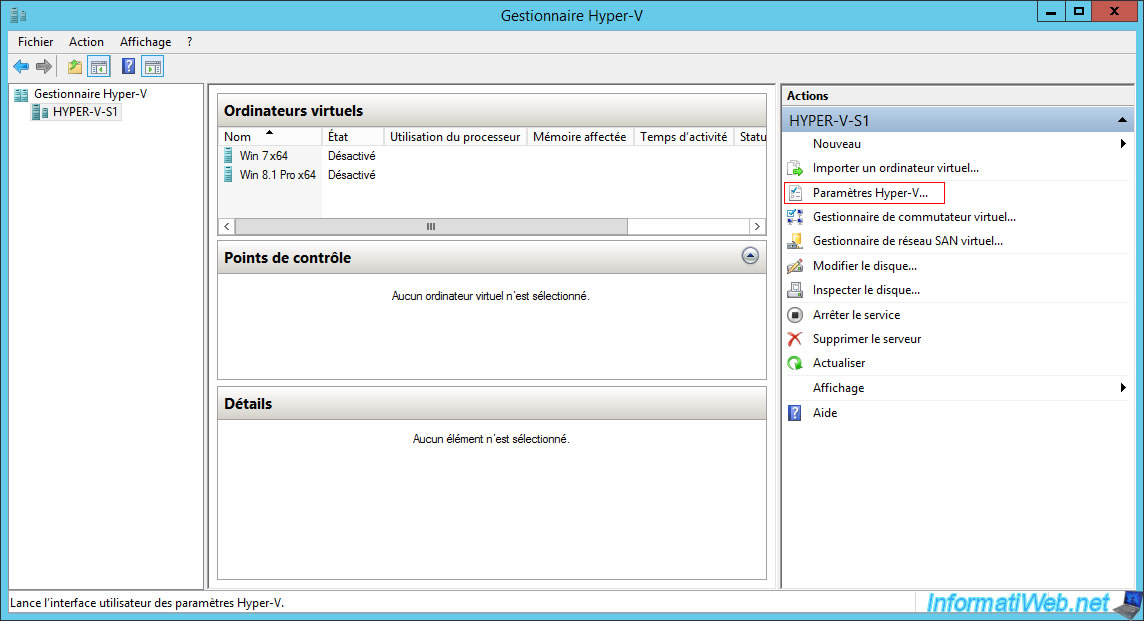
1. Hyper-V settings
To begin, let's go to the Hyper-V settings.
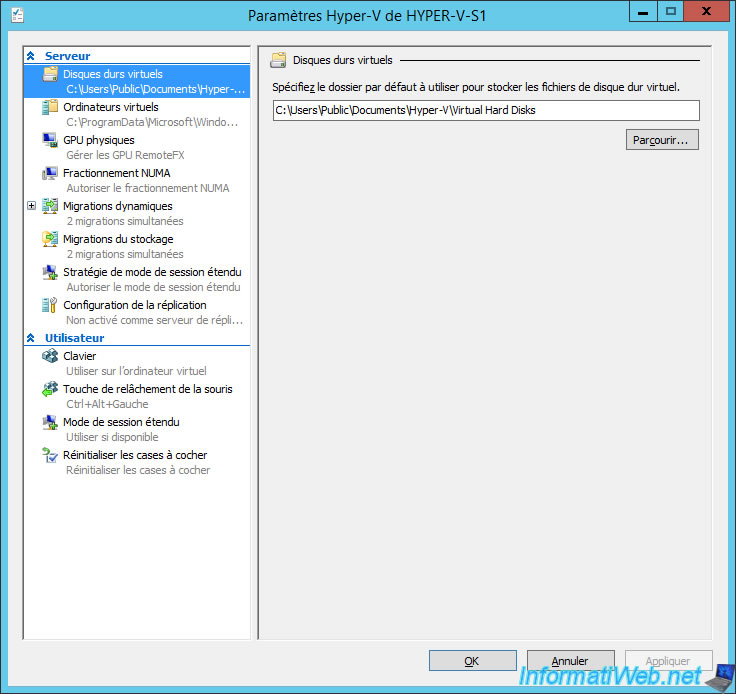
1.1. Virtual hard disks
In the "Virtual hard disks" section, you will be able to choose where to store virtual hard disk files (VHD, VHDX, ...).
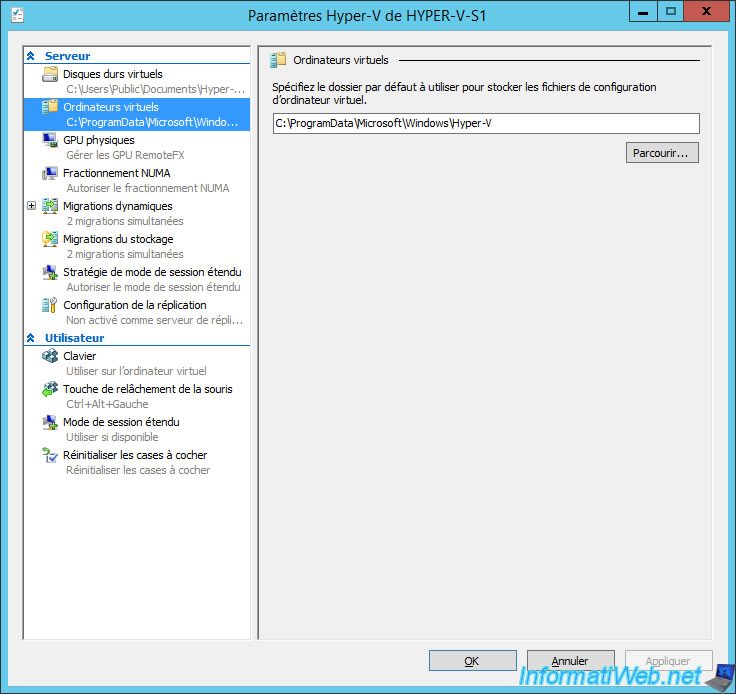
1.2. Virtual machines
In the "Virtual machines" section, you will be able to choose where the configuration files of your virtual machines will be stored.
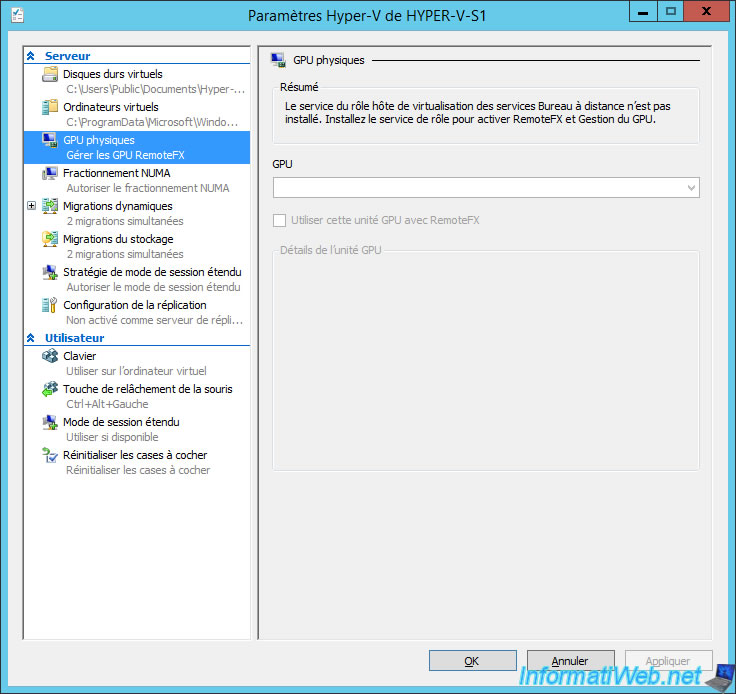
1.3. Physical GPUs
For the "Physical GPUs" section, it refers to the VGA passthrough for assigning a physical graphics card (present in the server) to a virtual machine to dramatically improve its graphics performance.
For example : to run graphics-hungry applications such as Cinema 4D, AutoCAD or games (even if this is not the case in the professional world).
At Microsoft, this feature is better known as RemoteFX.
To use this feature, refer to our tutorial : Improve virtual machine graphics performance with RemoteFX (GPU Passthrough / vGPU)
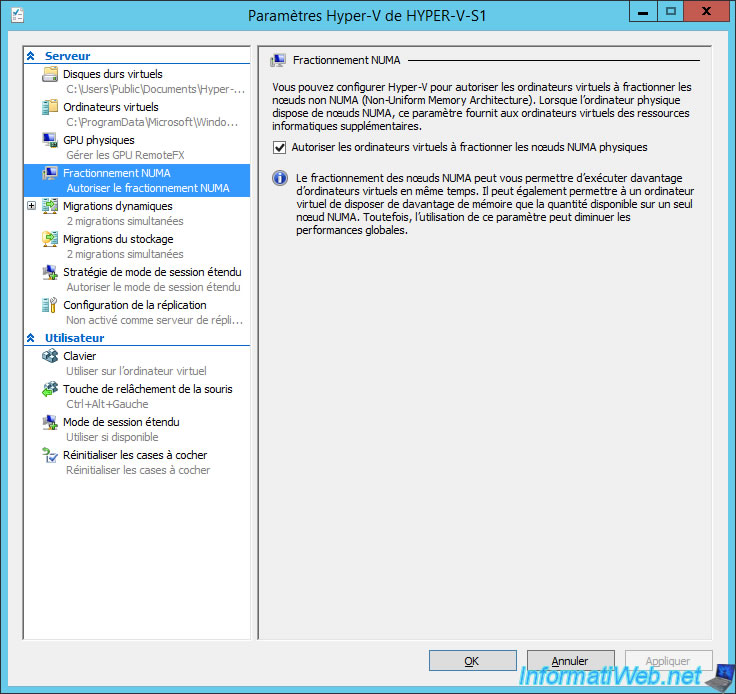
1.4. NUMA Spanning
In the "NUMA Spanning" section, you can allow virtual machines to split physical NUMA nodes.
In summary, NUMA (Non-Uniform Memory Access) is a memory architecture shared by several logical processors. This allows in particular to better distribute the system load (memory access).
For more information about NUMA, see Microsoft's "NUMA – Understand it & its usefulness with Windows Server 2012" article.
1.5. Live Migrations
Live migrations allow you to move virtual machines from one Hyper-V server to another.
For more information about live migrations, refer to our tutorial : Configure live migration with CredSSP or Kerberos constraint delegation
Note that live migrations are also possible when your Hyper-V servers are clustered.
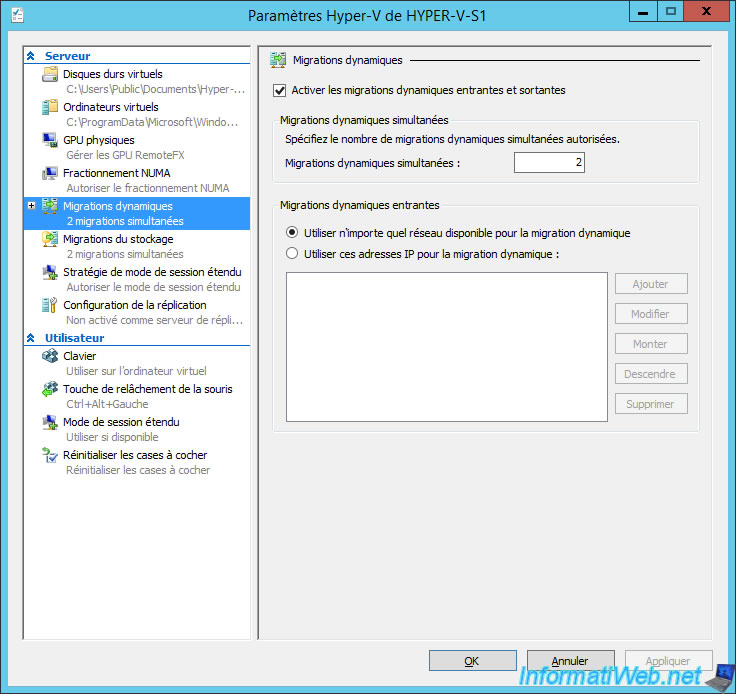
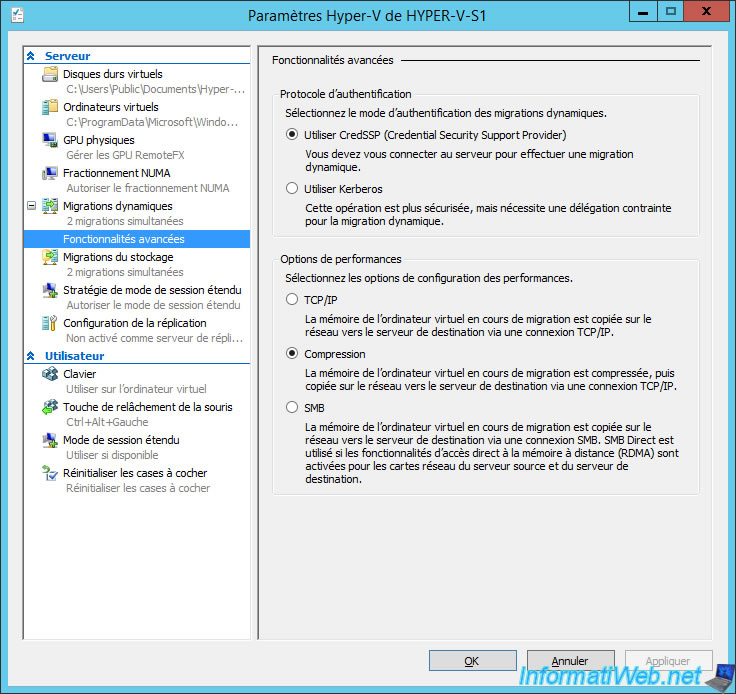
If you want to use live migrations, you can choose which authentication protocol to use :
- Cred SSP (Credential Security Support Provider) : the advantage is that this protocol doesn't require Active Directory, but its main disadvantage is that migration must be started from the source Hyper-V server.
- Kerberos : this protocol requires an Active Directory and a constrained delegation, but once configured, migration can be initiated from any Hyper-V server
You will also be able to choose the desired performance options :
- TCP/IP : the migrated virtual machine will be transferred as is over the network (without compression)
- Compression : the virtual machine to be migrated will be compressed with being transferred over the network
- SMB : use this option to use the SMB Direct and RDMA technologies that appeared with SMB 3.0
To learn more about SMB Direct, RDMA, and SMB 3.0 technologies, refer to our tutorial : Take advantage of the power of SMB 3.0 for live migrations of virtual machines
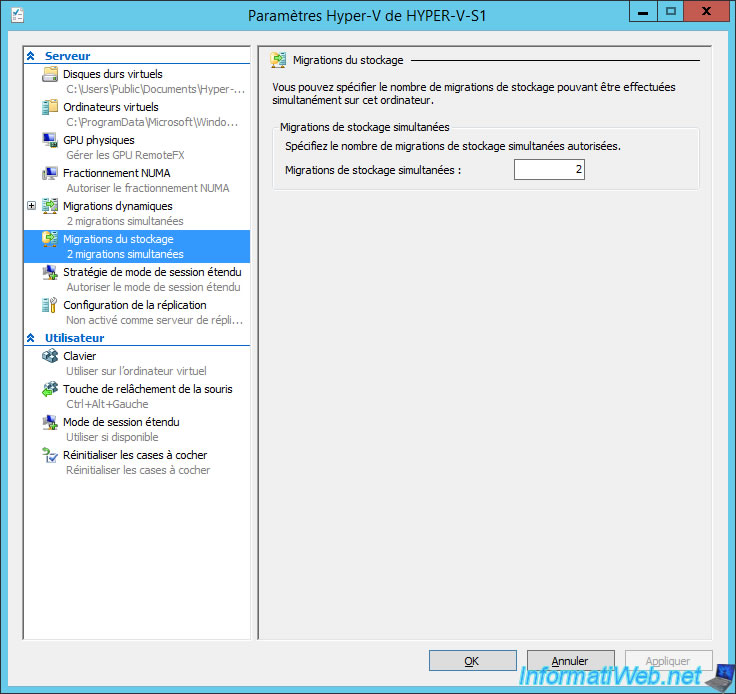
1.6. Storage Migrations
In the "Storage Migrations" section, you can specify how many storage migrations (ex : virtual hard disk, snapshots or checkpoints, virtual machine configuration file, ...) can be performed at the same time.
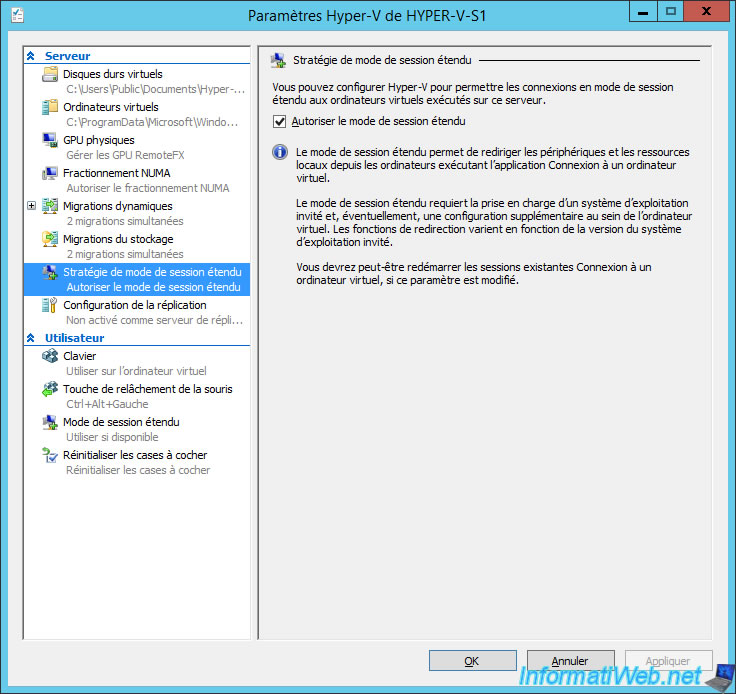
1.7. Enhanced Session Mode Policy
To increase the functionality of your virtual machines, you can enable the enhanced session mode.
This enhanced session mode can be used to redirect local resources (such as partitions) and other devices, as well as support the transfer of files via a copy/paste between the virtual machine and the server.
To learn more about this enhanced session mode, see our tutorial : Transfer files from the physical server to a VM (and vice versa)
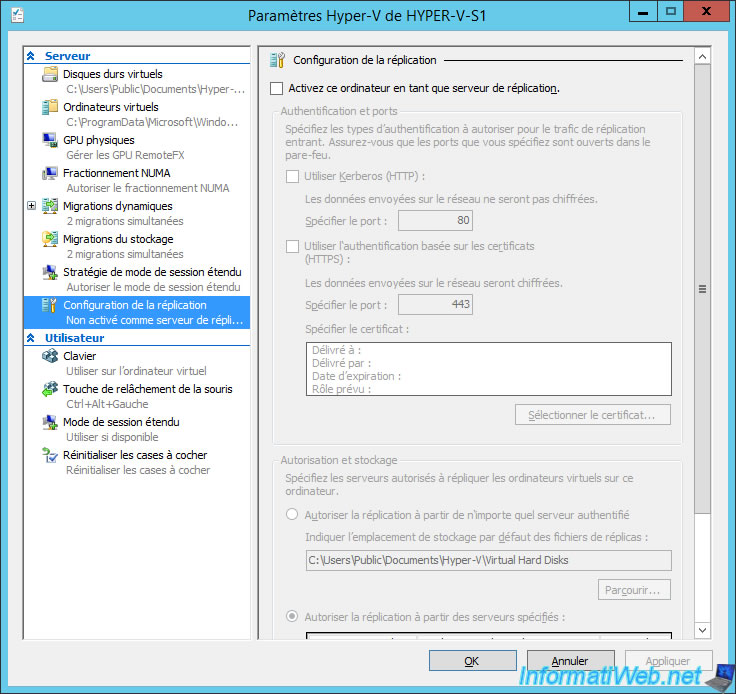
1.8. Replication Configuration
For the replication's configuration, you will have the possibility to :
- activate it or not
- choose the authentication's type : Kerberos (HTTP) or SSL certificate-based authentication (HTTPS)
- choose which port to use : 80 for Kerberos (HTTP) and 443 for SSL certificates (HTTPS) by default
- choose which servers are allowed for virtual machine replication
To learn how to automatically replicate virtual machines from one server to another, refer to our tutorials :
- Automatically replicate virtual machines from one server to another (HTTP)
- Automatically replicate virtual machines securely (HTTPS)
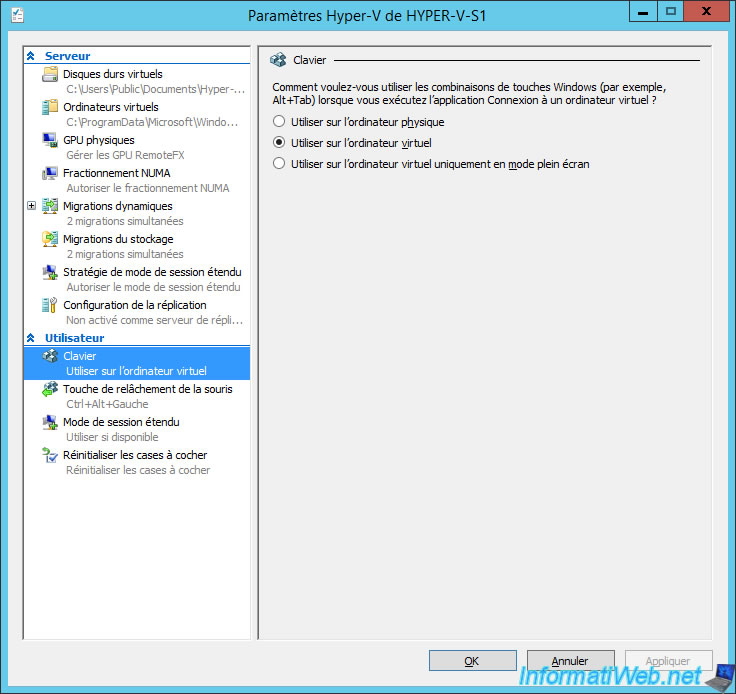
1.9. Keyboard
For the keyboard, you will be able to choose how Hyper-V should use the keyboard shortcuts that you will use :
- Use on the physical computer
- Use on the virtual machine
- Use on the virtual machine only when running full-screen
This allows, for example, to prevent the server from intercepts the "CTRL + ALT + DEL" keyboard shortcut that we wanted to send to the virtual machine only.
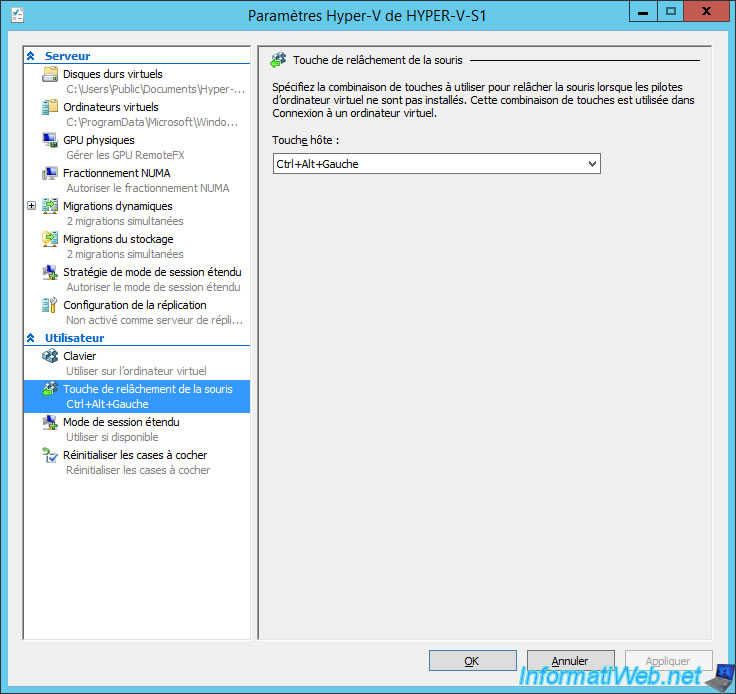
1.10. Mouse Release Key
By default, when integration services aren't installed in the virtual machine, the mouse is captured when you click in the virtual machine window.
Then, the mouse can't go out anymore.
To exit the cursor from your virtual machine window, you will need to use the combination key shown in the "Mouse Release Key" section.
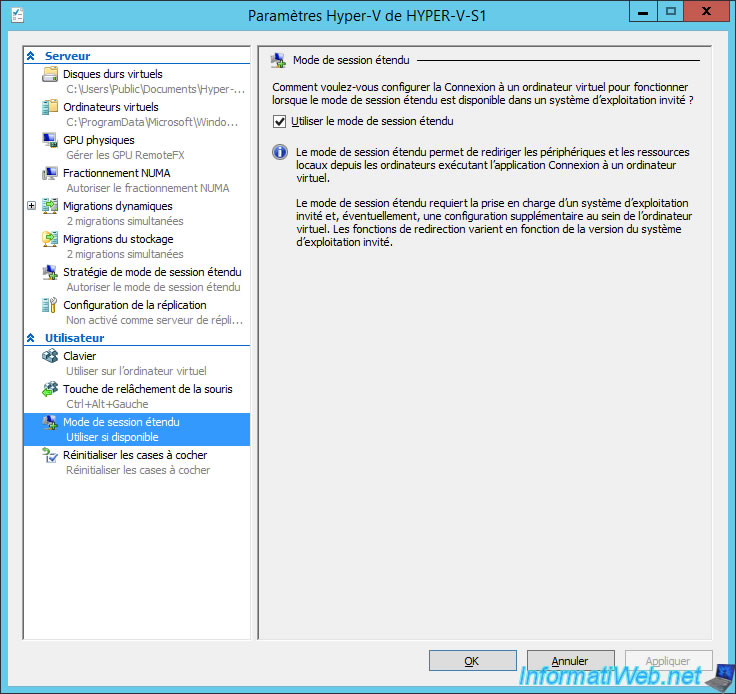
1.11. Enhanced Session Mode
The "Enhanced Session Mode" setting is the same feature as the one above (Enhanced Session Mode Policy), except that it's a user setting and not a server setting.
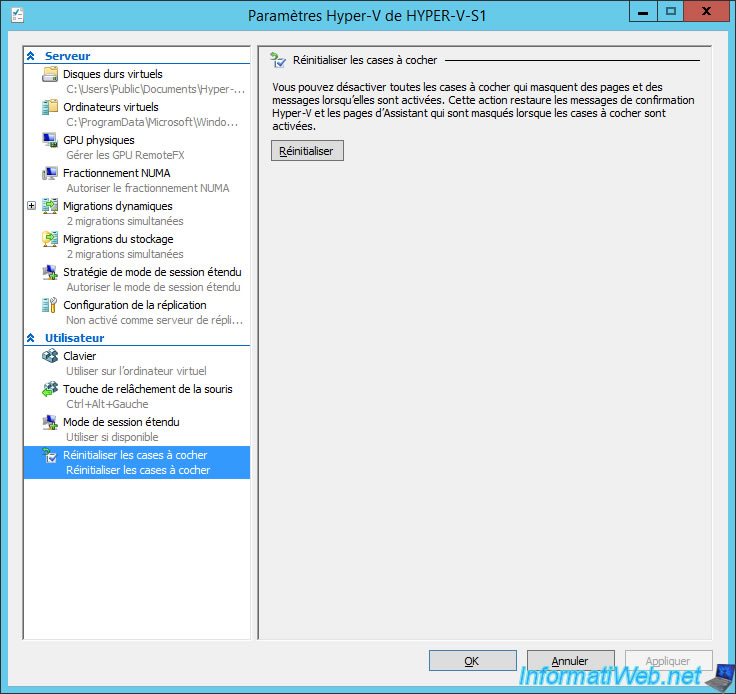
1.12. Reset Check Boxes
The last parameter simply allows you to redisplay messages that you have hidden since installing the Hyper-V server.
Share this tutorial
To see also
-
Microsoft 9/6/2019
Hyper-V (WS 2012 R2 / 2016) - Create a generation 2 VM
-
Microsoft 8/10/2019
Hyper-V (WS 2012 R2 / 2016) - Install Hyper-V and create your first VM
-
Microsoft 11/8/2019
Hyper-V (WS 2012 R2 / WS 2016) - Automatically replicate virtual machines
-
Microsoft 11/15/2019
Hyper-V (WS 2012 R2 / WS 2016) - Automatically replicate virtual machines (securely)
You must be logged in to post a comment