- Microsoft
- 06 September 2019 at 14:15 UTC
-


With the Hyper-V role available on Windows Server 2012 R2 and Windows Server 2016, it's possible to create Generation 1 and 2 virtual machines.
In our previous tutorial "Hyper-V (WS 2012 R2 / 2016) - Install Hyper-V and create your first VM", we created a virtual machine of generation 1 with Windows 7 x64.
In this new tutorial, we will create a virtual machine of generation 2 with Windows 8.1 Pro x64 to show you the differences with the previous generation.
As you can see on the Microsoft website, not all versions of Windows are supported by Generation 2.
But, to be brief, Generation 2 is compatible with the 64-bit architecture from Windows 8.
By creating a Generation 2 virtual machine, you will be able to use :
- the secure boot through the EFI system supported by Windows 7, 8, 10 and later
- the network boot (PXE) with a standard network adapter
However, you will lose access to the floppy disk drive (which is no longer used today) and the IDE controller which is replaced by a SCSI controller only.
Let's create a new virtual machine.
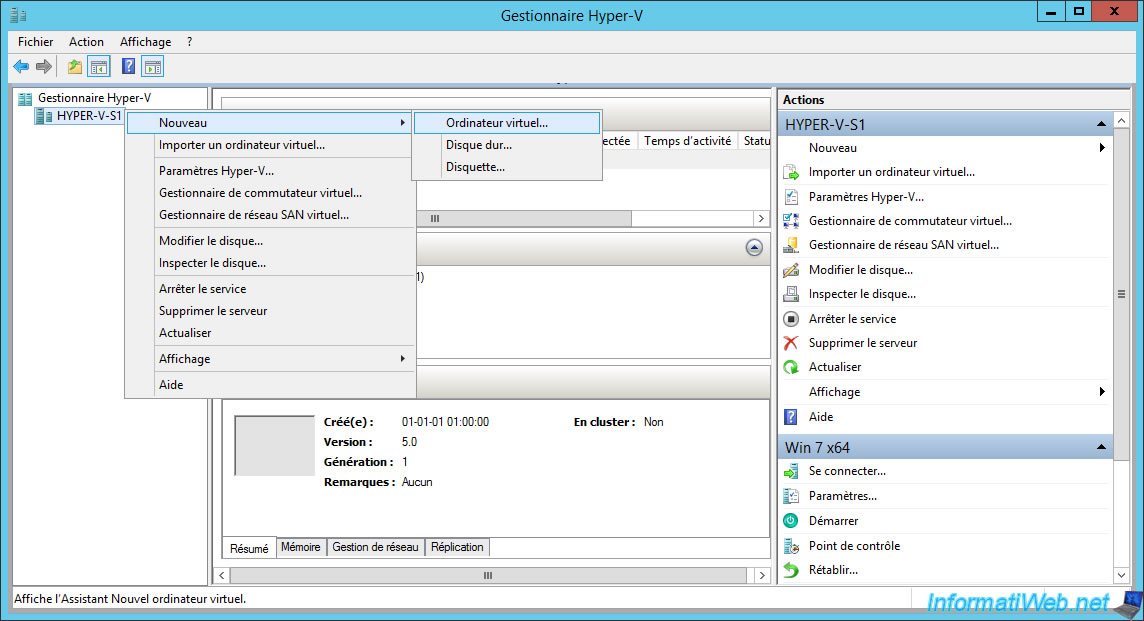
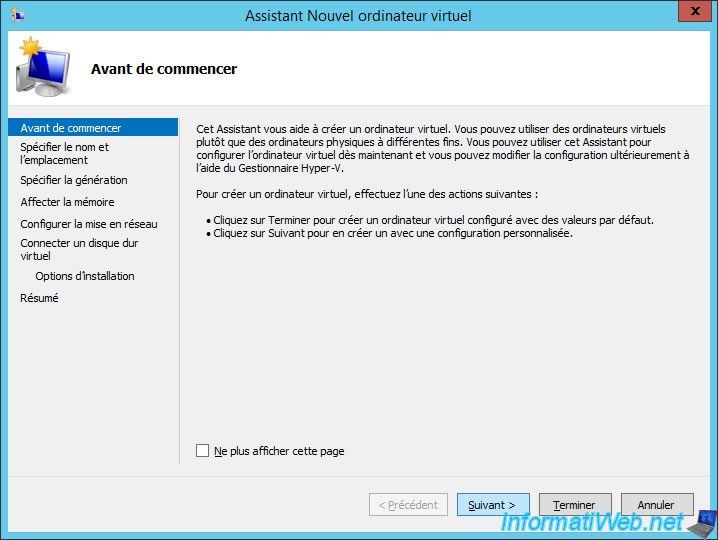
The New Virtual Machine Wizard appears.
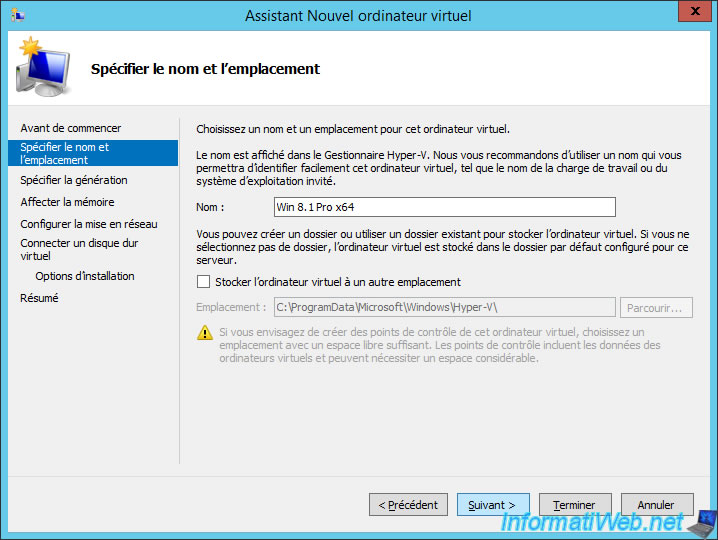
Provide a name for this virtual machine.
In our case : Win 8.1 Pro x64.
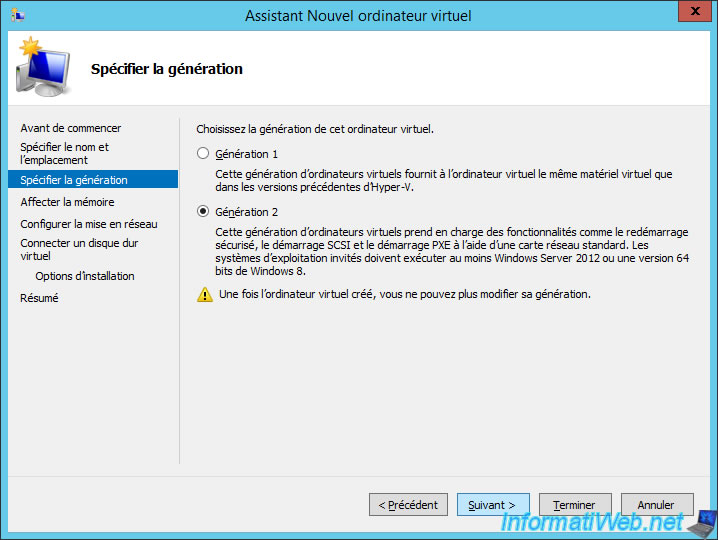
Choose "Generation 2".
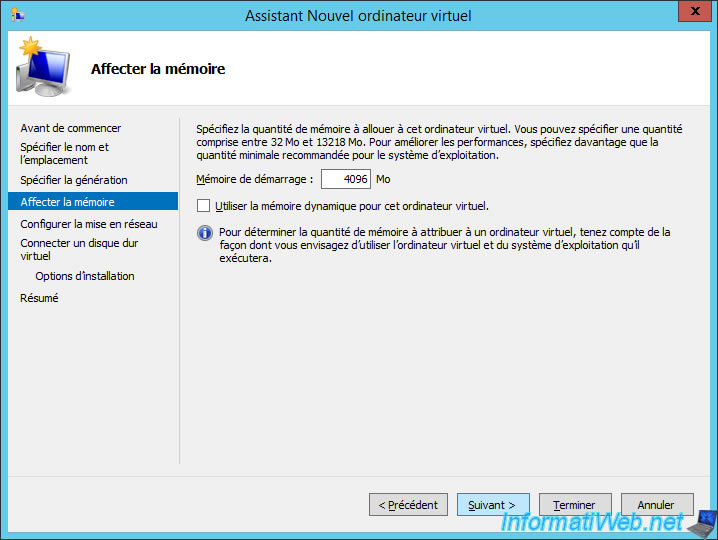
Specify the amount of RAM that you want to allocate to this virtual machine.
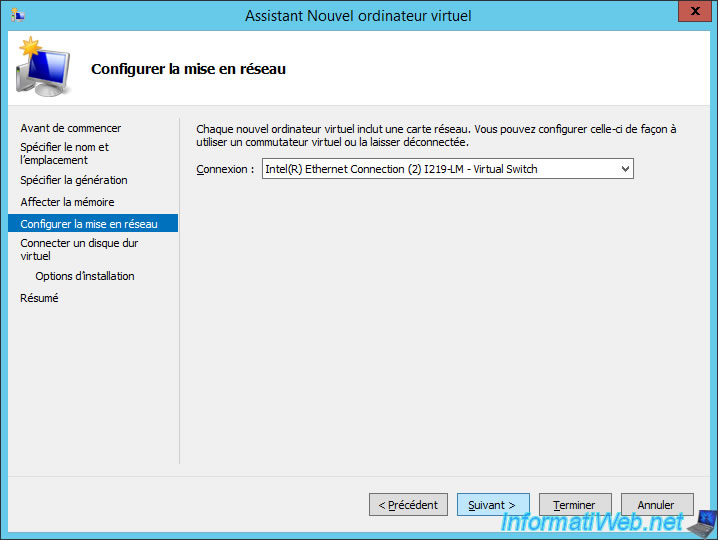
Select the switch to which you want to connect this virtual machine.
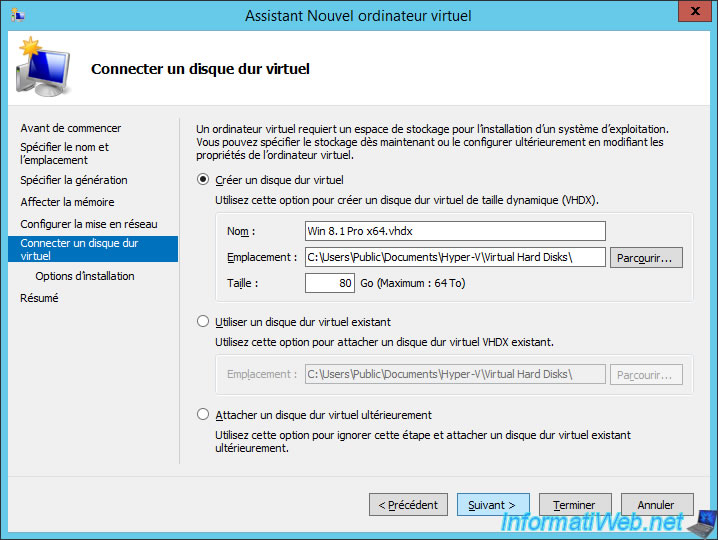
For this tutorial, we will create a virtual hard disk of 80 GB.
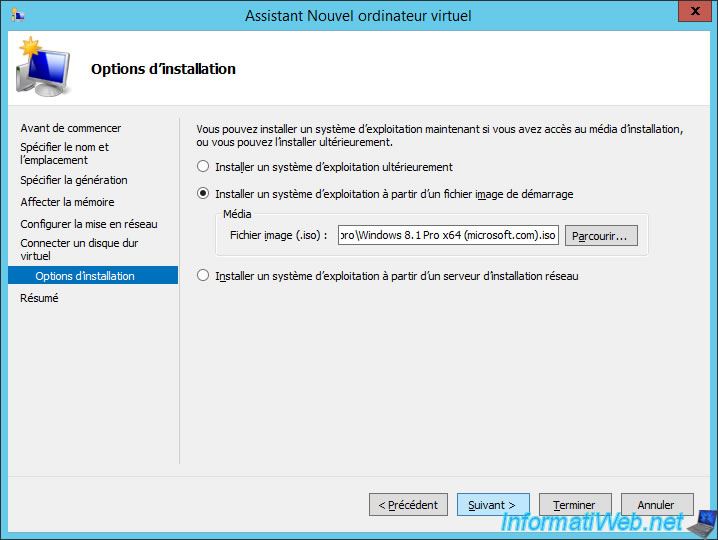
We select the iso file of Windows 8.1 Pro x64.
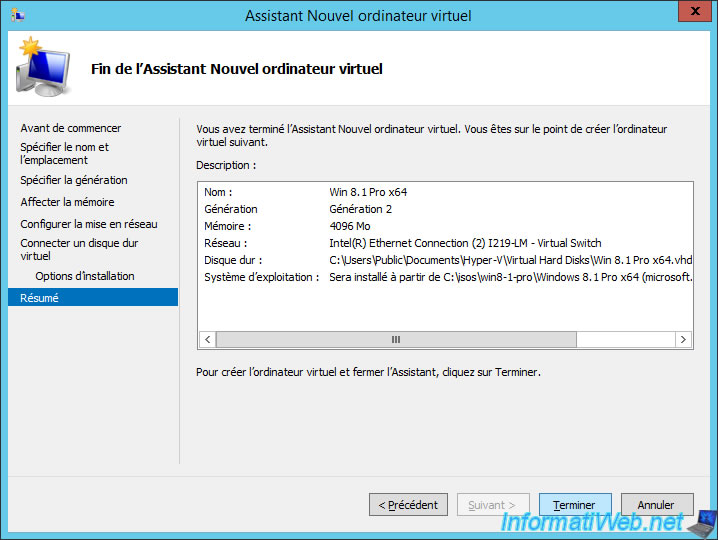
A summary is displayed.
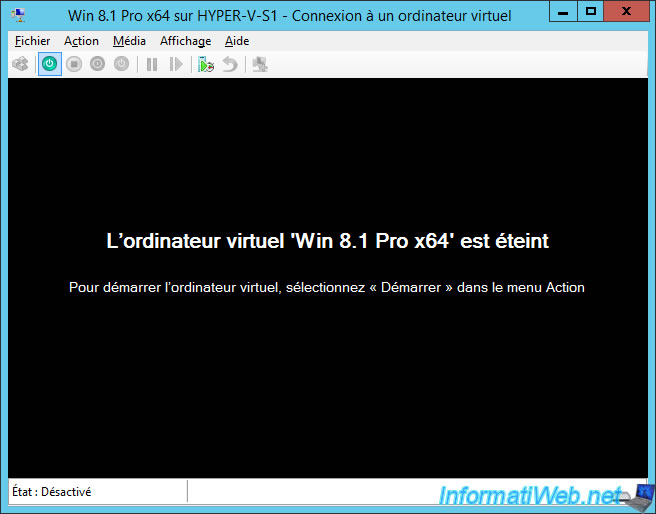
Start your virtual machine.
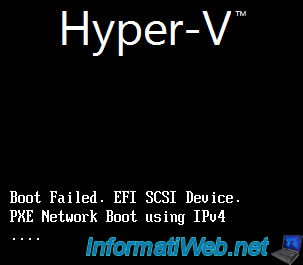
If the message "Boot Failed. EFI SCSI Device." is displayed, the operating system that you want to install in this virtual machine is not compatible with EFI or is not supported by Generation 2 of Hyper-V virtual machines.
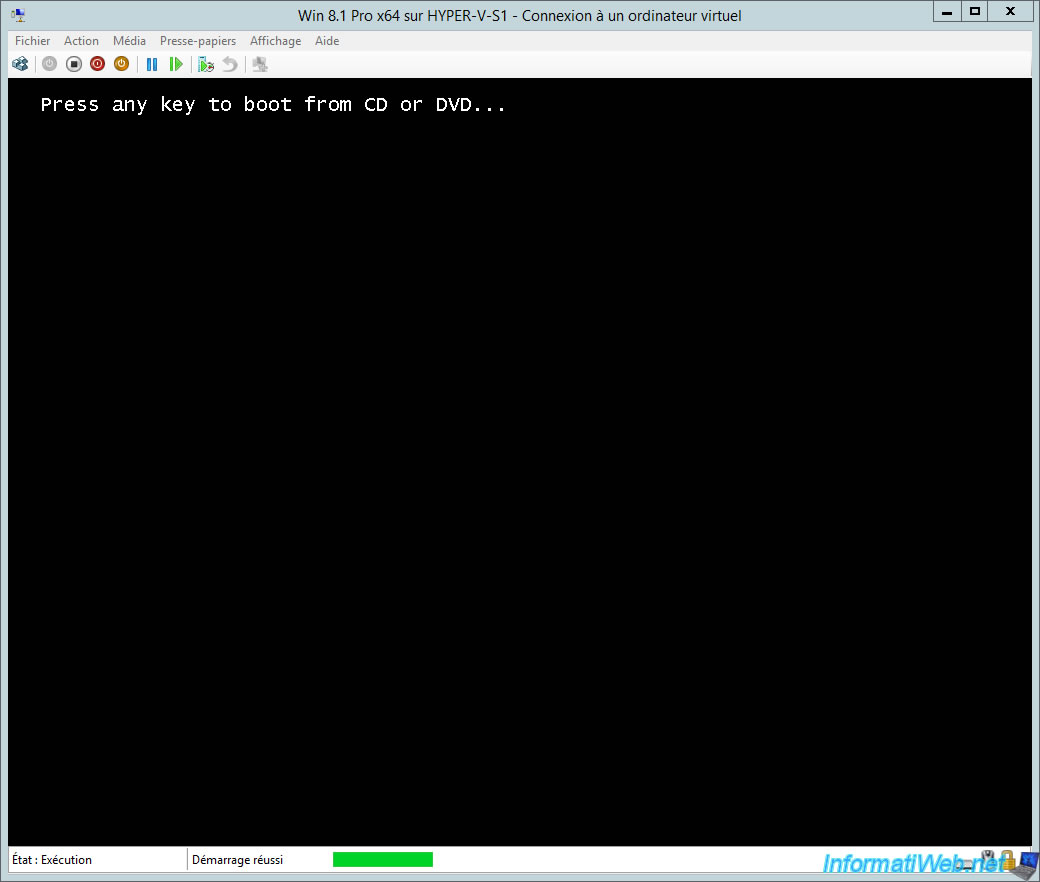
If all goes well, the virtual machine will boot to the Windows 8.1 Pro installation DVD.
Press a key if he asks you.
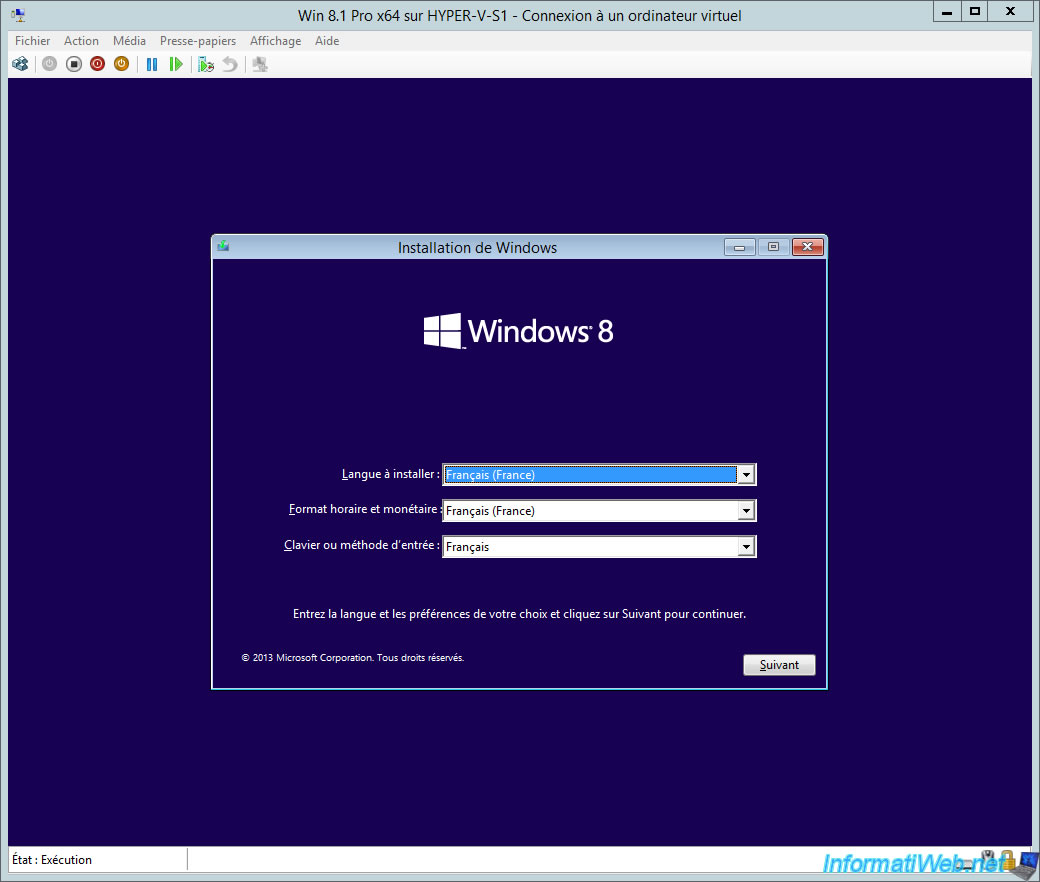
The Windows 8.1 Pro setup wizard appears.
For the installation of Windows, refer if necessary to our tutorial : Windows 8 / 8.1 - Formatting and reinstalling
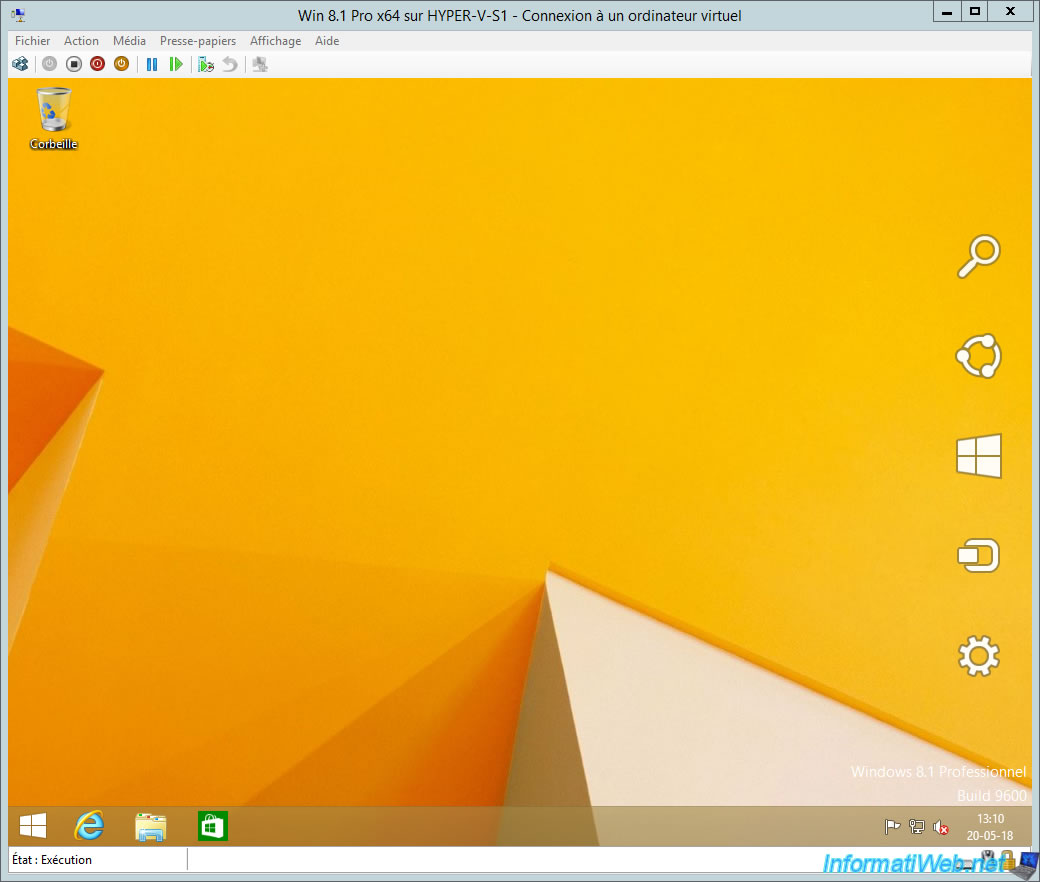
Once Windows is installed, install the Hyper-V integration services as needed.
To do this, go to : Action -> Insert Integration Services Setup Disk.
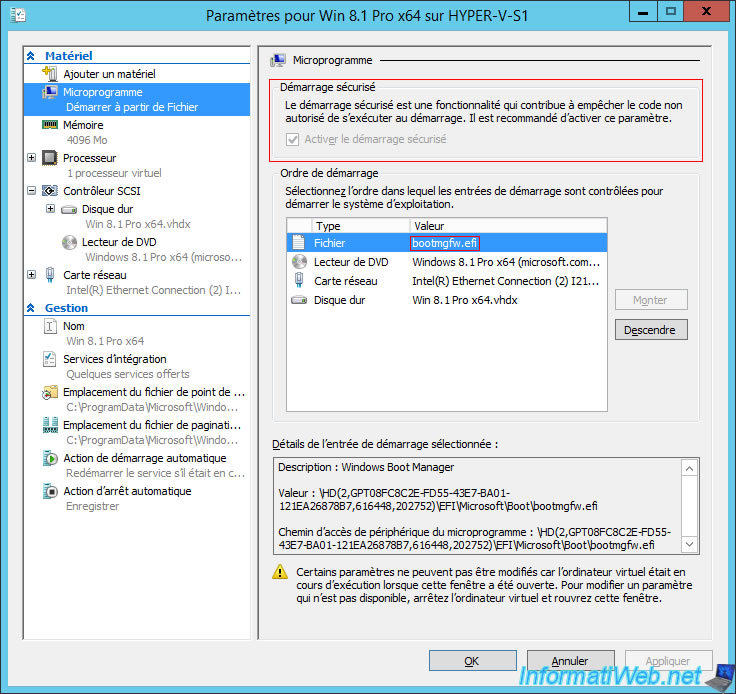
As previously explained, generation 2 virtual machines use an EFI system instead of the old BIOS (Legacy BIOS).
In the settings of your virtual machine, on Windows Server 2012 R2 or 2016, you will find a "Firmware" option with :
- the "Secure Boot" option which is a feature supported by Windows 7, 8, 10, ... which is used if the operating system has been installed in UEFI mode.
- a boot order where you will find the "bootmgfw.efi" file that allows the virtual machine to boot into EFI mode.
Note that the secure boot is enabled by default for security, but it can be manually disabled when the virtual machine is shut down.
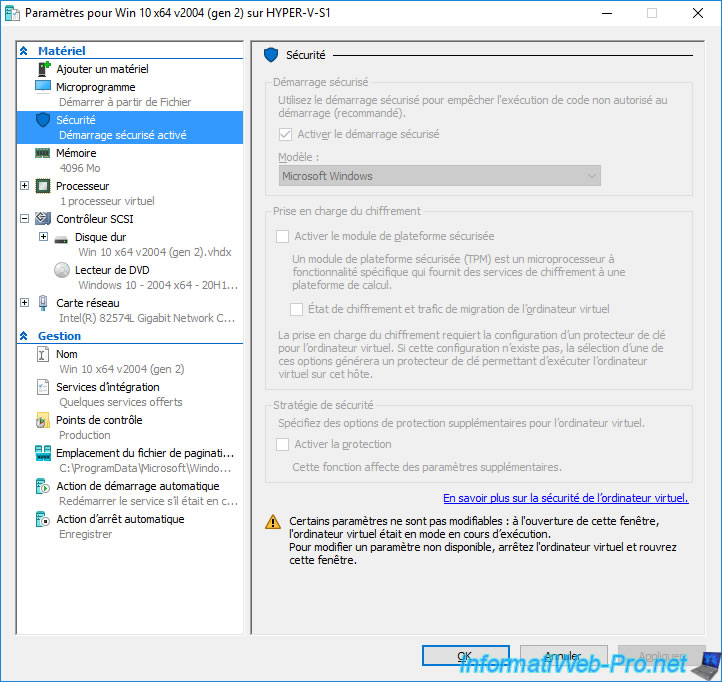
Since Windows Server 2016, the 2 options are available in different sections.
In the "Firmware" section of your virtual machine, you will see that it starts first in EFI mode thanks to a "bootmgfw.efi" boot file.

In the "Security" section, you will see that Secure Boot is enabled.
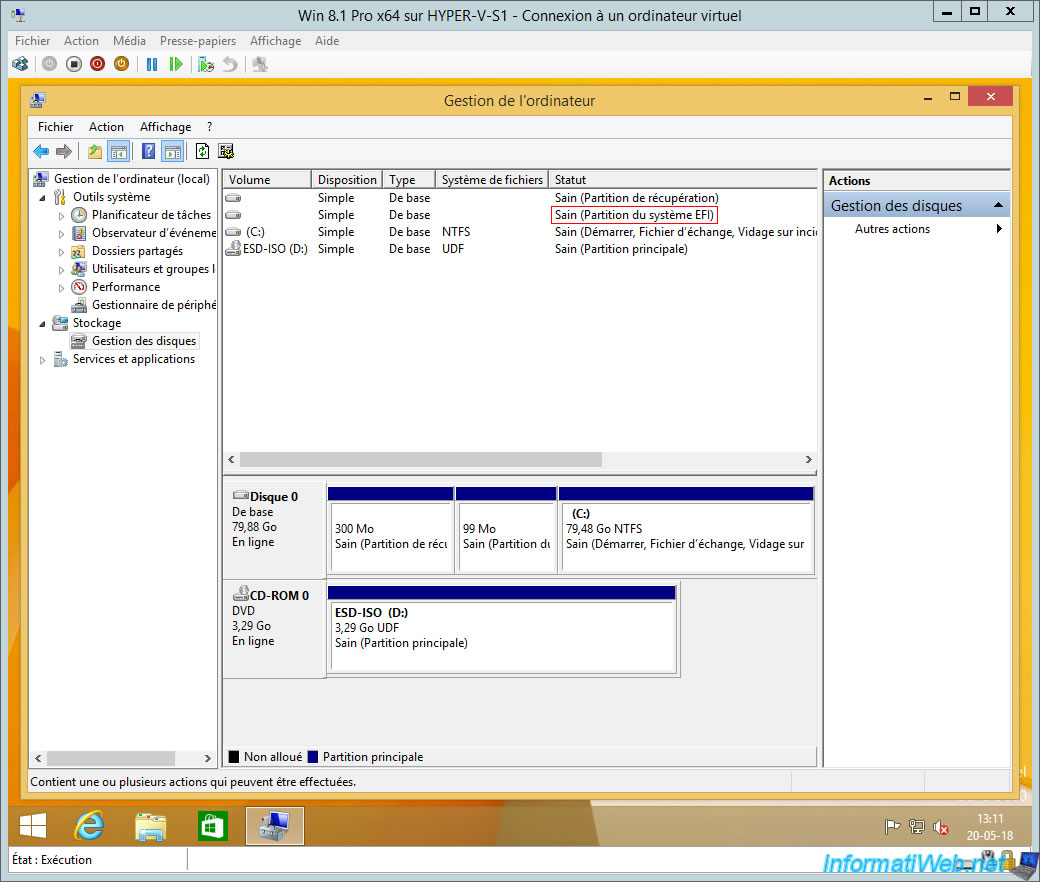
If you go into disk management in the guest OS, you will see that 2 hidden partitions were automatically created by the Windows 8.1 Pro installer :
- a Recovery Partition
- an EFI System Partition
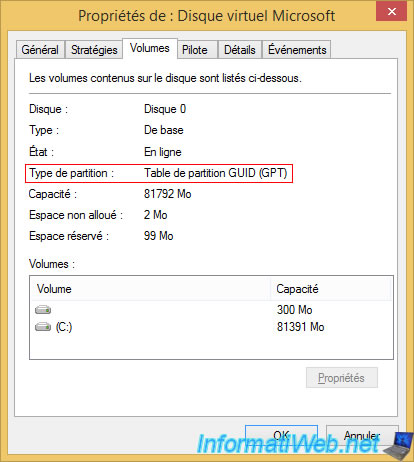
Right-click "Properties" on disk 0 (where you installed Windows 8.1 Pro).
If you have already installed Windows in EFI mode, you probably know that the hard disk where Windows is installed will automatically be in GPT.
Unlike a typical Windows installation where the type of partitions was : MBR.
In addition, the GPT is also required for hard disks exceeding the maximum size of 2 TB (or rather 2.2 TB).
For more information about the differences between Generation 1 and Generation 2, see "Should I create a generation 1 or 2 virtual machine in Hyper-V?" from Microsoft.
Share this tutorial
To see also
-
Microsoft 8/10/2019
Hyper-V (WS 2012 R2 / 2016) - Install Hyper-V and create your first VM
-
Microsoft 11/8/2019
Hyper-V (WS 2012 R2 / WS 2016) - Automatically replicate virtual machines
-
Microsoft 11/15/2019
Hyper-V (WS 2012 R2 / WS 2016) - Automatically replicate virtual machines (securely)
-
Microsoft 11/22/2019
Hyper-V (WS 2012 R2 / WS 2016) - Configure live migration
You must be logged in to post a comment