- Windows Server
- 08 December 2023 at 12:04 UTC
-

- 1/5
When you install Active Directory Certificate Services, you have the option of deploying a root or secondary CA.
In a test environment, you will very often create an enterprise root CA.
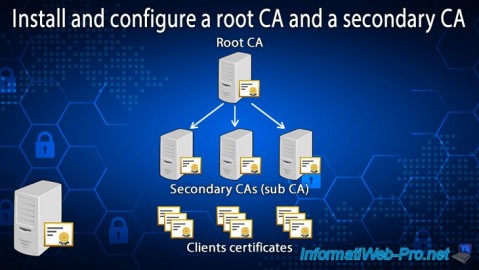
However, in large enterprises, for security reasons, you will instead create a standalone root CA (which will go offline most of the time) and several enterprise subordinate CAs that will report to your root CA .
Thus, if the private key of one of your subordinate CAs is compromised, it will "suffice" to revoke the certificate of this subordinate CA. Which will only invalidate the certificates issued by this subordinate CA and not all of your company's certificates.
In this tutorial, you will see how to create a standalone root CA, as well as an enterprise subordinate CA (which will depend on it).
The purpose of this tutorial is to explain to you as simply as possible how to deploy a root CA and another secondary.
Using the basics gained from this tutorial, you can then create a more complex infrastructure with a standalone root CA and multiple enterprise sub CAs (one per country or state, for example).
- Prerequisites
- Install a standalone root CA
- Install an enterprise secondary CA (Sub CA)
- Configure the standalone root CA
- Store standalone root certification authority (CA) information in Active Directory
- Change the AIA and CDP publishing location of your standalone root CA
- Publish standalone root CA data to your Active Directory infrastructure
- Initial configuration of the subordinate CA
- Submit Sub-CA certificate request to root CA
- Export your enterprise subordinate CA certificate from your root CA
- Install your enterprise subordinate CA certificate
- Information from your subordinate CA stored in Active Directory
- Certificate and revocation lists of your certification authorities
- Distribute your CA certificate via group policies (GPO)
1. Prerequisites
For this tutorial, we will use 3 servers on Windows Server 2016 :
- dc : an Active Directory domain controller with a domain already configured (in our case : informatiweb.lan).
- root-ca : a server that is in a workgroup (WORKGROUP, by default) and where you will later install the standalone root CA.
A stand-alone CA doesn't require Active Directory to operate. Hence the usefulness of leaving it in a working group. - sub-ca : a server joined to your Active Directory domain where you will later install the enterprise sub-CA.
An enterprise certificate authority requires Active Directory to function correctly. The server must therefore be joined to the Active Directory domain before installing it (as explained later in this tutorial).
Important : as explained above, a standalone CA doesn't require Active Directory to function correctly.
Per Microsoft recommendations, for security reasons, a standalone root CA should be taken offline most of the time.
This implies not linking this server to an Active Directory domain, because the secure channel will inevitably be broken one day or another.
For more information about this secure channel related to the operation of Active Directory, refer to our tutorial : WS 2016 - AD DS - Reset a computer account.
2. Install a standalone root CA
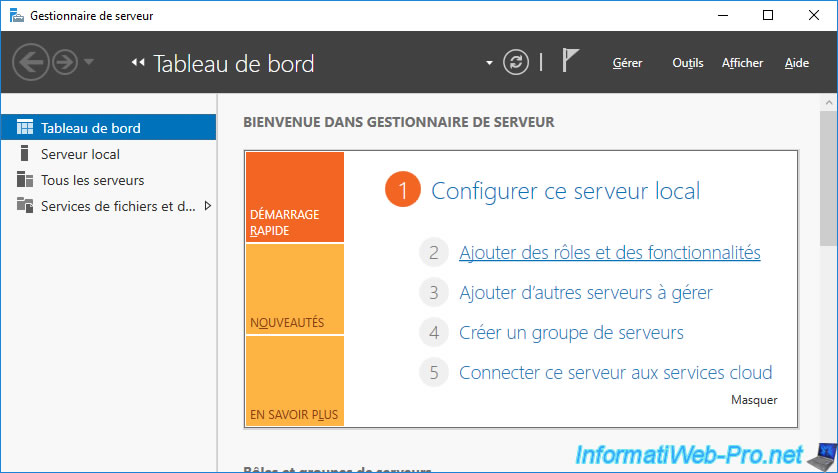
To start, on your "root-ca" server, open the server manager and click on : Add roles and features.
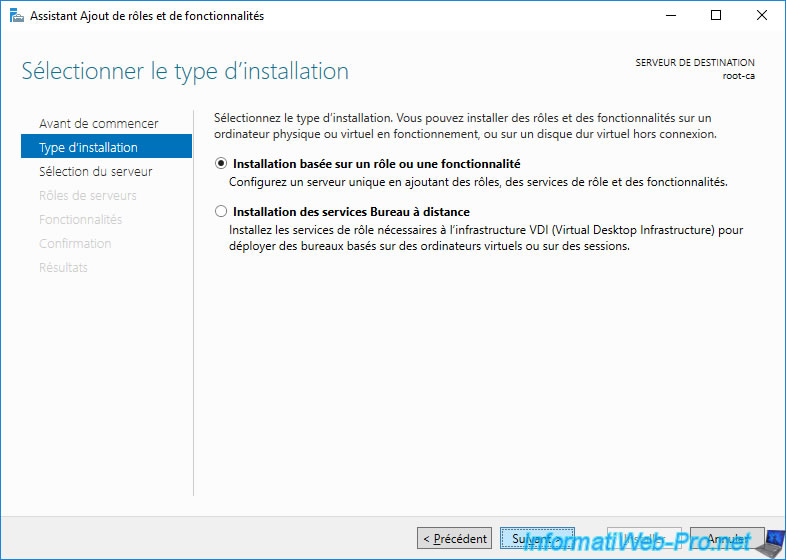
Select : Role-based or feature-based installation.
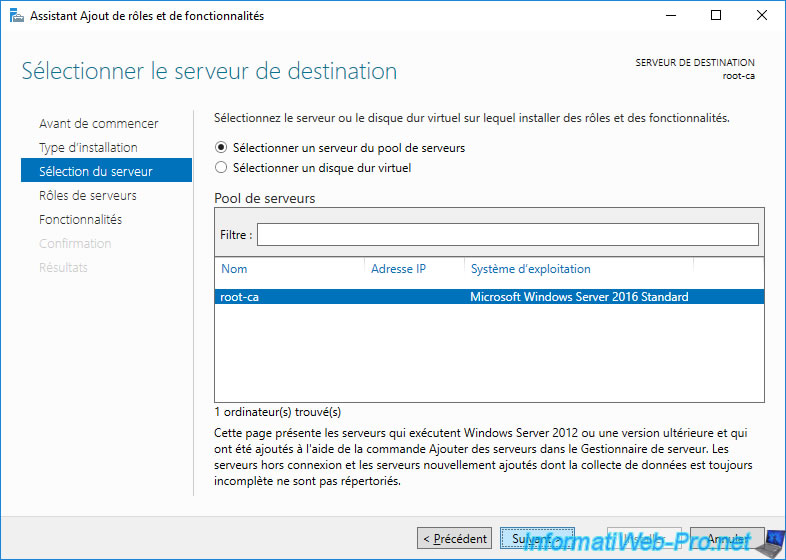
As you can see, we will be installing our standalone root CA on our "root-ca" server which is in a workgroup (hence only the NETBIOS name of this server is displayed).
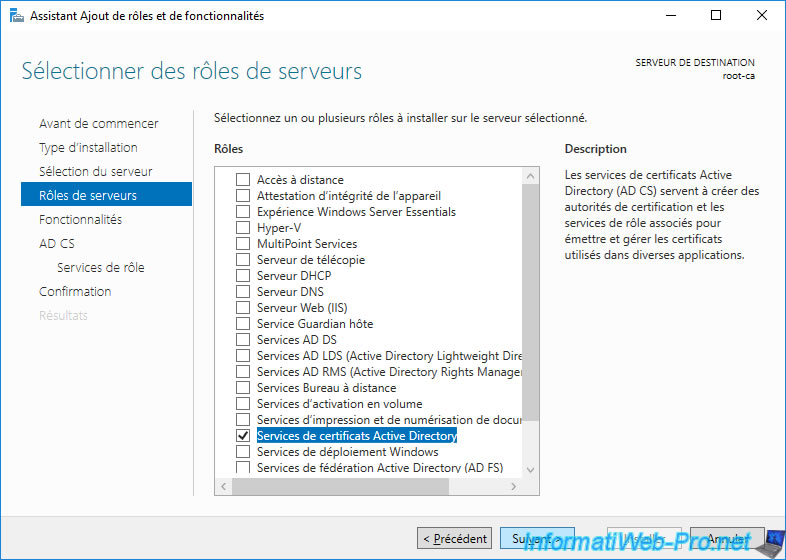
Install the "Active Directory Certificate Services" server role.
Install the "Certification Authority" role service.
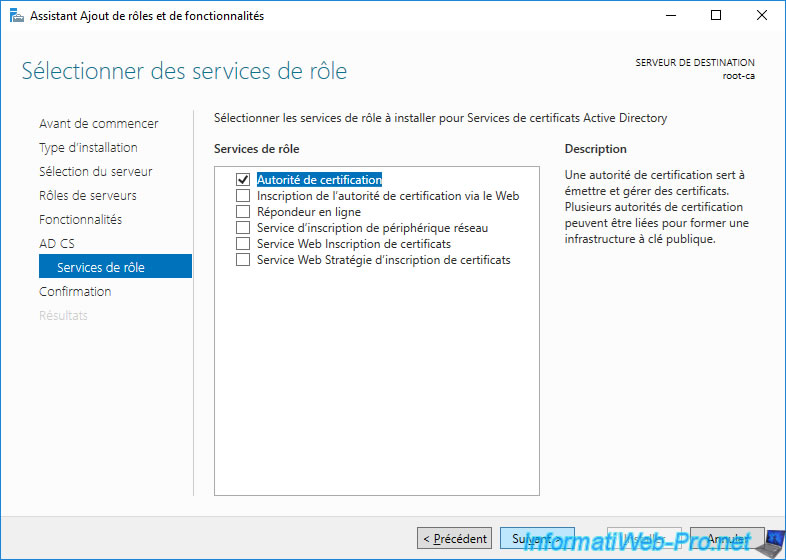
Click on : Install.
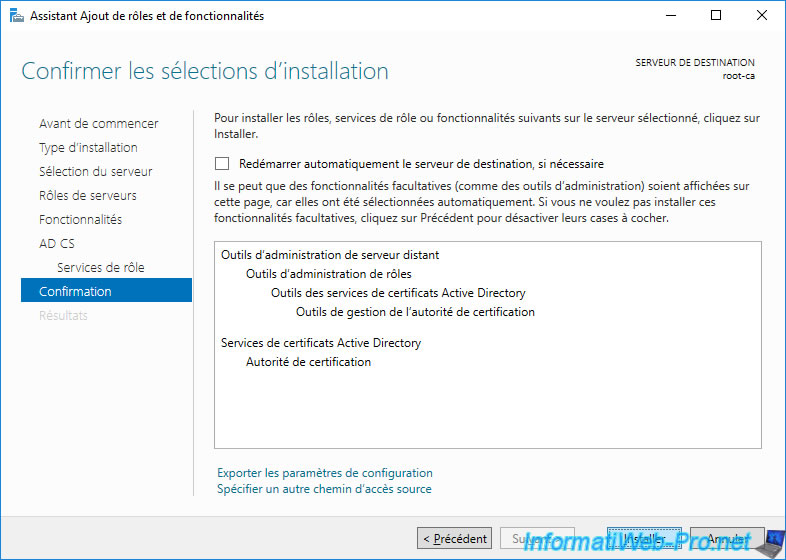
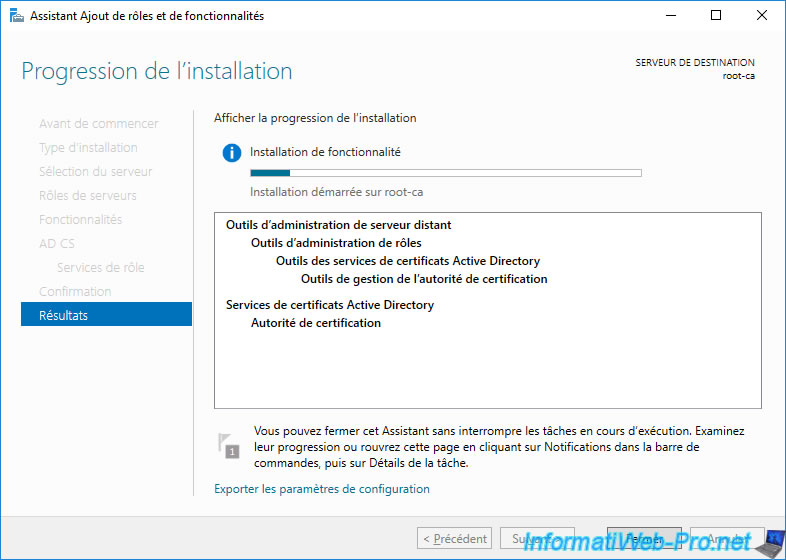
Wait while your CA is installed.
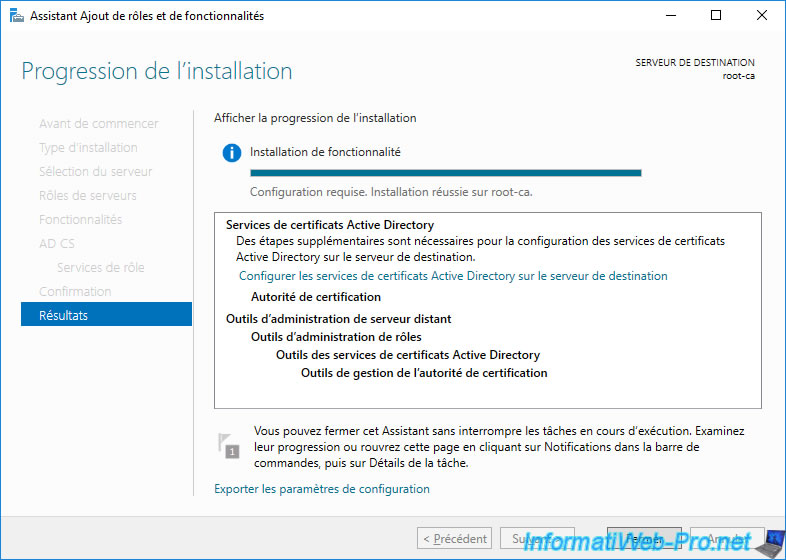
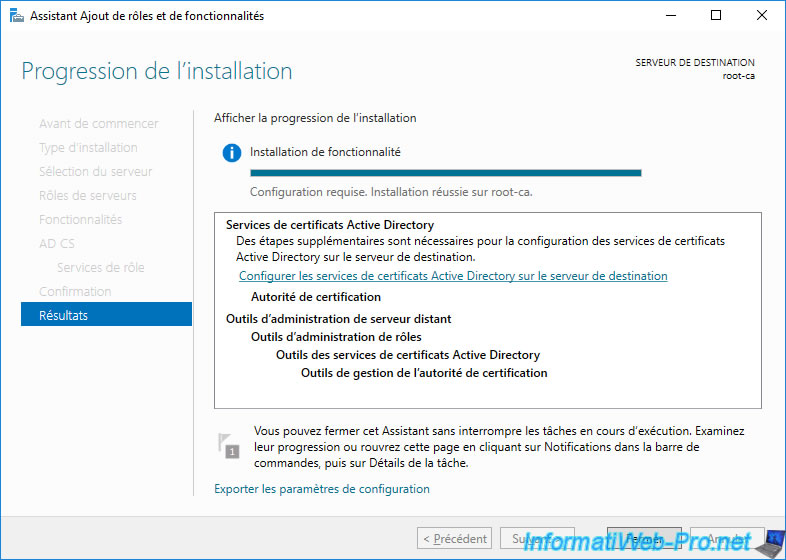
Active Directory Certificate Services have been installed.
Leave this window open and proceed to installing the secondary CA.
3. Install an enterprise secondary CA (Sub CA)
To start, on your "sub-ca.informatiweb.lan" server, open the server manager and click on : Add roles and features.
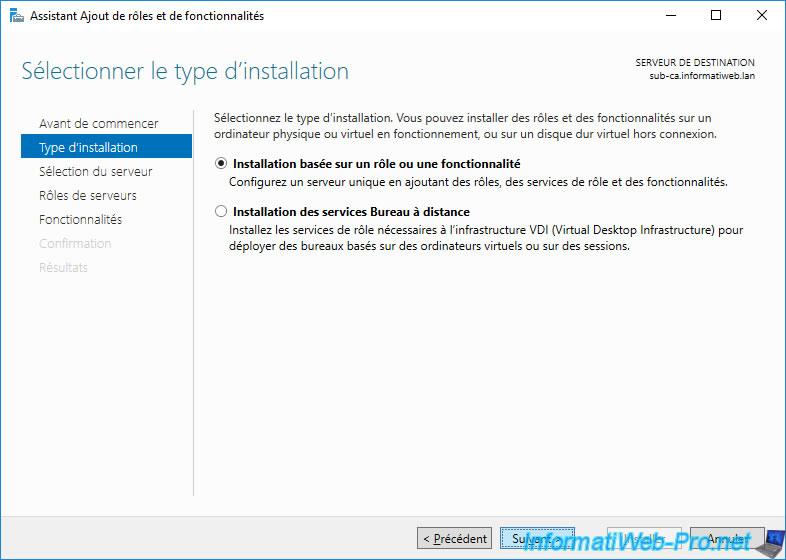
Then, select : Role-based or feature-based installation.
Note : as you can see, this time, this server is linked to an Active Directory domain.
Unlike the "root-ca" server which was not.
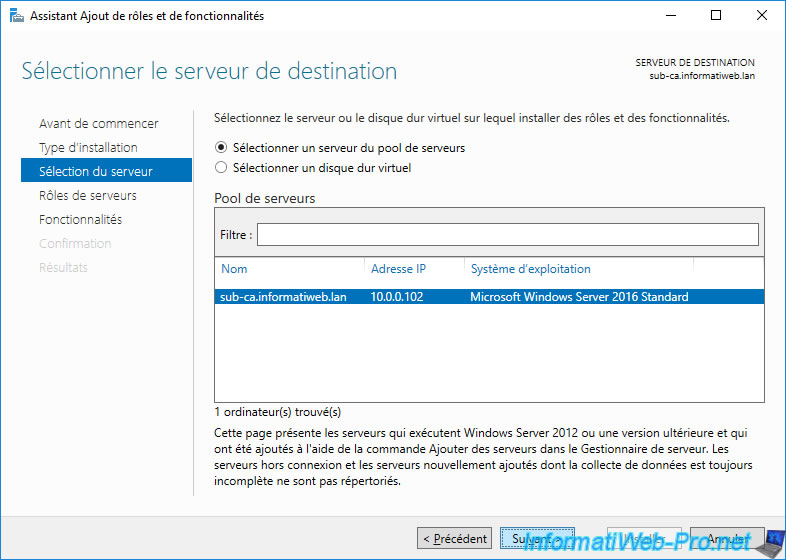
Select your "sub-ca" server (if you haven't already).
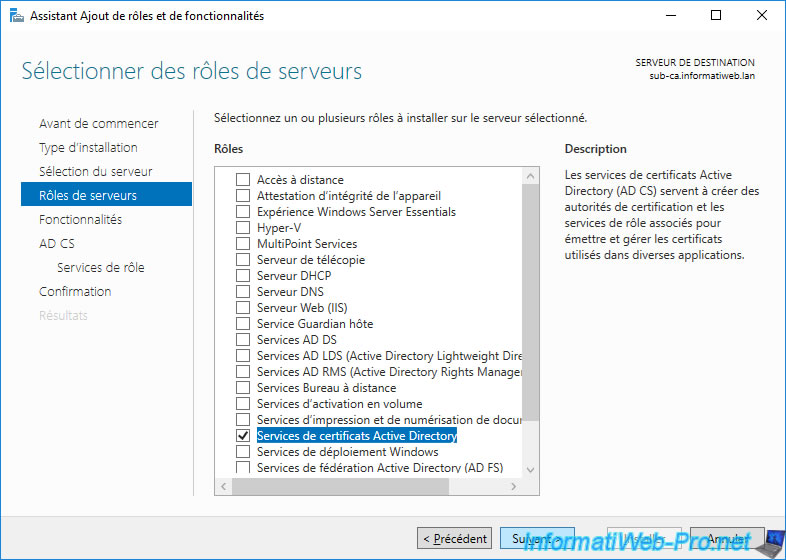
Again, install Active Directory Certificate Services.
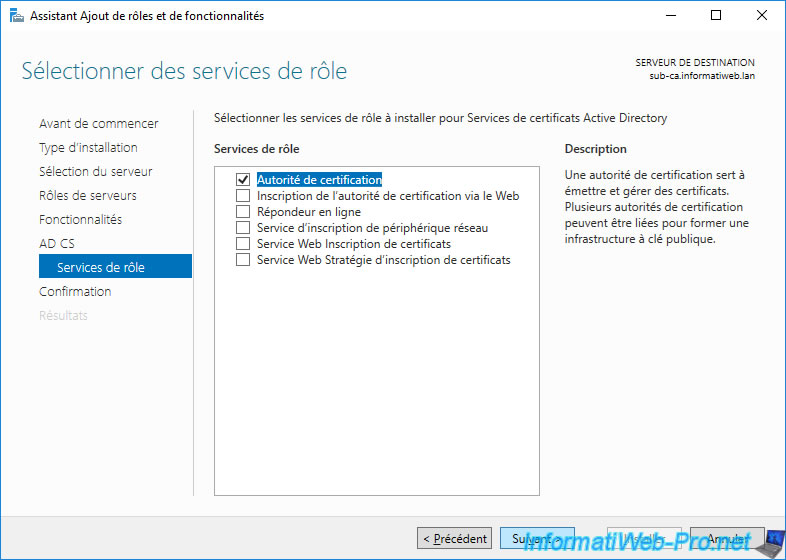
Then, select the "Certification Authority" role service.
Click Install.
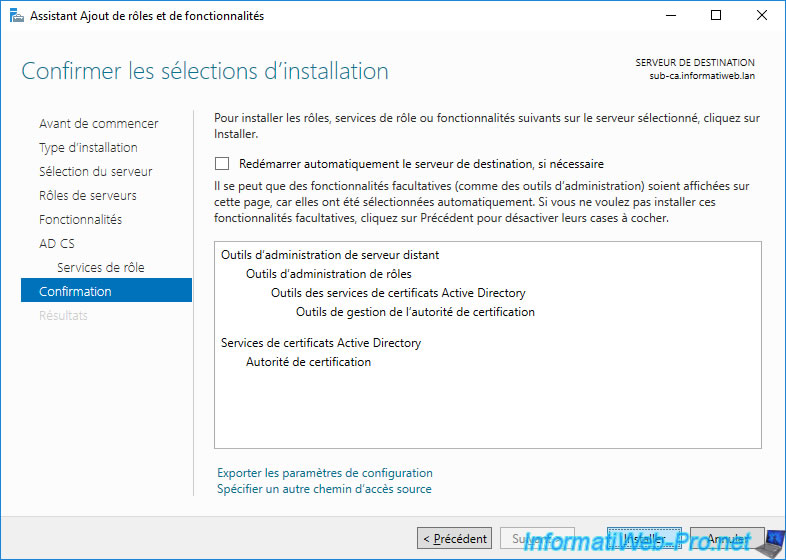
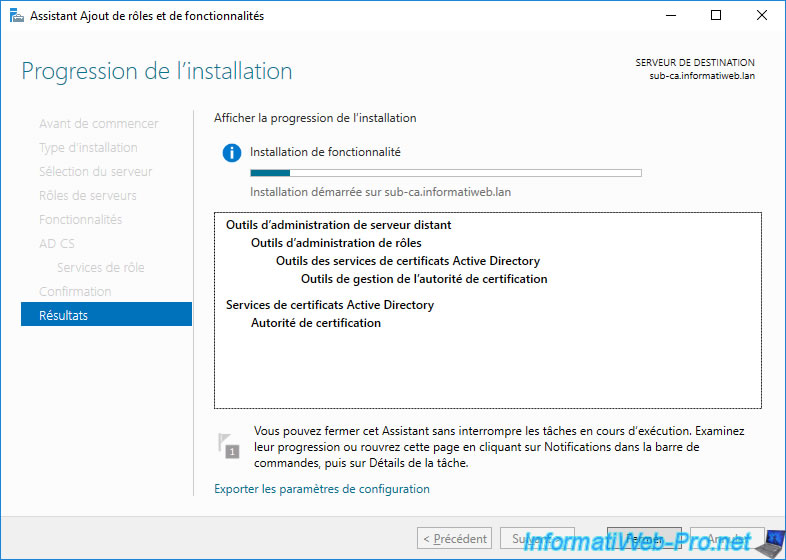
Wait while installing Active Directory Certificate Services.
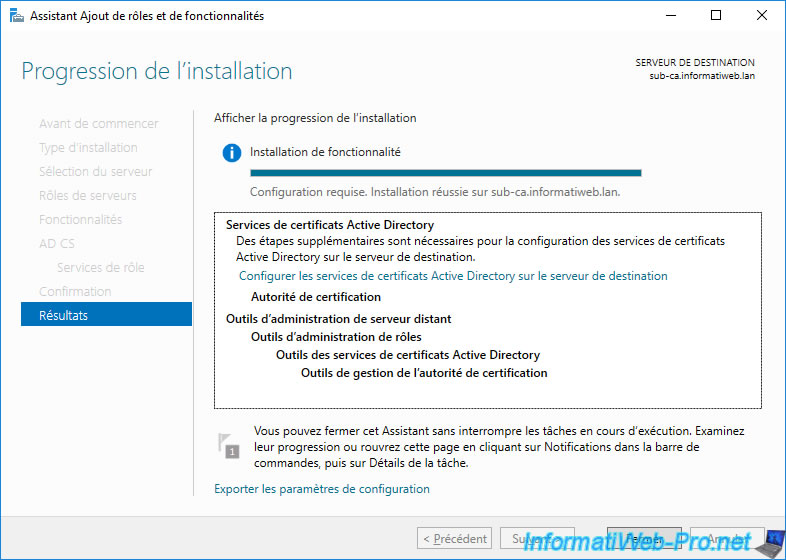
Active Directory Certificate Services has been installed.
4. Configure the standalone root CA
Now that the Active Directory certificate services are installed on our 2 servers "root-ca" and "sub-ca", you can start the configuration of the standalone root certification authority.
To do this, in the wizard for adding roles and features to the "root-ca" server, click on the link displayed : Configure Active Directory Certificate Services on the destination server.
Note : if you had closed this wizard without configuring these Active Directory certificate services, open the server manager and click on the notification that appears at the top of the window.
Since your "root-ca" server is not linked to an Active Directory domain, the configuration will be done with the local Administrator account.
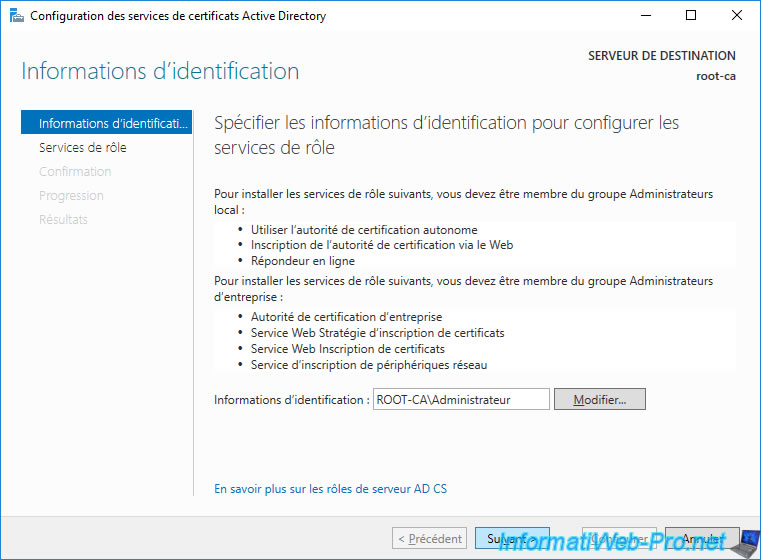
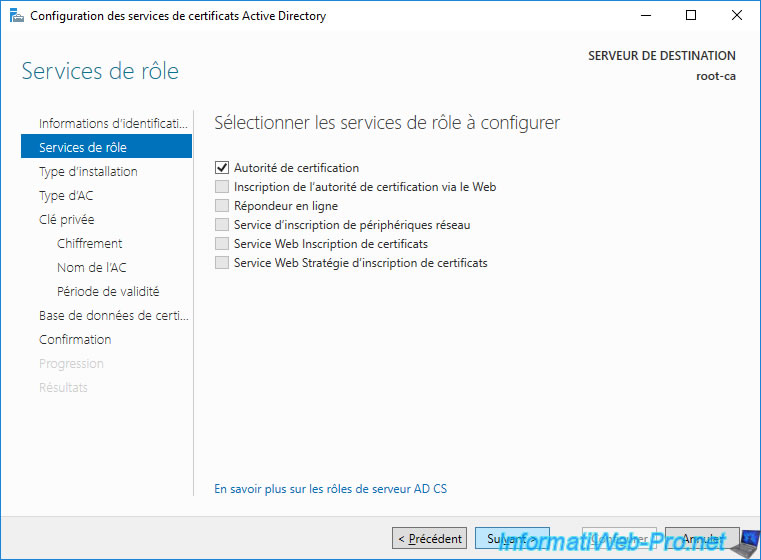
Check the "Certification Authority" box.
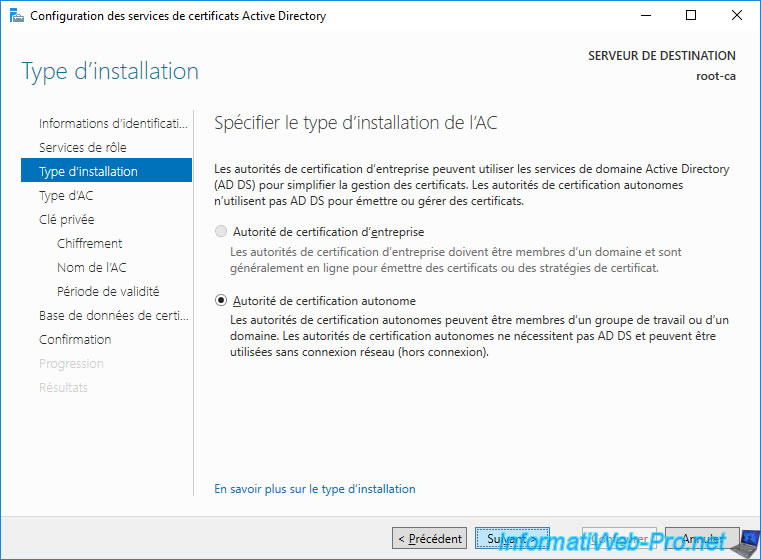
Select : Standalone CA.
Note : it's normal that the "Enterprise CA" option is greyed out, since this type of certification authority can only be installed on a member server of an Active Directory domain.
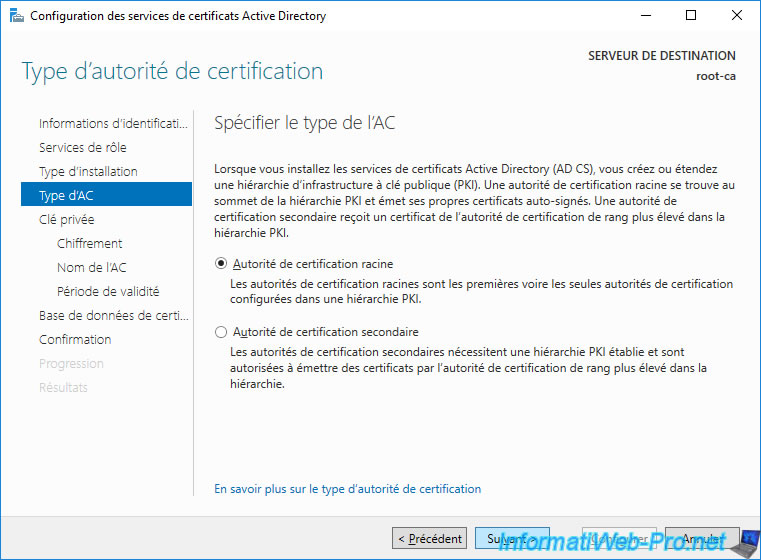
Select : Root CA.
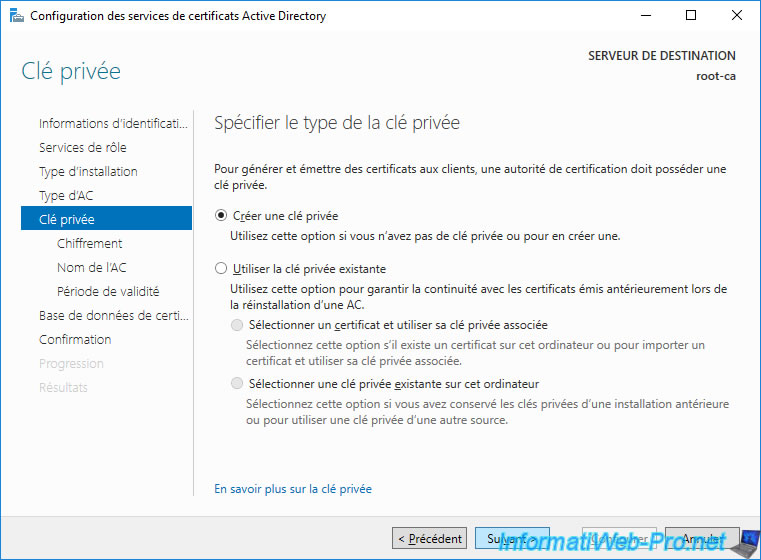
Select : Create a new private key.
This will create a new "public key / private key" key pair.
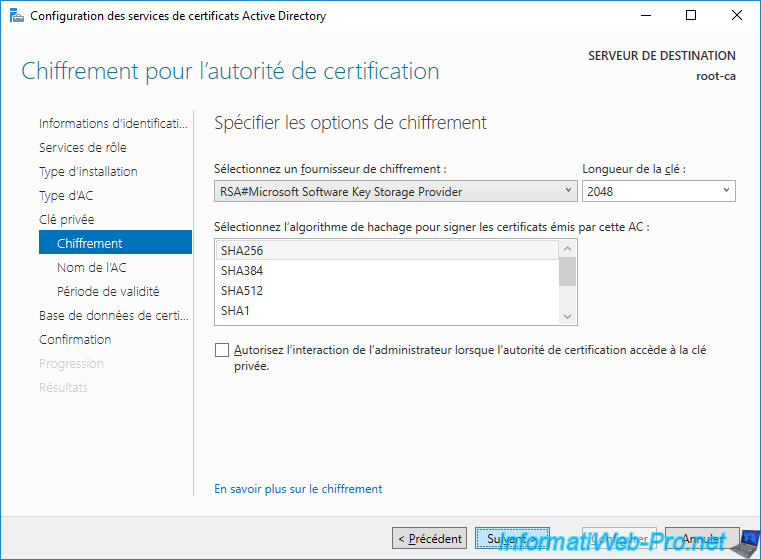
Leave the default encryption options.
Note : SHA1 is no longer supported in 2022. You should therefore use SHA256, SHA384 or SHA512 which are currently secure.
For more information about these encryption options, refer to our "WS 2016 - AD CS - What is a CA and install an enterprise CA" tutorial.
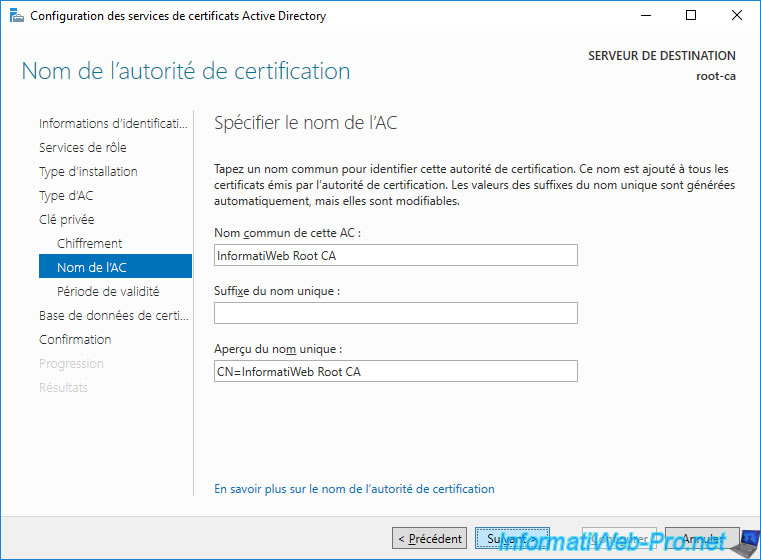
Provide a common name for your root CA.
In our case : InformatiWeb Root CA.
Note : there is no unique name suffix, because your server is not a member of a domain.
So, leave this box blank.
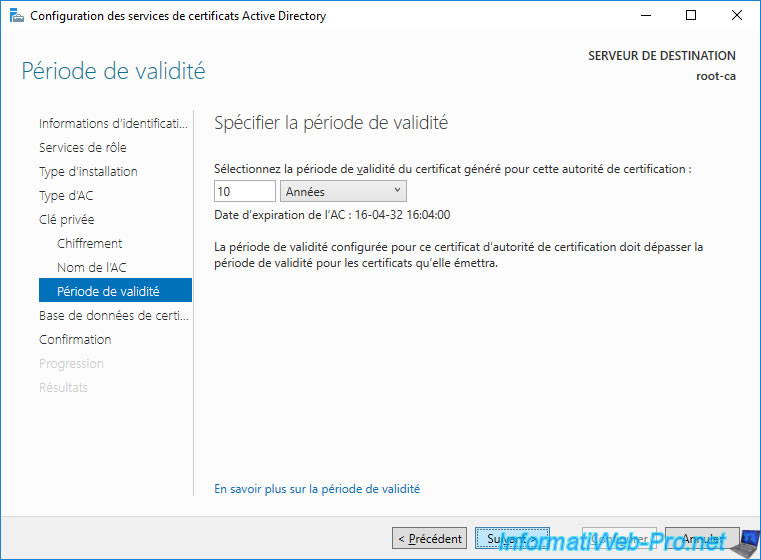
Specify a sufficient validity period for your root CA certificate.
For example : 10 years.
Warning : if your root CA's certificate expires, your subordinate CAs' certificate and their issued certificates will all become invalid.
Indeed, it's imperative that all certificates in the chain of trust (root authority certificate, secondary authority certificate and the desired certificate) are all valid and not expired.
If one of the certificates expires, all child certificates are no longer valid.
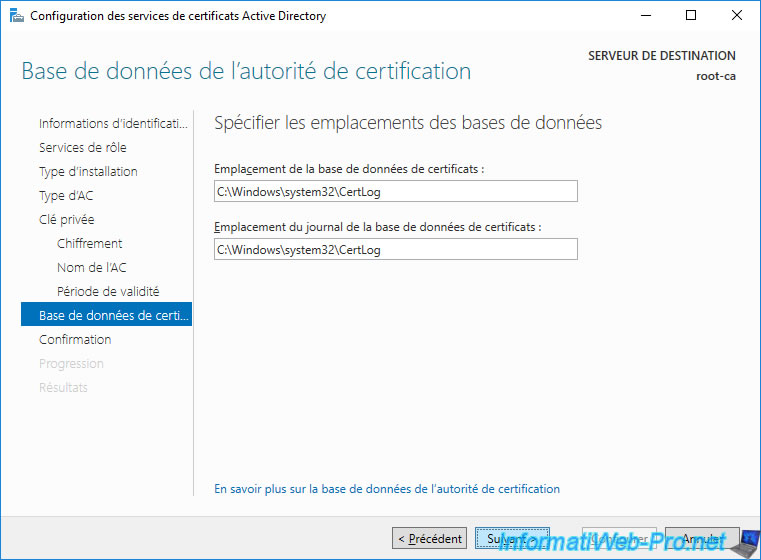
Leave the default database locations.
Click on : Configure.
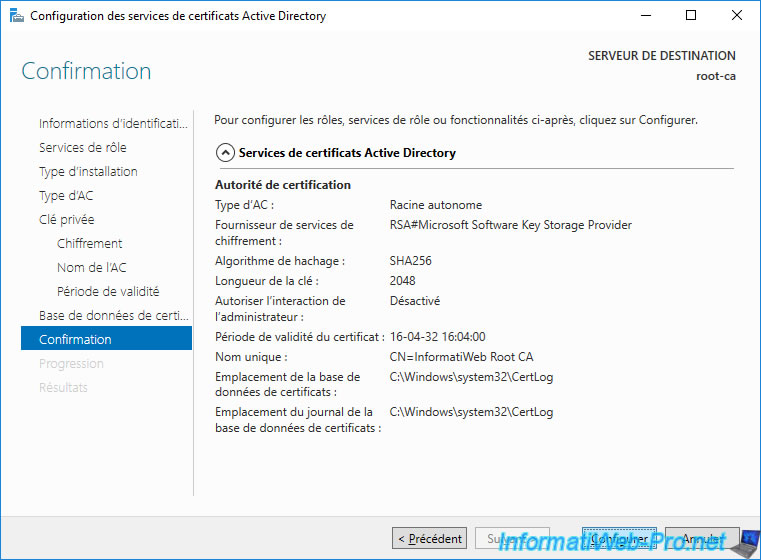
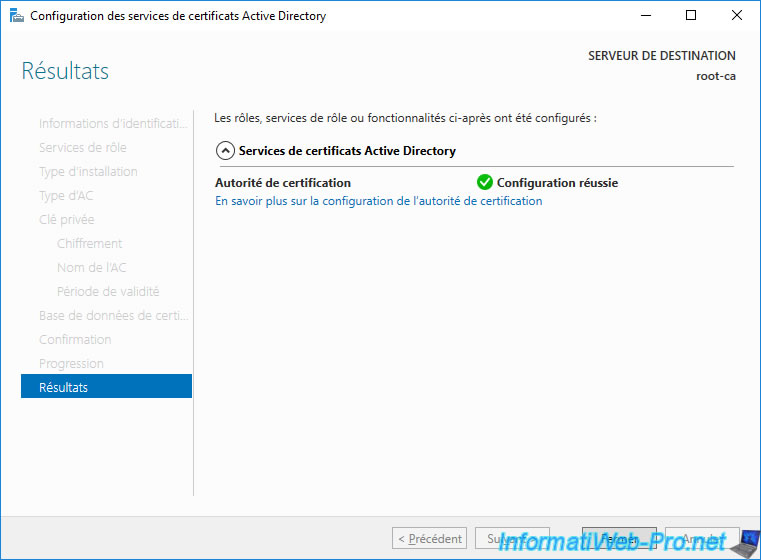
The "Configuration succeeded" status appears.
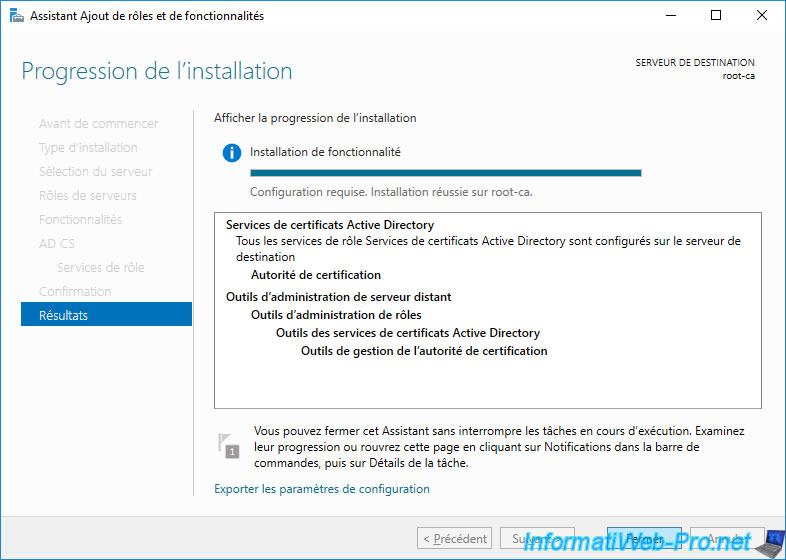
Active Directory Certificate Services have been configured on your standalone root CA.
Share this tutorial
To see also
-
Articles 1/26/2024
SafeNet Authentication Client (SAC) - Installation and overview
-

Articles 9/8/2023
What is encryption and how does it work ?
-
Windows Server 12/29/2023
WS 2016 - AD CS - Backup and restore a certificate authority (CA)
-

Windows Server 1/19/2024
WS 2016 - AD CS - Buy smart cards and log in via them

You must be logged in to post a comment