- Windows Server
- 29 December 2023 at 09:27 UTC
-

- 1/3

The public key infrastructure (PKI) is very important for securing the connections and exchanges carried out in a company.
When you secure a service using a valid certificate issued by your certification authority, the client needs to check whether the certificate is valid and issued by your certification authority and whether it has not been revoked in the meantime.
For this, it's essential that your public key infrastructure (PKI) works properly.
Important : this also means that it's imperative to regularly back up your certification authority (certificate and private key of the certification authority, certificates issued or revoked, revocation lists, ...) in order to be able to reinstall it with the same pair of "public key / private key" keys and with the same database in case of problems with the one currently installed.
Thus, the certificates used by the various departments of your company will be able to continue to function correctly without you having to regenerate all the certificates and reinstall them manually service after service.
1. Certificate authority data
When you have been using a certificate authority for a while, it contains a lot of information that is all necessary for the proper functioning of your public key infrastructure (PKI).
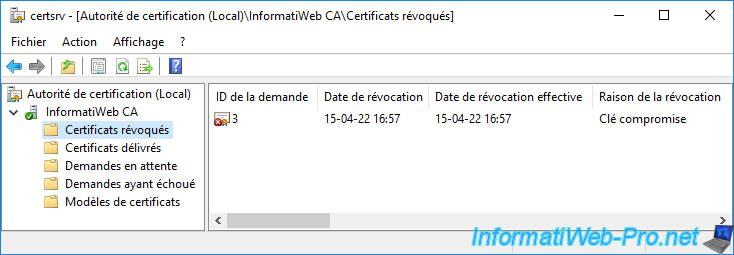
To begin, it probably has a list of revoked certificates.
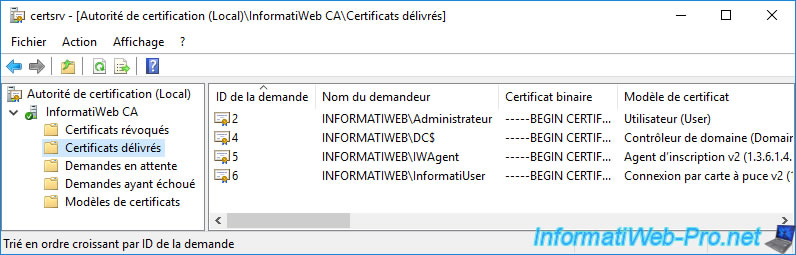
Your certification authority obviously has a list of issued certificates.
Those that you use on your various servers, computers or user certificate stores.
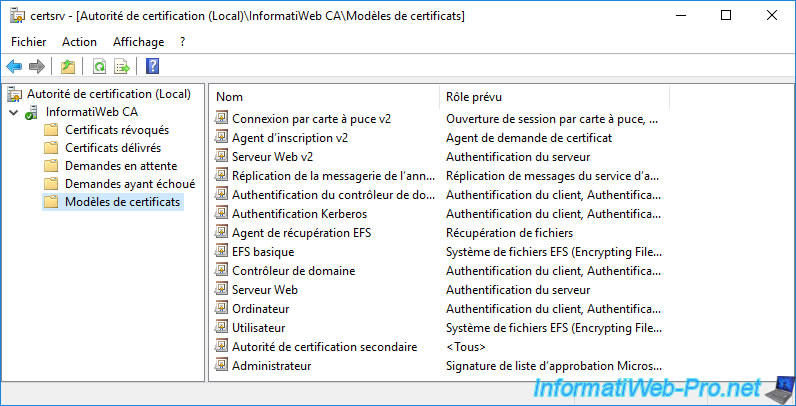
Your certification authority also has the list of certificate templates that exist by default, as well as those that you have probably created after its installation.
Right-click "Properties" on "Revoked Certificates".
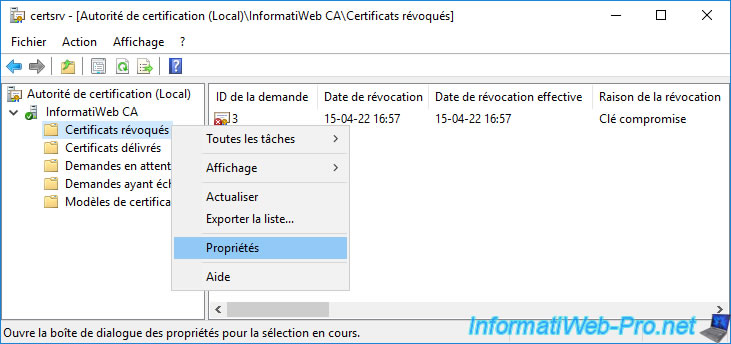
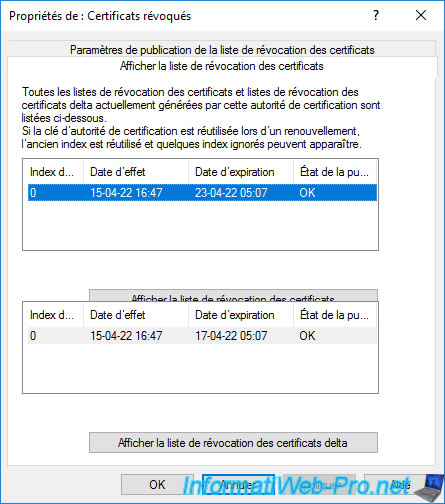
As you can see, your CA has revocation lists (a full list and a delta list).
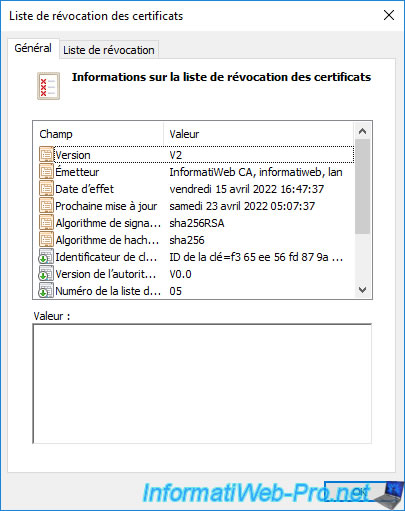
The revocation list appears.
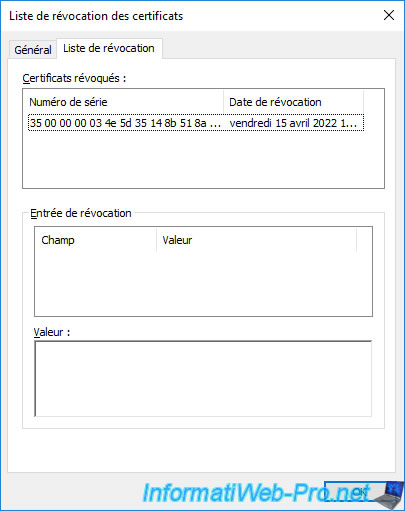
In the "Revocation List" tab, you can see that each of these revocation lists contains the list of serial numbers of certificates that have been revoked on your certificate authority.
If you open an "mmc" console on your CA and add the "Certificates" component for the local computer, you will see that your CA certificate is there.
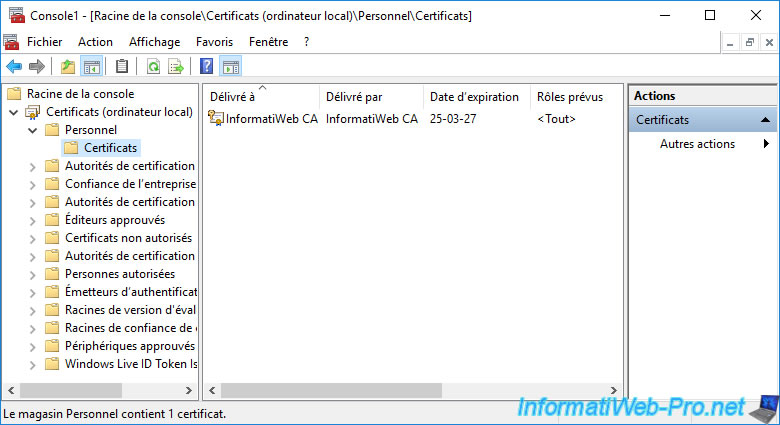
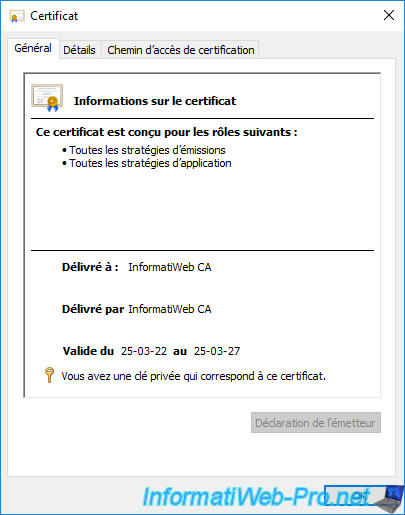
If you open this certificate, you will see that it also contains your CA's private key.
As you have seen, when you use a public key infrastructure (PKI), a lot of data is created and it's important to be able to restore it later in the event of a problem if you don't want to regenerate all the certificates manually.
2. Backup your CA
2.1. Create a shared folder to store your CA backup
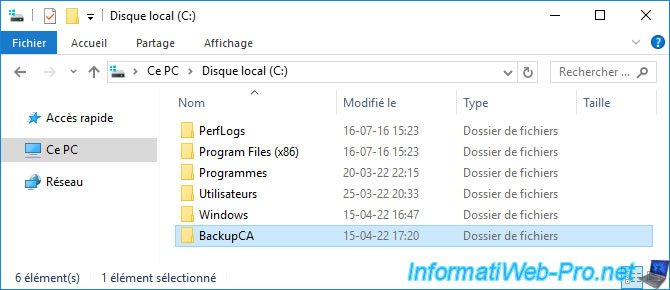
To begin, on another server (not the authority one) or on a trusted computer that is a member of your Active Directory domain, create a "BackupCA" folder at the root of the "C" partition (for example).
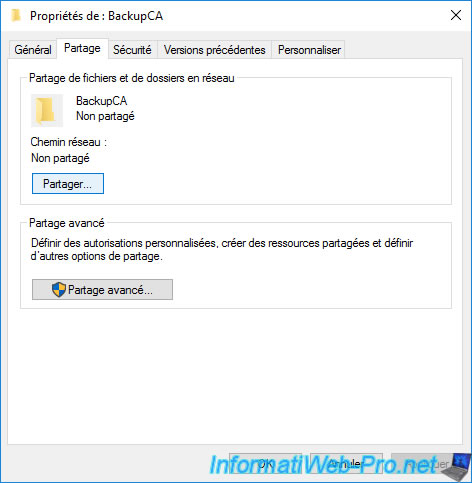
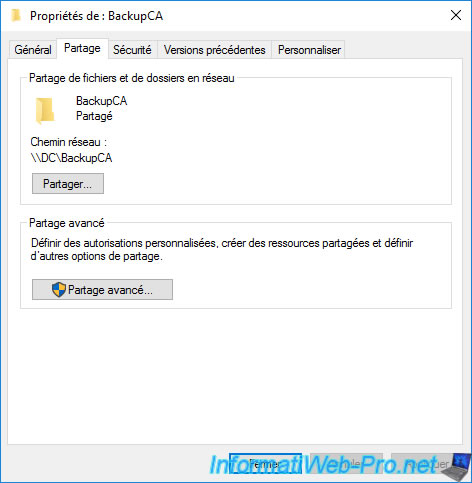
Right-click "Properties" on this folder and go to the "Sharing" tab.
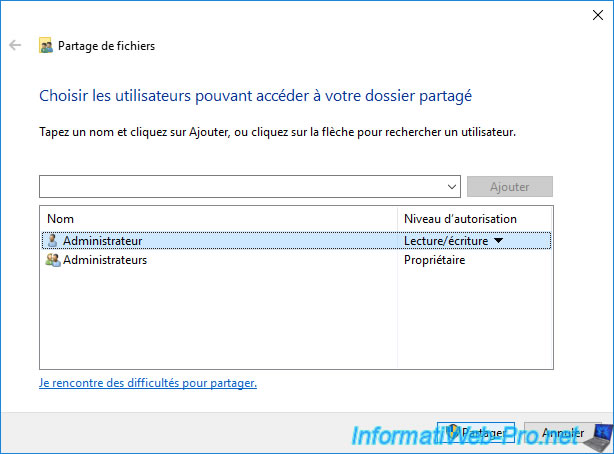
Then, click on the "Share" button.
As you can see, by default, the administrator already has read and write permissions to this folder.
In our case, we will save the data of our certificate authority by being logged in as the administrator of the domain.
So, we just click on Share.
Your file is shared.
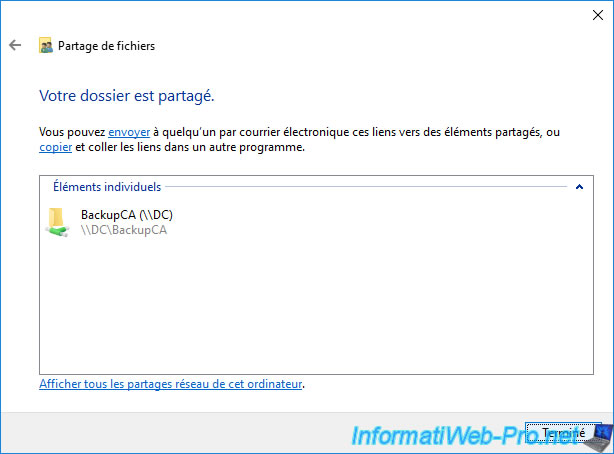
The network path of this shared folder appears.
In the "Security" tab, also give "Full Control" permission on this folder for the user you will be logged in with when backing up your CA.
In our case, this is the Domain Administrator account, so the permissions are already configured.

2.2. Initiate CA backup
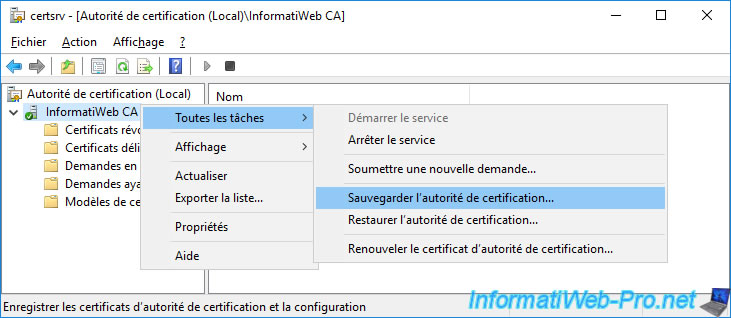
To back up your certification authority, just use the "Certification Authority" console.
In this console, right-click on the name of your CA and click : All Tasks -> Back up CA.
The Certification Authority Backup Wizard appears.
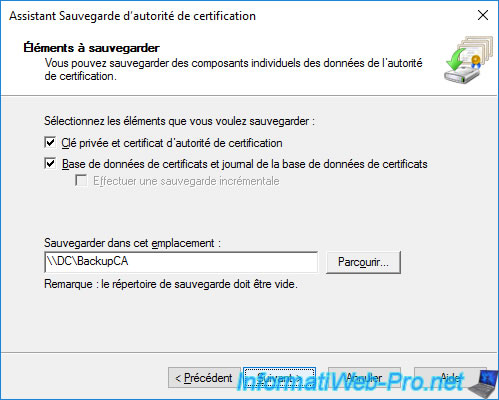
In the "Items to Back Up" step, check the boxes :
- Private key and CA certificate : to back up your CA certificate, public key, and private key.
- Certificate database and certificate database log : to save issued certificates, revoked certificates, revocation lists (CRL and CRL delta), ...
Then, specify the network path of the previously shared folder.
Note that this folder should be empty for now.
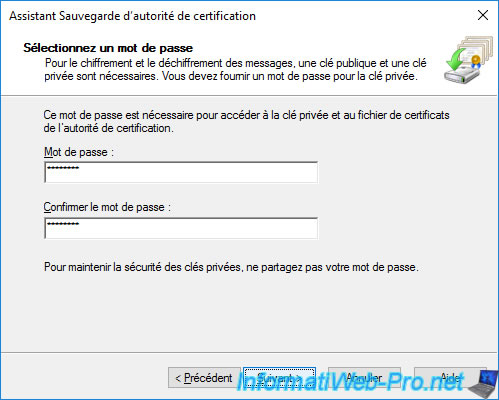
Specify a password to protect the private key that will be exported with your CA certificate.
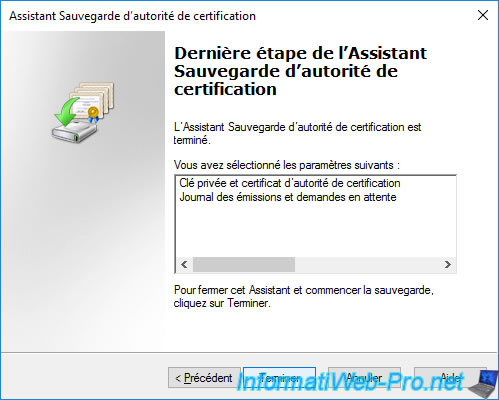
Click "Finish" to start backing up your CA.
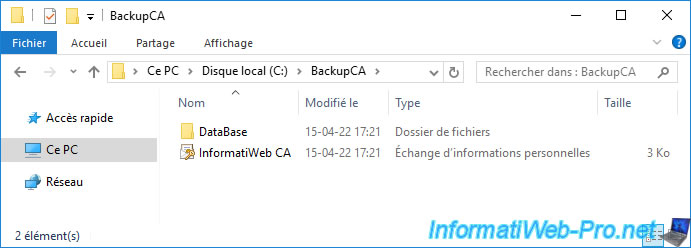
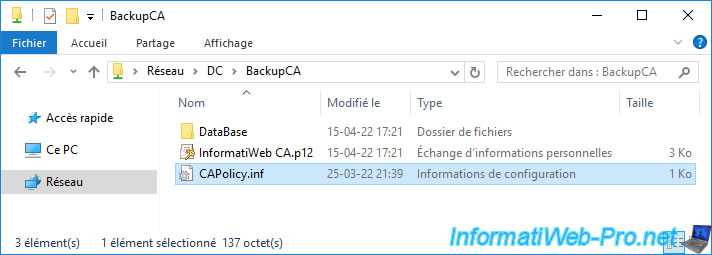
In the folder specified in the CA backup wizard, you will find :
- a "DataBase" folder containing the database of your certification authority
- a "[CA name].p12" file which corresponds to the certificate and private key of your certification authority
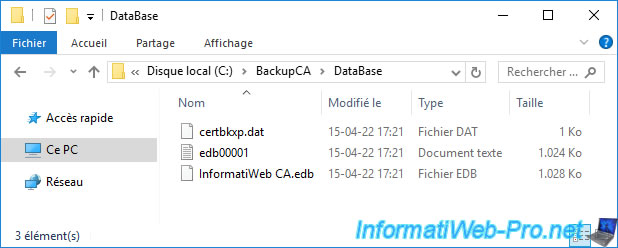
In the "DataBase" folder, you will find several files :
- certbkxp.dat
- edb00001.txt
- [CA name].edb
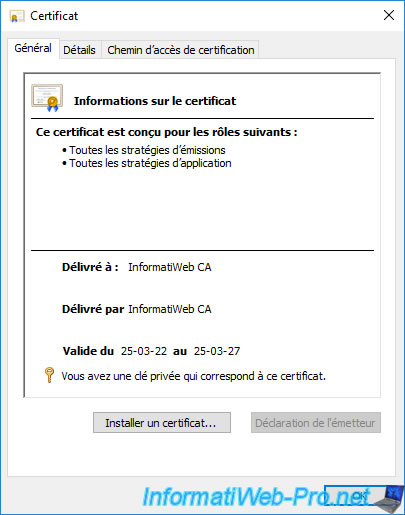
If you open the exported "[CA name].p12" file, you will see that it's your CA certificate.

If you double click on this certificate, you will see that it also contains the associated private key.
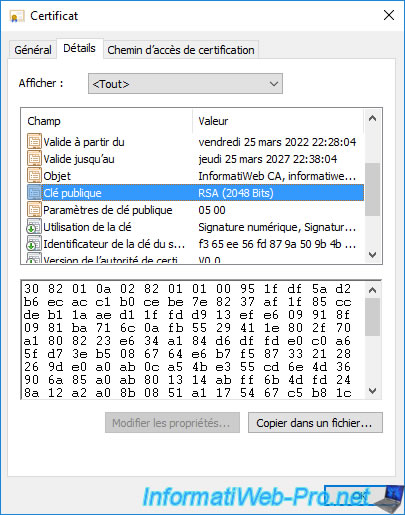
If you go to the "Details" tab and select the "Public key" field, you will see that this is also present.
The "public key/private key" pair will therefore be retained.
This will allow certificates to be signed the same way after your CA is restored and this will also allow clients to continue to verify your certificate signatures with the same public key as before.
If you used a "CAPolicy.inf" configuration file for the initial configuration of your certification authority, don't forget to retrieve it in the "C:\Windows" folder of the latter.
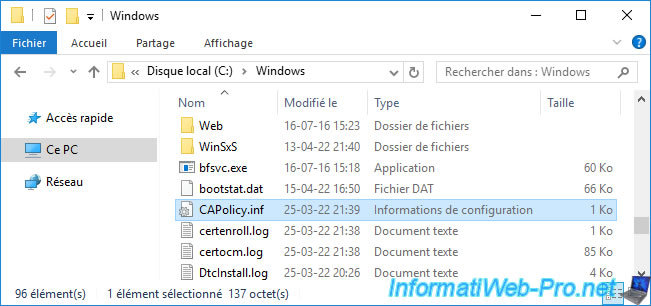
Copy this file into the "BackupCA" folder created earlier to have it handy when you want to restore your certification authority.
Share this tutorial
To see also
-

Articles 1/26/2024
SafeNet Authentication Client (SAC) - Installation and overview
-

Articles 9/8/2023
What is encryption and how does it work ?
-

Windows Server 1/19/2024
WS 2016 - AD CS - Buy smart cards and log in via them
-
Windows Server 1/5/2024
WS 2016 - AD CS - Create a recovery agent to recover certificates
You must be logged in to post a comment