Install and configure a root certificate authority (CA) and a secondary CA on Windows Server 2016
- Windows Server
- 08 December 2023 at 12:04 UTC
-

- 3/5
7. Publish standalone root CA data to your Active Directory infrastructure
Now that your standalone root CA is configured correctly, you can publish its information to Active Directory.
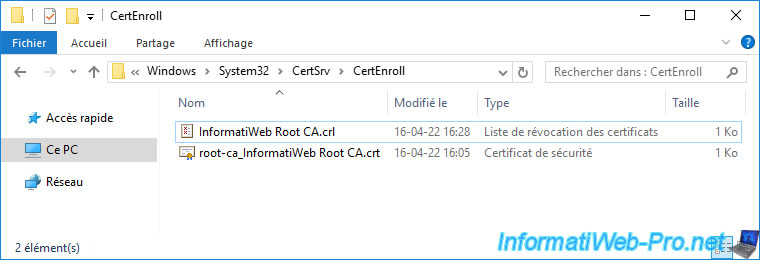
To retrieve its certificate and revocation list, go to the "C:\Windows\System32\CertSvc\CertEnroll" folder of this standalone root CA.
Create a "Root CA data" folder at the root of your domain controller's "C" partition.
Note : I'm using administrative shares for convenience for this tutorial.
However, in business, you would rather use an USB key to transfer this data since the standalone CA is supposed to stay offline for security reasons.
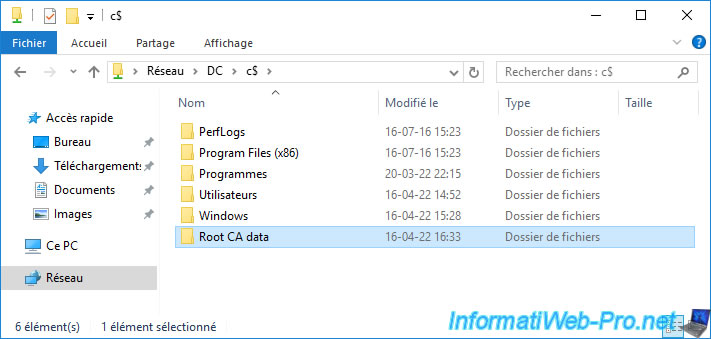
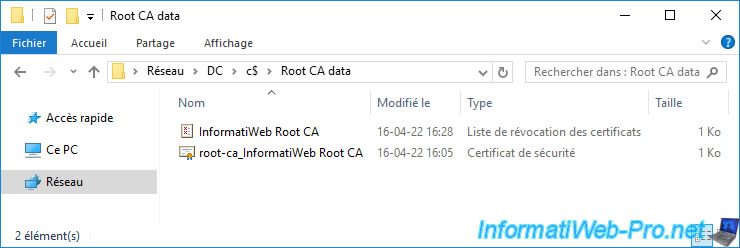
Copy the files from the "C:\Windows\System32\CertSvc\CertEnroll" folder of your standalone root CA and paste these into the "Root CA data" folder you just created on your domain controller.
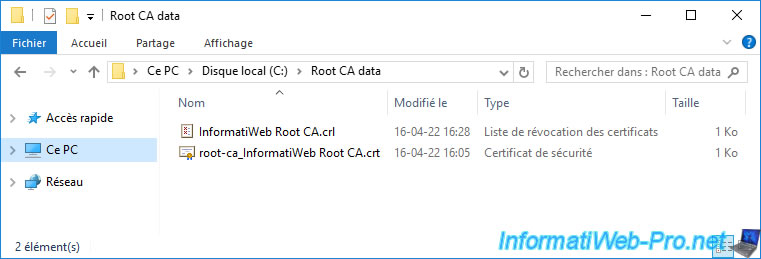
On your domain controller, you will therefore find this same folder at the root of its "C" partition.
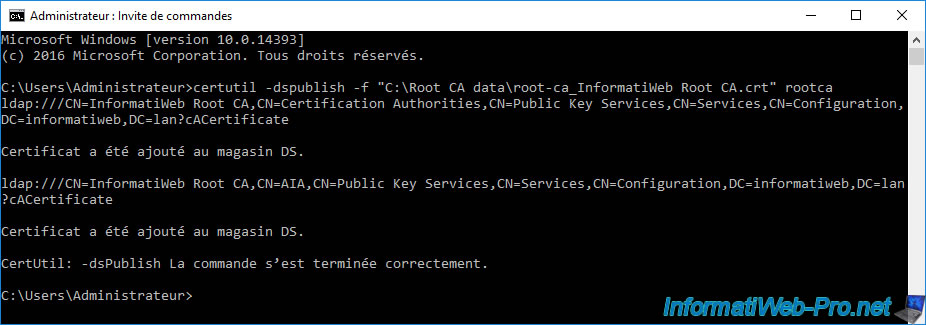
Open a command prompt and publish your standalone CA certificate to your Active Directory infrastructure by running this command :
Batch
certutil -dspublish -f "C:\Root CA data\root-ca_InformatiWeb Root CA.crt" rootca
Note : the "rootca" keyword indicates that this is a certificate from a root certification authority.
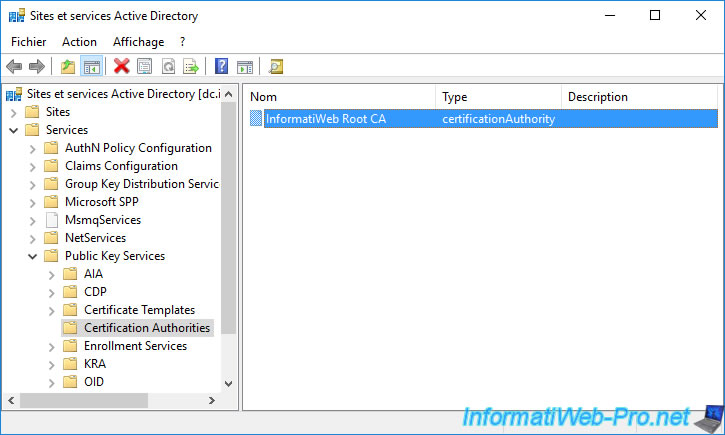
If you reopen the "Active Directory Sites and Services" console on your domain controller, you will see that your standalone root certification authority appears in the "Services -> Public Key Services -> Certification Authorities" folder.
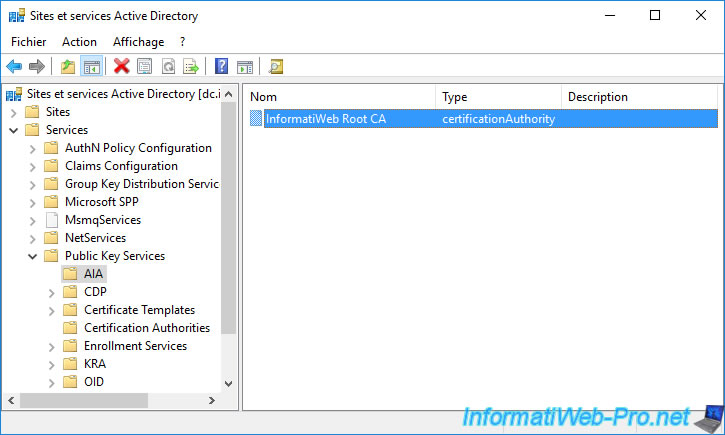
Your standalone root CA also appears in the "Services -> Public Key Services -> Certification Authorities" folder.
Now, publish the complete certificate revocation list of your standalone root CA to your Active Directory infrastructure using the command:
Batch
certutil -dspublish "C:\Root CA data\InformatiWeb Root CA.crl"

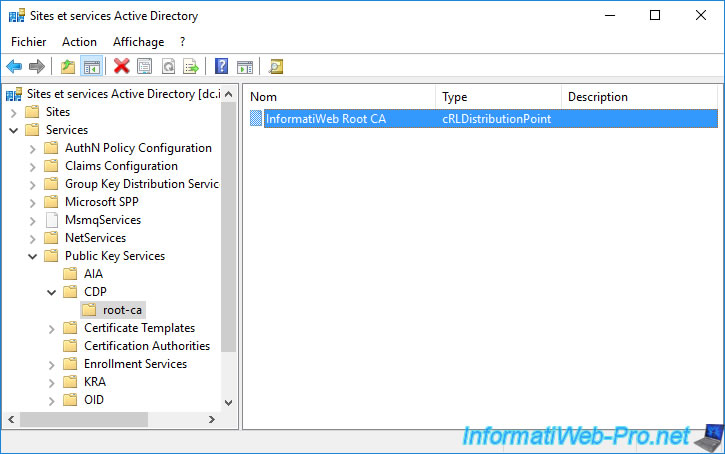
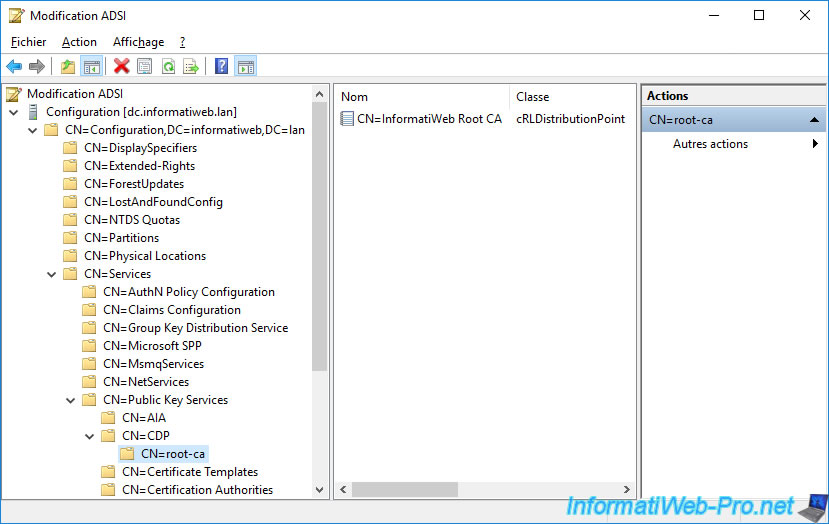
In the "Active Directory Sites and Services" console, you will see the certificate revocation list appear in the "Services -> Public Key Services -> CDP -> [NETBIOS name of the server where the root CA is installed]" folder.
As you can see, it's an object of type : cRLDistributionPoint.
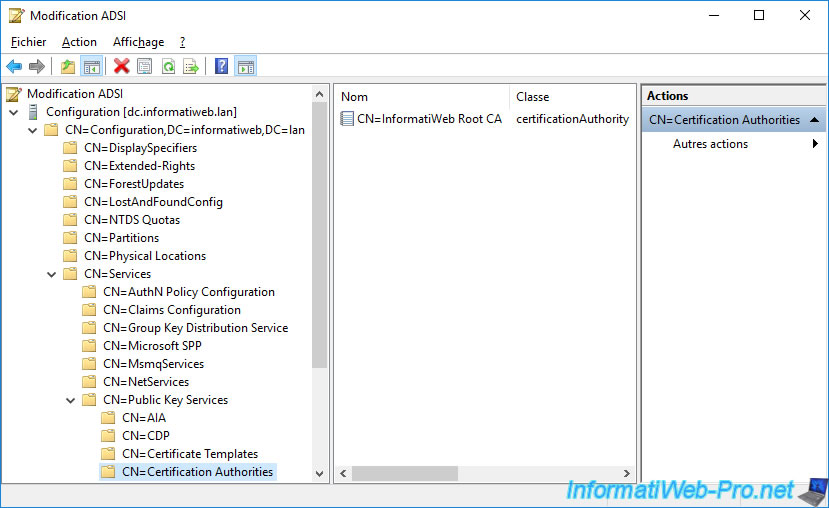
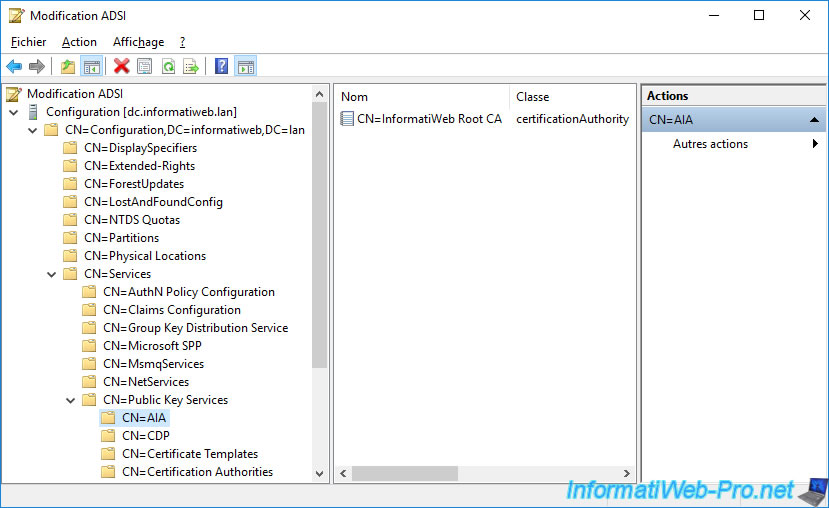
As before, you can also see this information through the "ADSI Edit" console by choosing the "Configuration" naming context.
As a reminder, this data is stored in the "Configuration" partition of your Active Directory infrastructure.
You will therefore find your standalone root certification authority in the "CN=Configuration,DC=informatiweb,DC=lan\CN=Services\CD=Public Key Services\CN=Certification Authorities" folder.
You will also find your standalone root certification authority in the "CN=AIA" folder.
Finally, in the "...\CN=Public Key Services\CN=CDP\CN=[NETBIOS name of the server where the root CA is installed]" folder, you will find its certificate revocation list that you have just published.
8. Initial configuration of the subordinate CA
Now that the standalone root CA is fully configured and can be known (detected) by all servers and member computers of your Active Directory domain, you can configure your secondary CA.
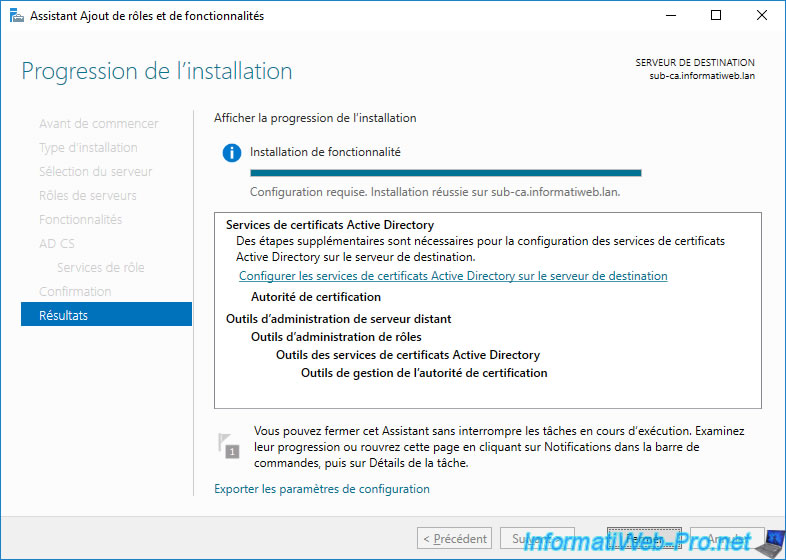
To do this, in the "Add Roles and Features" wizard that you left open on your "sub-ca" server, click on the "Configure Active Directory Certificate Services on the destination server" link.
The "Active Directory Certificate Services Configuration" wizard appears.
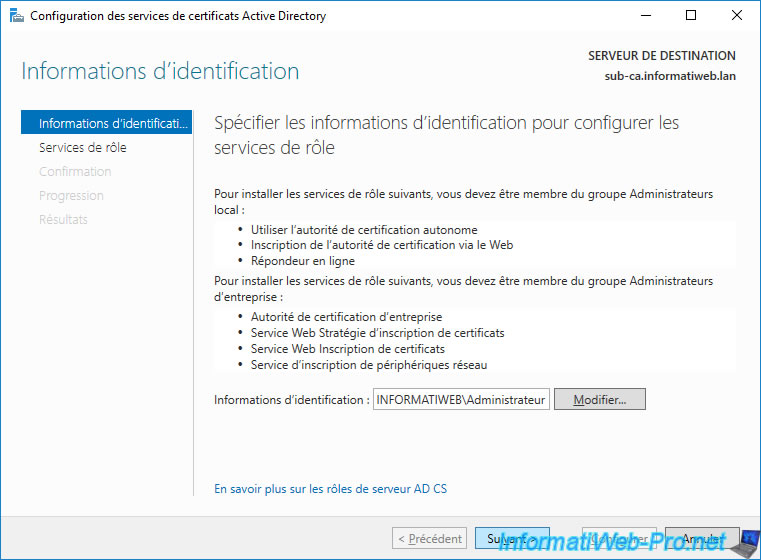
As expected, the configuration will be done by default with the administrator account of the Active Directory domain to which this server is linked.
Unlike your standalone CA that you had configured with the local admin account.
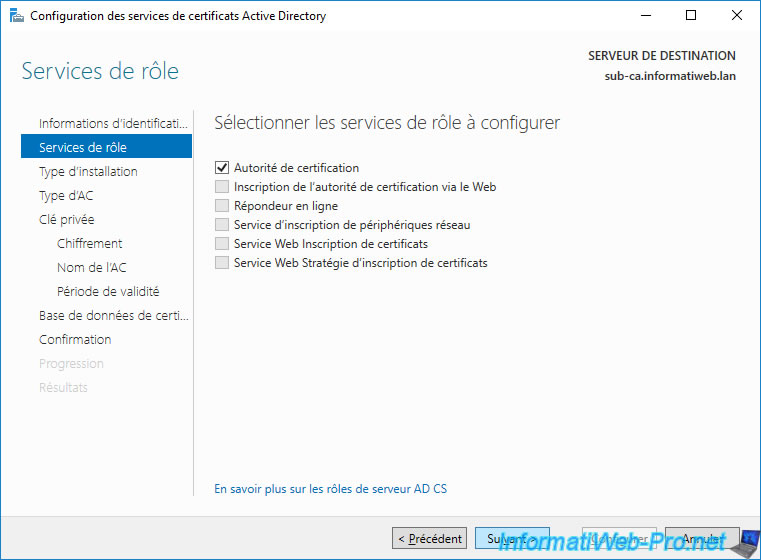
Check the "Certification Authority" box and click Next.
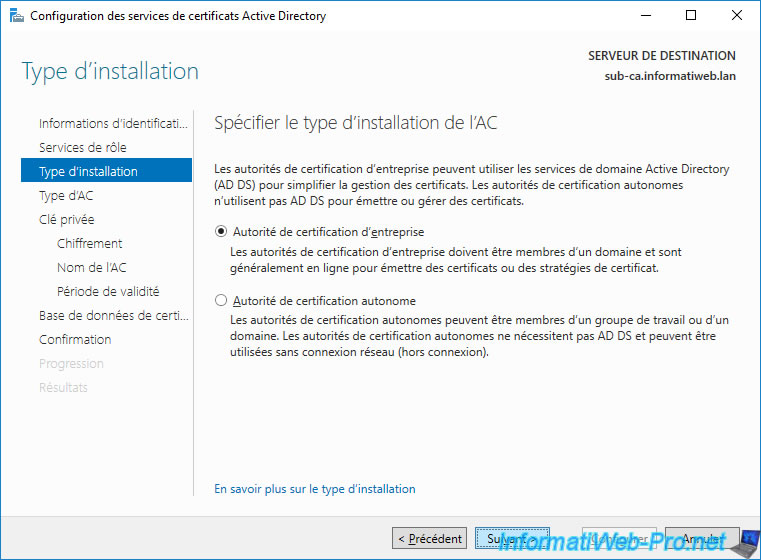
Select : Enterprise CA.
Note : the installation of an enterprise certification authority is possible, because your "sub-ca" server is linked to an Active Directory domain.
Which is required since an enterprise CA automatically stores different types of information in Active Directory (including its certificate, revocation lists, and certificate templates).
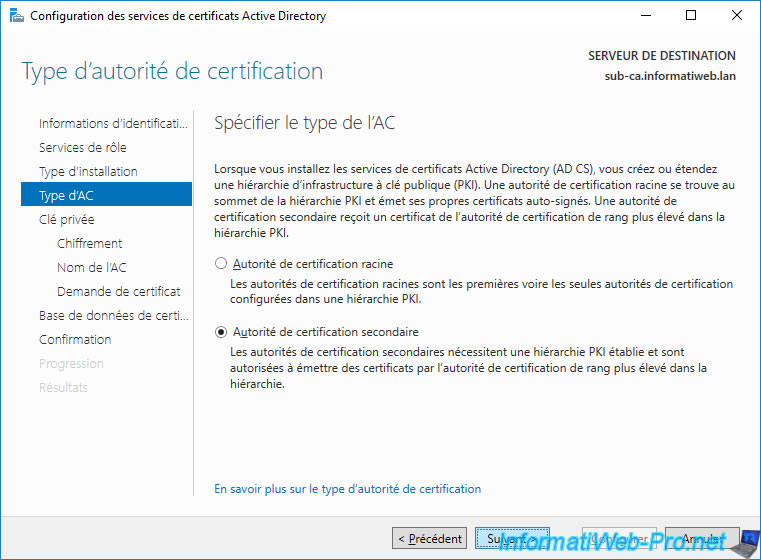
Thenn, select : Secondary CA.
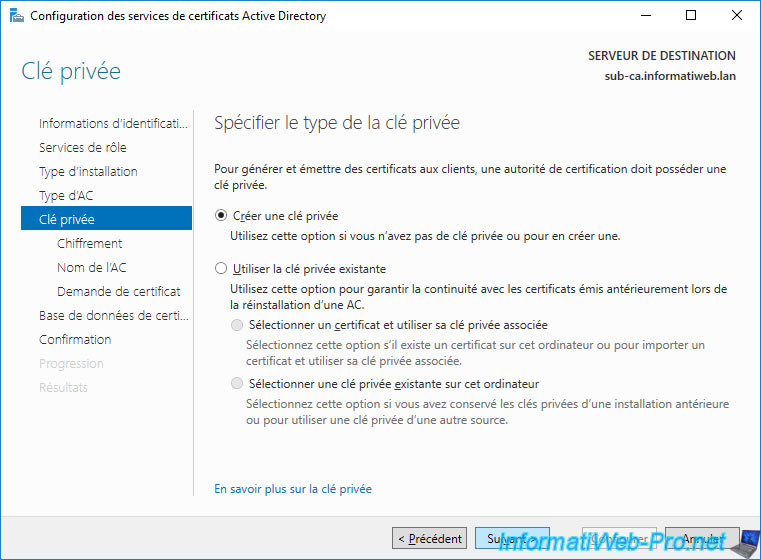
Each CA (root or secondary) has its own key pair (public key / private key).
So, select : Create a new private key.
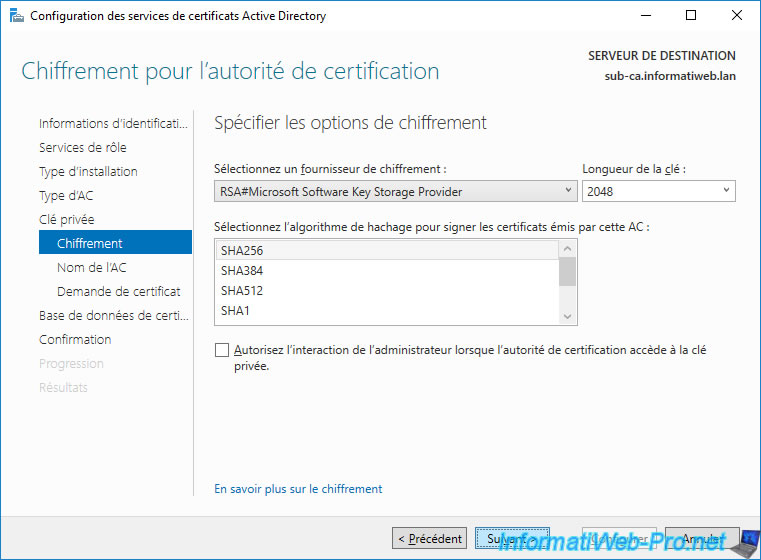
Leave the default encryption options.
Note : SHA1 is outdated. Don't use it at all.
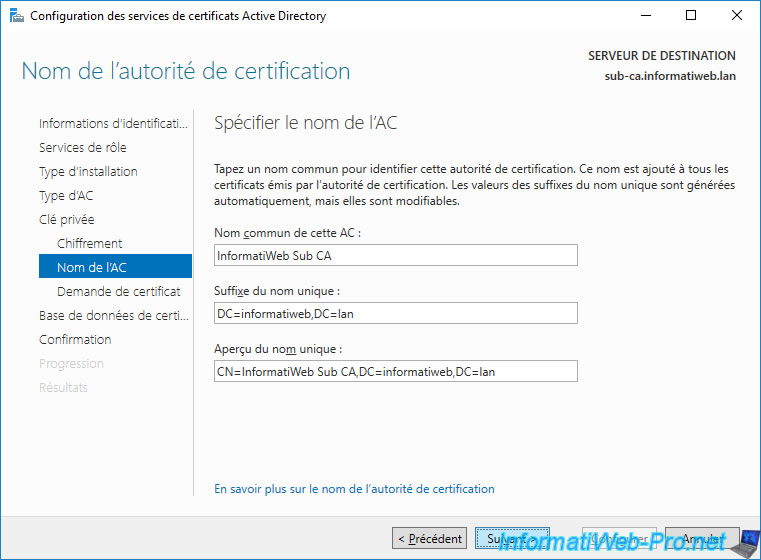
Provide a name for your subordinate CA.
In our case, we will name it : InformatiWeb Sub CA.
Note : the 2 other boxes will be automatically modified by the wizard.
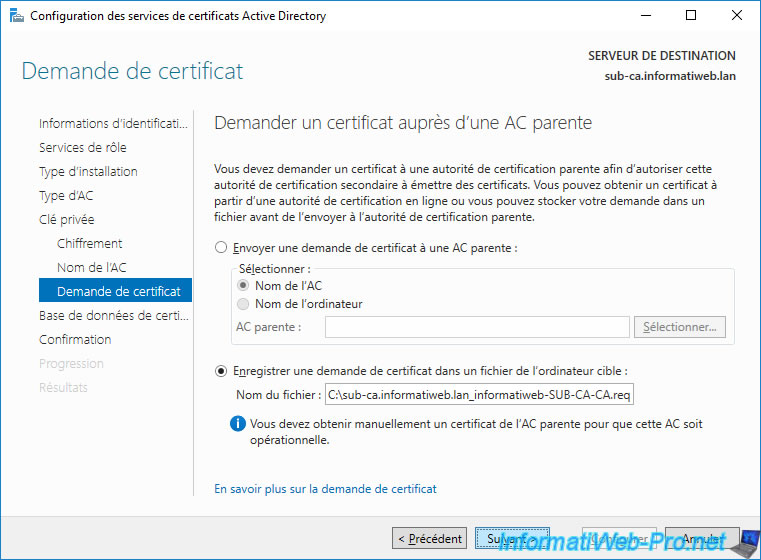
When you create a subordinate CA, its certificate must be issued and signed by a parent CA (your standalone root CA in this case) for it to be valid.
To do this, the wizard will automatically create a certificate request and store it at the root of your "sub-ca" server.
Click Next.
Leave the default storage locations for your secondary CA database.
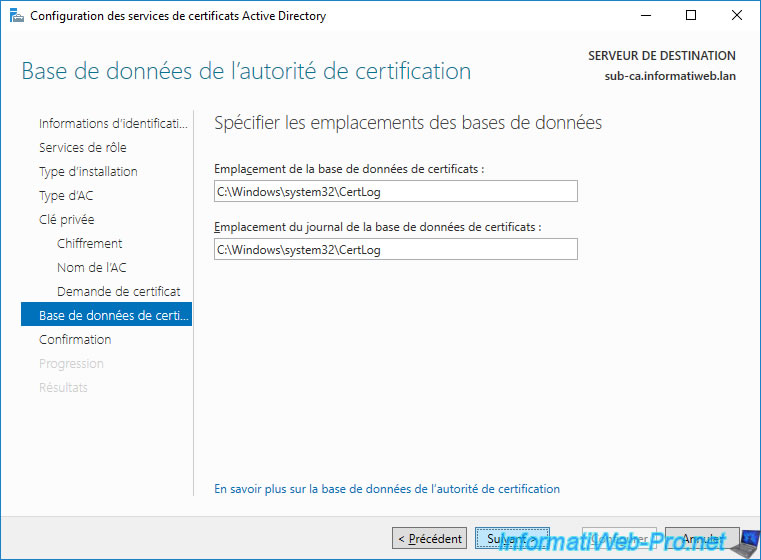
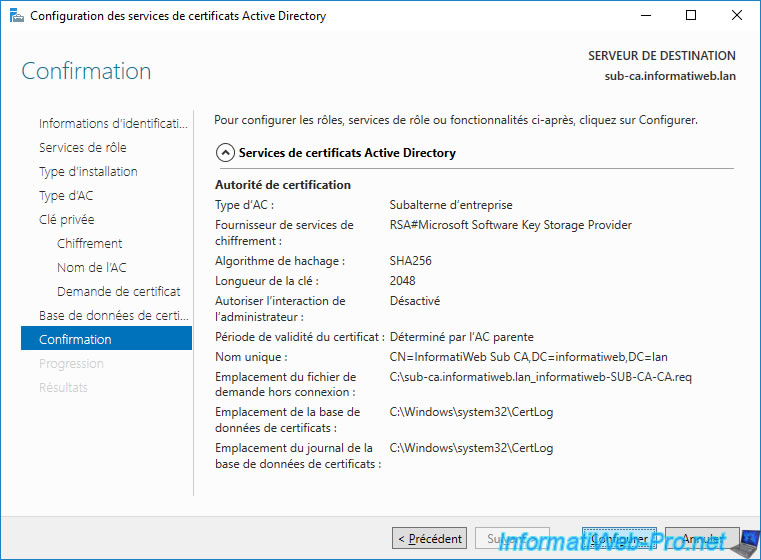
A summary of your enterprise subordinate CA configuration appears.
Click Configure.
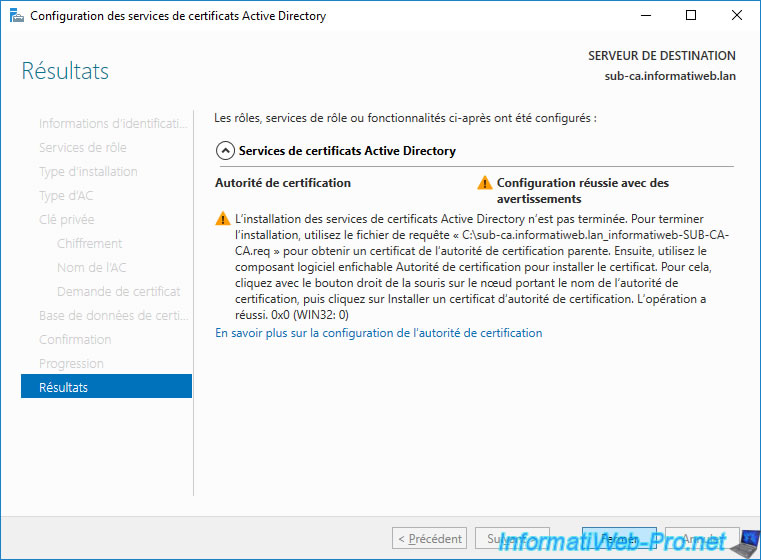
After the Active Directory Certificate Services configuration is complete, a "Configuration successful with warnings" warning appears.
In summary, this means that your secondary CA is not yet fully installed.
Indeed, you still have to send the certificate request created by this wizard to your standalone root certification authority, then import the certificate that it will have issued to you for your secondary certification authority to be functional.
Click Close.
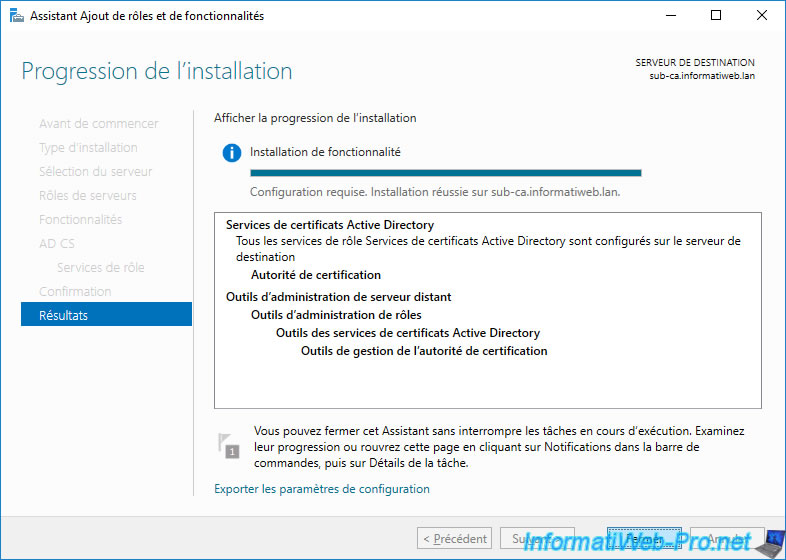
Click on : Close.
Share this tutorial
To see also
-
Articles 1/26/2024
SafeNet Authentication Client (SAC) - Installation and overview
-

Articles 9/8/2023
What is encryption and how does it work ?
-
Windows Server 12/29/2023
WS 2016 - AD CS - Backup and restore a certificate authority (CA)
-

Windows Server 1/19/2024
WS 2016 - AD CS - Buy smart cards and log in via them

No comment