Install and configure a root certificate authority (CA) and a secondary CA on Windows Server 2016
- Windows Server
- 08 December 2023 at 12:04 UTC
-

- 4/5

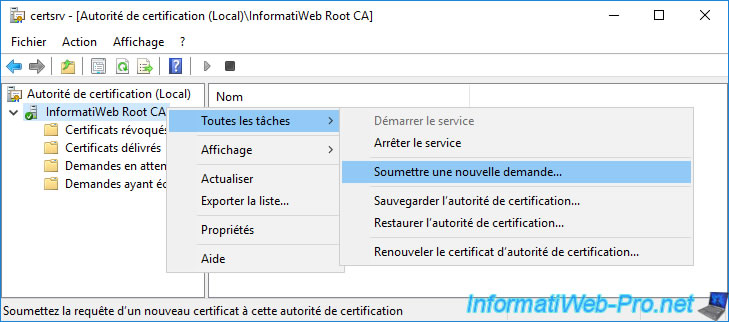
9. Submit Sub-CA certificate request to root CA
On your standalone root CA, open the "Certification Authority" console and right-click "All Tasks -> Submit new request" on its name.
On your secondary CA, copy the ".req" file located at the root of its "C" partition.
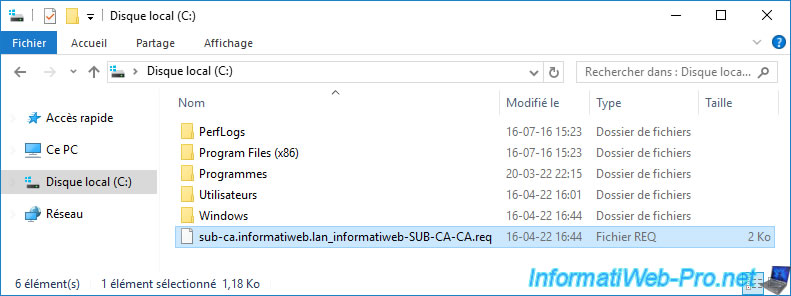
Paste it to the root of the "C" partition of your standalone root CA.
Note : we're using administrative shares again for convenience, but in production, you'll use an USB key to transfer this file since the standalone root CA is supposed to stay offline for security reasons.

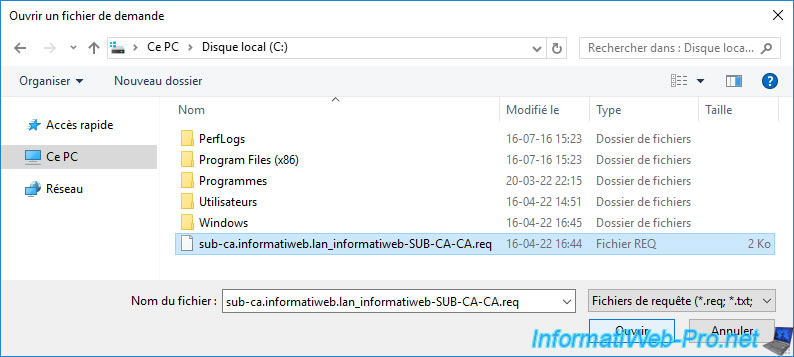
On your standalone root CA, select your subordinate CA's certificate request in the "Open Request File" window that opened.
Your enterprise subordinate CA's certificate request will appear in the "Pending Requests" folder of your standalone root CA.
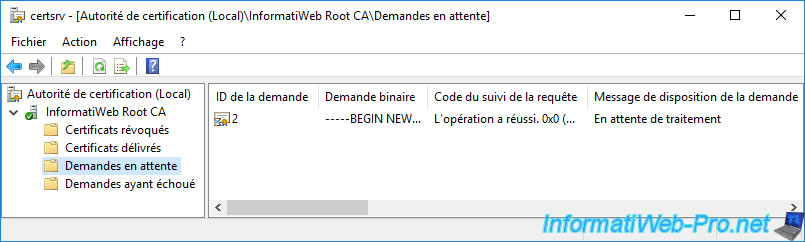
Validate this certificate request by right-clicking "All Tasks -> Issue" on it.
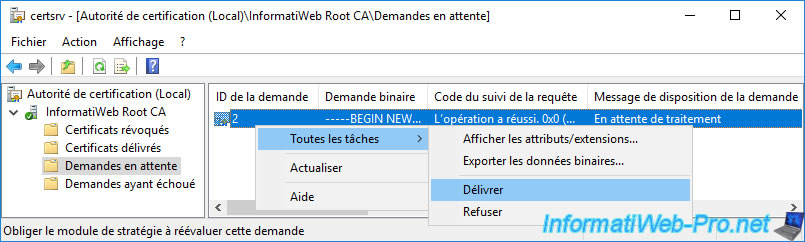
The certificate of your secondary enterprise CA appears in the "Issued Certificates" folder.
As you can see, this is a certificate based on a "SubCA" template.

10. Export your enterprise subordinate CA certificate from your root CA
To be able to install this certificate on your enteprise subordinate CA, you will first need to export it.
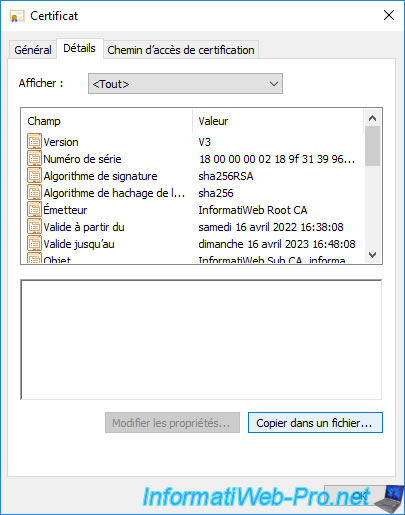
To do this, double-click on this certificate (available in the "Issued Certificates" folder), then go to the "Details" tab and click on : Copy to File.
The Certificate Export Wizard appears.
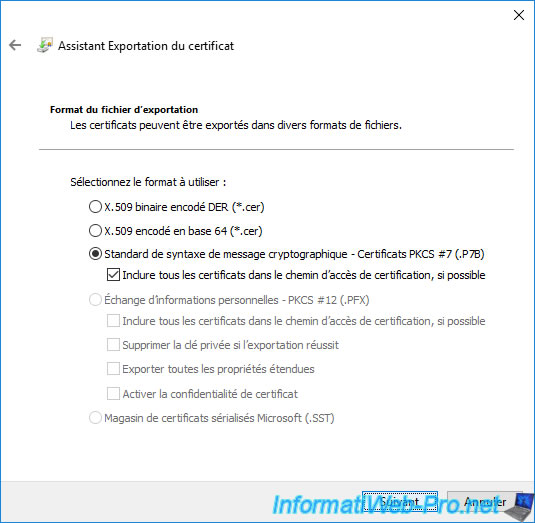
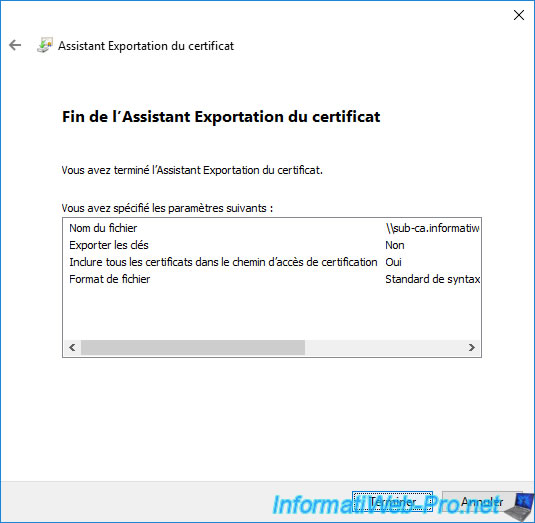
Select the format "Cryptographic Message Syntax Standard - PKCS #7 Certificates (.P7B)" and check the box "Include all certificates in the certification path, if possible".
Note : the ".p7b" format is the one expected by your secondary certification authority when you want to import its authority certificate.
Click on : Browse.
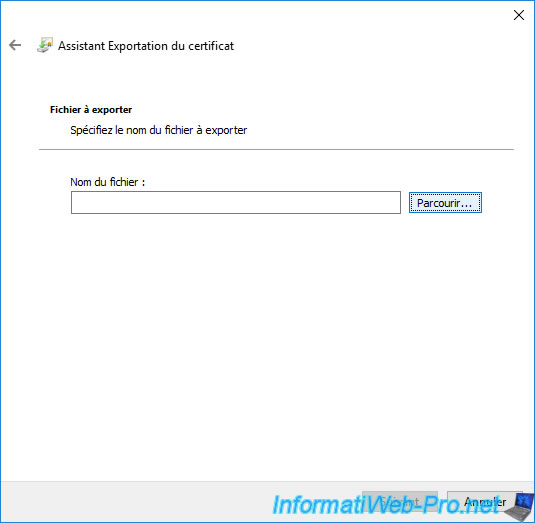
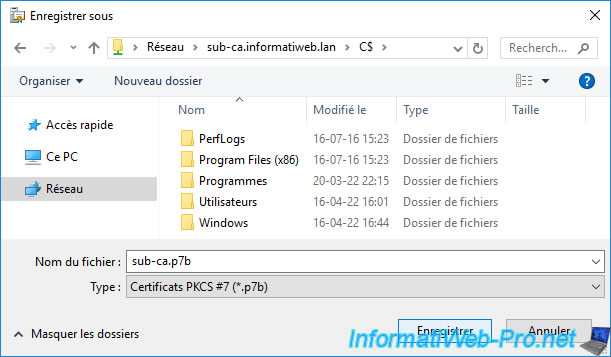
Choose where and under what name you want to save your subordinate CA certificate.
Again, we use the administrative shares to save it directly to our secondary CA's hard drive.
Nevertheless, in enterprise, you will save this certificate on an USB key connected to your standalone root certification authority, then you will connect it to your secondary certification authority.
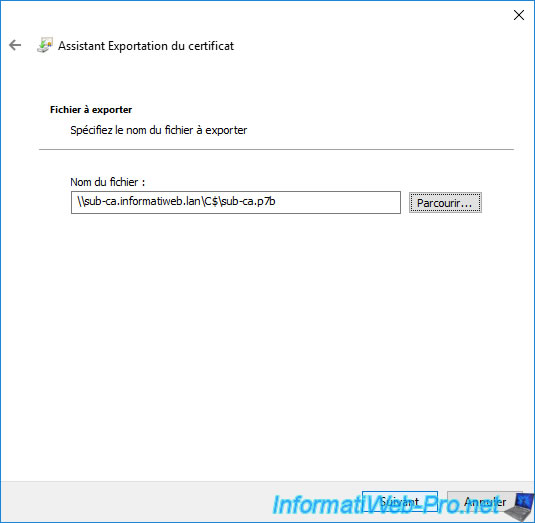
The path to the certificate that will be exported appears.
Click Next.
A summary is displayed.
Click Finish.
The "The export was successful" message appears.
11. Install your enterprise subordinate CA certificate
To get started, shut down your standalone root CA.

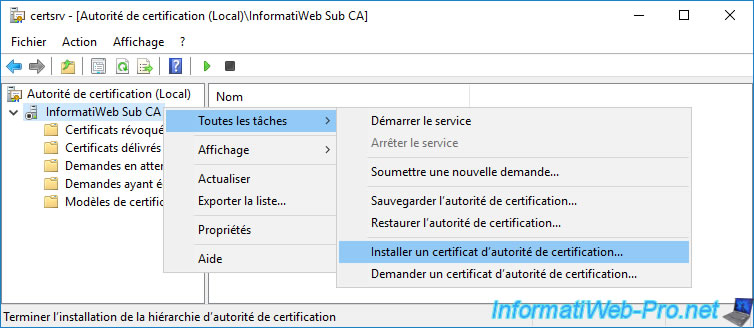
Then, open the "Certification Authority" console on your enterprise subordinate CA and right-click "All Tasks -> Install CA Certificate" on its name.
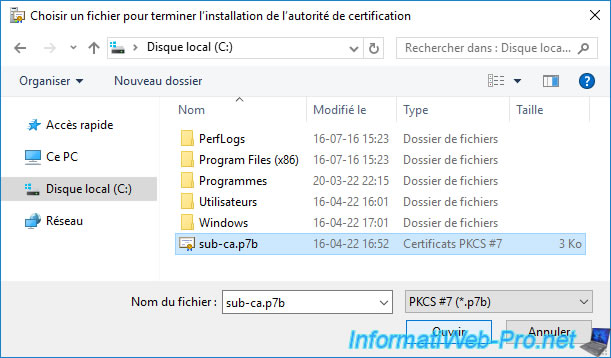
Select your enterprise subordinate CA certificate exported from your standalone root CA.
Note : as you can see, the expected format for this certificate is "PKCS #7 (*.p7b)".
The "Loading certification authorities" message appears.
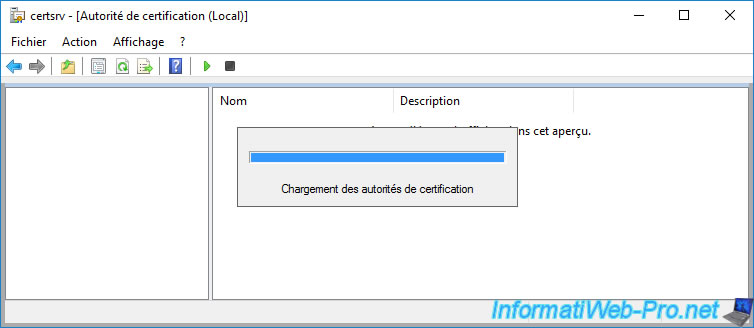
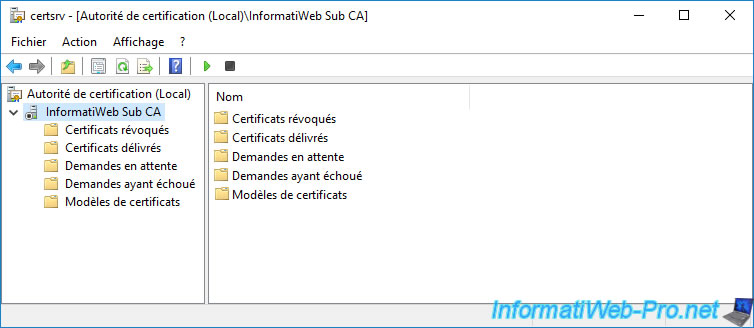
As you can see, your secondary CA is not started yet.
Hence the black circle present on the icon of your secondary certification authority.
Right-click on the name of your subordinate CA and click : All Tasks -> Start Service.
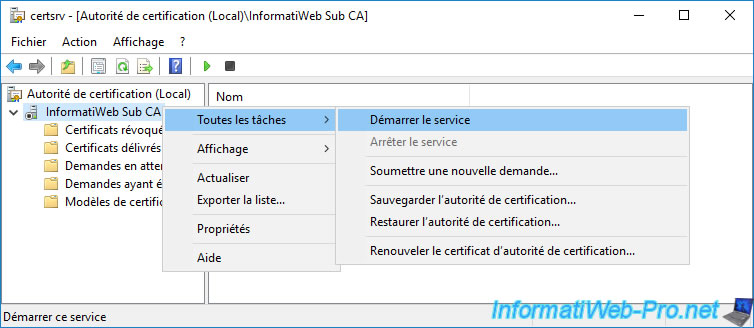
Wait while Active Directory Certificate Services starts.

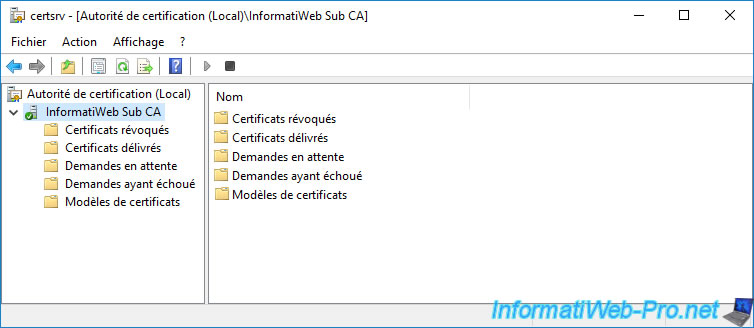
Now, your CA icon has turned green.
12. Information from your subordinate CA stored in Active Directory
One of the advantages of a secondary CA is that it automatically stores the necessary information in your Active Directory infrastructure.
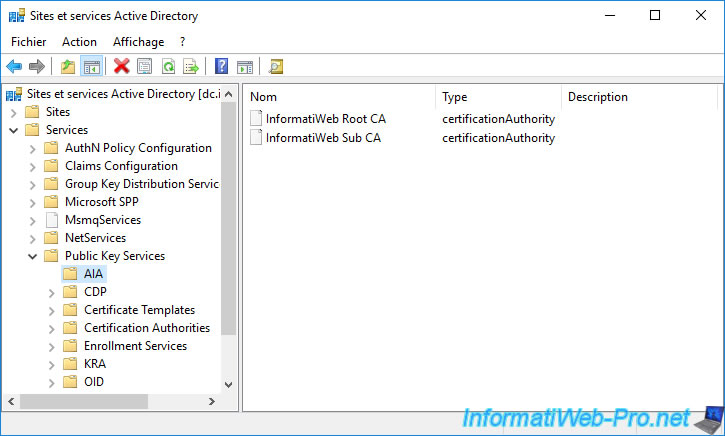
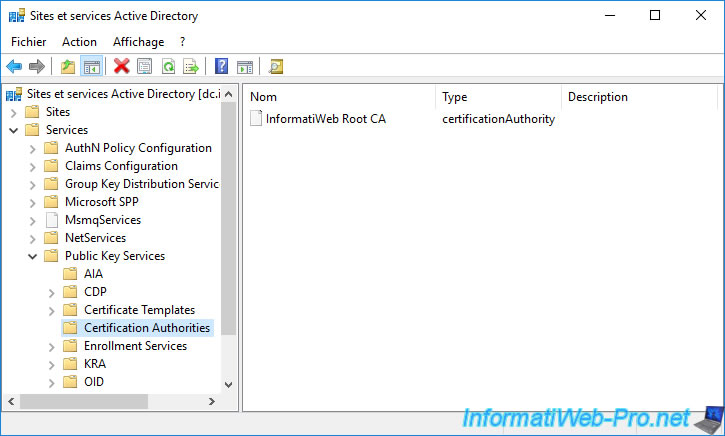
On your domain controller, open the "Active Directory Sites and Services" console and go to the "Services -> Public Key Services -> AIA" folder.
As you can see, your subordinate CA was automatically referenced in this folder.
In our case, we see :
- InformatiWeb Root CA : our standalone root CA
- InformatiWeb Sub CA : our enterprise sub-CA
In the "Certification Authorities" folder, your secondary certification authority will not appear.
This is because only root CAs are added here.
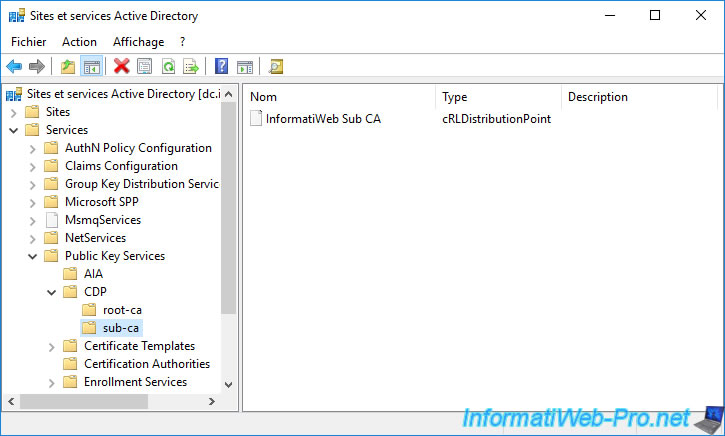
In the "Public Key Services -> CDP -> [NETBIOS name of the server where your secondary authority is installed]" folder, you will find the revocation information for it.
Share this tutorial
To see also
-

Articles 1/26/2024
SafeNet Authentication Client (SAC) - Installation and overview
-

Articles 9/8/2023
What is encryption and how does it work ?
-
Windows Server 12/29/2023
WS 2016 - AD CS - Backup and restore a certificate authority (CA)
-

Windows Server 1/19/2024
WS 2016 - AD CS - Buy smart cards and log in via them
No comment