Enable and create Windows 7 or 8 Enterprise virtual desktops on Windows MultiPoint Server 2012
- Windows Server
- 12 March 2018 at 10:02 UTC
-

- 6/7

7. Use Windows 7 virtual desktops
As indicated at the beginning of the tutorial, you will be able to create Windows 8 and/or Windows 7 virtual desktops.
Nevertheless, the creation of a Windows 7 virtual desktop is identical to that of a Windows 8 virtual desktop.
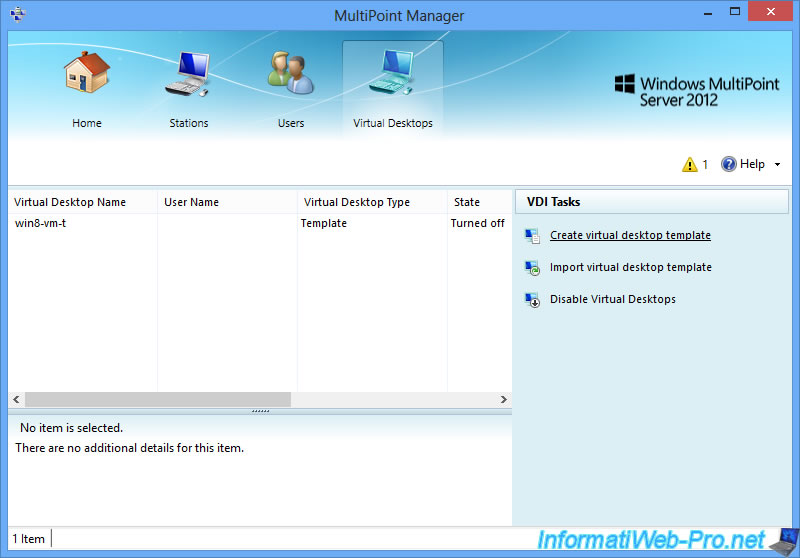
To get started, go to the "Virtual Desktops" tab of the MultiPoint Manager and click on "Create virtual desktop template".
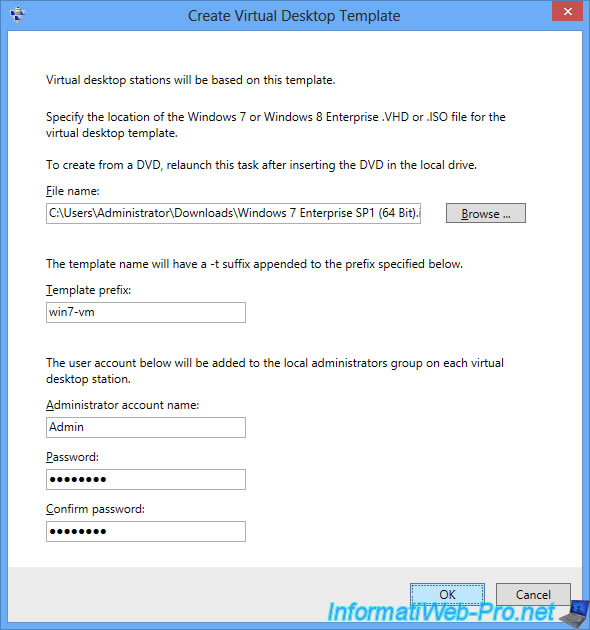
Then, for example, select the Windows 7 Enterprise iso file, specify a prefix for the Windows 7 virtual desktops, and configure the Administrator account that will automatically be added to them.
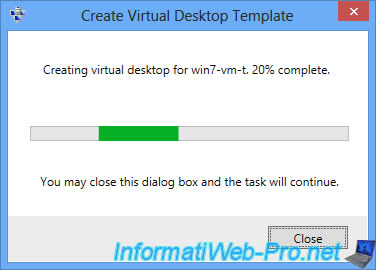
Wait while creating the template.
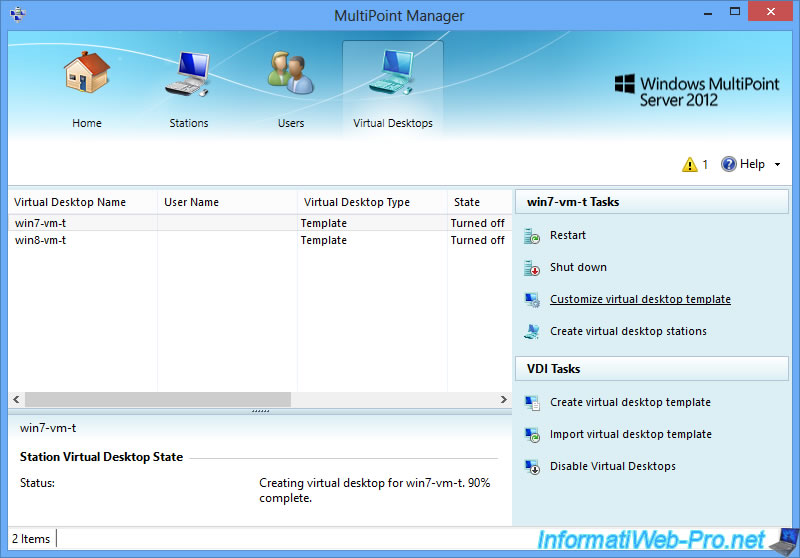
Then, select the new Windows 7 template and click on : Customize virtual desktop template.
7.1. Installing programs
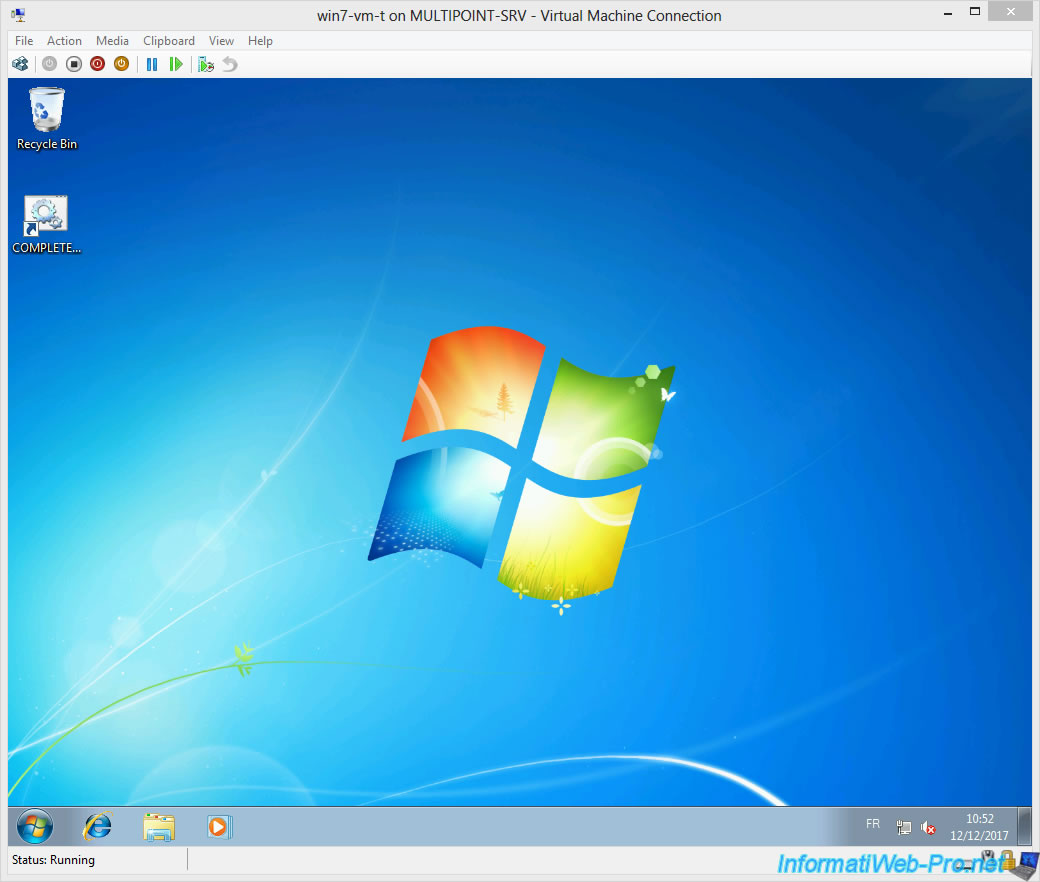
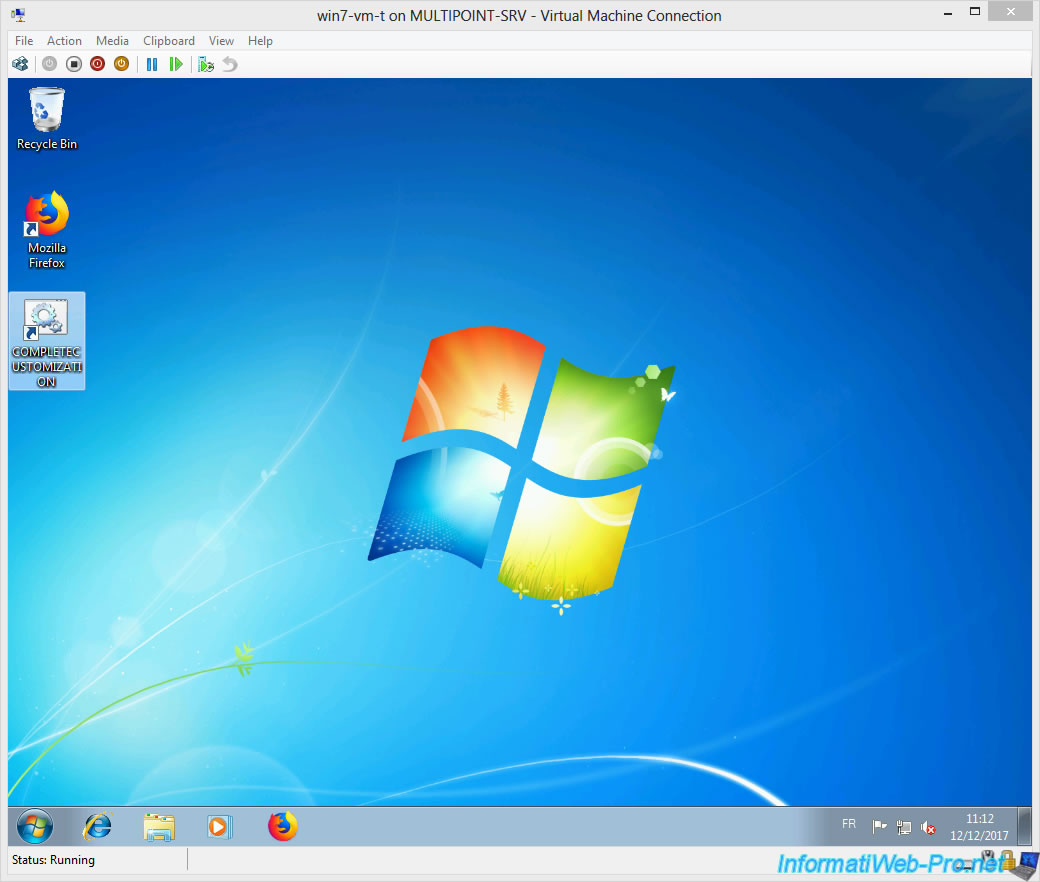
Once Windows 7 Enterprise has started, customize it as you wish.
In our case, we installed Mozilla Firefox (as previously for the Windows 8 desktop).
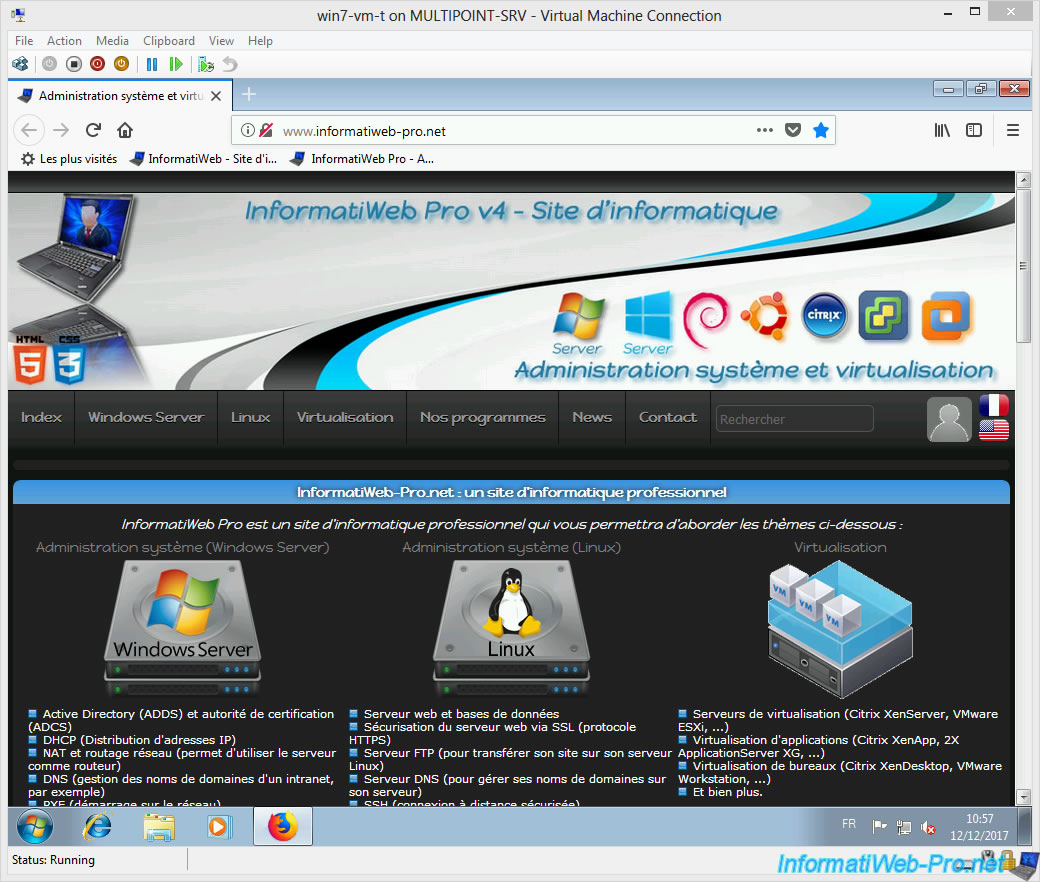
Remember to clear the web browser history and temporary files that you may have left behind by installing the various programs you wanted to make available to your users.
![]()
7.2. Don't show users when starting a virtual desktop
For virtual desktops running Windows 7, here are the group policies (GPOs) to use.
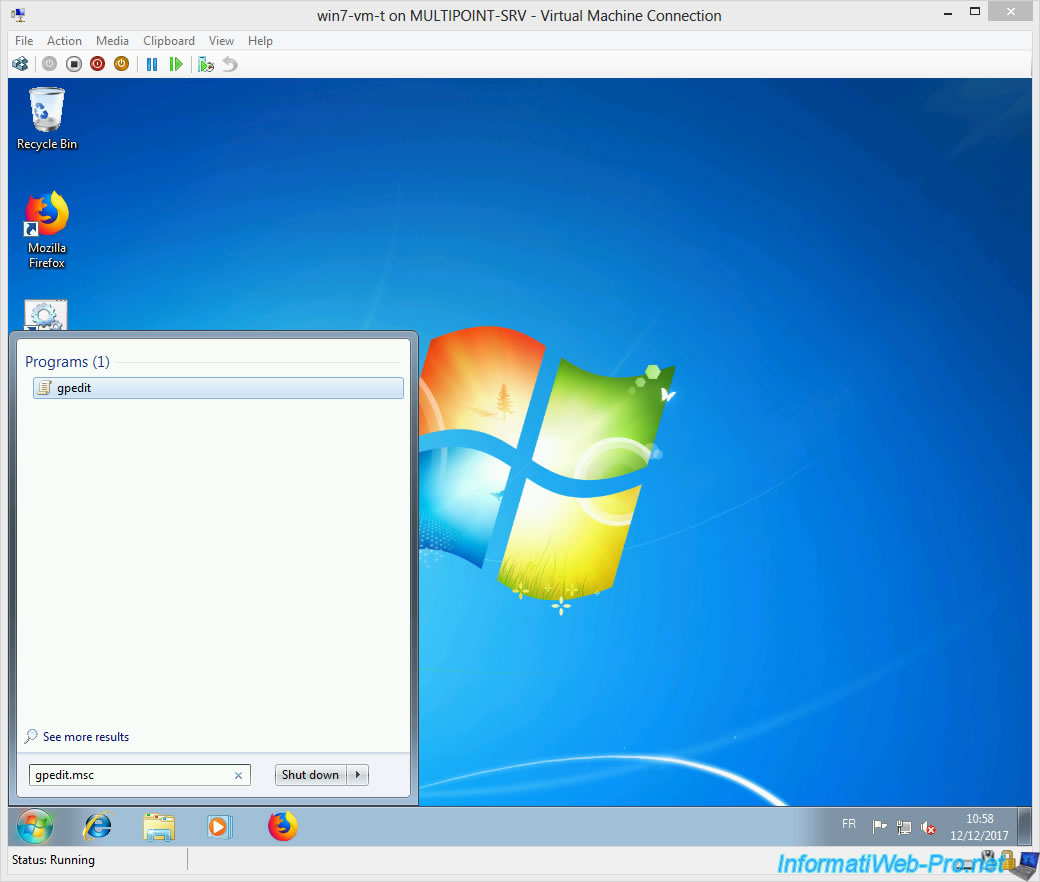
To get started, go to the start menu and type "gpedit.msc" and run the program with the same name.
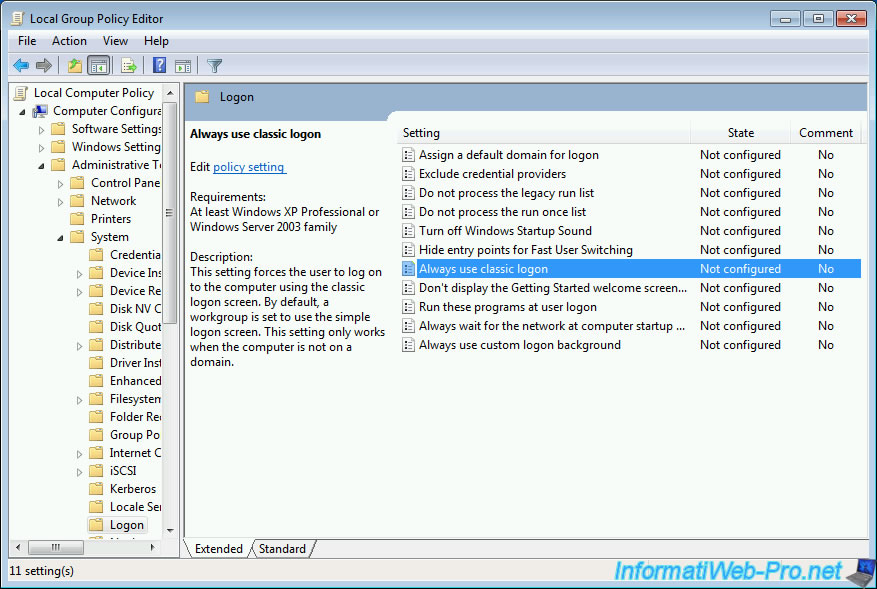
The Local Group Policy Editor program appears.
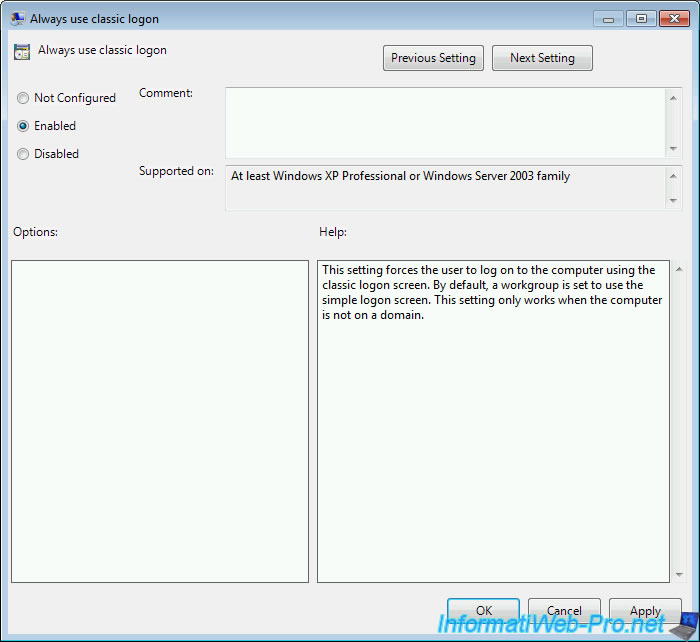
To get started, go to "Computer Configuration -> Administrative Templates -> System -> Logon" and enable the "Always use classic logon" policy.
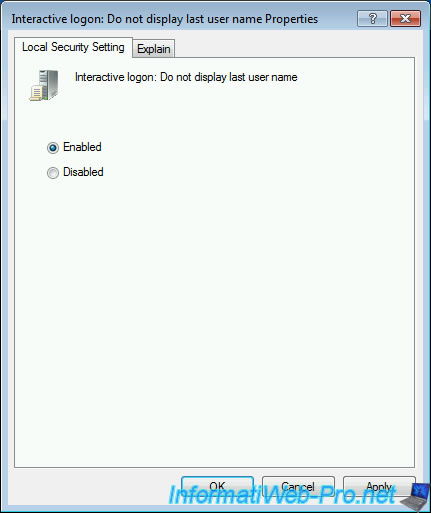
Then, go to : Computer Configuration -> Windows Settings -> Security Settings -> Local Policies -> Security Options.
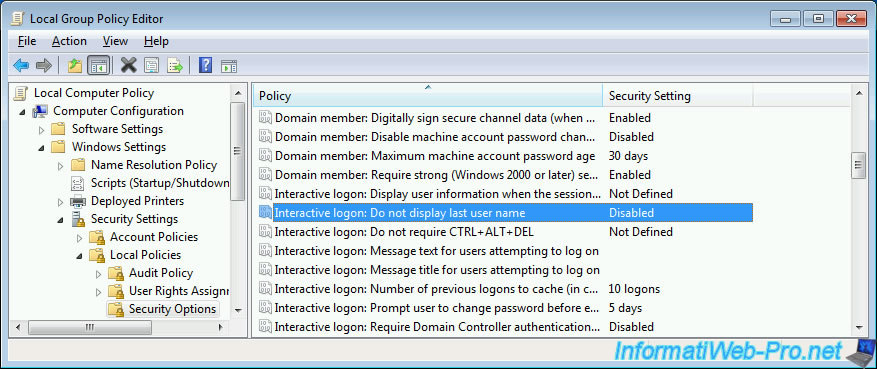
Enable the "Interactive logon : Do not display last user name" policy.
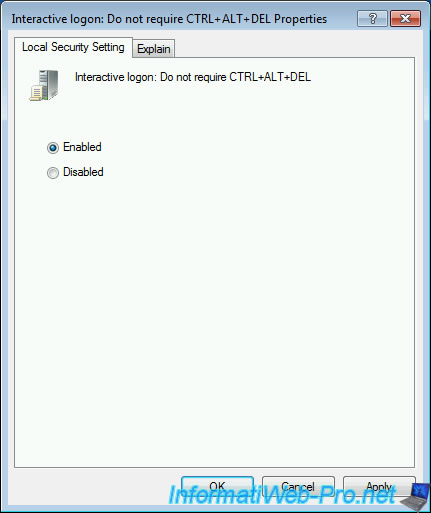
Thus, the "Do not require CTRL + ALT + DEL" policy.
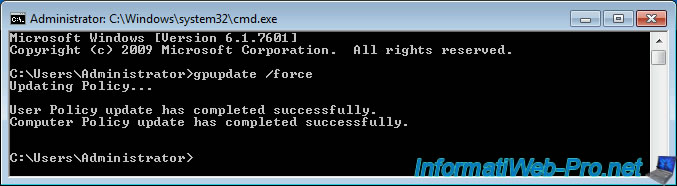
Finally, don't forget to update the policies of this virtual machine.
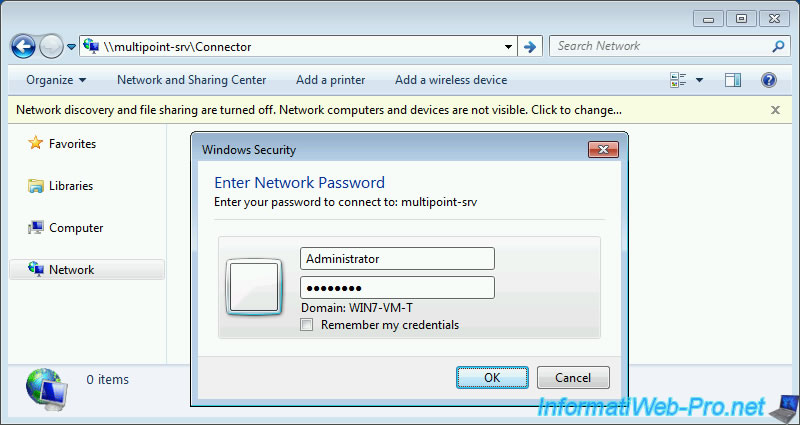
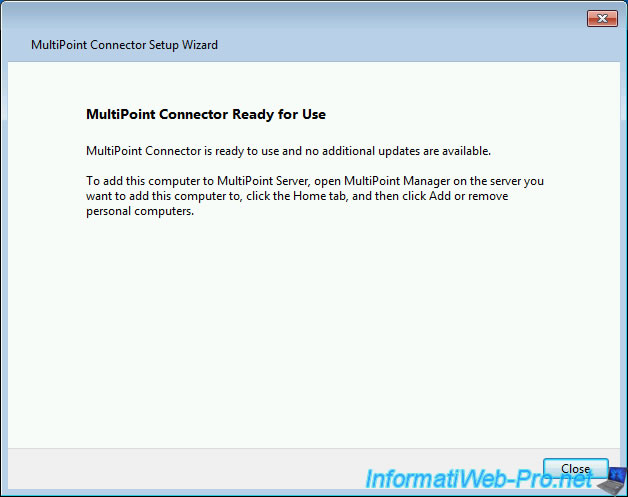
7.3. Installing the MultiPoint Connector
To install the MultiPoint Connector, the principle is the same as for virtual desktops under Windows 8.
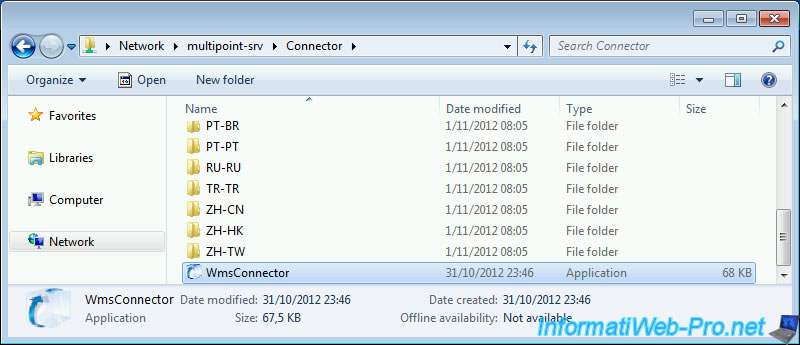
Just access the "\\multipoint-srv\Connector" share of your MultiPoint server.
Launch the "WmsConnector" file.
Start the installation of the connector.
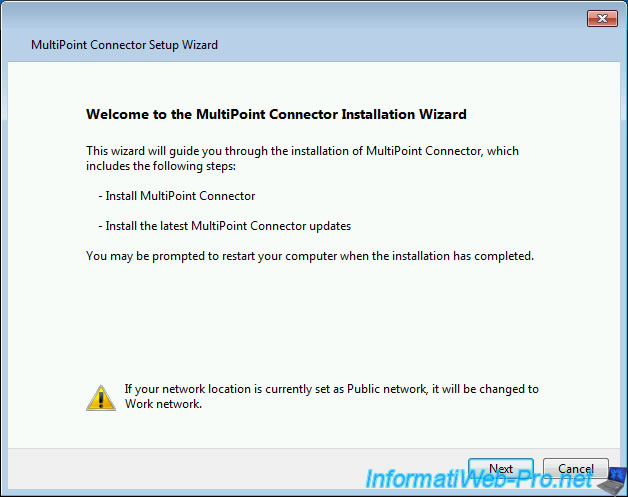
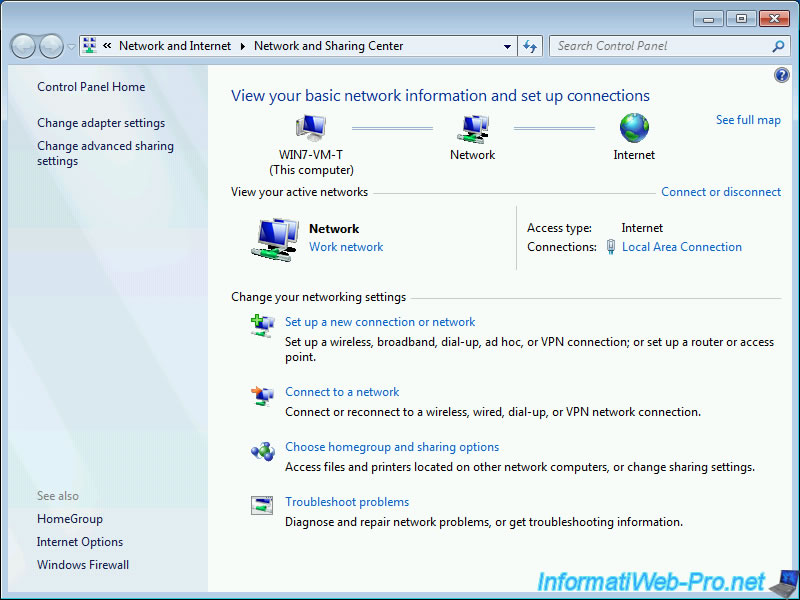
Once installed, it will be ready to use.
If you look in the Windows 7 network settings, you will see that the default network type has been changed to : Work.
7.4. Finalization of the template customization
Once you have finished customizing this template, you will need to run the COMPLETECUSTOMIZATION.bat program present on the desktop.
Wait while sysprep performs various operations.
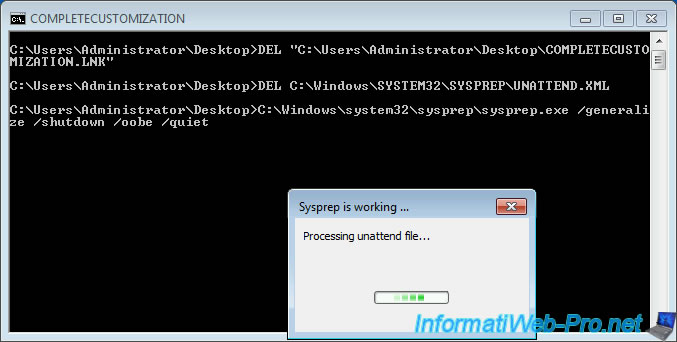
In the end, the virtual machine will shut down.
Share this tutorial
To see also
-
Windows Server 2/12/2018
WMS 2012 - Enable the Disk Protection
-
Windows Server 1/17/2018
WMS 2012 - Install, configure and how works MultiPoint 2012
-
Windows Server 3/24/2018
WMS 2012 - Join virtual desktops to an AD
-

Windows Server 2/21/2018
WMS 2012 - Joining an AD and use roaming profiles
No comment