- RAID
- 18 October 2015 at 11:53 UTC
-

- 1/3

In our tutorial "Create and configure a RAID 0, 1, 5, ... (Intel)" published in August 2015, we explained how to create a RAID with the RAID controller built into newer motherboards. Nevertheless, this Intel RAID was not a true RAID since it has no dedicated memory. In reality, this Intel RAID is a hybrid RAID or pseudo-material and it doesn't offer the same performance as a true RAID.
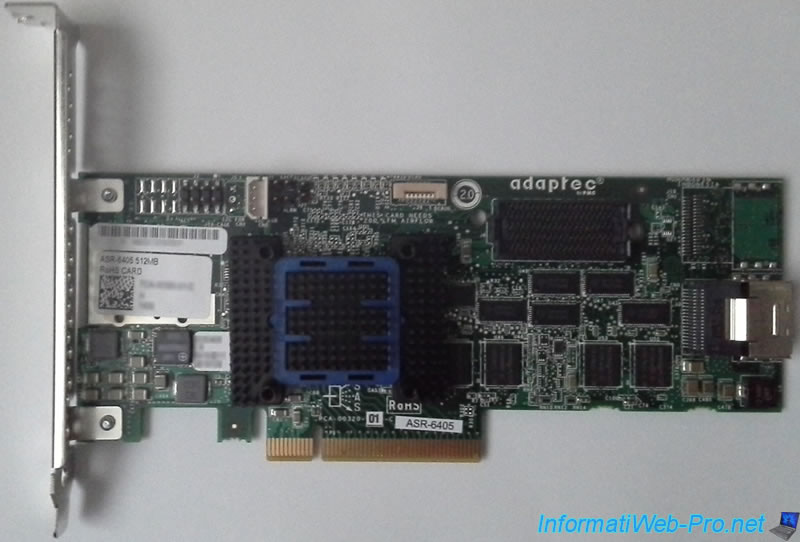
Today, we'll show you how to configure and manage a RAID with an Adaptec RAID 6405 controller.
This RAID controller allows you to create a true RAID and get better performance. That said, a RAID controller is expensive.
For more information on this RAID controller, see our article : Adaptec RAID 6405 - Unpacking, presentation and advices
Important : PMC-Sierra who owned the Adaptec brand was acquired by Microsemi Corporation.
Links present on this article have therefore been updated accordingly.
- RAID controller connection
- Adaptec RAID controller BIOS configuration
- Optional : Install Windows on the RAID volume
- Install the RAID controller driver
- Initialization of the "hard disk" and partitioning
- Disable the boot option on the RAID controller
1. RAID controller connection
To begin, unplug the computer and turn off the switch on the power supply of the tower to prevent any damage due to static electricity.
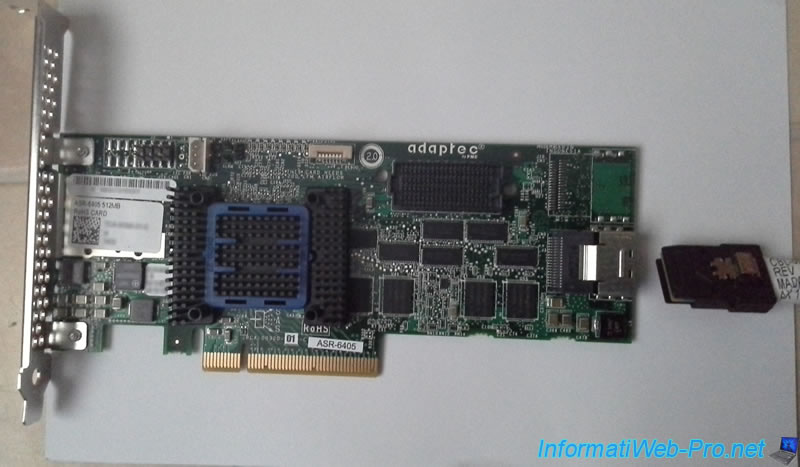
Then, place the RAID controller in a PCI-E slot available and compatible on your motherboard.
Note : The RAID controller is a PCI-E 8x card. So, it's compatible with PCI-E 8x and 16x slots.
As you could see in our article "Adaptec RAID 6405 - Unpacking, presentation and advices", this RAID controller is supplied with a cable "SFF-8087 to 4 SATA facing sideband".
Note : If you have a computer and not a server, the gray cable does not serve.
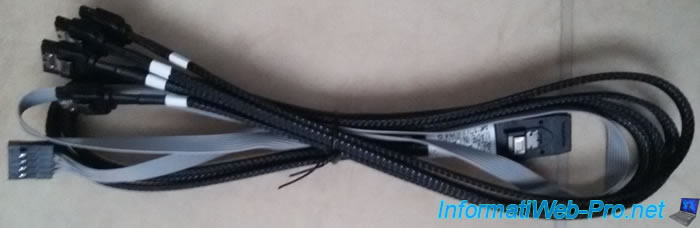
To begin, connect SATA cables to the hard drives to use for your RAID volumes.
And then, plug the connector "Mini SAS (SFF-8087)" on the RAID controller.
2. Adaptec RAID controller BIOS configuration
Each time you start your computer, this screen appears for about twenty seconds.
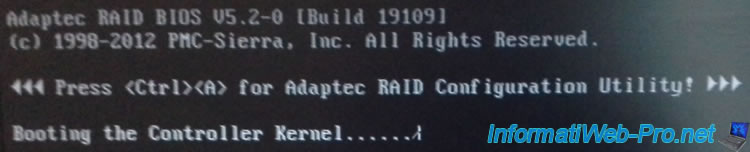
To configure the RAID controller BIOS and create your first RAID volume, you must press CTRL + A (on a QWERTY keyboard) or CTRL + Q (on an AZERTY keyboard).
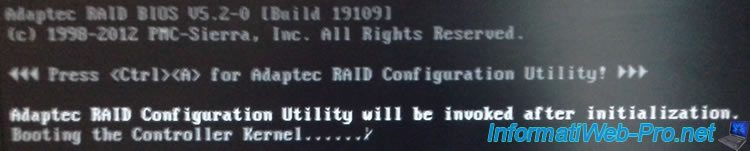
Note : When you press these two keys, the message "Adaptec RAID Configuration Utility will be invoked after-initialization" appears.
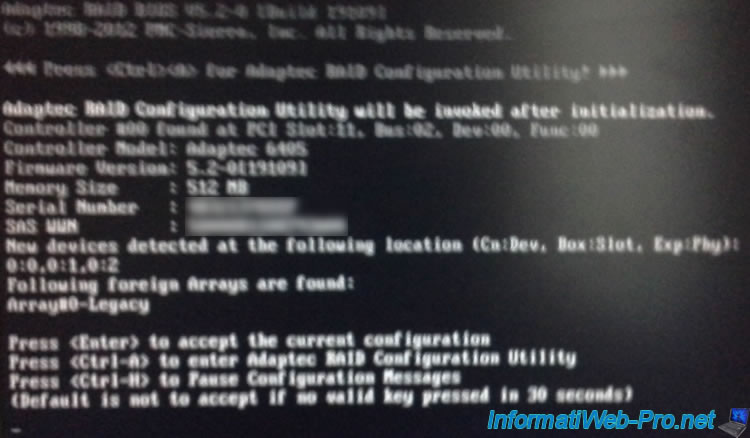
At the first kernel boot (Booting the Controller Kernel), the message "New devices detected at the following location" will appear.
Note : If necessary, press CTRL + A or CTRL + Q.
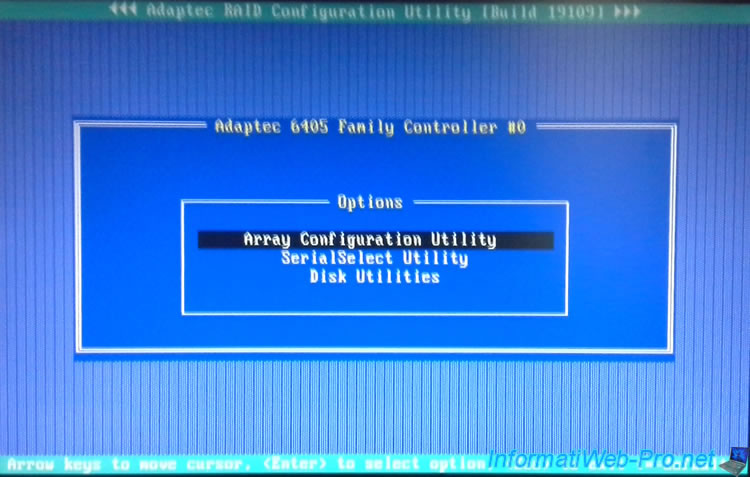
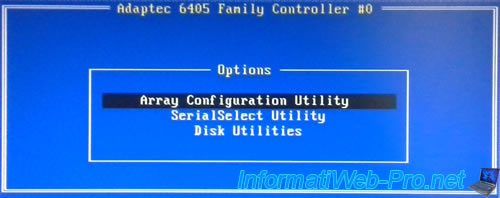
You arrive in the Adaptec RAID controller configuration utility.
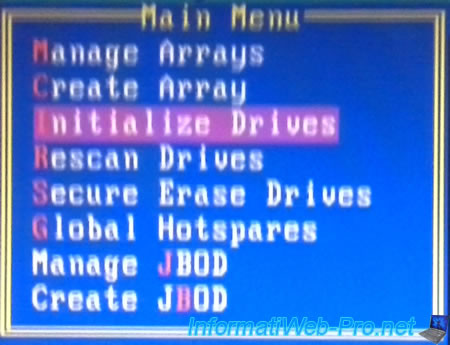
Select "Array Configuration Utility" and press Enter.
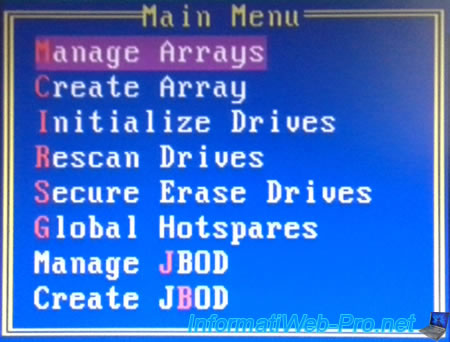
Select "Initialize Drives".
Select hard drives that you want to use for your RAID volume by using the "Insert" key.
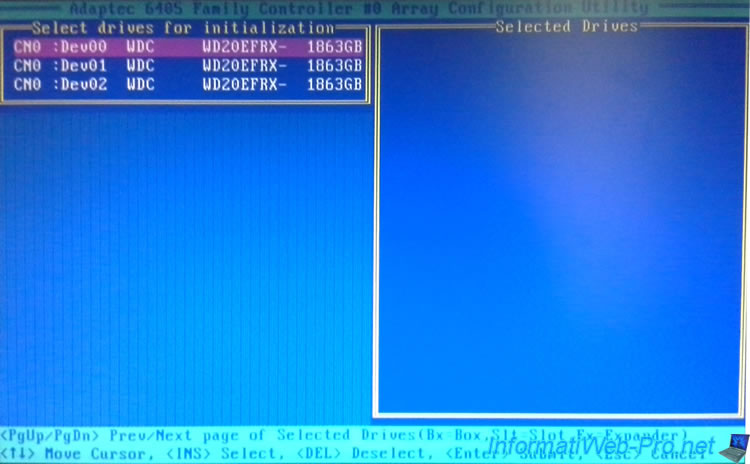
Once selected, these drives appear in the right list.
Press Enter to initialize these hard drives.
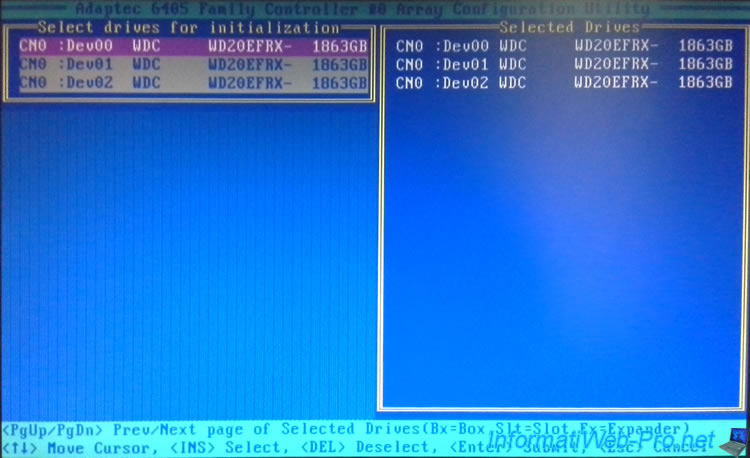
Warning : initializing a hard disk permanently erases data on it.

Selected hard drives have been initialized.

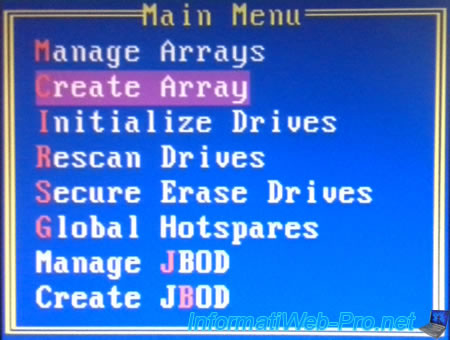
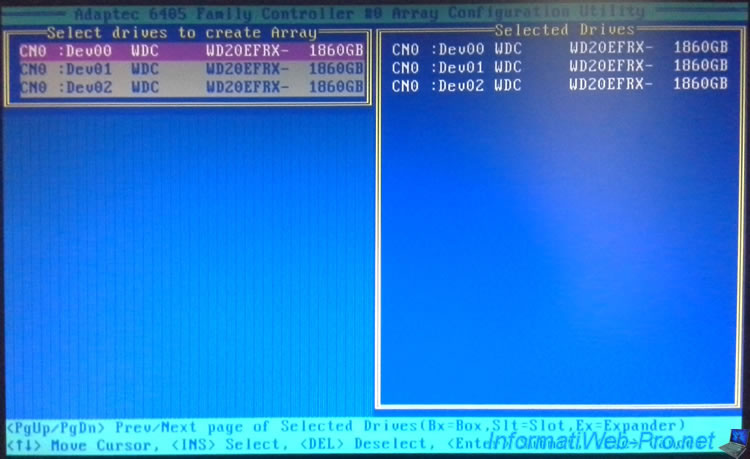
Now, create your RAID volume by going to "Create Array".
Select same hard drives that earlier and press Enter.
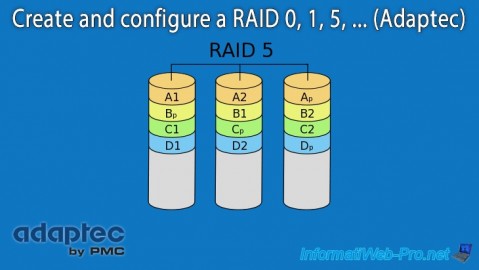
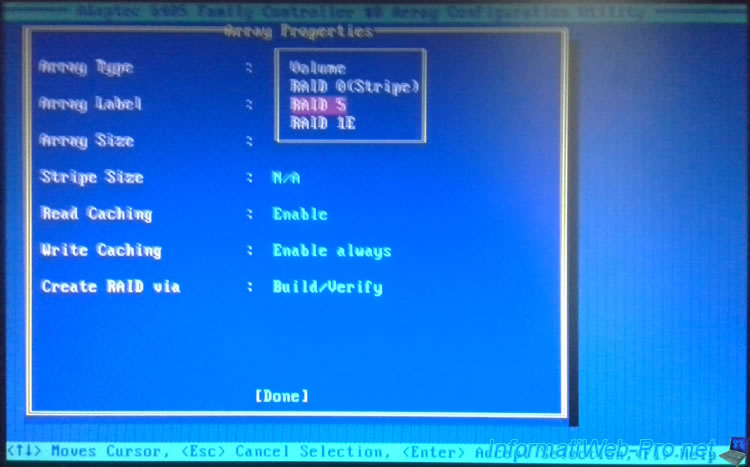
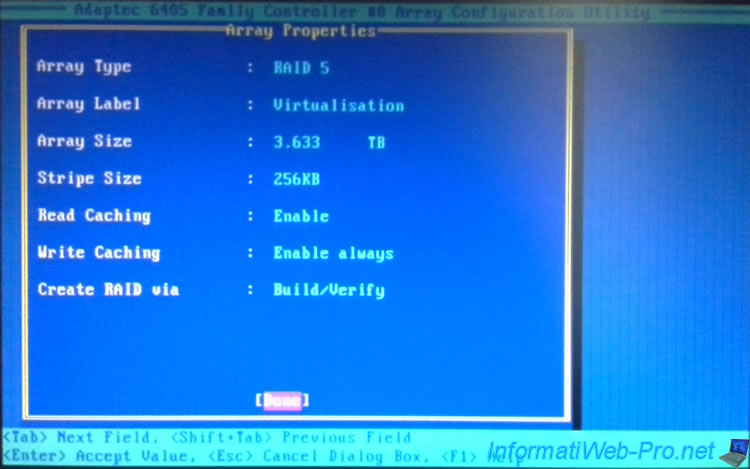
Choose the RAID type.
In our case, we are creating a RAID 5 to combine : performance and security.
Note : RAID types available may vary depending on the number of hard drives selected and depending on the RAID controller that you have purchased.
Enter a name for your RAID volume.
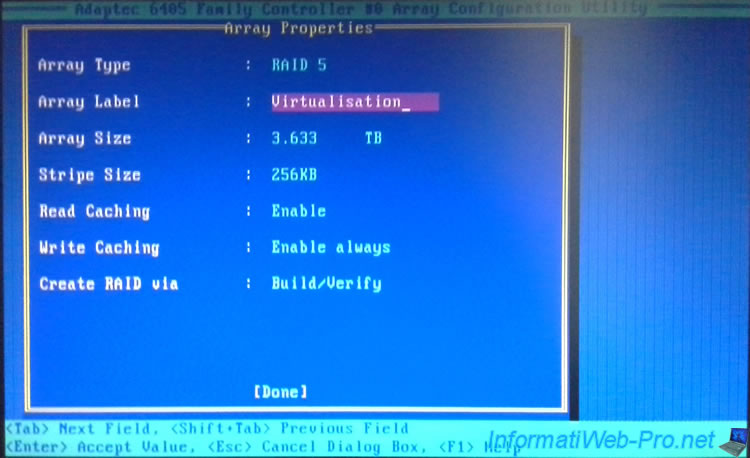
Leave the size to default.
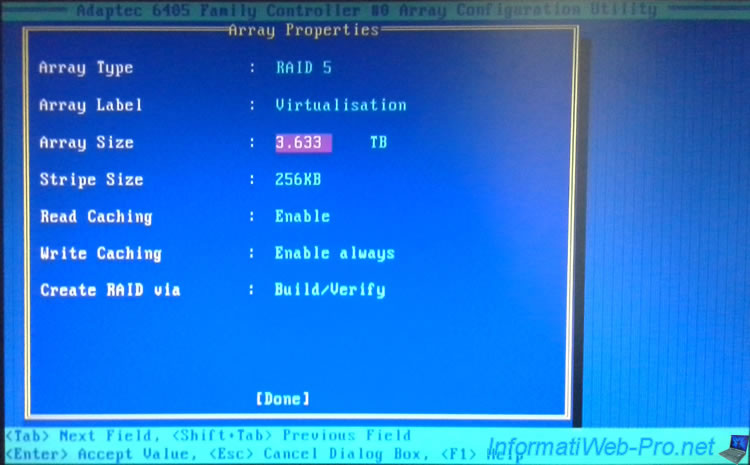
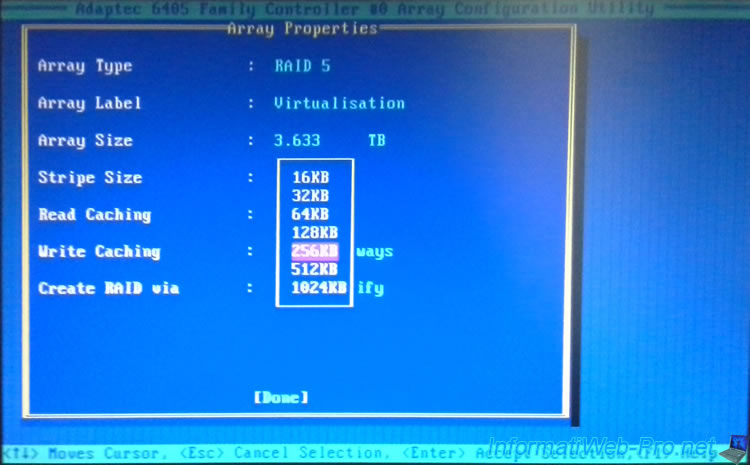
Leave the stripe size to default.
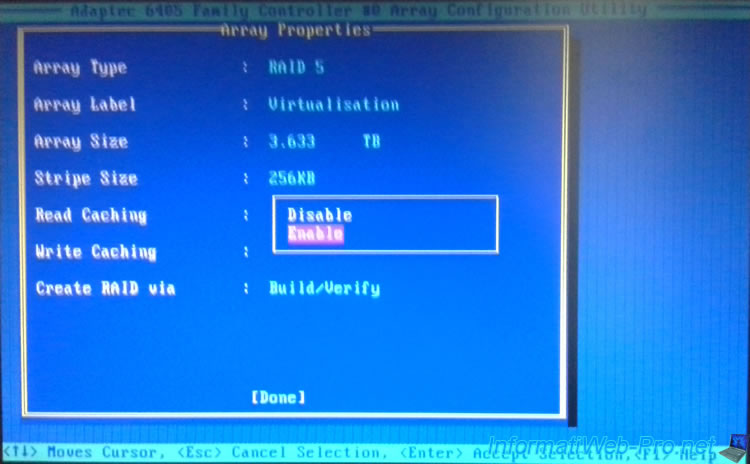
As indicated in the Quick Start included in the documentation provided by Adaptec, we left read caching and write caching enabled.
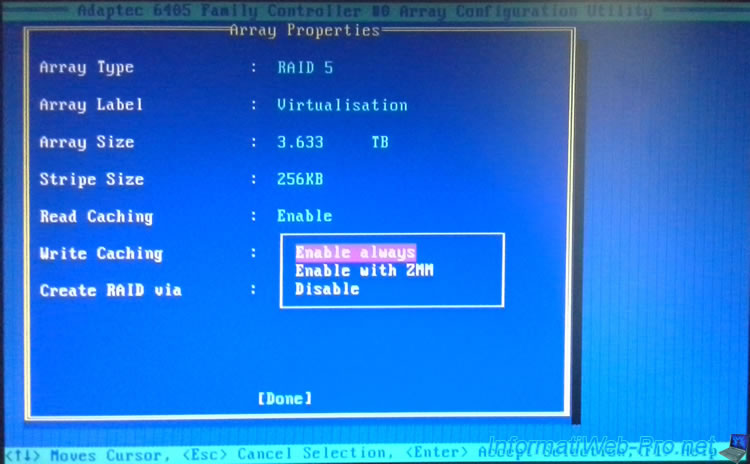
The Quick Start of Adaptec offers to select "Enable always" but the wizard will display a warning about a possible loss of data in case of power failure.
This means that it is preferable to select :
- Enable with ZMM : if you have connected a battery on the RAID controller. If the battery is charged, the write cache is enabled. Otherwise it will not be used. This will avoid any data loss.
- Disable : If you don't have a battery connected to your RAID controller, disable the write cache. You will lose a bit of performance, but you will not lose data in case of power failure.
Warning : If you have selected "Enable always", the wizard will warn you that data will be lost in case of power failure if you have not connected battery (ZMM / battery) on the controller.
This means that you will need :
- either : Connect your computer or server on an UPS
- either : buy the battery cited in this message
- either : disable the write cache to avoid data loss, but to the detriment of performance.
Note : If you have a RAID type that supports data loss (such as RAID 5), just repair the RAID volume. But it takes time.

If you ignore this message, confirm by pressing Y.

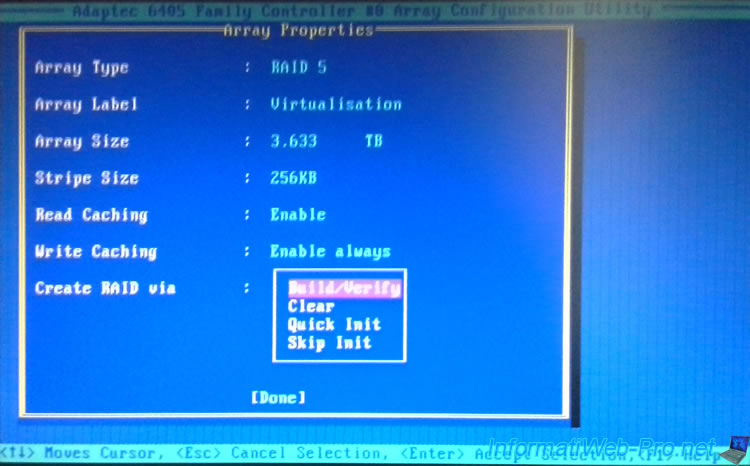
Select "Build/Verify" to build the RAID volume and check it.
The configuration of your RAID volume is over.
As indicated in this warning, the write cache provides better performance. But if your computer or your server is cut due to power failure, inconsistent data may be on your RAID volume.
Note : the write cache can be disabled later :
- by returning to the "Controller Configuration" menu of the RAID controller BIOS.
- or by using the web interface "maxView Storage Manager" by going to "Enterprise View -> localhost -> Controller x -> Logical Devices -> [Name of the RAID volume]" and clicking on the "Set properties" icon located in the "Logical Device" section at the top of the page. Finally, select "Write-Cache Mode : Disabled (Write Through)".

The wizard create your RAID volume.

At the end of the creation of the RAID volume, the wizard will warn you that the RAID volume will be available immediately, but the performance will be affected during the creation and verification (Build / Verify) process.

Exit the configuration utility by pressing 2 times on the "Esc" or "Escape" key.
And confirm by pressing "Y".

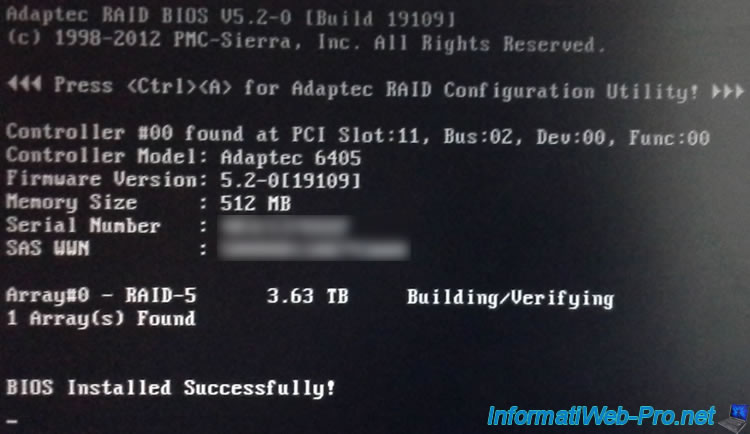
At startup, the message "Booting the Controller Kernel" is displayed again.

And this time, the "BIOS Installed Successfully" message and information about your or your RAID volumes are displayed :
Plain Text
Array#0 - RAID-5     3.63 TB     Building/Verifying
1 Array(s) Found
Share this tutorial
To see also
-
RAID 11/16/2015
Adaptec maxView Storage Manager v1 - Presentation
-
RAID 3/21/2025
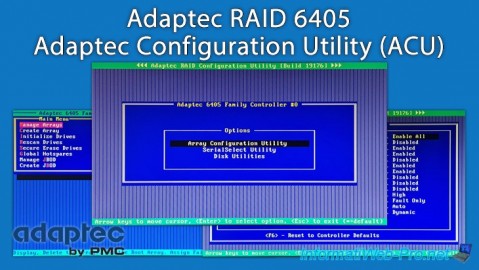
Adaptec RAID 6405 - Adaptec Configuration Utility (ACU)
-
RAID 3/26/2025
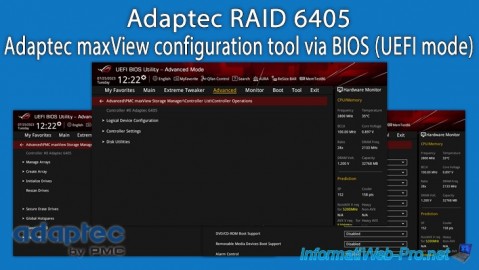
Adaptec RAID 6405 - Adaptec maxView configuration tool via BIOS (UEFI mode)
-
RAID 1/14/2022
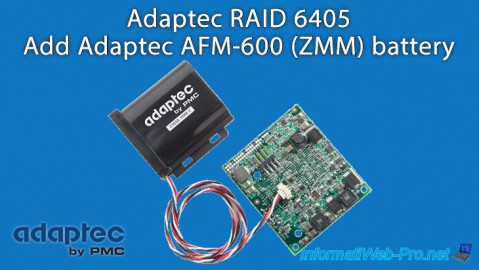
Adaptec RAID 6405 - Add Adaptec AFM-600 (ZMM) battery
You must be logged in to post a comment